

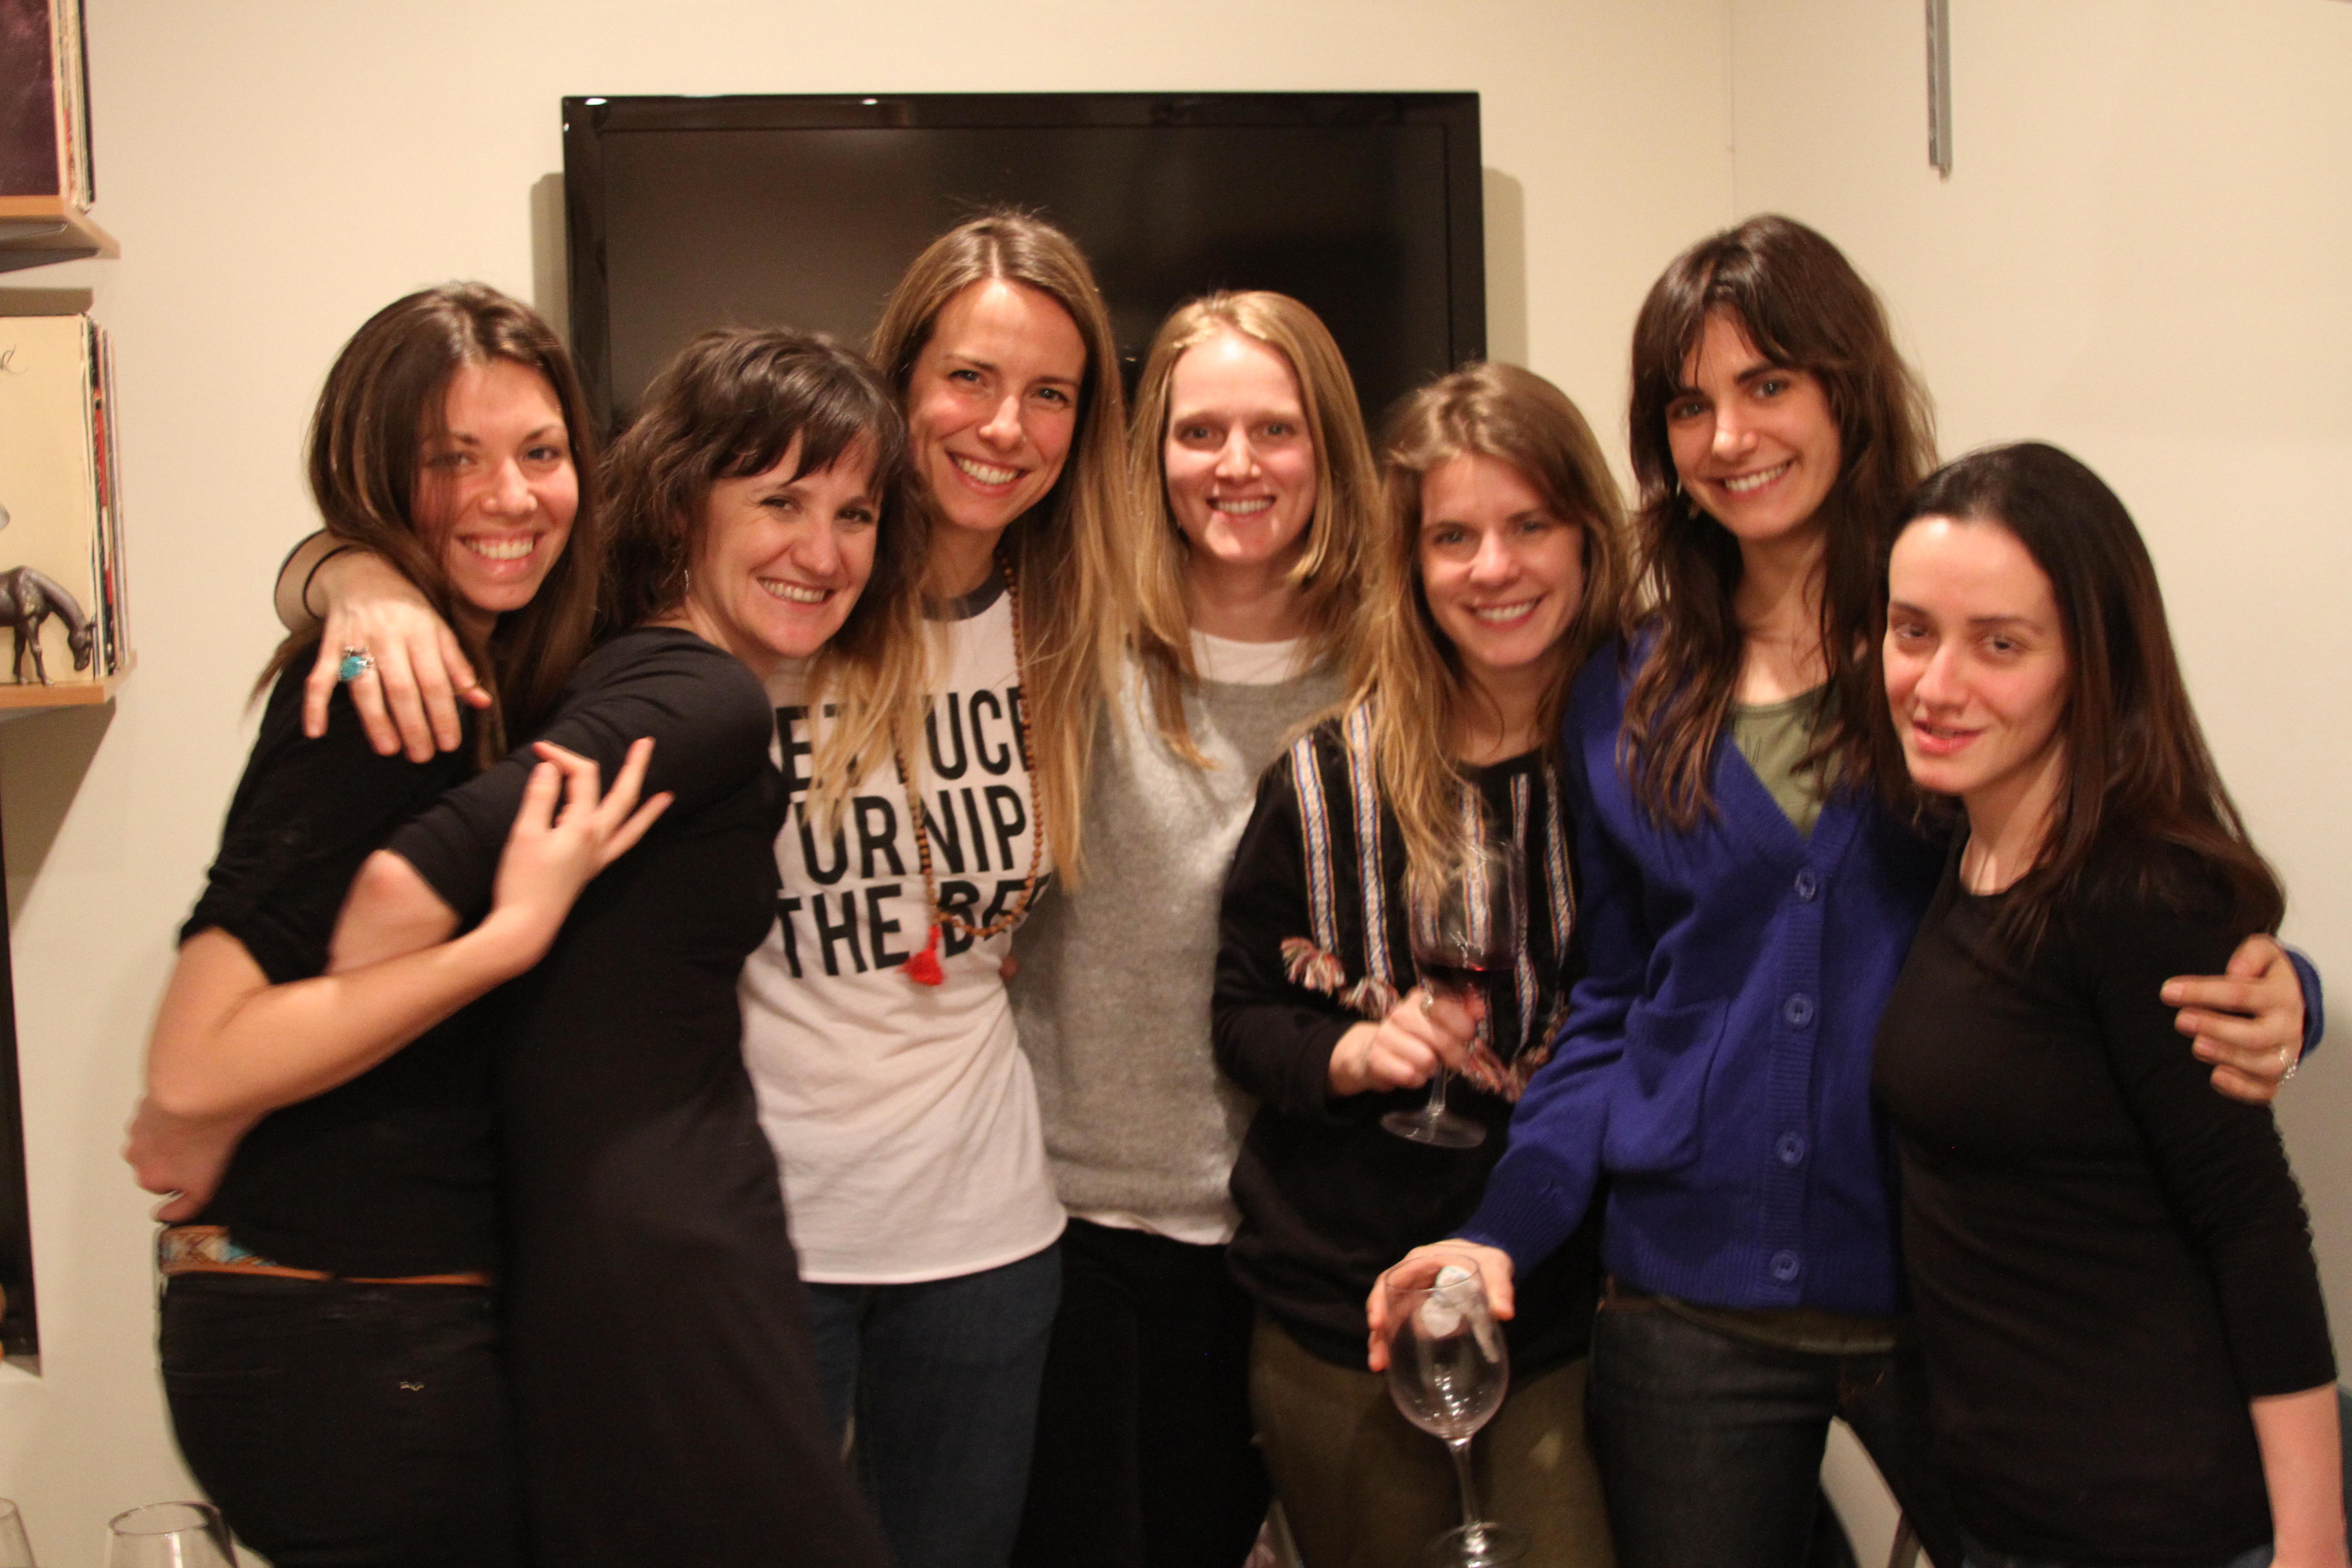
Recently I was informed by my better half that we would be hosting six of her childhood girlfriends at our apartment in a slightly belated celebration of her friend Amanda’s 30th birthday. No small occasion to say the least, I was excited to have them as guests as it afforded me two excellent opportunities. The first being a chance to entertain a pack of beautiful women. The second was having occasion to recreate some dishes that I have enjoyed in the past while at the same time being faced with, in terms of what ingredients were going into the dishes, certain…constraints. For you see, I was to have vegetarians at my table. Also no small occasion.

Photo: Amanda Carney
This is not the point in the story where I launch into a ten-thousand word manifesto of Pollanesque food politics that would attempt to dictate why, how, and what people should eat. That is a conversion better had by people who hold fancier degrees than I with spare time that isn’t spent catching fish, watching videos on Vimeo of other people catching fish, and trying to find fishporn on Instagram. It’s just not my thing. People should eat whatever they want as long as it makes them happy. Food should be fun.
Personally, I fall into the same category as Big Don from True Romance. I eat every muthafuckin’ thang. And I prefer to eat things that have, or had, eyes, a brain, and a heart. If I’m in the kitchen cooking for myself or other people it’s safe to say that hours of my time have been spent carefully preparing a dead animal. Or animals. This translates into non-animal ingredients being secondary and often used to enhance the dead animals other ingredients I’m working with and to bring balance and depth to the dish as a whole. It’s like bumping into some snook and trout when you’re redfishing. Not the main event, but they certainly make everything better. So, it was exciting to have the opportunity to tumble down the rabbit hole of vegicentrism with these lovely ladies and approach the planning and construction of the dishes I was to prepare in a manner that was outside of my usual comfort zone. Which is to say, meatless and fully focused on long-arming the vegetables so that they were the stars of the dish.
The lines that I had to color within were fairly straight forward:
No meat.
No fish.
Eggs and butter had to be local and organic.
No cheese with animal rennet.
This requirement was of particular interest to me due to the mildly embarrassing fact, at least for someone who’s been working with food for as long as I have, that I wasn’t exactly sure what rennet was. I knew it was an important ingredient in the production of cheese, but that was about it. A bit of cursory research revealed some rather interesting information.
Derived from the fourth stomach chamber, or abomasum, of young ruminant mammals (sheep, cows, goats, giraffes, etc.), rennet is an enzyme group that causes milk to coagulate and separate into Ms. Muffet’s most famous curds and whey. The curds being the coagulated solids and the eventual cheese. The traditional method for acquiring rennet sees a cheese maker drying and salt curing the animals stomach before placing it into a solution that will serve to render the raw rennet from the stomach lining. A small amount of raw rennet is then added to milk and the cheese making is off to the races. This method is still in practice among old world cheese makers. A more modern, scientific version of this exists and is, as far as I can tell, in fairly widespread usage.
Rennet can also be produced from vegetables and, as was the case with the cheese I was to use, microbial processes. Specifically those microbes similar to Rhizomucor miehei. A type of mold. During fermentation these molds produce proteolytic enzymes, the same type of coagulating enzyme found in animal rennet. Careful separation and handling before the enzymes are introduced to the milk ensures that contaminants from the mold make it into the cheese. Pretty amazing to say the least.

Then there is cheese made with Fermentation-Produced Chymosin (FPC). Here’s the short version. Availability, purity, and the inherent fluctuations in quality with microbial and animal rennets drove cheesemakers to seek alternative sources for this most precious of curdling enzymes. Biotechnology being what it was at the end of the millennium allowed for some rather crafty genetic engineering of fungi and molds to trick them into producing during their fermentation process, chymosin. The primary curdling enzyme in rennet. And since the chymosin is produced by these organisms as a byproduct, there is no genetically altered material going into the cheese, seeing that after fermentation the chymosin is removed from the broth, cleaned and shipped out. FPC was granted approval by the Food and Drug Administration in 1999 and as of 2010 roughly 80-90% of the cheeses in the UK and United States were made using FPC.
The more you know, right?
So, it was with those parameters in mind that I decided on a ravioli recipe that usually requires lots of cured pork and a cheese not within my guidelines, as well as a variation on a beef cheek ragu/cheese dumpling dish that I had at Restaurant August in New Orleans during my redfish adventure in the Louisiana marsh last month.
Alright. Sharpen your knives, buckle up and let’s get to it!
First up is the Roasted Butternut Squash and Pinenut Ravioli with a Chili and Bourbon (sort of) Beurre Noisette. That’s fancy talk for a brown butter. I’m fancy.
The first thing you want to do is make the pasta dough for the ravioli. This can be done a day before if need be, but I prefer to do it day of, a few hours ahead of when I’m going to use it. Normally you want to make pasta on a floured wood surface as the dough tends not to stick as much, but any flat, floured surface will work. This time around I used a stainless mixing bowl.
It’s not ideal, and you have to pay more attention to the dough sticking as you knead it, but as I was not in the kitchen at the restaurant this time around it was a much cleaner option. If you’ve ever seen a small, downtown apartment in NYC you know what I’m talking about.
Anyway, pasta recipes are everywhere. Most are pretty straightforward and generally speaking pretty easy. Pasta is also one of those touchy my-grandmother-made-the-best-pasta-and-I-only-eat-pasta-if-it’s-my-grandmothers-recipe-and-everything-else-sucks food subjects, so I try to avoid talking about pasta recipes. Pick your favorite recipe and go for it. For this pasta I went with an eyeballed 3 1/2 cups flour, 4 large or 5 small eggs, whatever you’ve got, and olive oil.
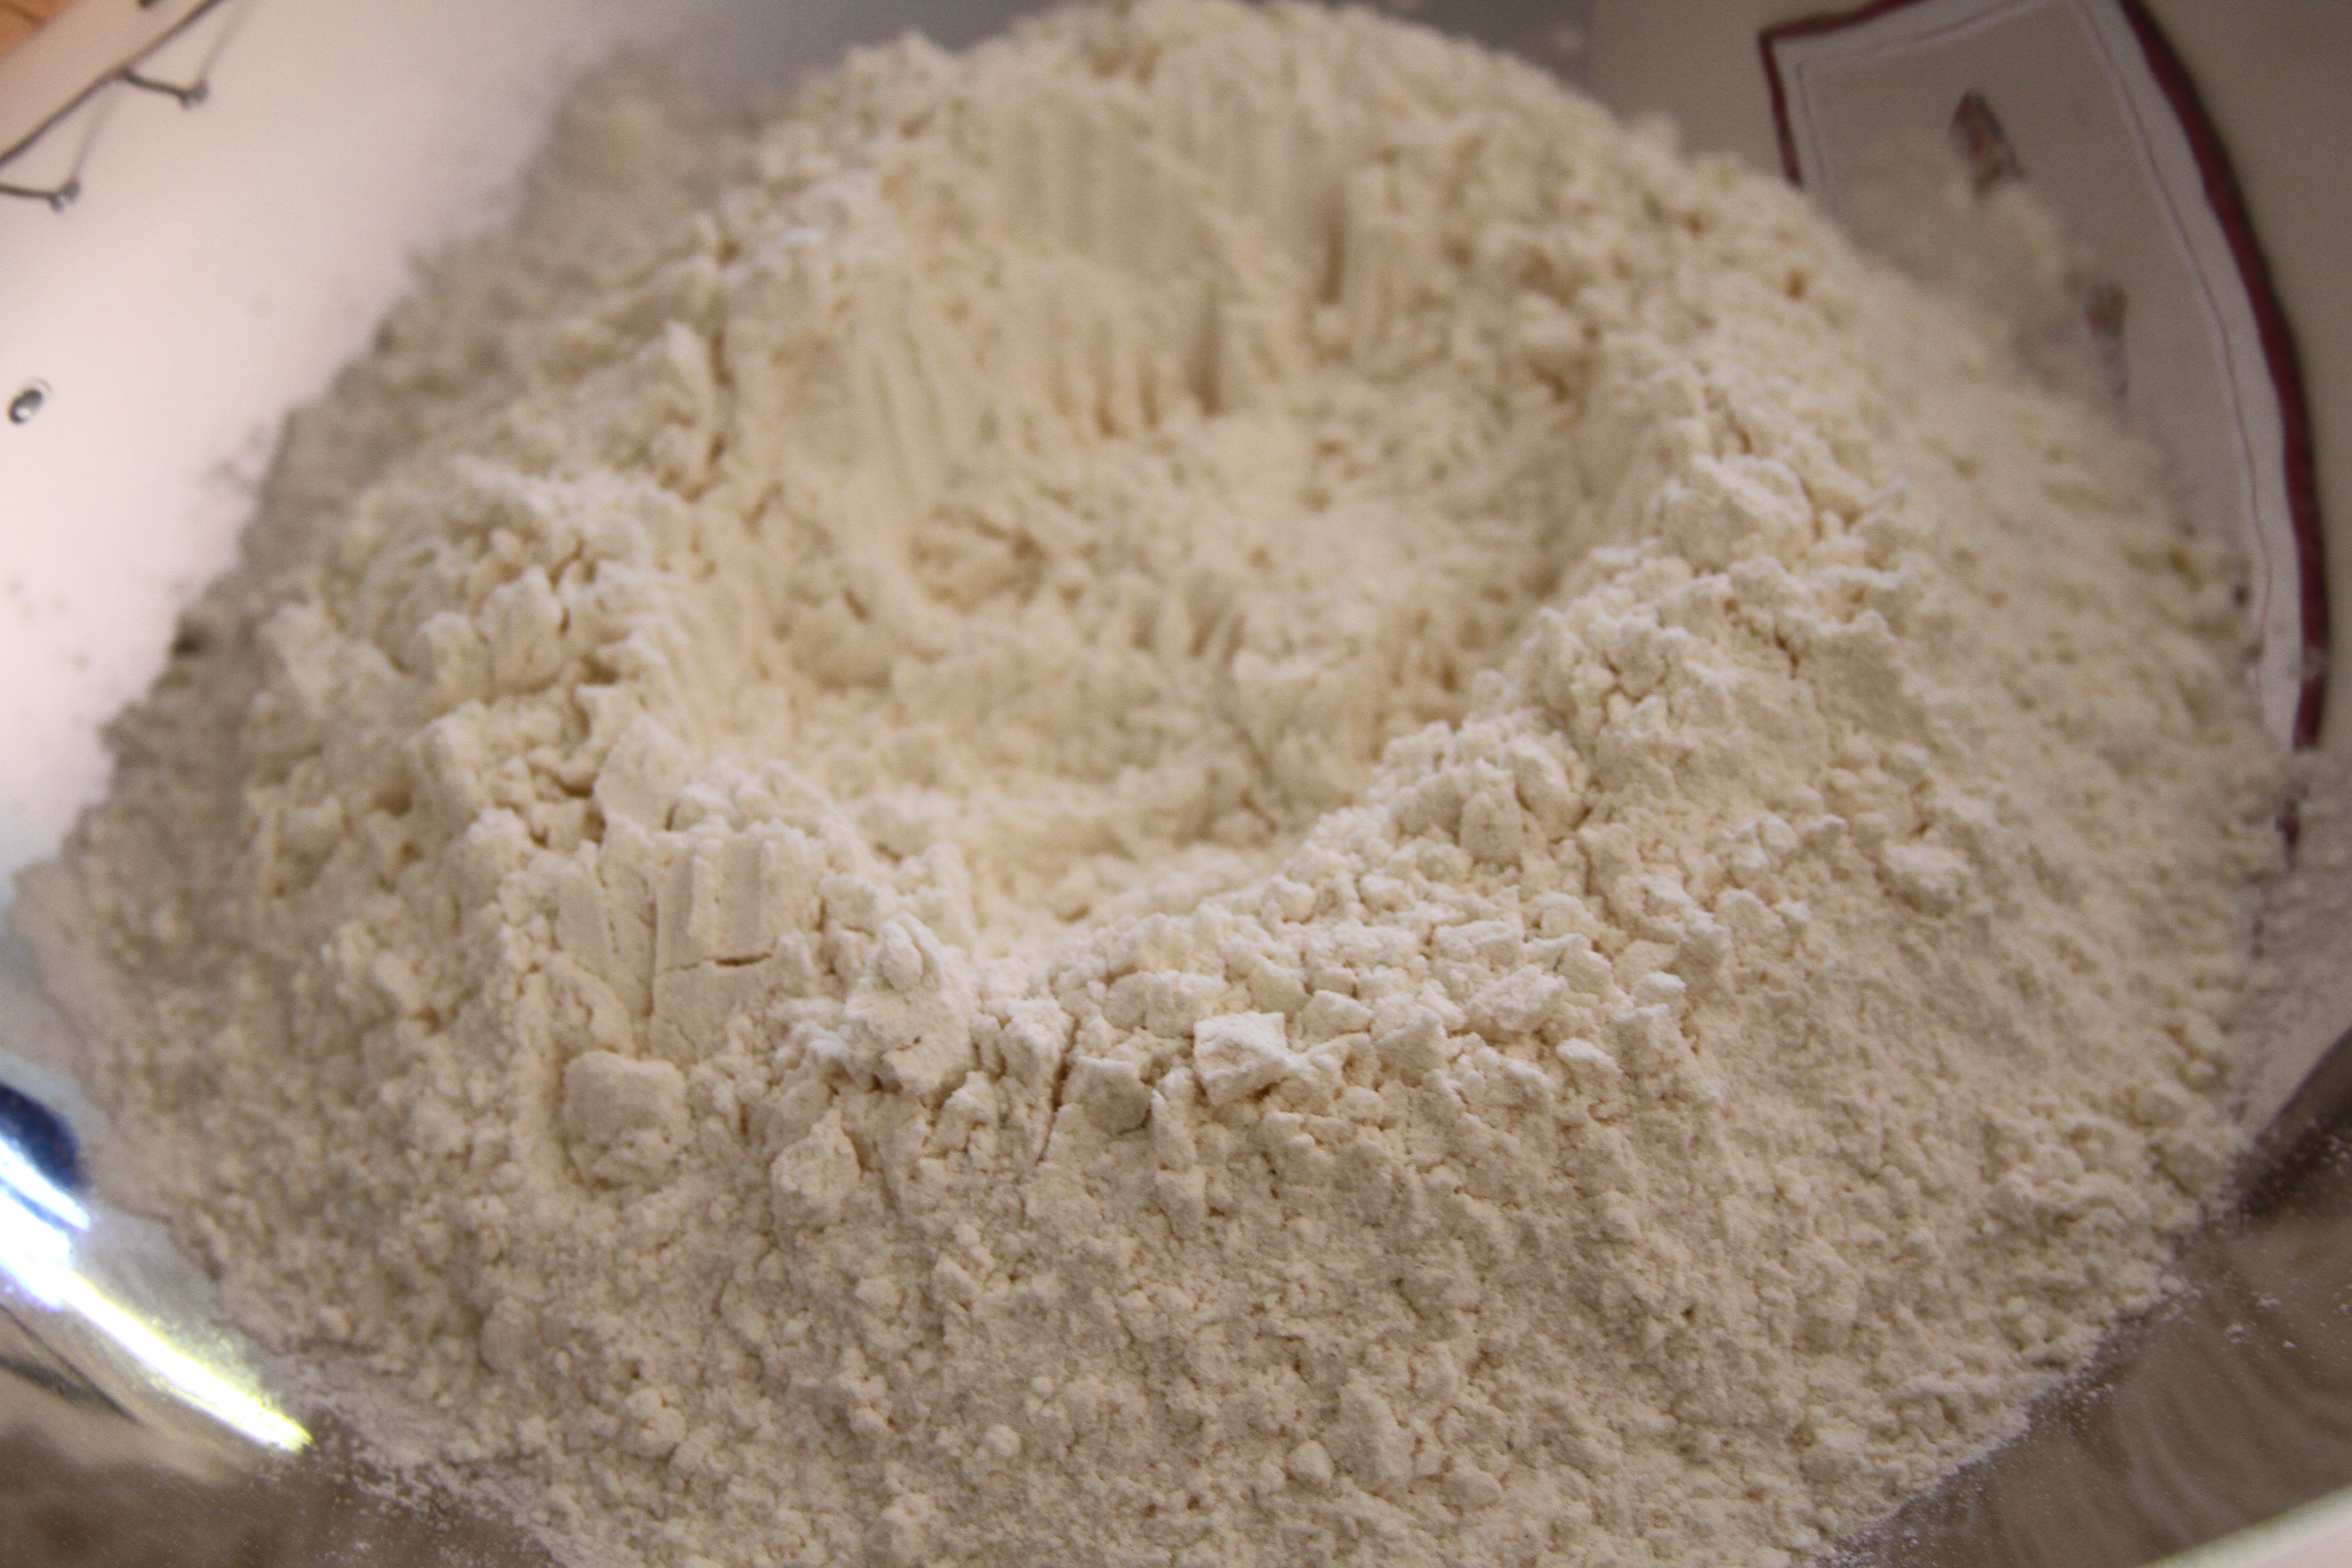
Flour goes down first. Shape a little crater in the center. Make sure it’s deep enough to contain your eggs and oil. Crack your eggs directly into the crater and add the oil. Maybe a tablespoon or so. You won’t need much.

Use a fork and start slapping your eggs/oil around while being sure with each stroke to fold in a little flour at a time from the crater rim into the mix. If your eggs spill out the sides of your crater don’t sweat it. Just treat the spilled eggs as you would the ones in the center. Keep folding the flour together until the pasta starts to form. At that point lose the fork get in there with your paws.
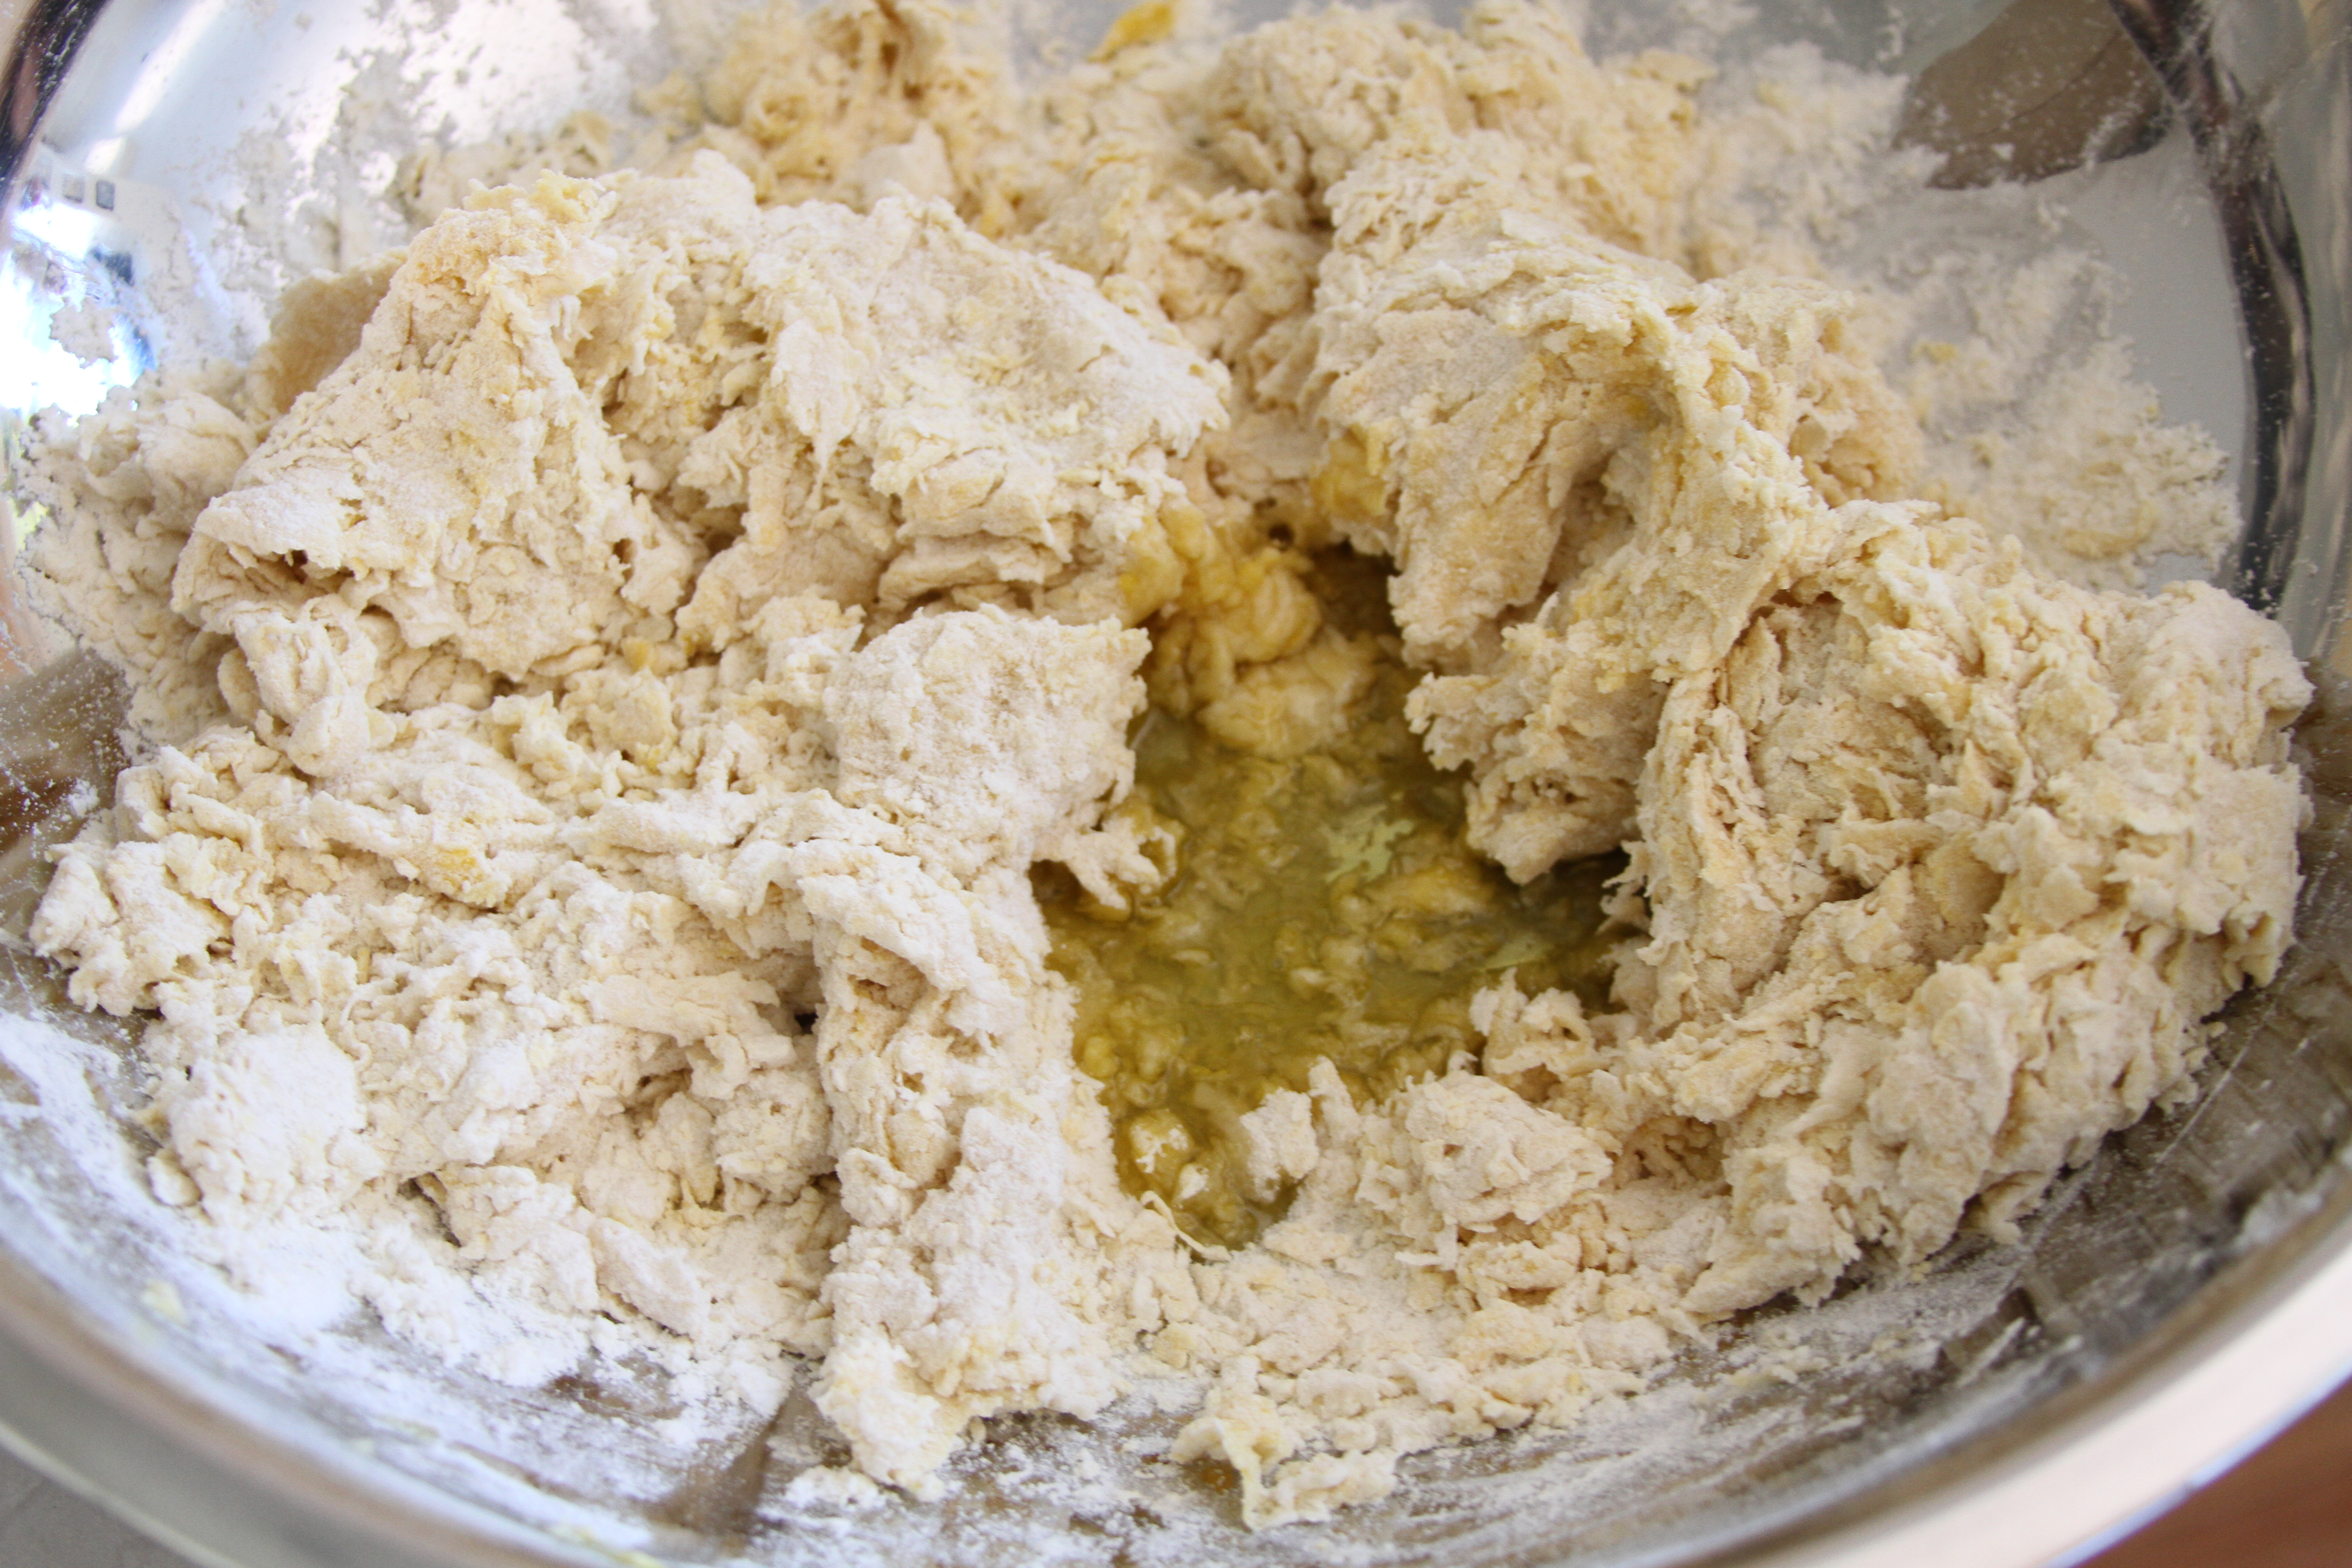
Once you’re here you want to knead the dough with you hands until it forms into a cohesive, slightly elastic mound of dough that’s a bit tacky to the touch. It should be noted that I held off on the oil until this point to help lubricate my bowl and make finishing the pasta a little easier. When all is said and done you want your pasta to look like this:
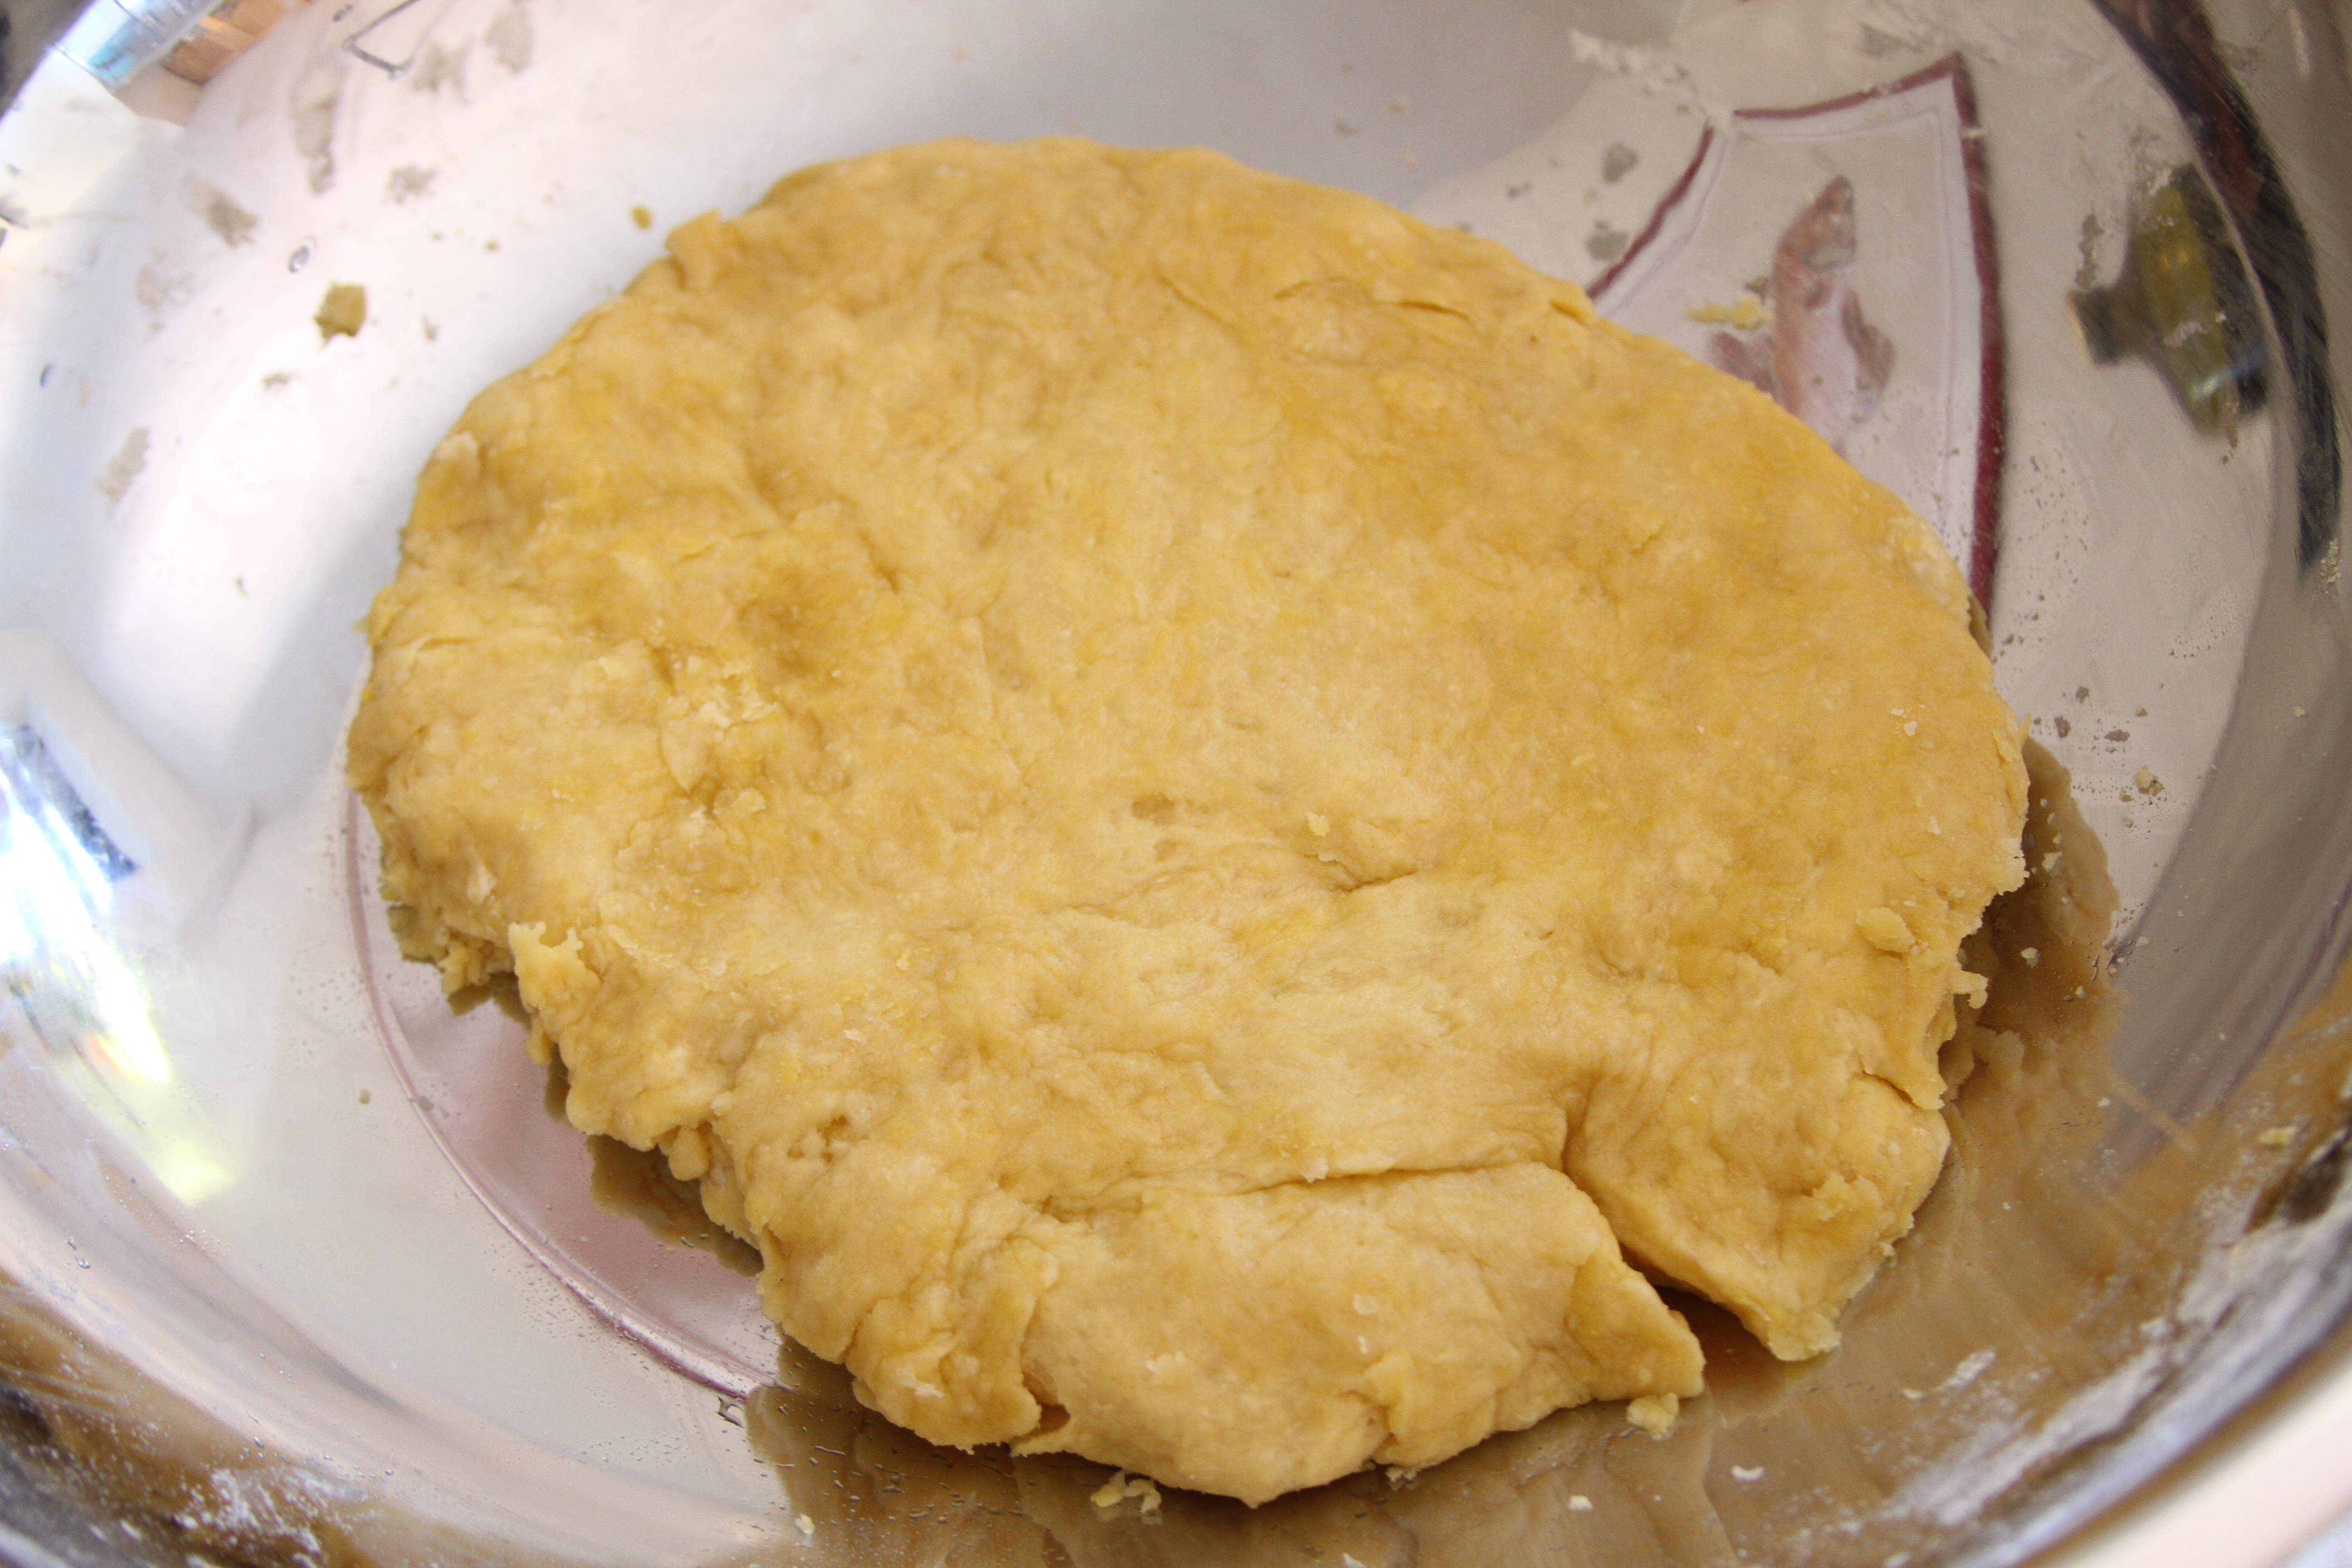
Cover your dough with Saran wrap and let it hang out at room temperature for 20-30 minutes. After that you’re ready to cook with it. You can refrigerate it, or you can frisbee it at a finicky tarpon. It’s your pasta, man.
So from here on out preparing this dish in a timely fashion is heavily dependent on being able to cook/prep multiple ingredients at the same time. Working through each step individually is total time suck. Don’t do it. An extra pair of hands in the kitchen really helps. With the pasta resting we’re gonna get into the squash.
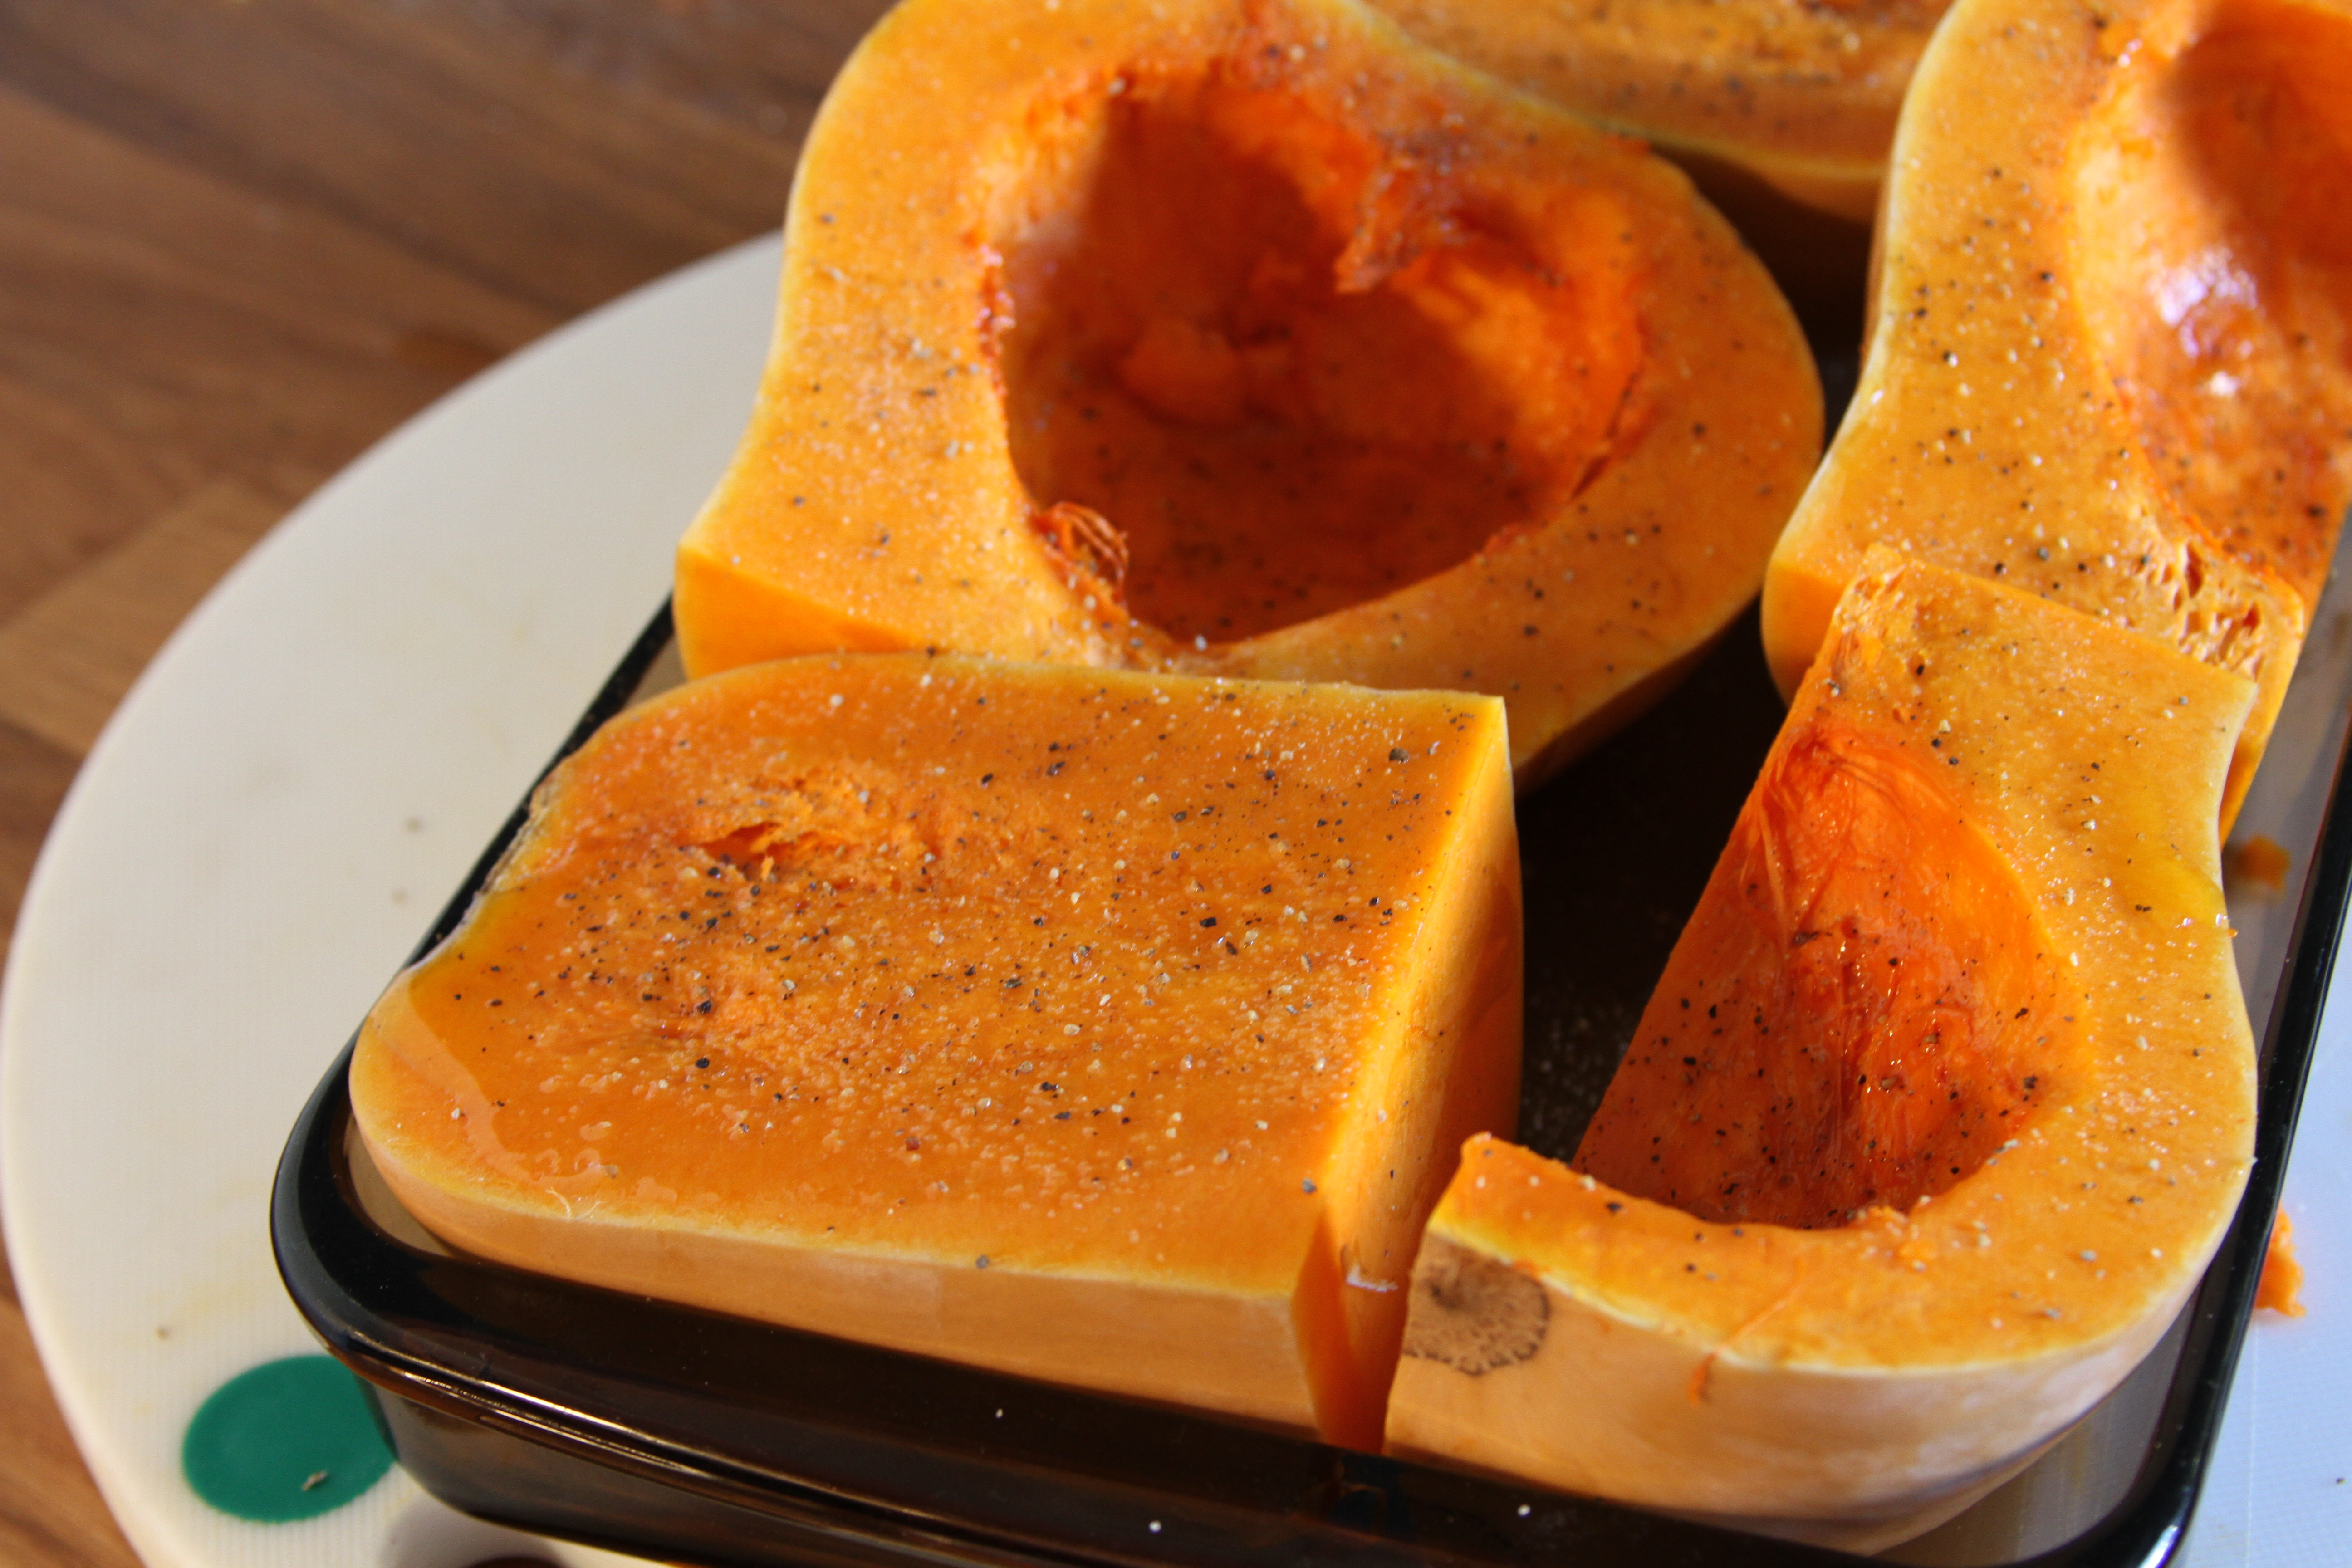
Use a heavy knife and split the squash vertically down the middle. Scoop out and discard the seeds.

Take your two halves and split them horizontally at their mid-section. Take your quarters and set them up on a baking sheet or casserole with the flesh up. Hit those suckers with a little, salt, pepper and olive oil and slide them into the oven. 400 degrees until they’re done.
While the squash is getting all sexy in the oven you want to move onto prepping some of the other ingredients you’re going to need for the filling. Pinenuts and sage first.
Set up a dry pan on your range and set the flame to medium.
Oh, on a side note, I fucking hate electric ranges. I know that some can be great, induction ranges are cool, but still annoying, and sometimes you don’t have a choice, but electrics suck. Maintaining temperature or getting uniform heat in your pan when you’re cooking with electric is a bitch. Go full caveman and use fire where possible. Okay. I’m done now.
Add enough pinenuts to cover the bottom of your pan without any layering. Let those suckers toast, tossing them through occasionally so that both sides can brown properly.
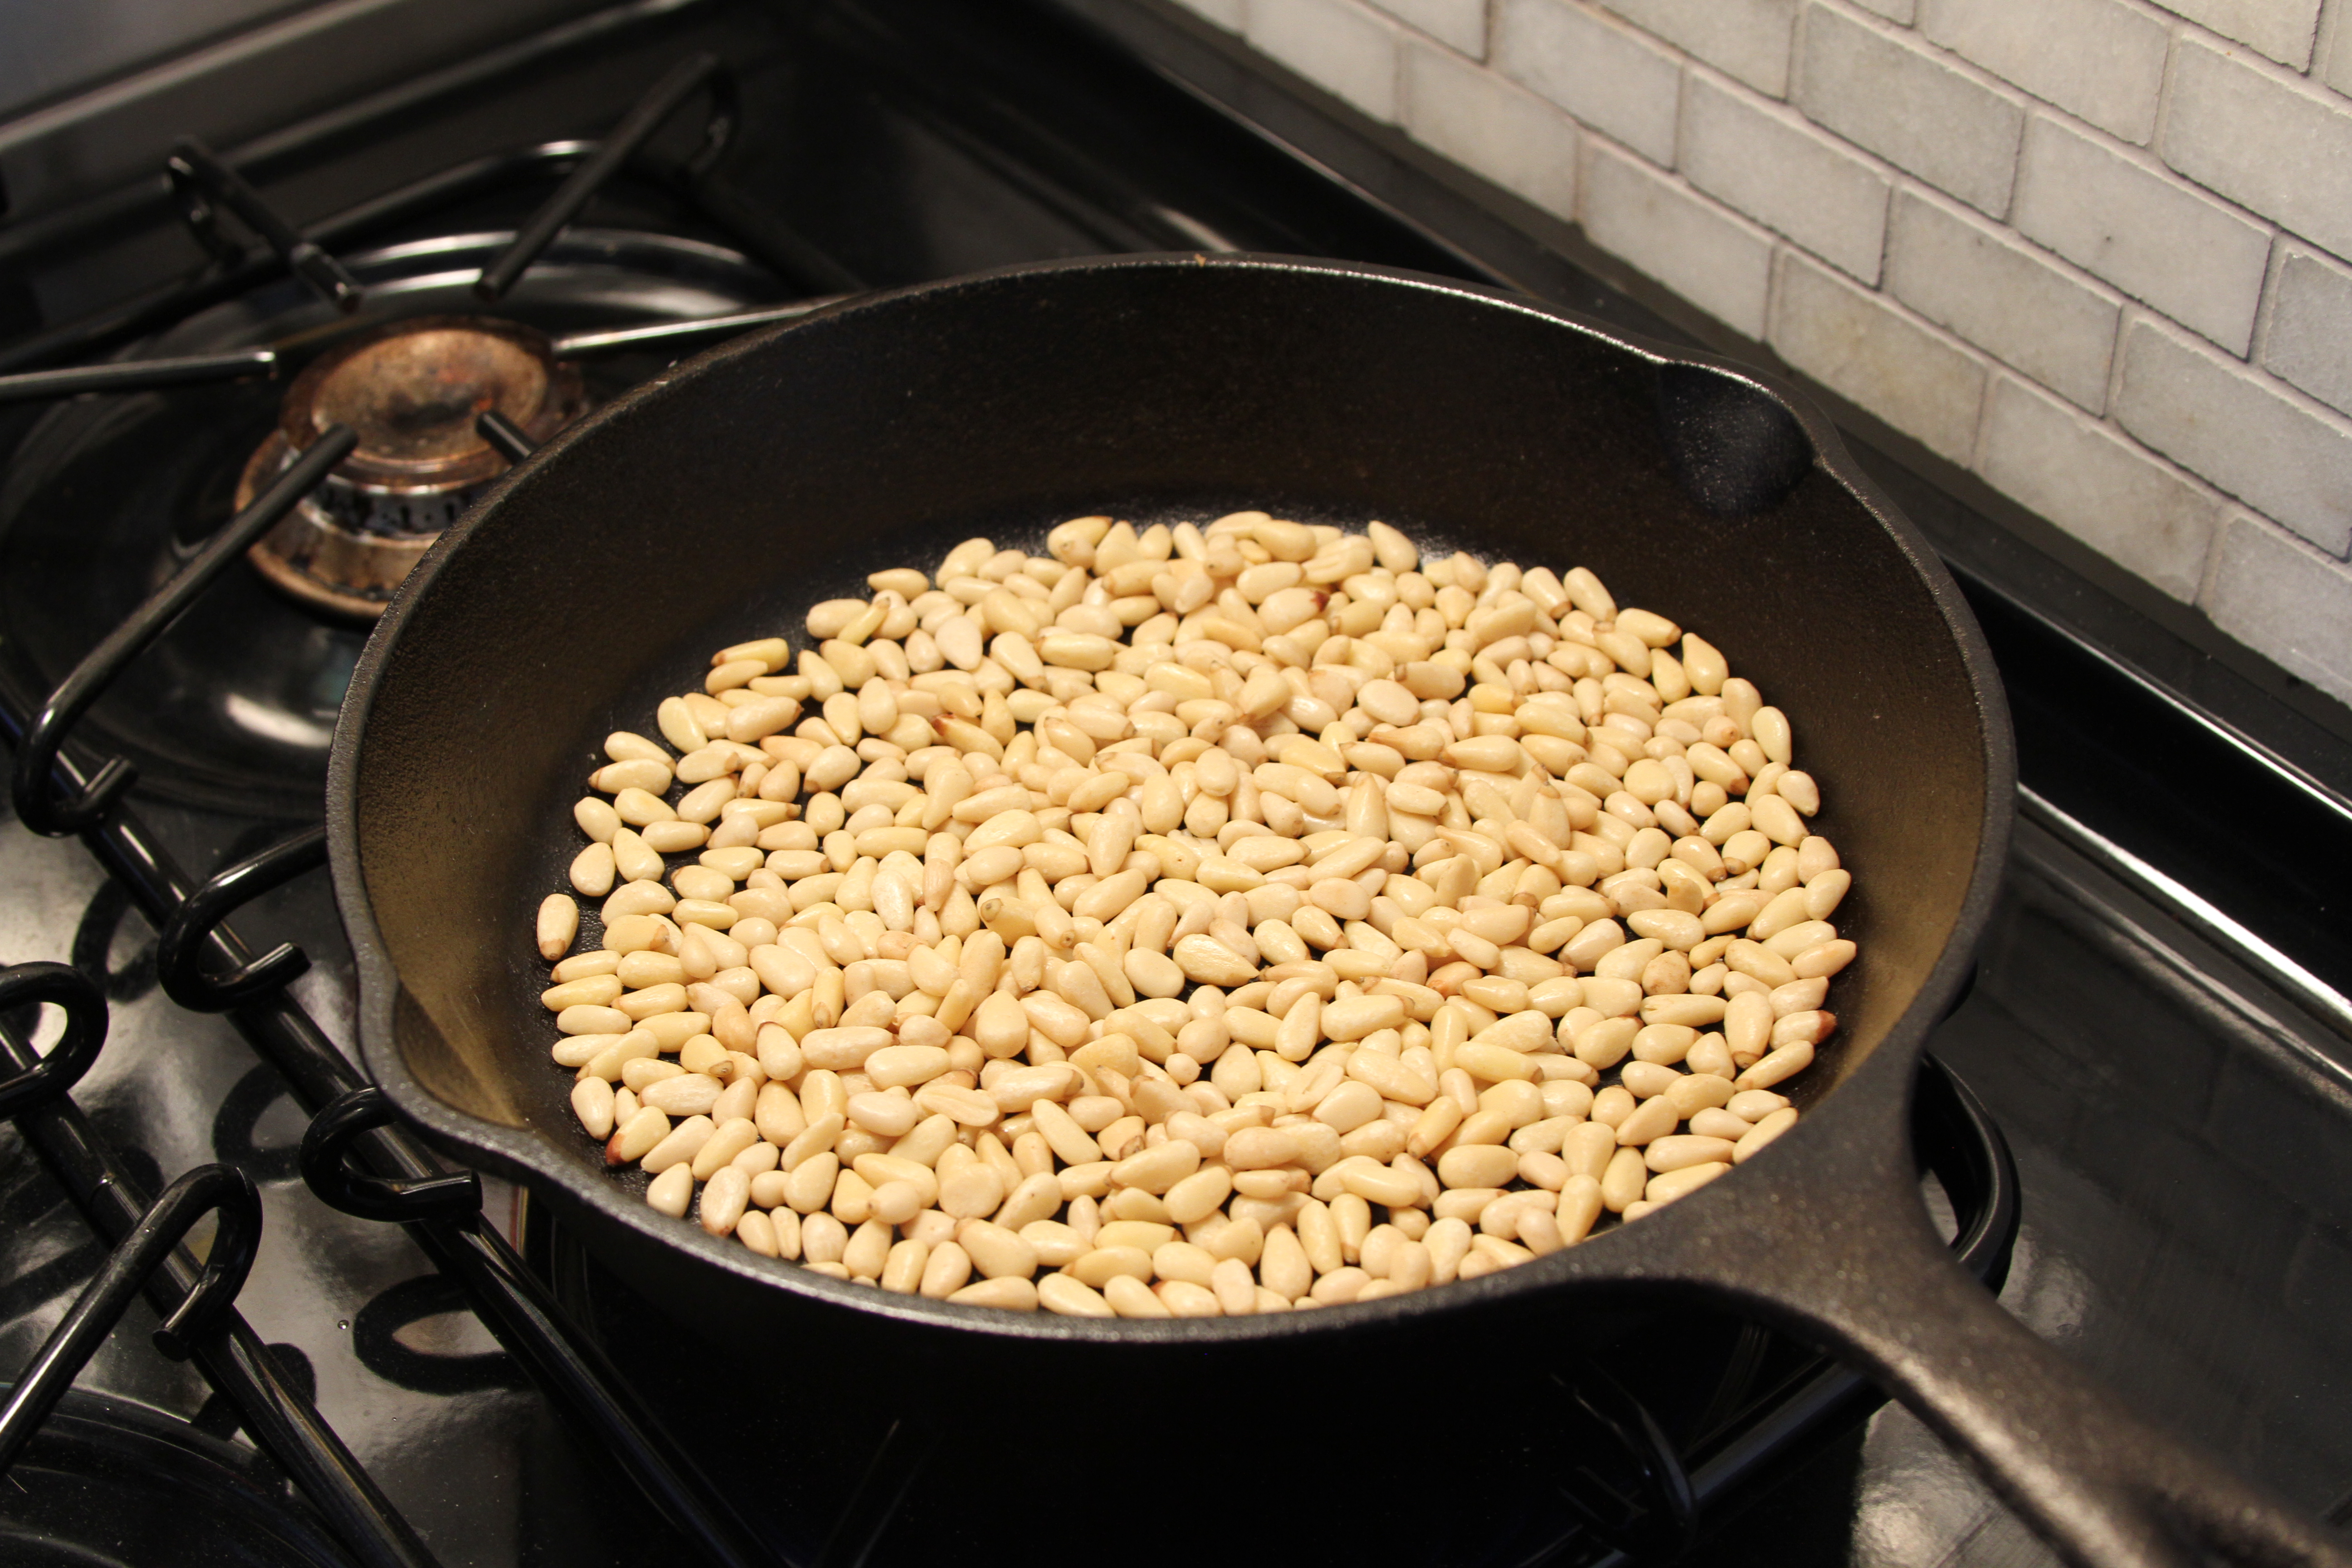
Let’s hit the brake for a hot second. The pinenuts are being used in the filling to add texture and a little bit of a richness and smoke to the flavor profile. Normally cured pork does that for us. Specifically wonderful, wonderful bacon. But, when in Rome!
Start a second pan on your range. Get maybe a quarter-inch or so of canola oil (You can use olive oil if you’d like, but be careful of your temperature. Olive oil has a significantly lower smoke point and it will burn on you and impart a nasty, ashy taste to your food. And set your smoke alarm off) and turn the flame to medium-high. While you wait for the oil to get to temperature, toss your pinenuts and work on the sage.
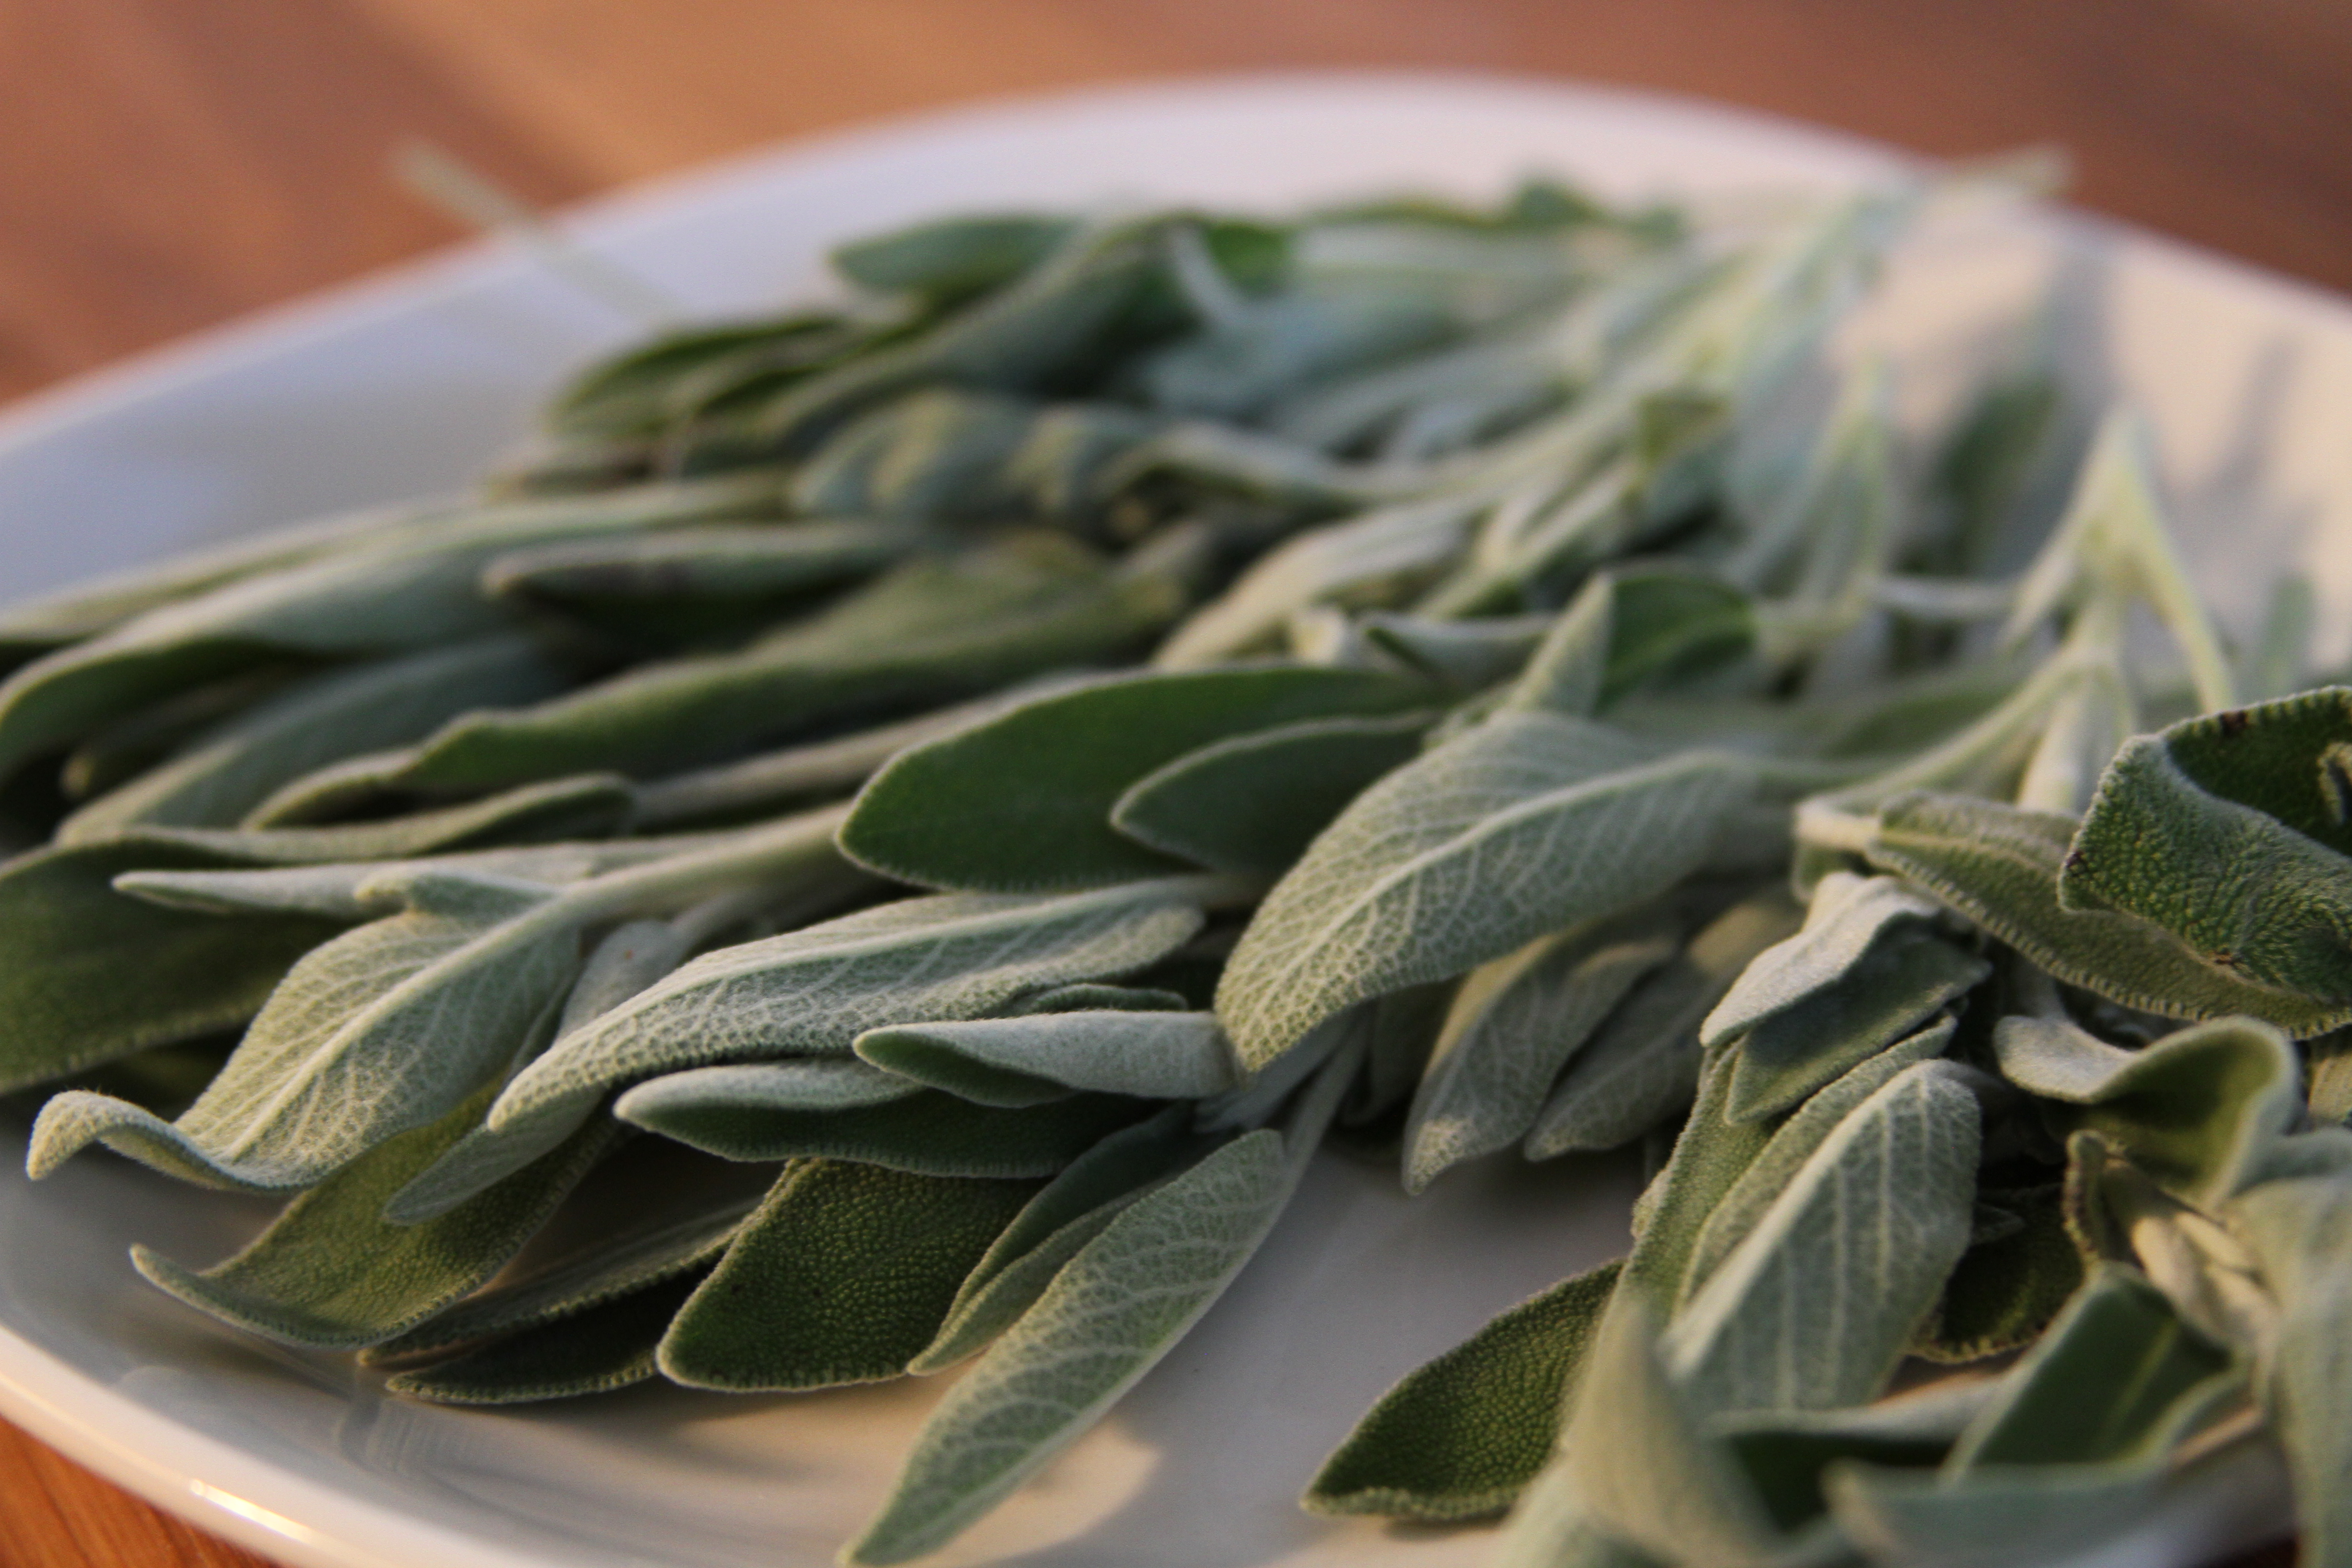
Pick the sage leaves from their stems. Discard the stems. Set the leaves aside. Once the oil starts to shimmer add the sage leaves a few at a time. Like this…
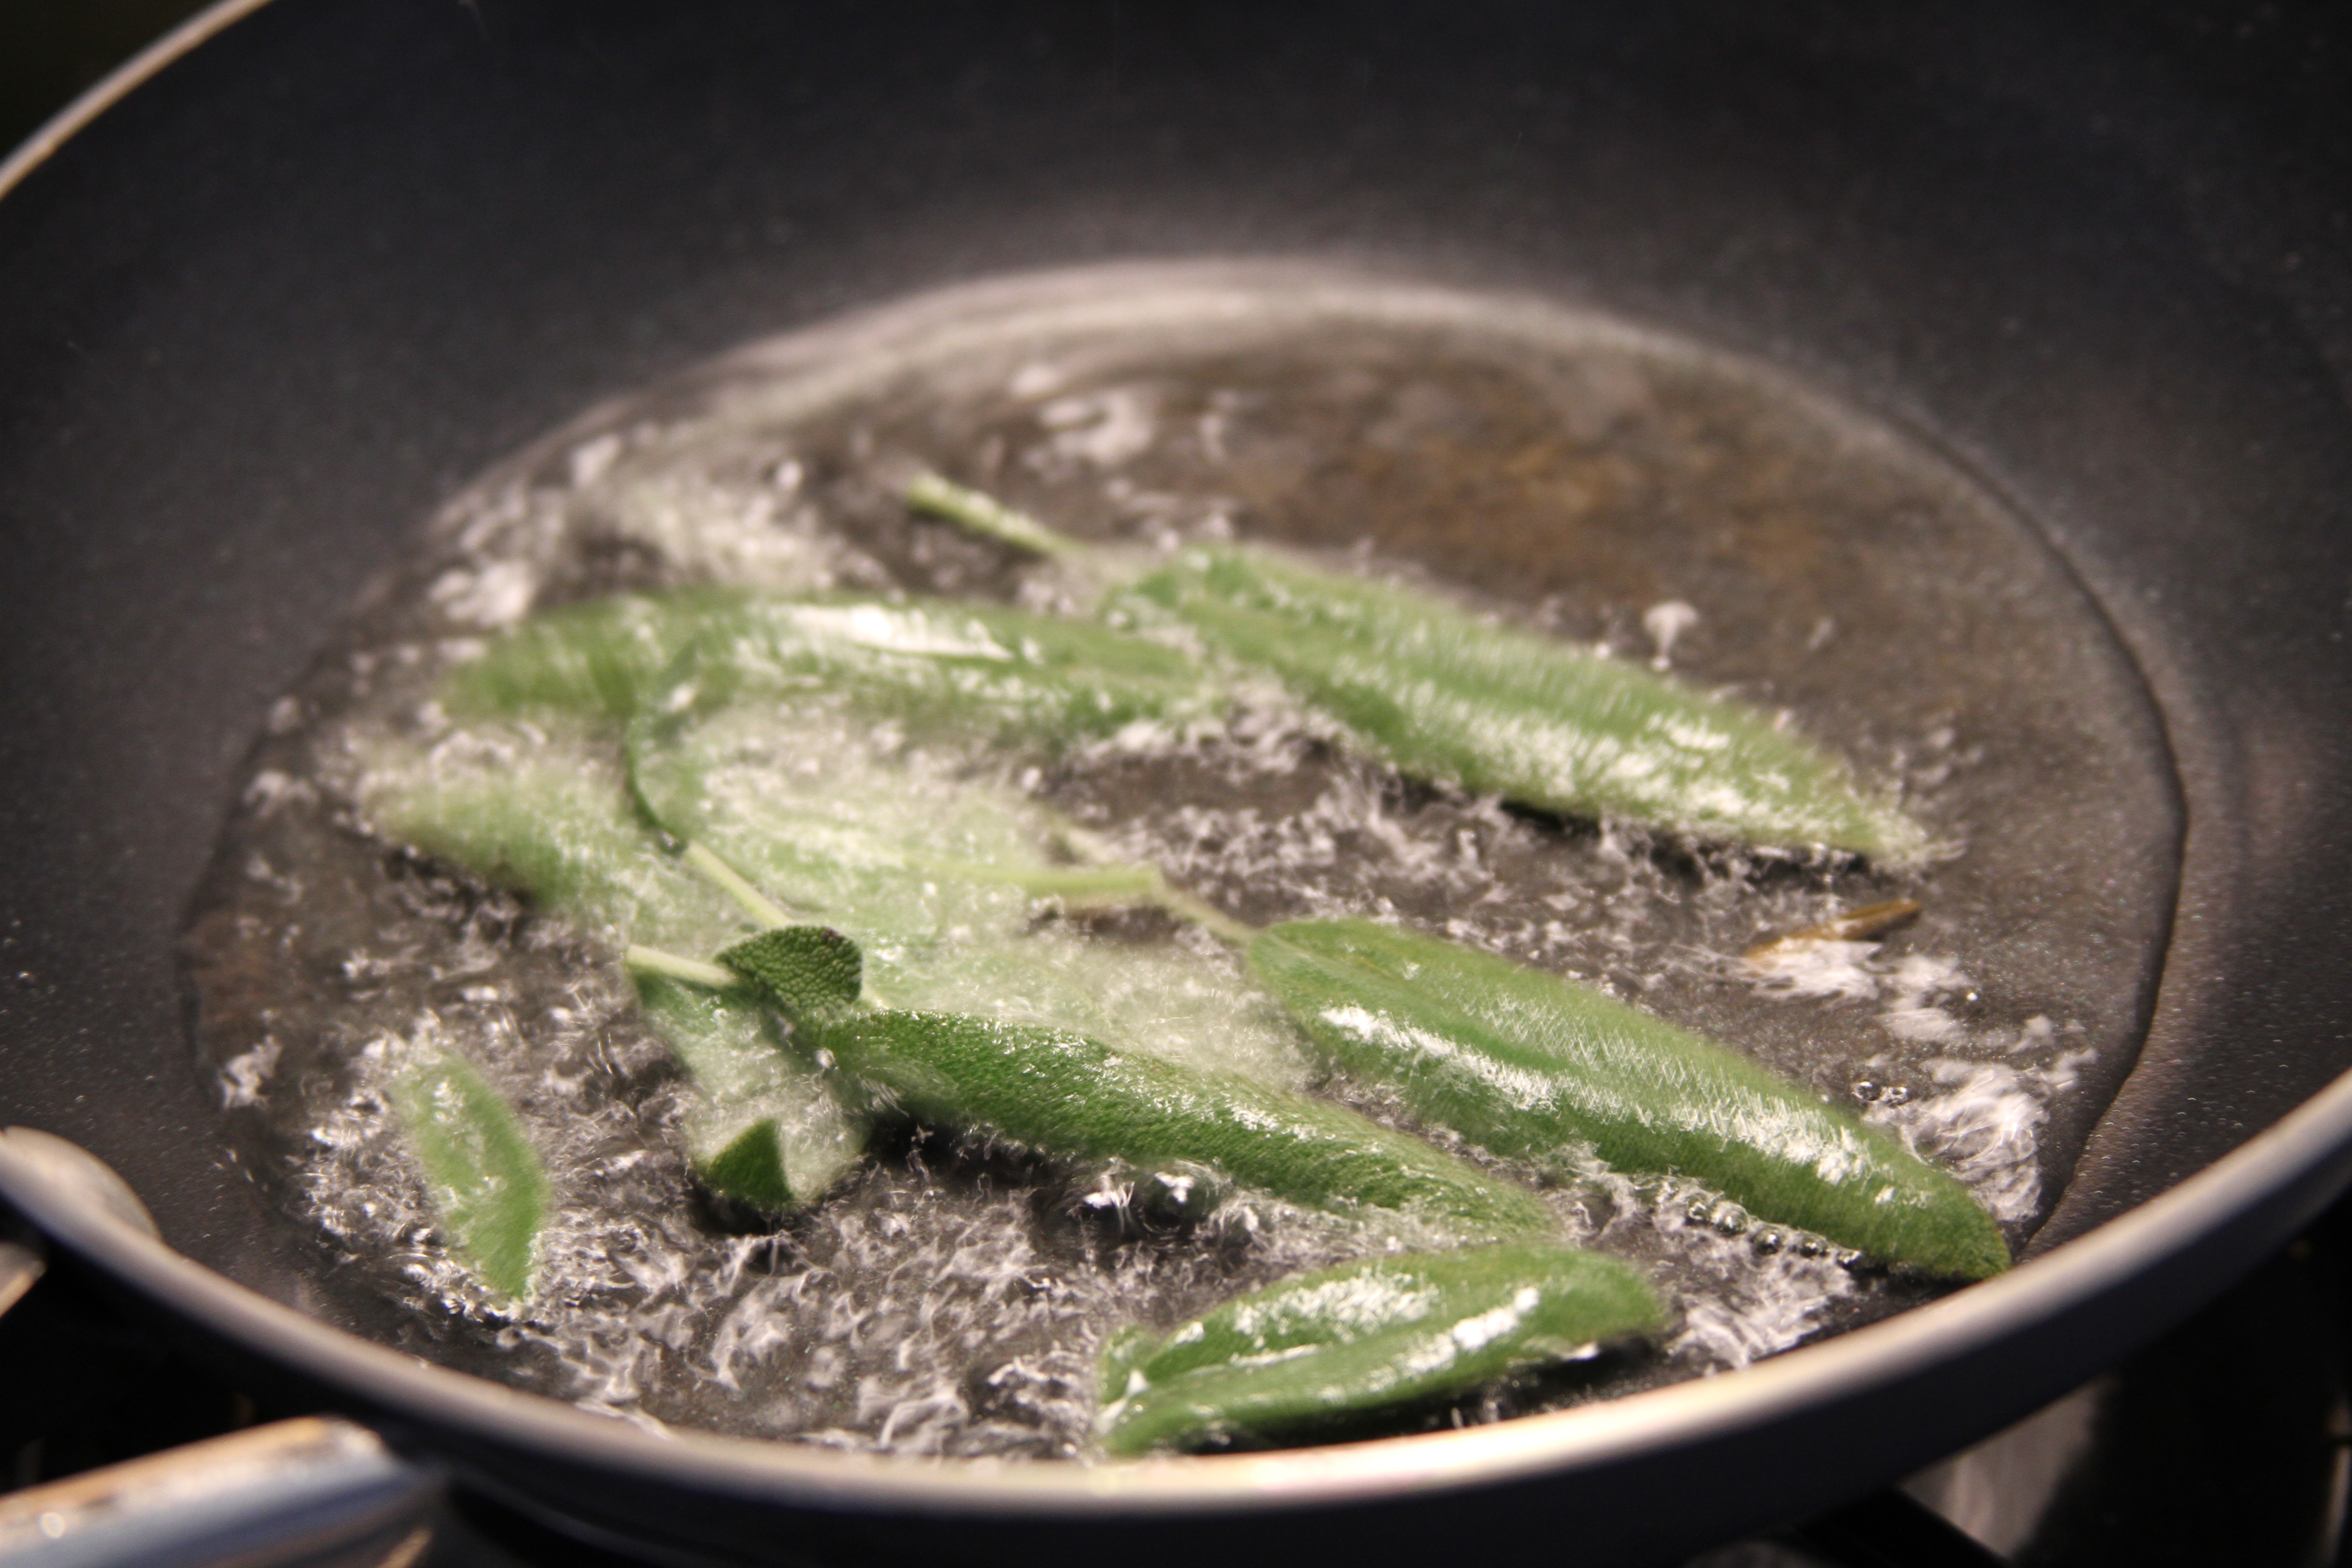
Once the sage leaves get crispy pull them out and let them drain them on a paper towel. By now your pinenuts should be all toasty and golden brown.

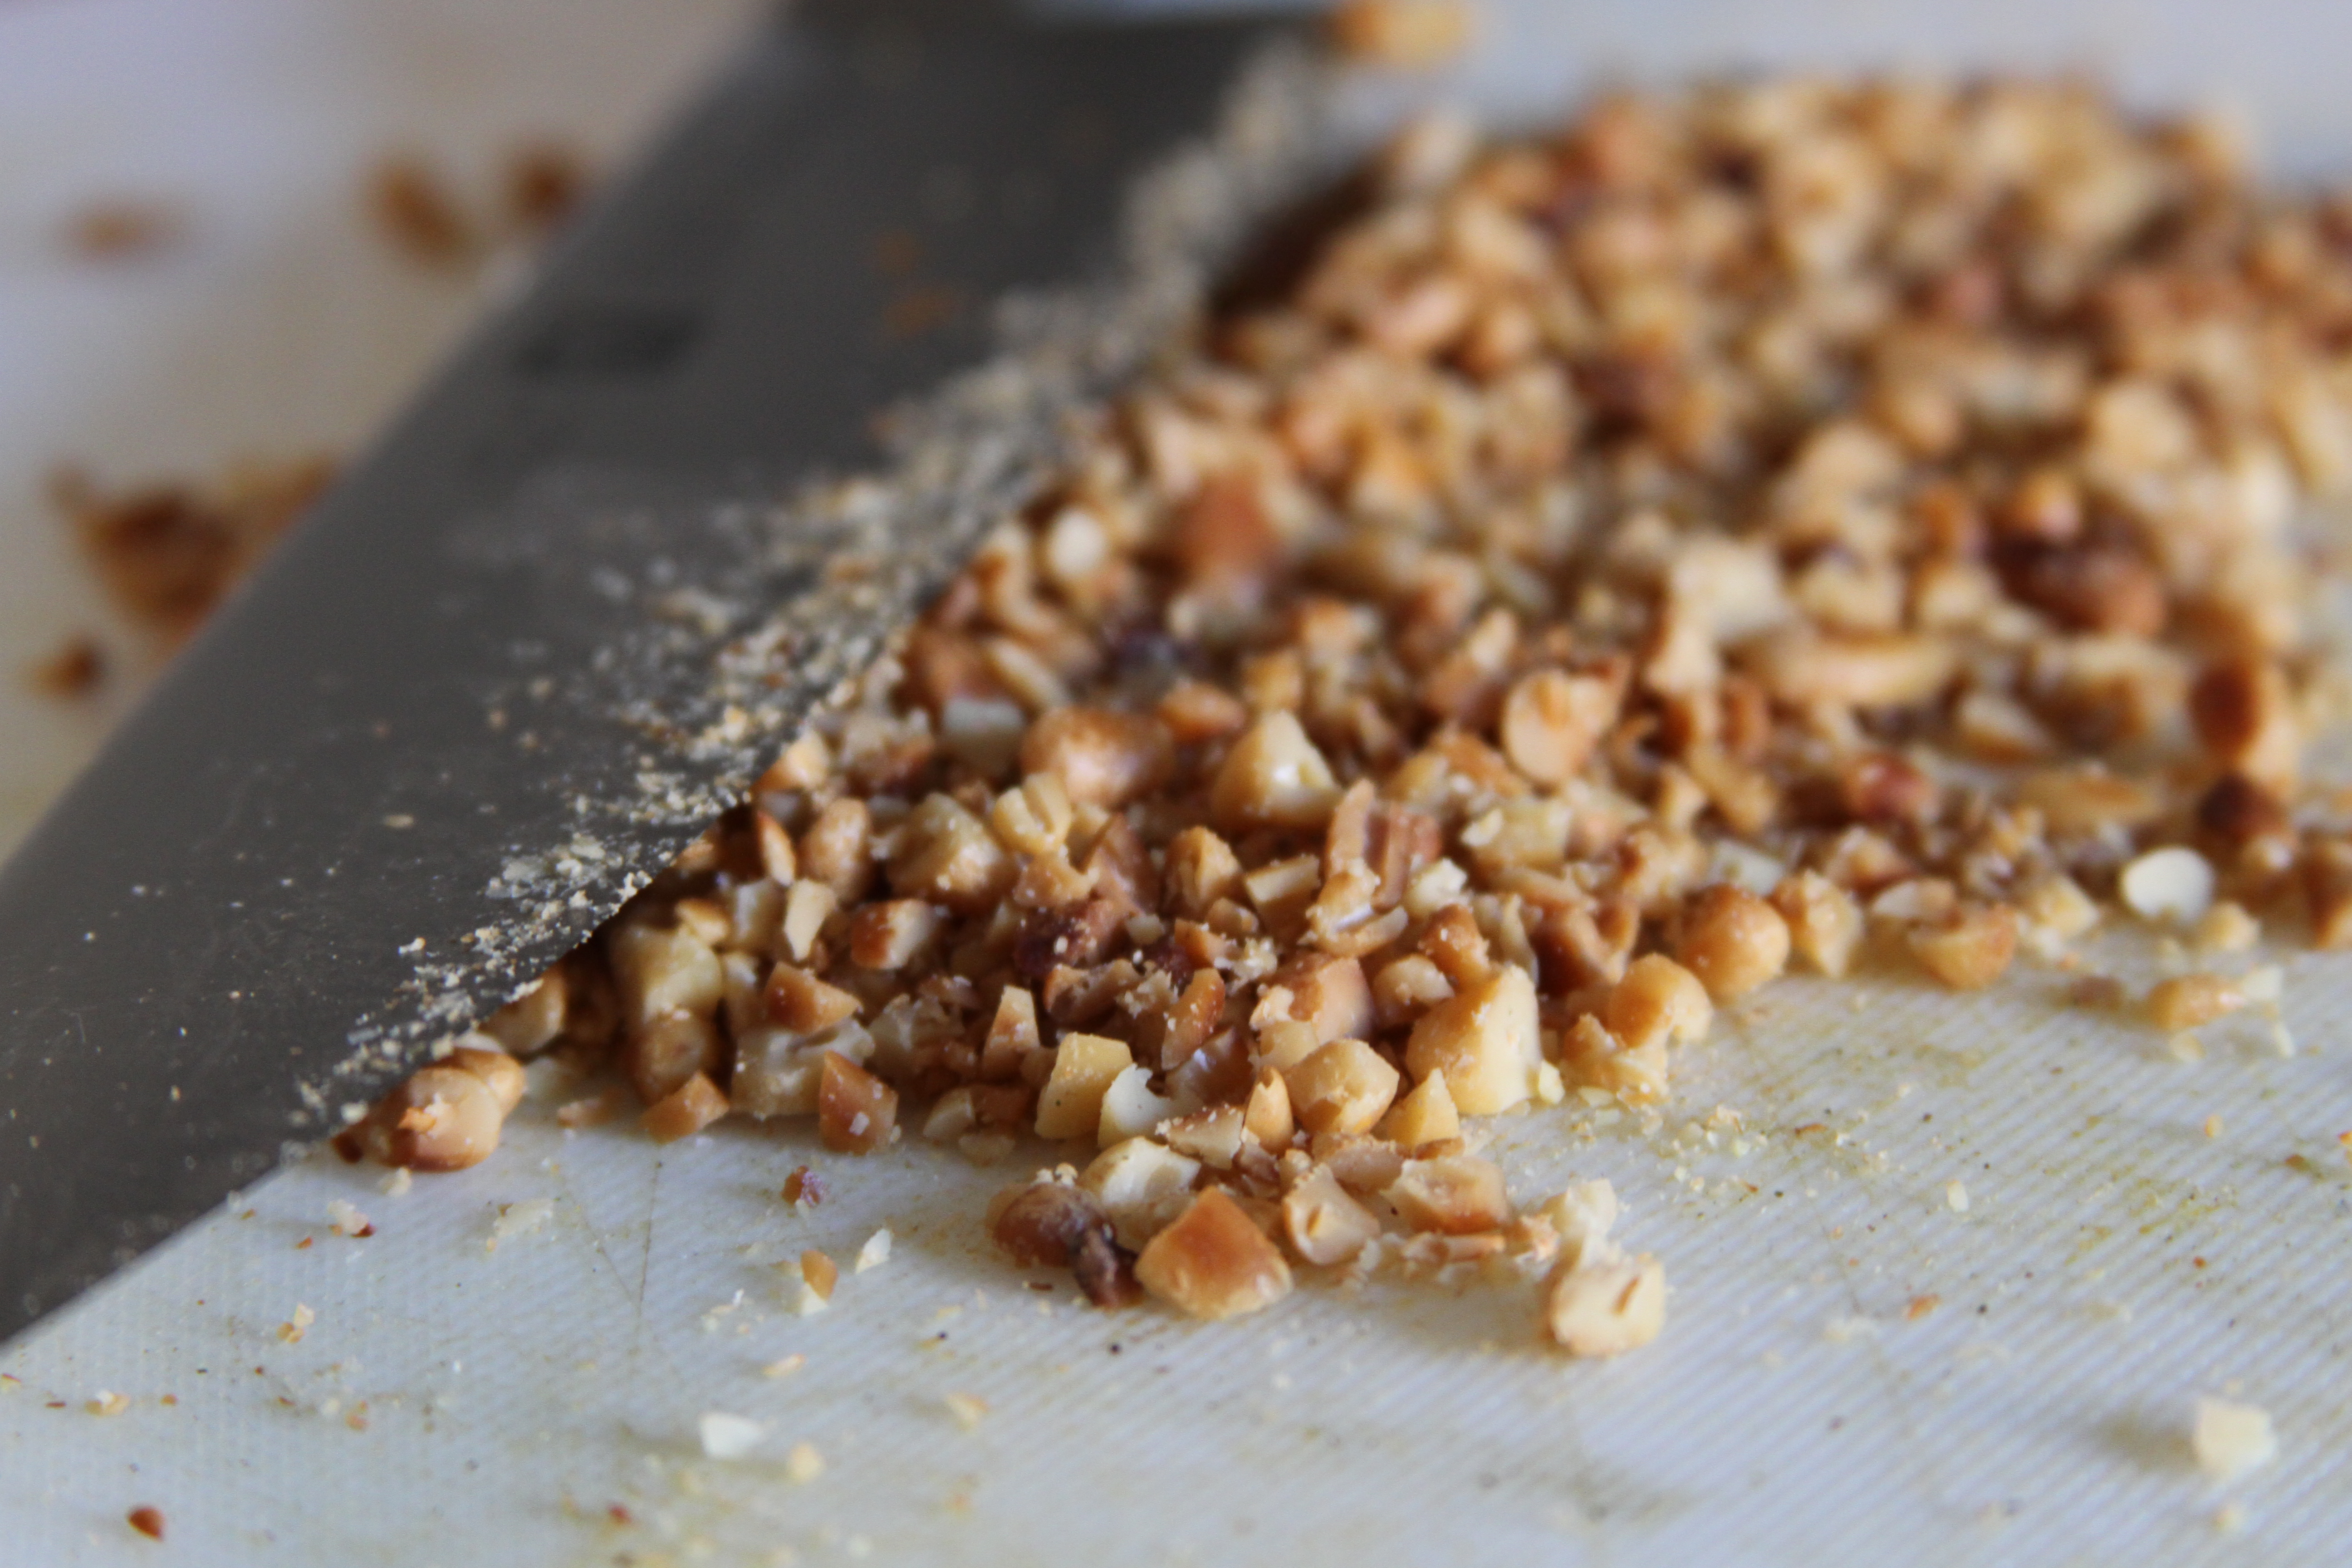
Okay, now we need to break this stuff down. You’re looking for a roughish chop on both the pinenuts and the sage. You don’t want them so big that they’ll stand apart from the rest of the filling or so small that they get lost. You want to be able to see everything and have it all mesh in the filling.

It’s wise to take the time here, since the knife and cutting board are out, to break down the chilis for the butter sauce. I like Thai chilies for this application. Nice heat, a little sweet, and they have a beautiful red color. We need two of them. Cut the top off chili just below the stem cap. Carefully split one side of the chili from stern to stem.
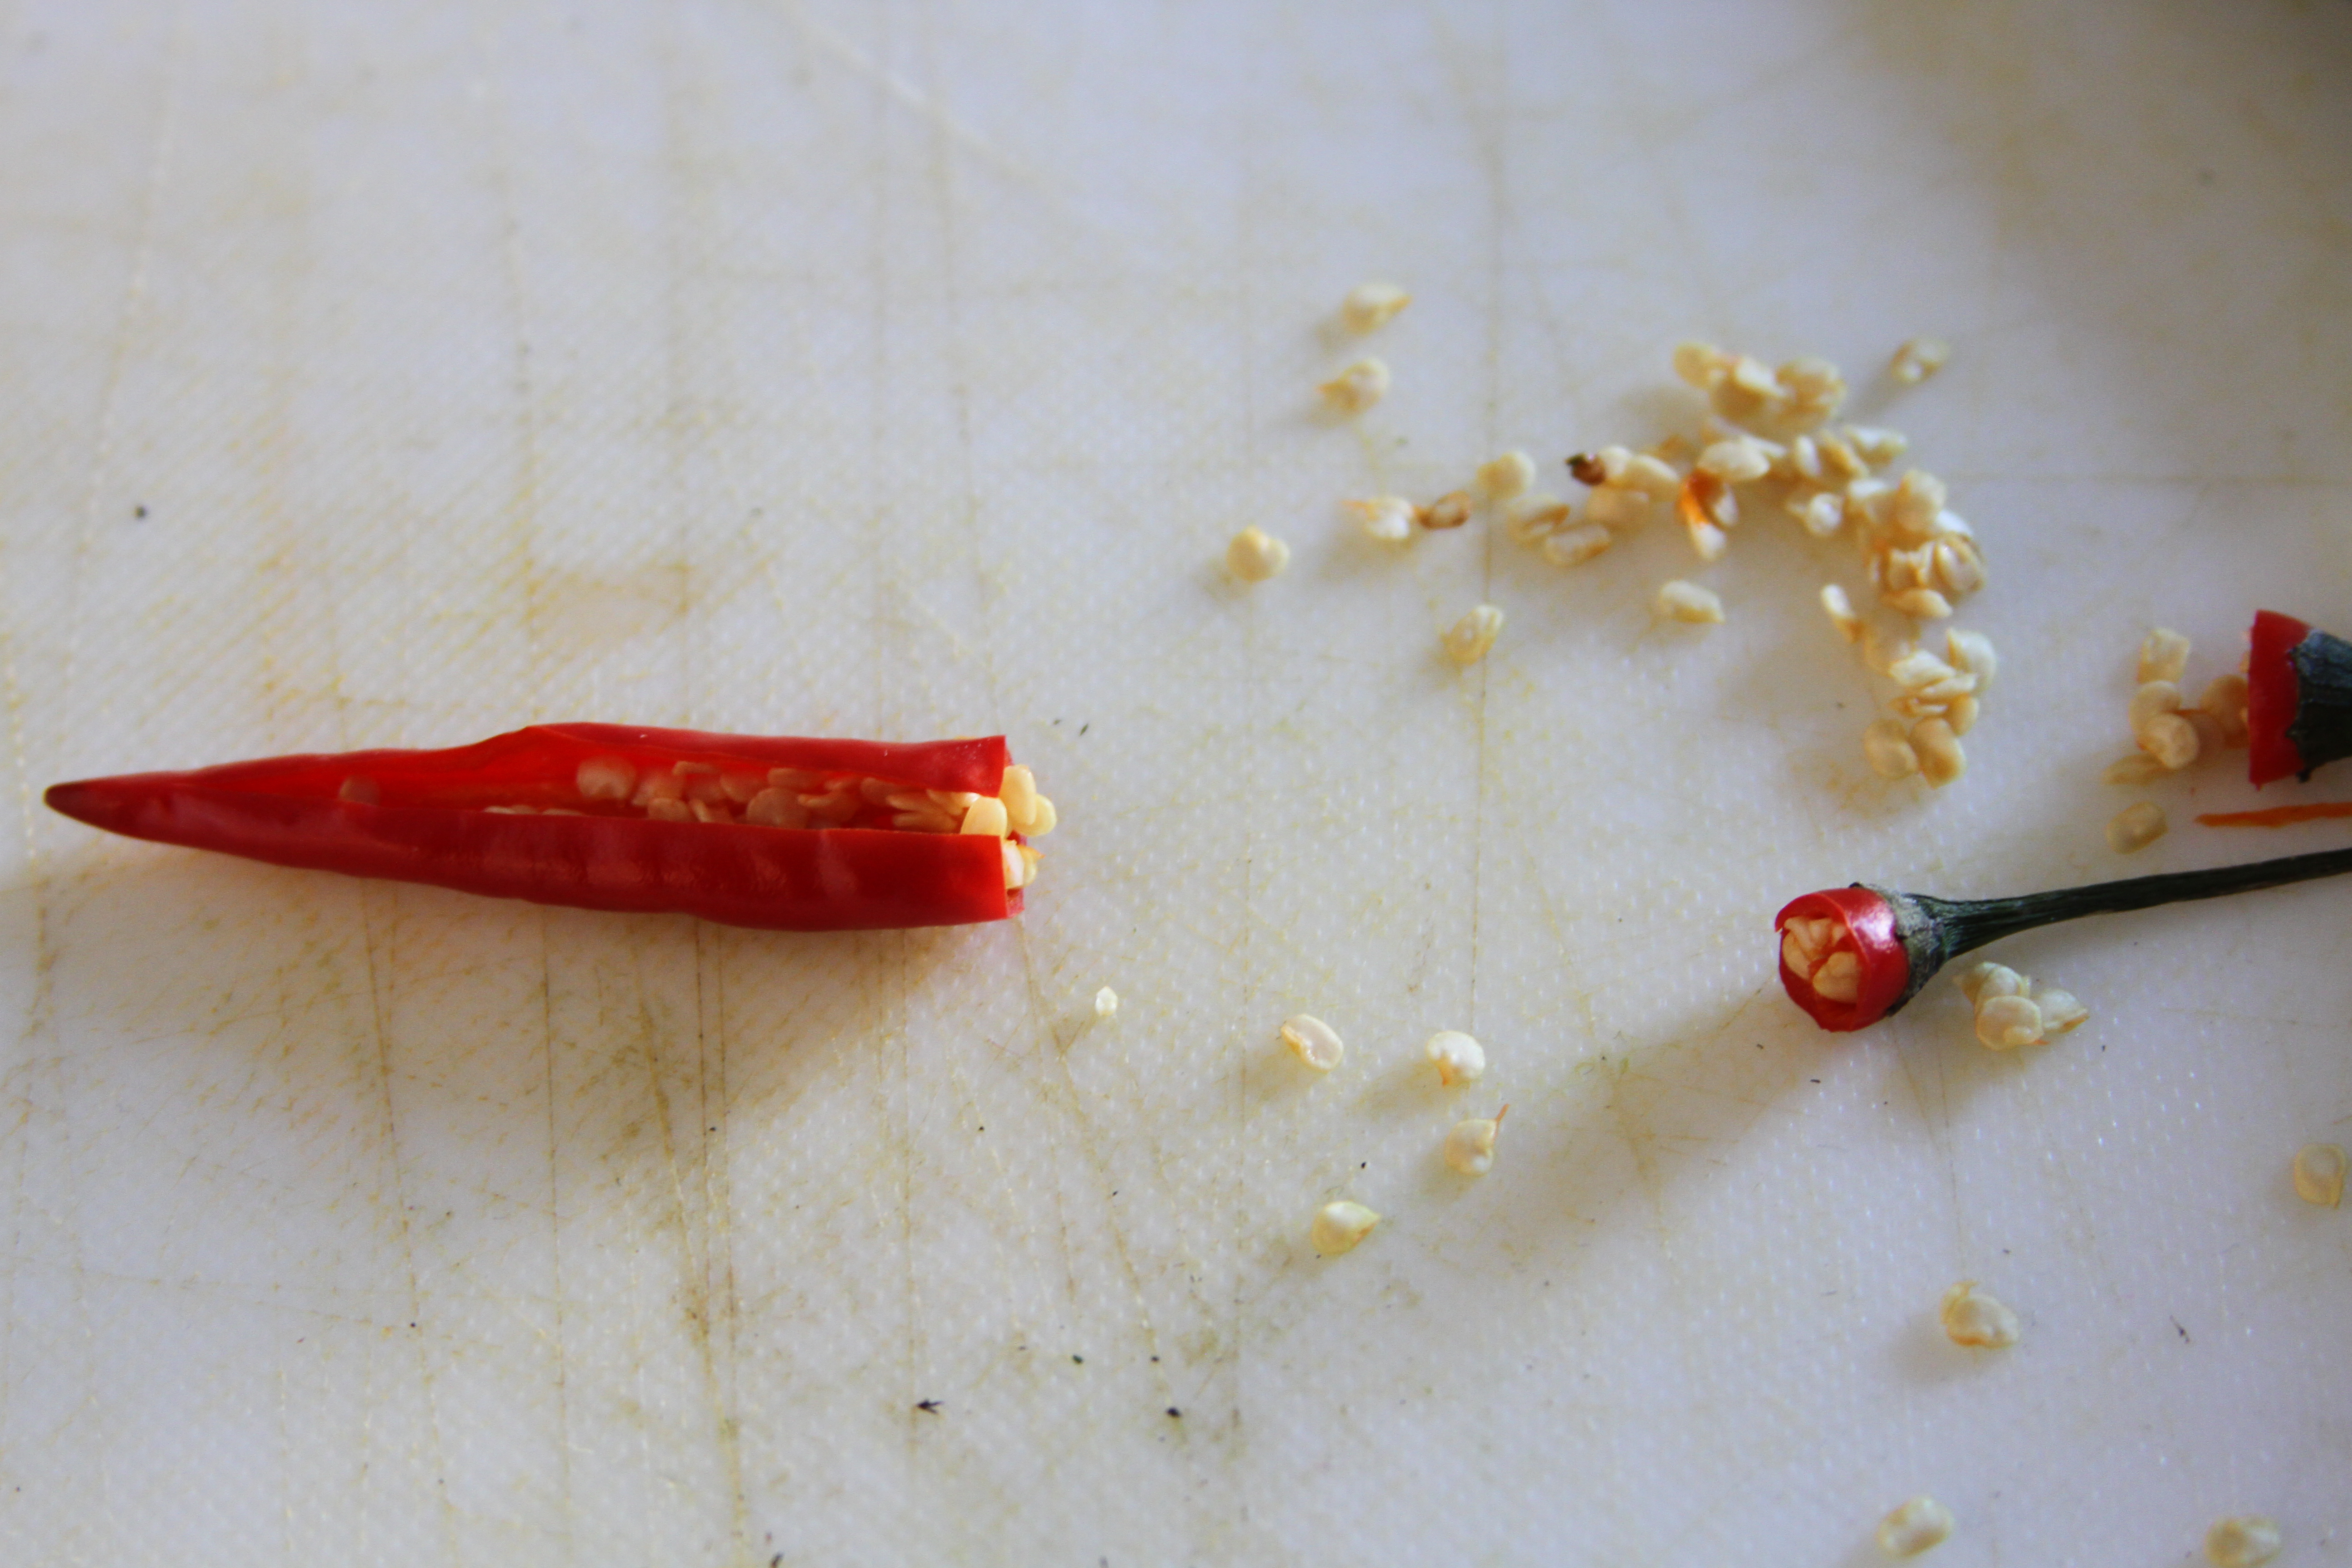
Run the back of your knife along the incision to remove the seeds from the chili.

Try to get most of the seeds out this way. If there’s one or two still floating around after you finely dice the chilis that’s fine, just be sure to pick them out before you cook with them. The seeds carry too much heat and your finished dish will look sloppy with a seeds floating around in the sauce.

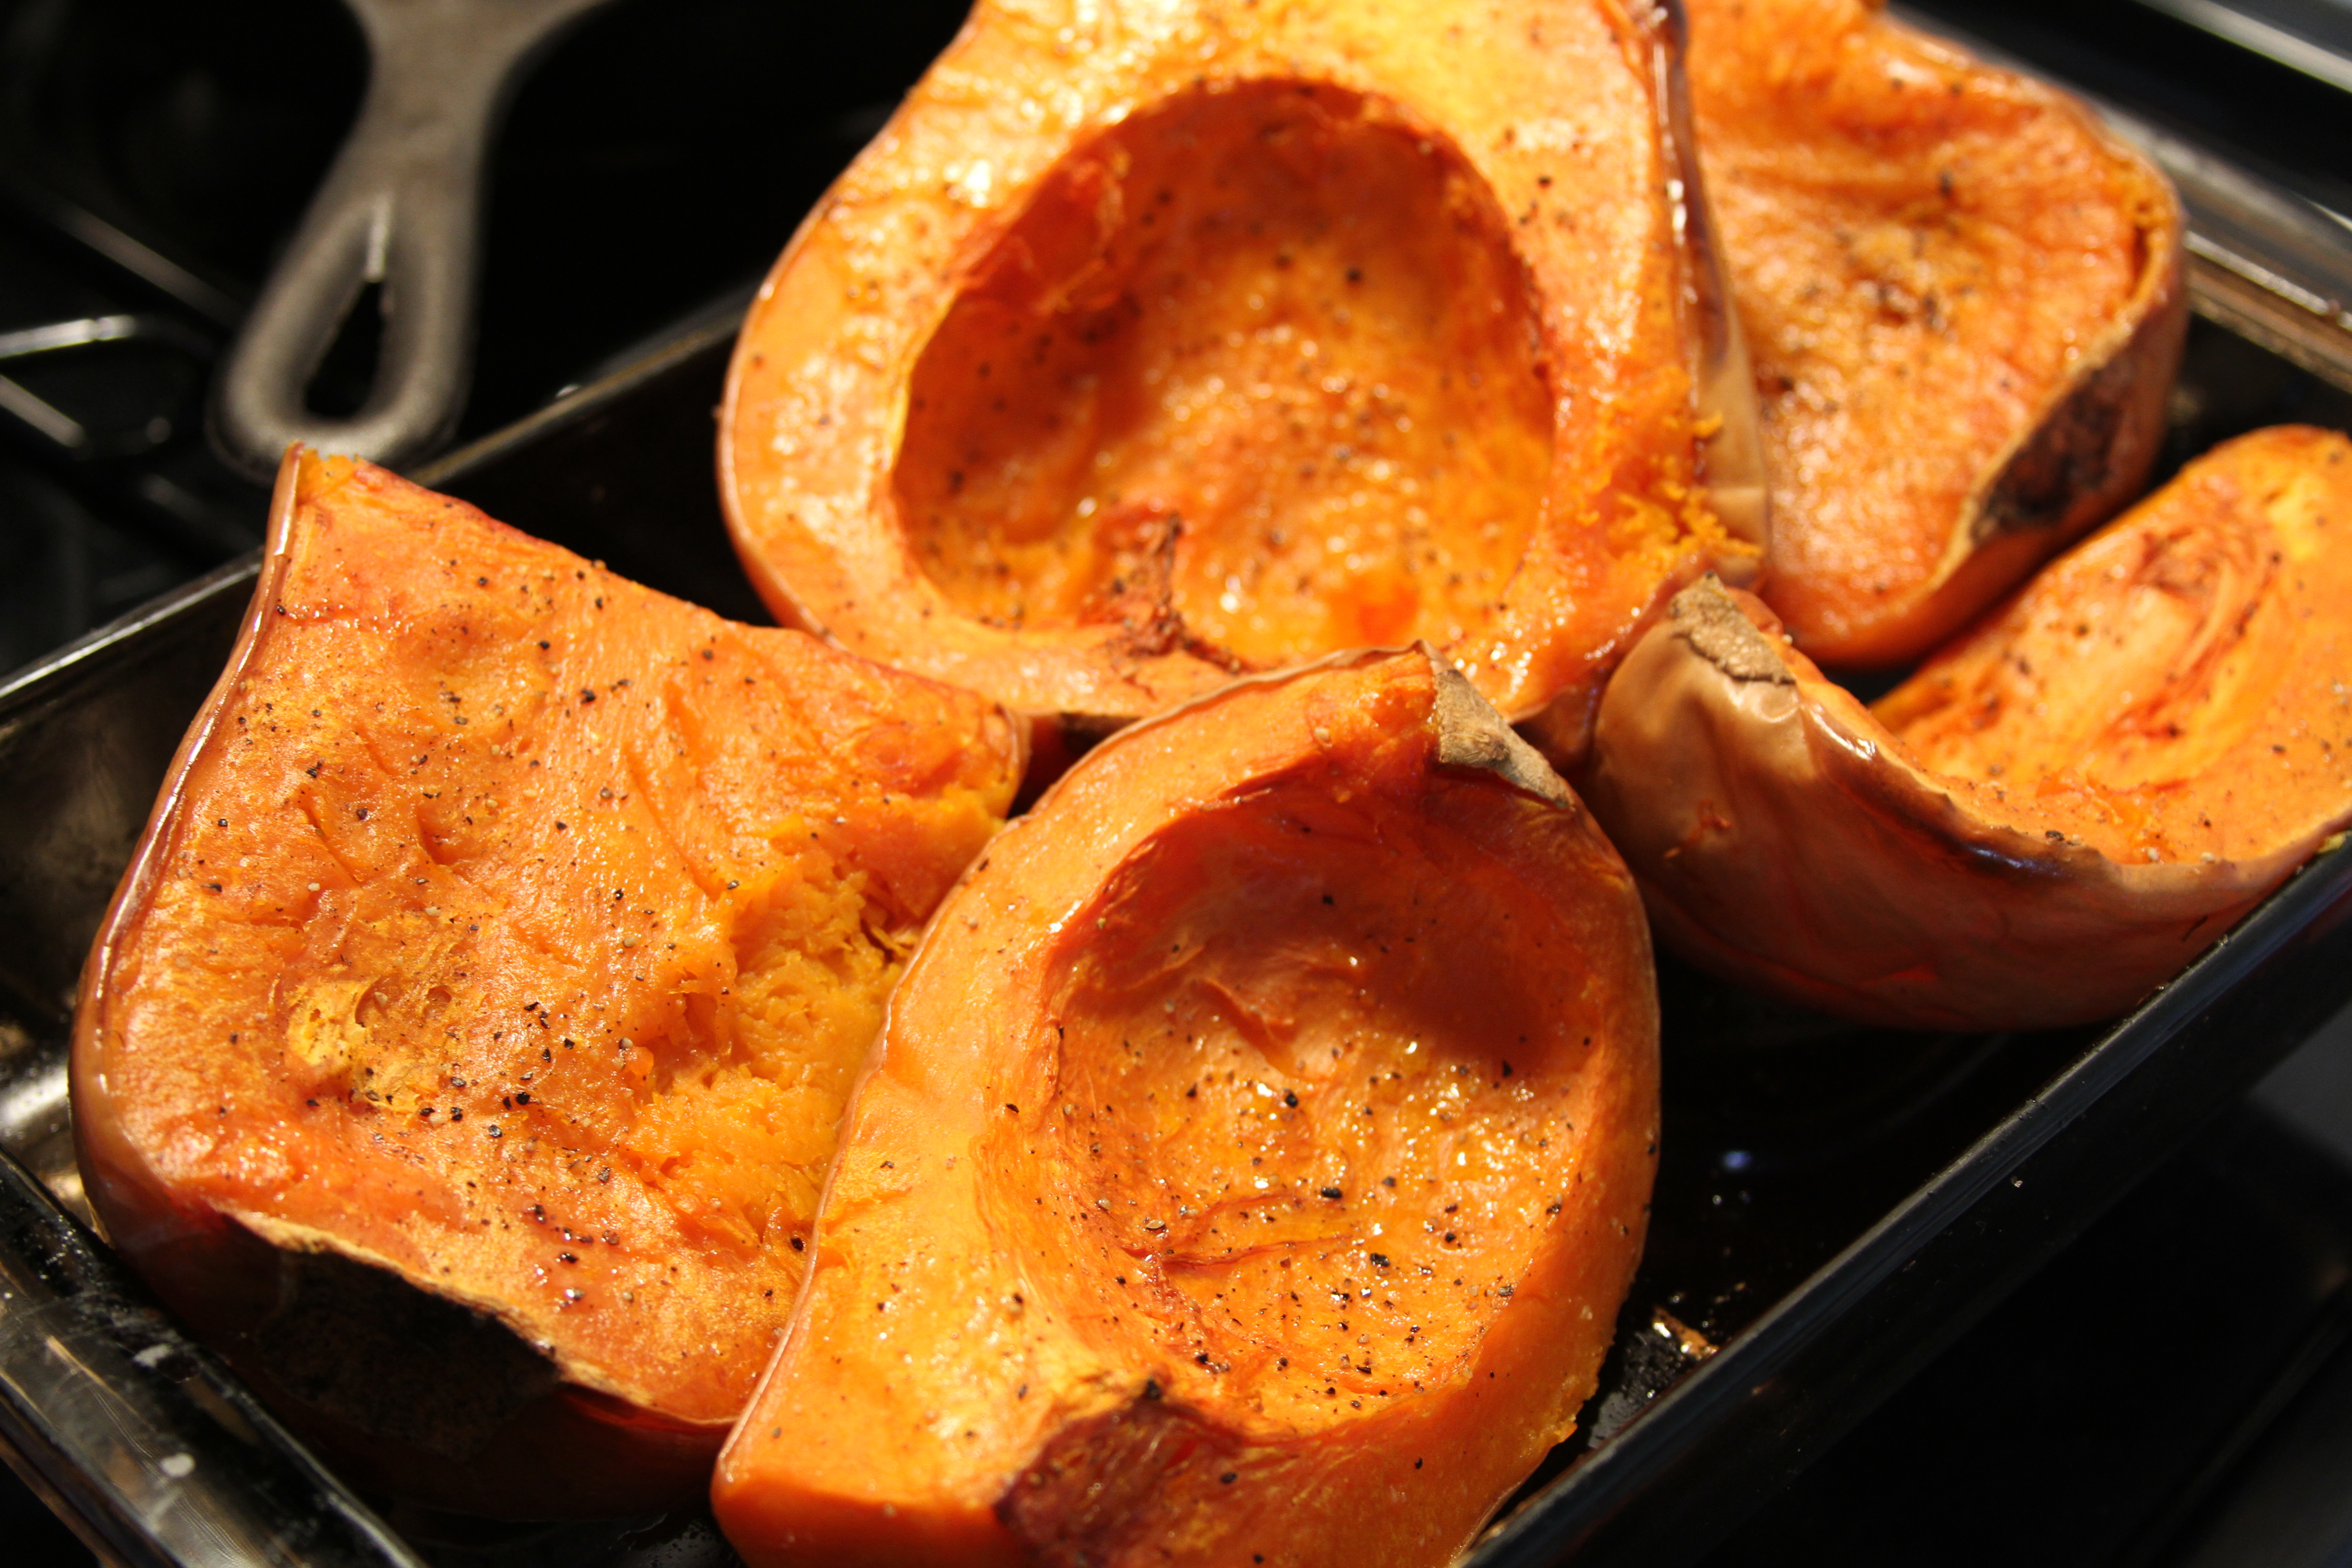
With all the knife work complete and the prepped ingredients waiting patiently to be turned into ravioli filling it’s just about time to turn back to our squash. On removal from the oven you want the squash to be fork tender. At this point it should have some carmelization on the exposed flesh and it should have a pleasant roasty glow.
Roasting the squash is going to take anywhere from 25-40 minutes. The timing of the cook is not, at least in my experience, an exact science. Every oven cooks at different speeds and holds temperature differently. Basically, you’ve got to learn your oven and keep an eye on the squash once you get inside that time window. Don’t worry about over cooking the squash, but do worry about under cooking it. You want a nice silky mouthfeel. No al dente. Save that for the pasta.
Let the squash cool long enough so that it can be handled without it melting the flesh from your fingertips. Once the squash has sufficiently cooled, peel the rind away from the flesh.
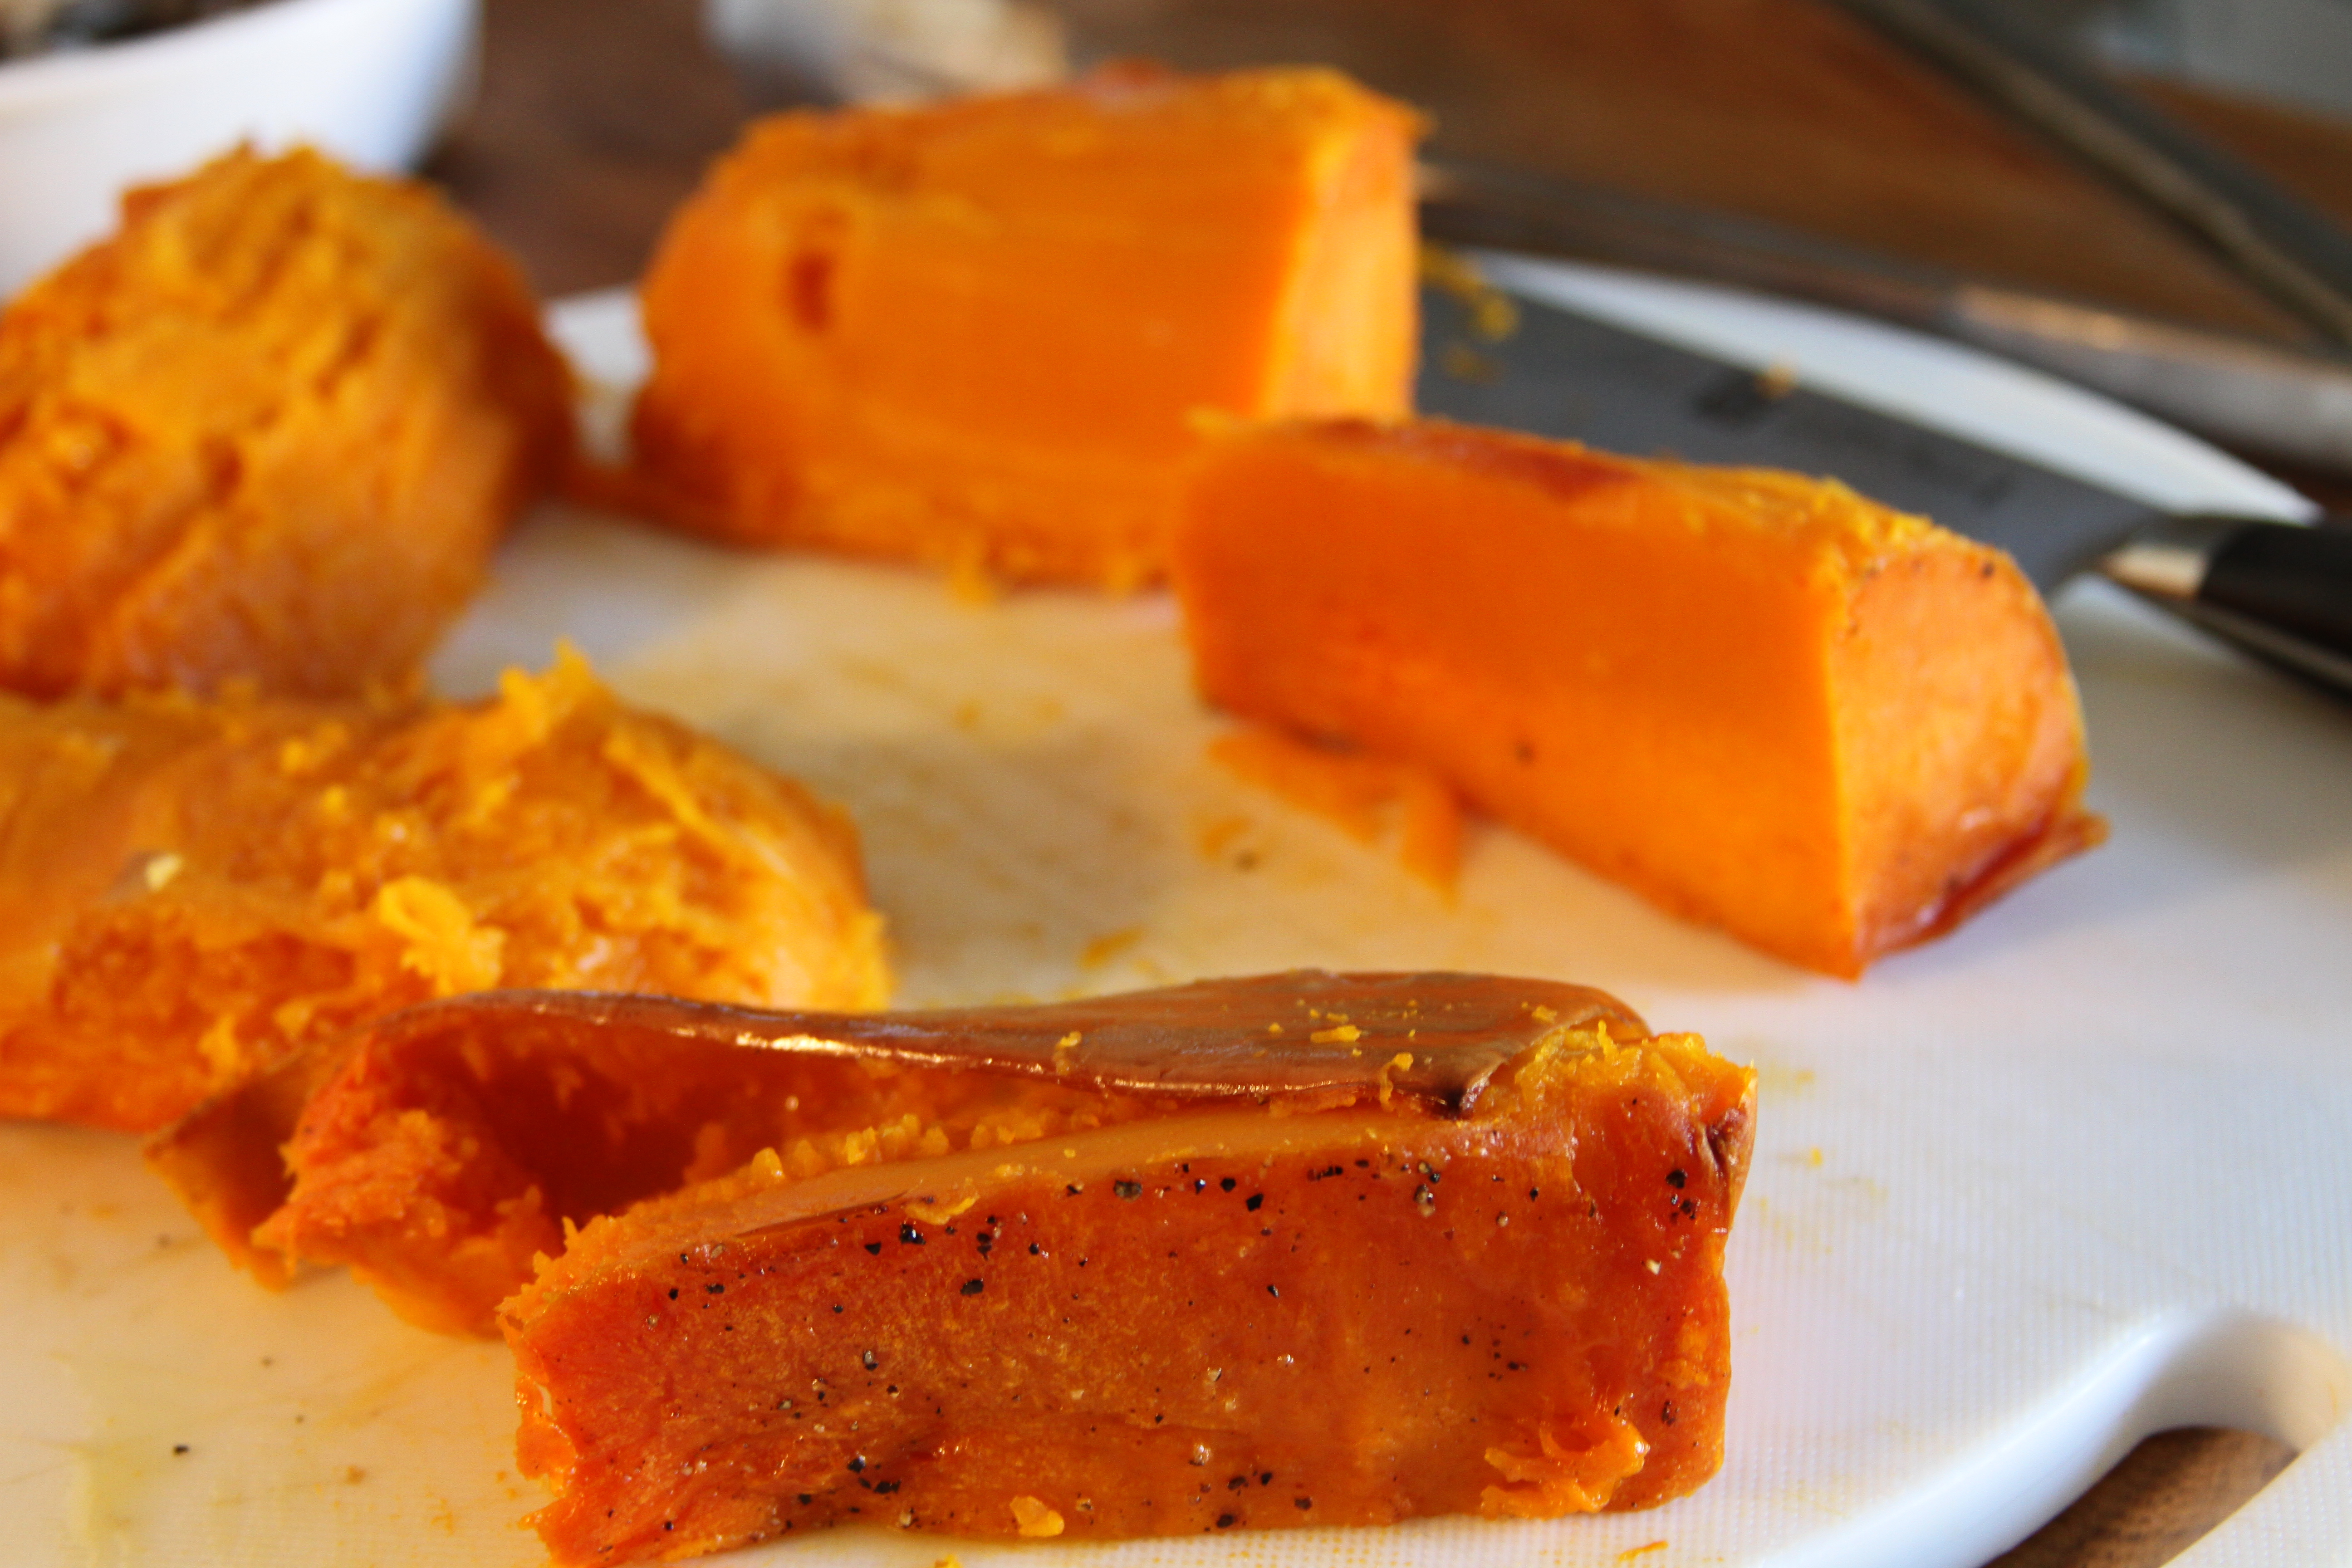
Don’t be afraid to use your knife to help peel the rind off, just be sure to get all of it. You don’t want a wedge of that winding up in your ravioli. Shit’s nasty, yo.
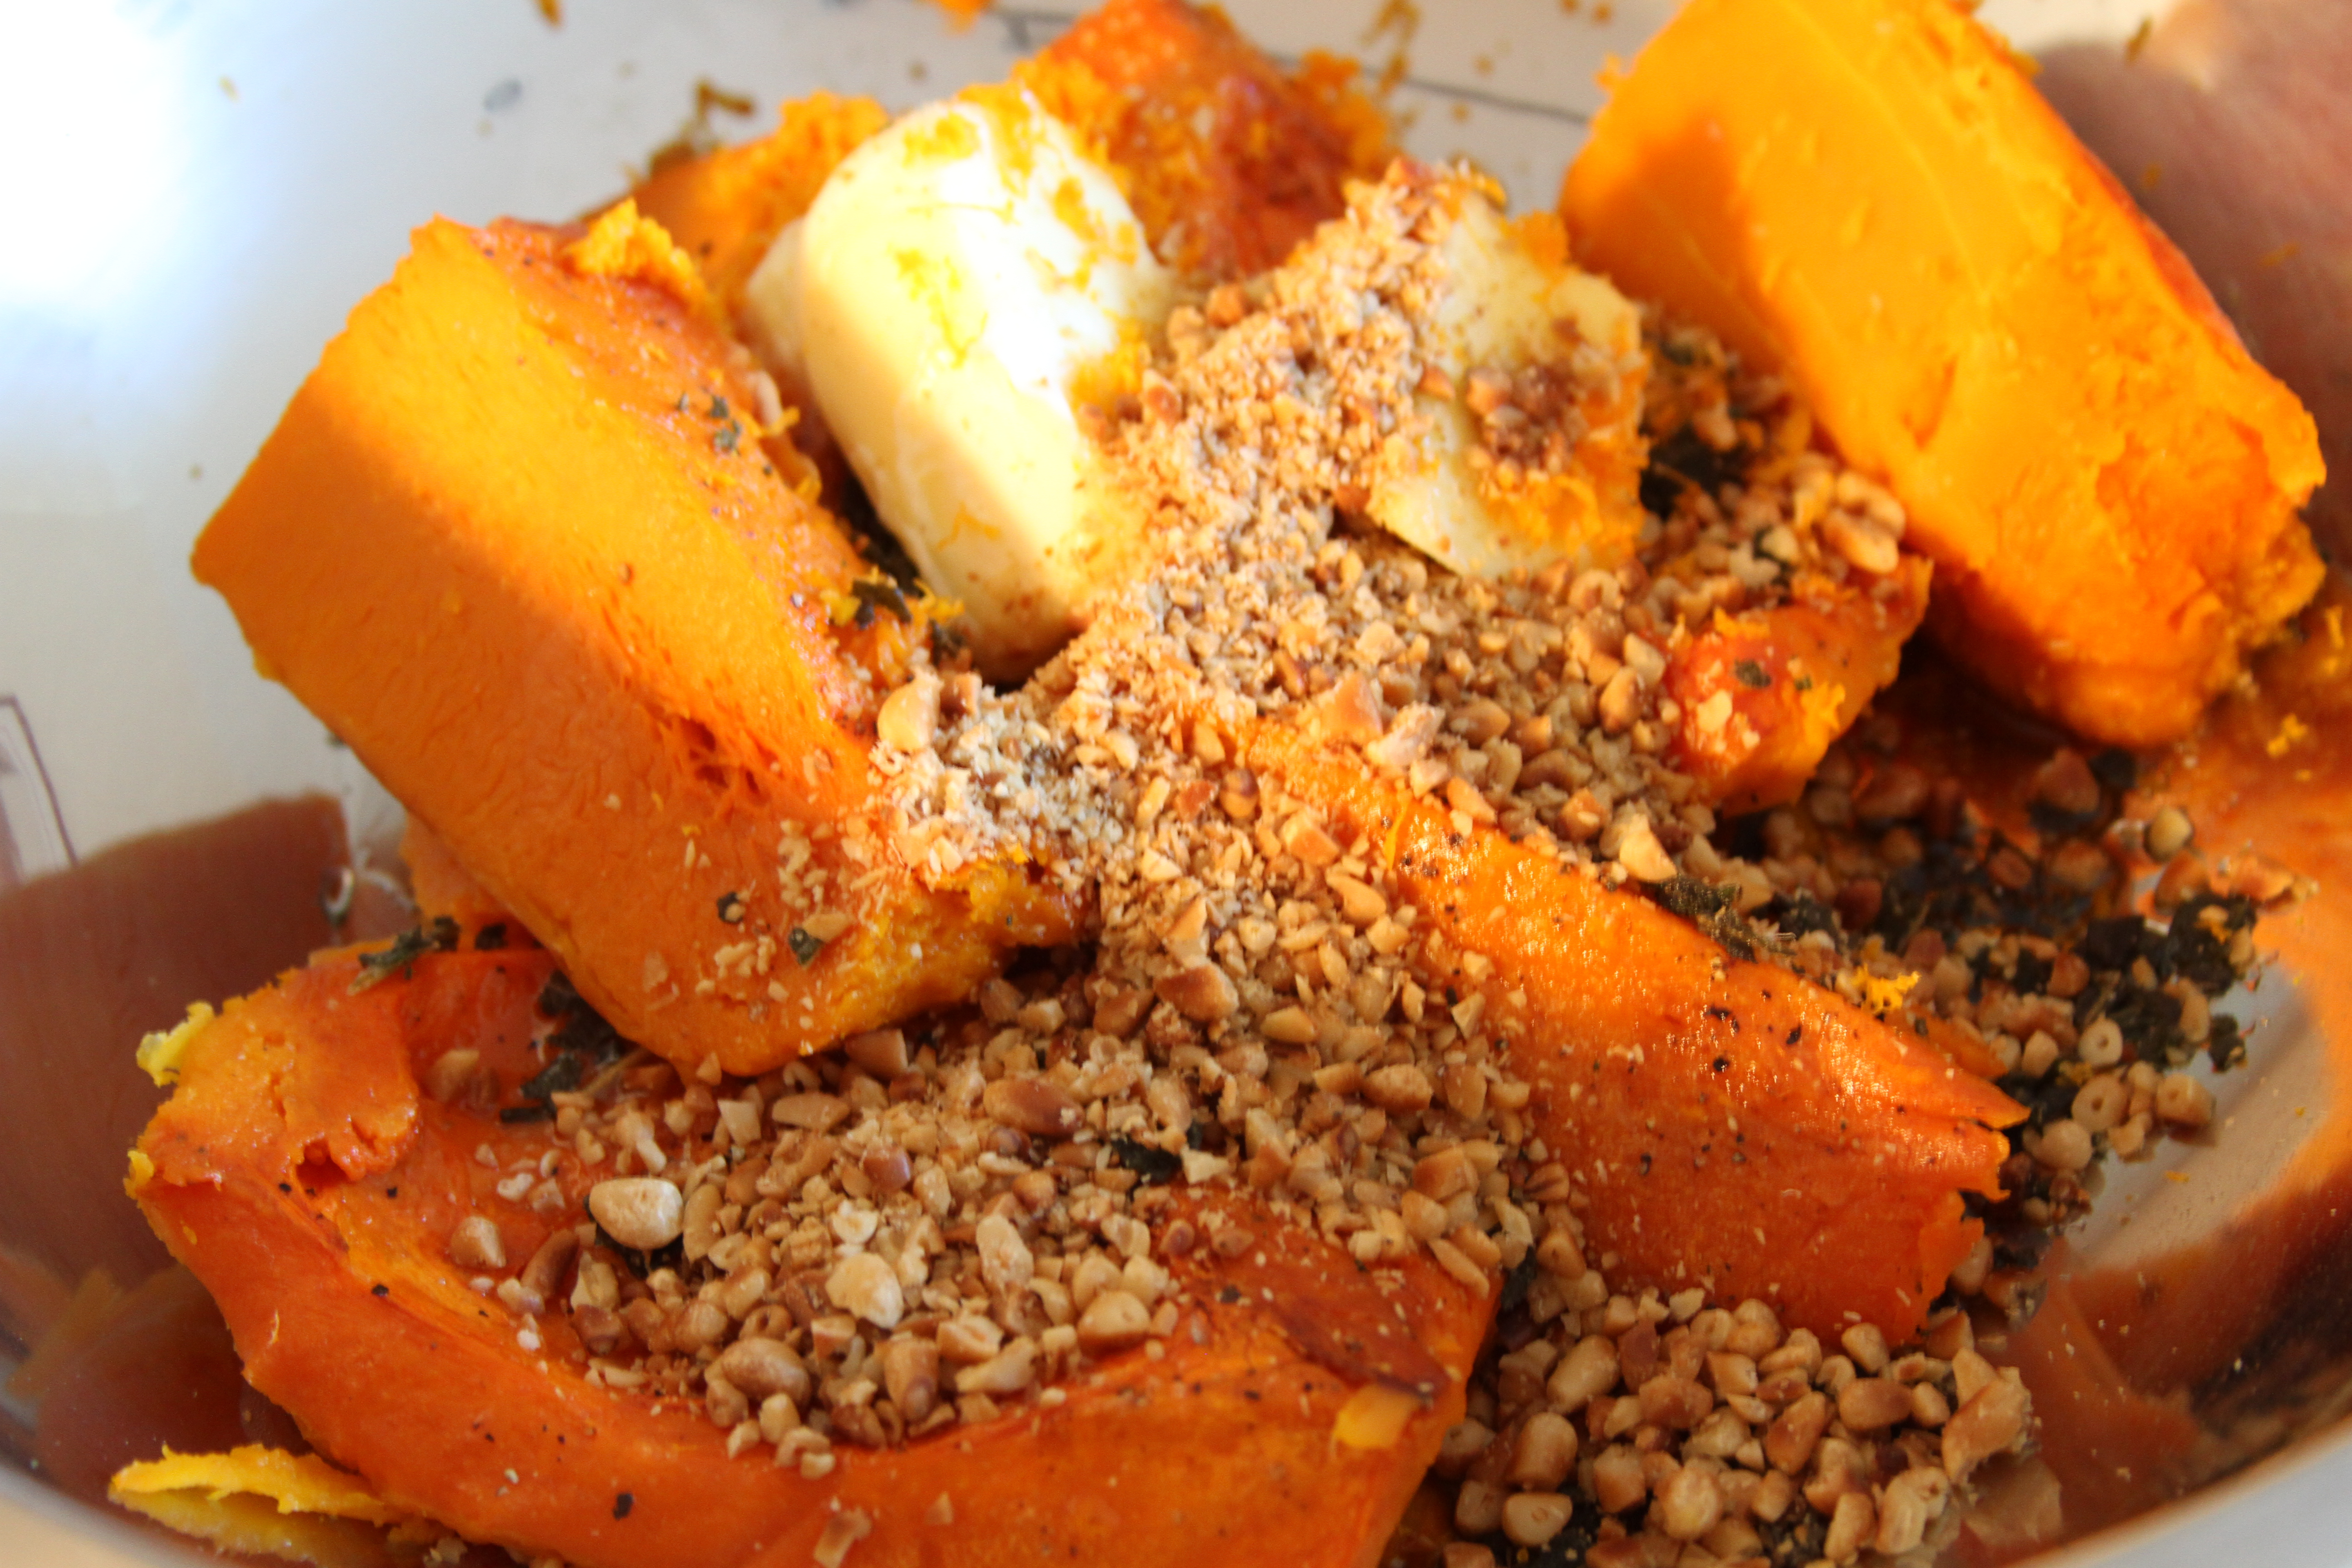
Now it’s time for some fun. Bust the mixing bowl back out. Into the forge go your squash bricks, pinenuts, fried sage, maple syrup, and butter.
As far as the maple syrup goes, color and grade are up to you. I used a light amber syrup in this version. The maple quality is delicate, but carries enough body to contribute its own flavor while still layering evenly amongst the other flavors in the filling. A darker amber would stand apart from the other components in the filling, which isn’t always the best thing. You want to try and achieve a uniform flavor that still smacks of all the ingredients in the dish. That said, only add a a tablespoon or so of the syrup at first. You can adjust the how much more syrup you need once the filling has been more evenly mixed. It’s like salt and pepper. Season as you go, a little at time. You can always add more, but you can take anything out.
The butter? I mean don’t go crazy, but don’t be timid. I used 3/4 or so of an unslated stick.
If one was to make this a non-vegetarian ravioli this is the point at which the bacon would have been added. A regular cut bacon is fine, and let it reach a solid crispiness before you chop it and add it to the filling. You want that contrasting texture inside the smoothness of the whipped squash. A little bacon fat and pecorino cheese at this point would also be most excellent (air guitar!).
Just about everyone is at the party now. Time to get microplaning. First the orange zest:
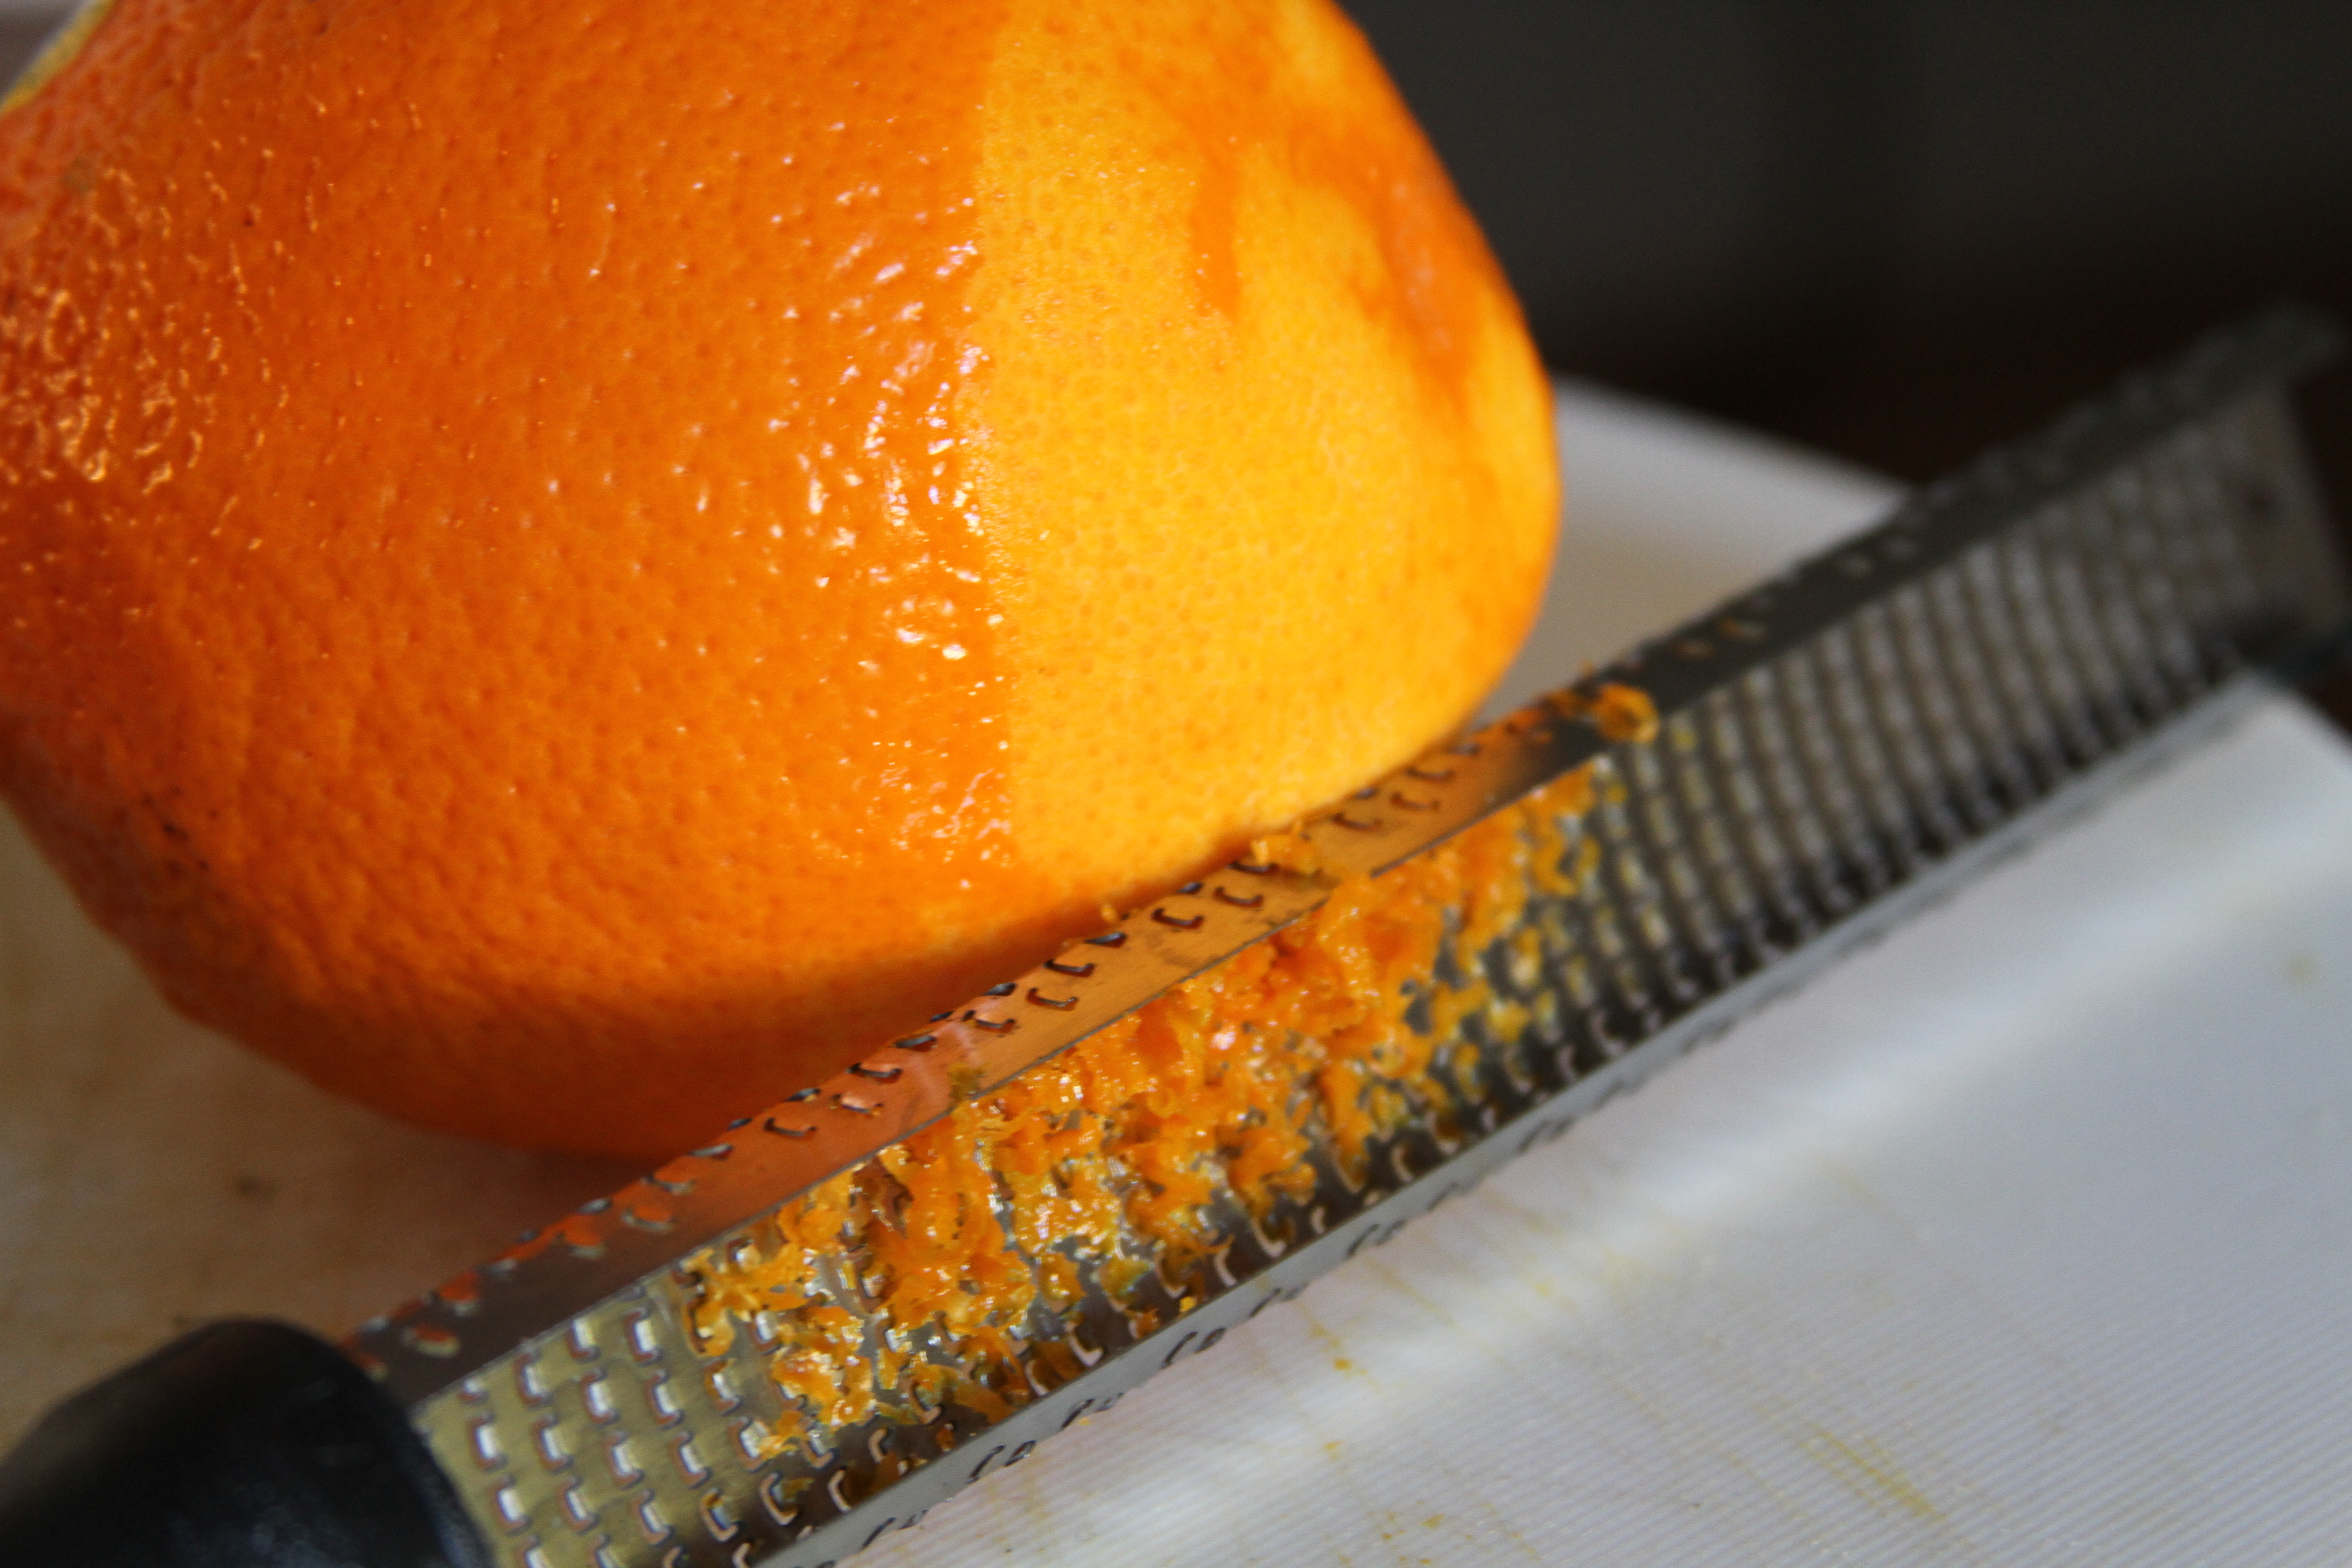
It’s up to you how much, but I’d zest at least half of an orange.
Then we want to grate the fresh nutmeg into the filling:

Nutmeg has a woodsy, sultry, slightly clovish flavor profile. I love it, and the fresh ground you’d be using here is much less intense than the dried spice. Adjust the amount to suit your taste. I used a lot.
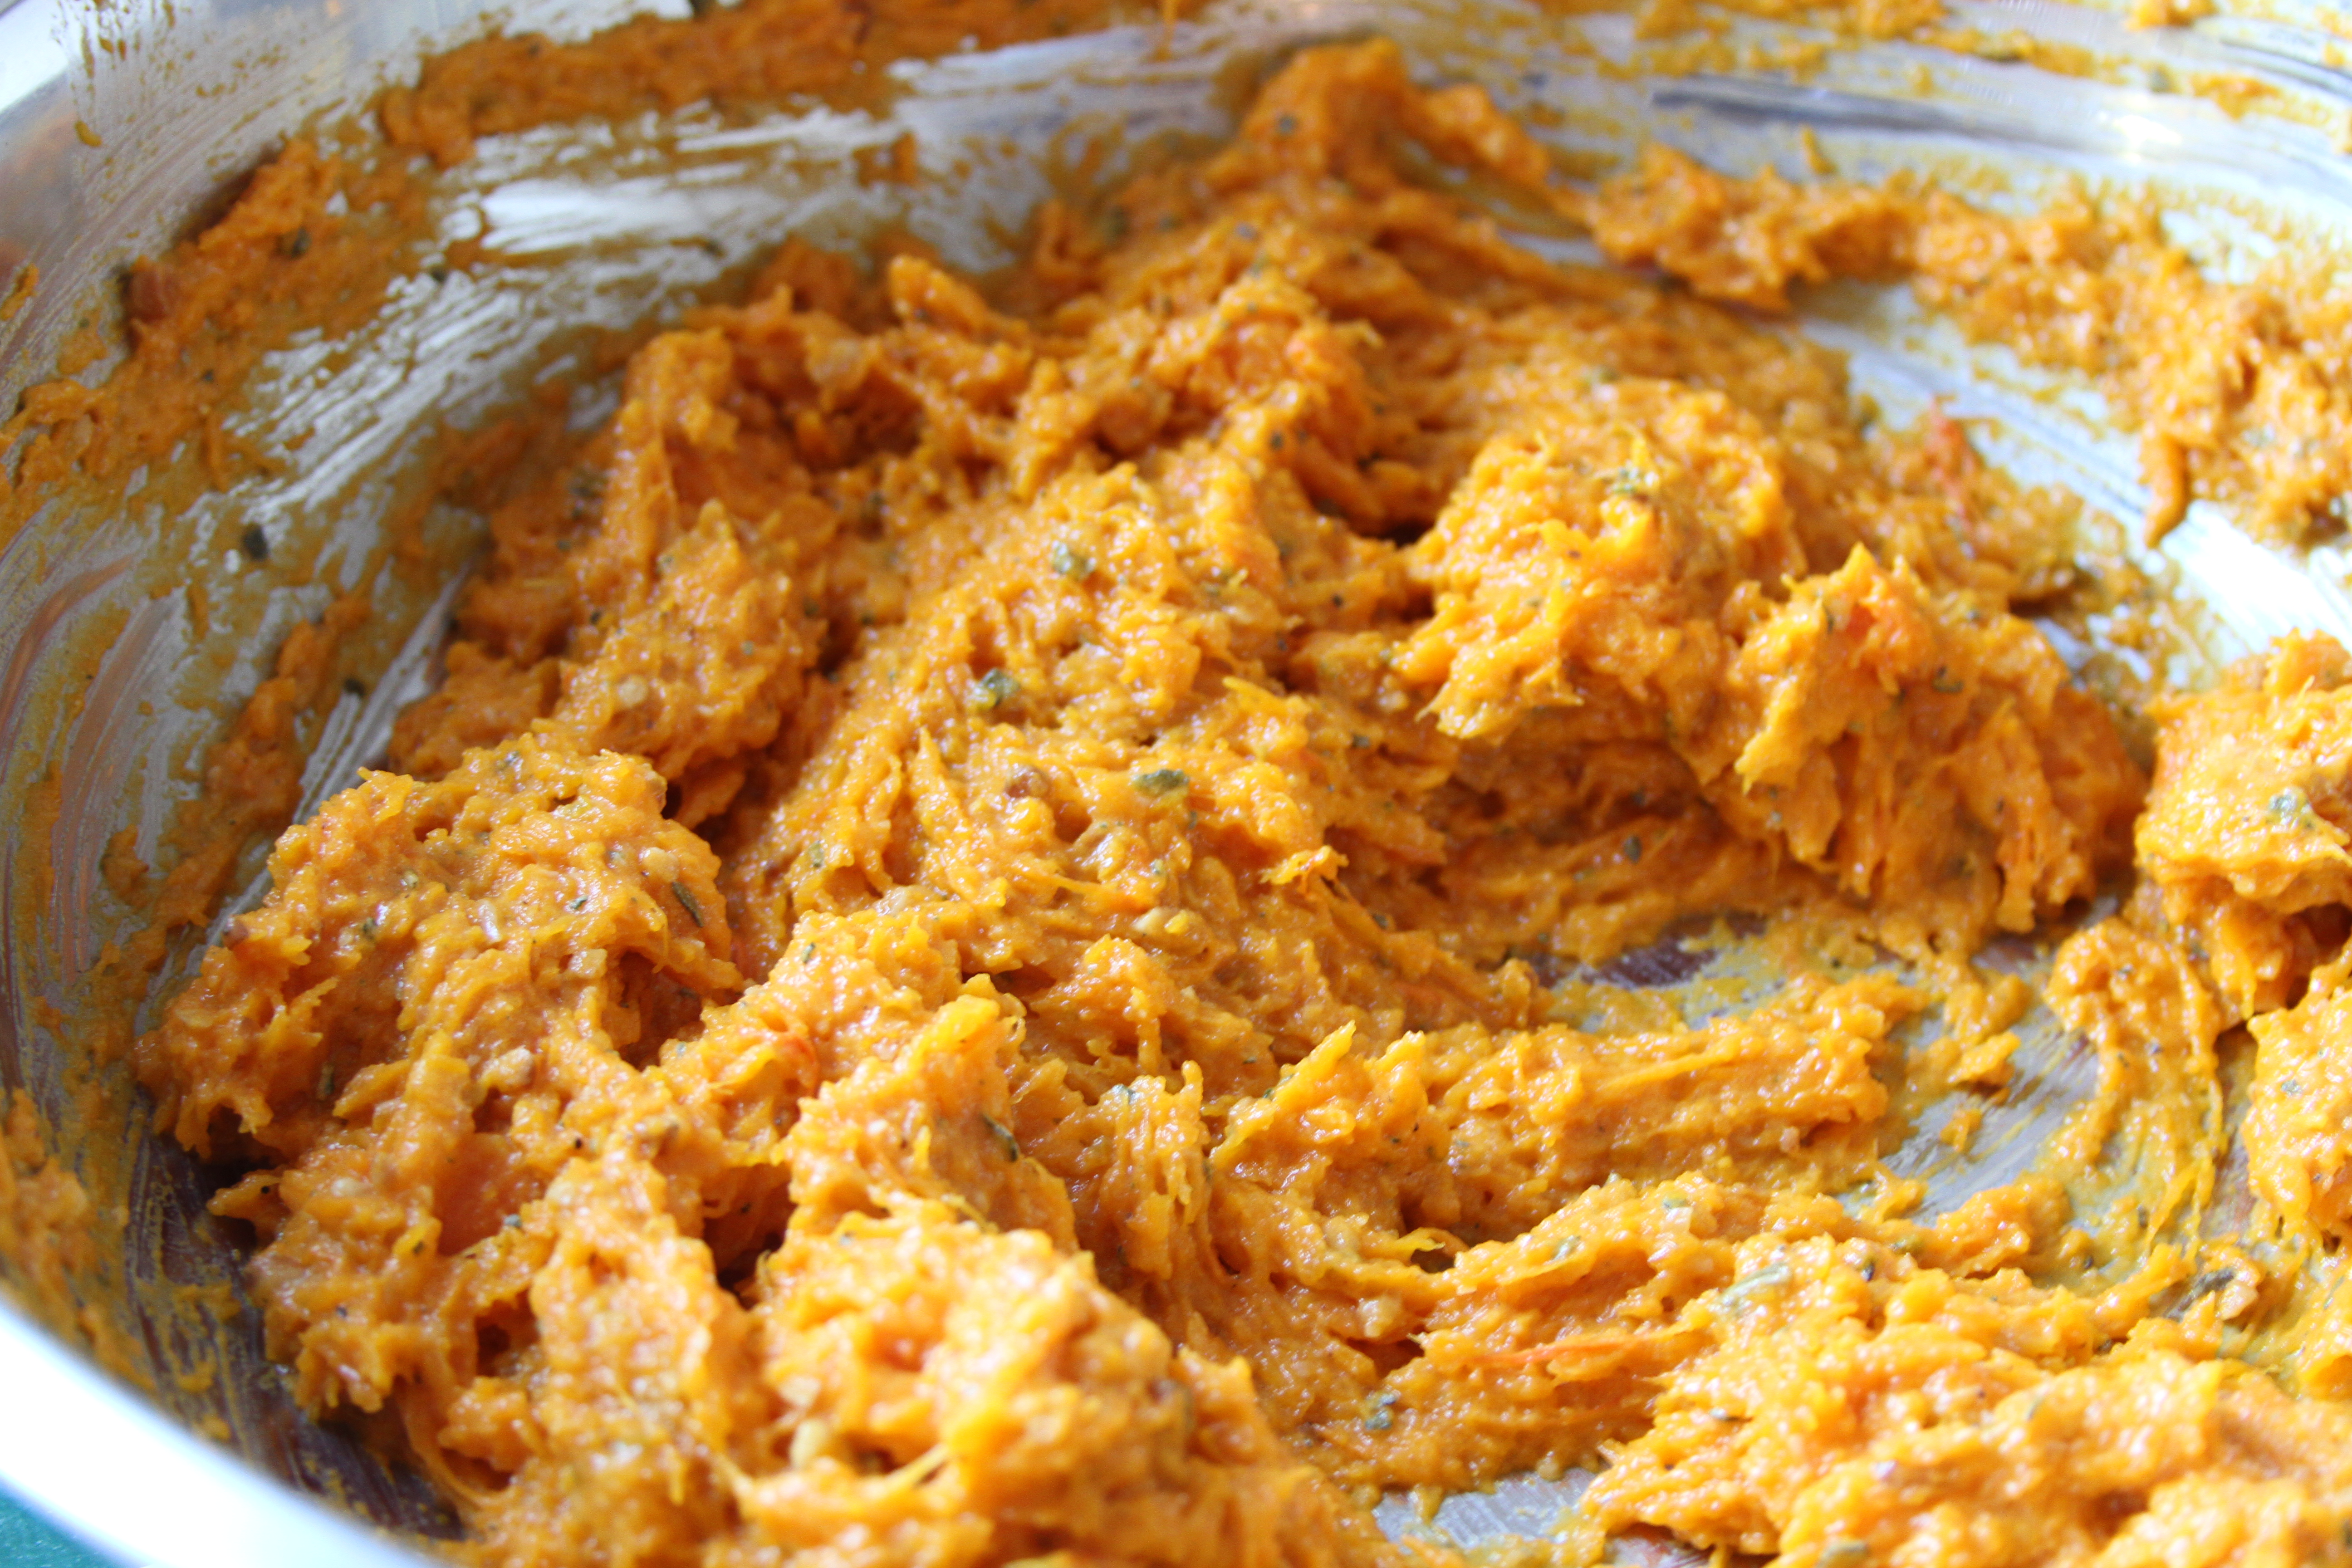
Everybody’s in there and it’s time to mix it up.
Use your hands, a heavy fork, or a potato masher to get everything started. Keep working the filling until it the texture is fluffy and smooth, no lumps, and the ingredients appear to be evenly distributed throughout.
Once the filling is done, set it aside. It’s time to roll out our pasta.
I prefer a hand-crank pasta machine for home use. It’s little more difficult to get the hang of, kind of a pain in the ass to use, but it’s way more fun and is definitely more rewarding than an electric machine. These are all the kinds of things that a fly fisherman can appreciate. Set it up on a sturdy surface and clamp (spend the $8 for heavy duty clamps and thank me later) the base plate down.
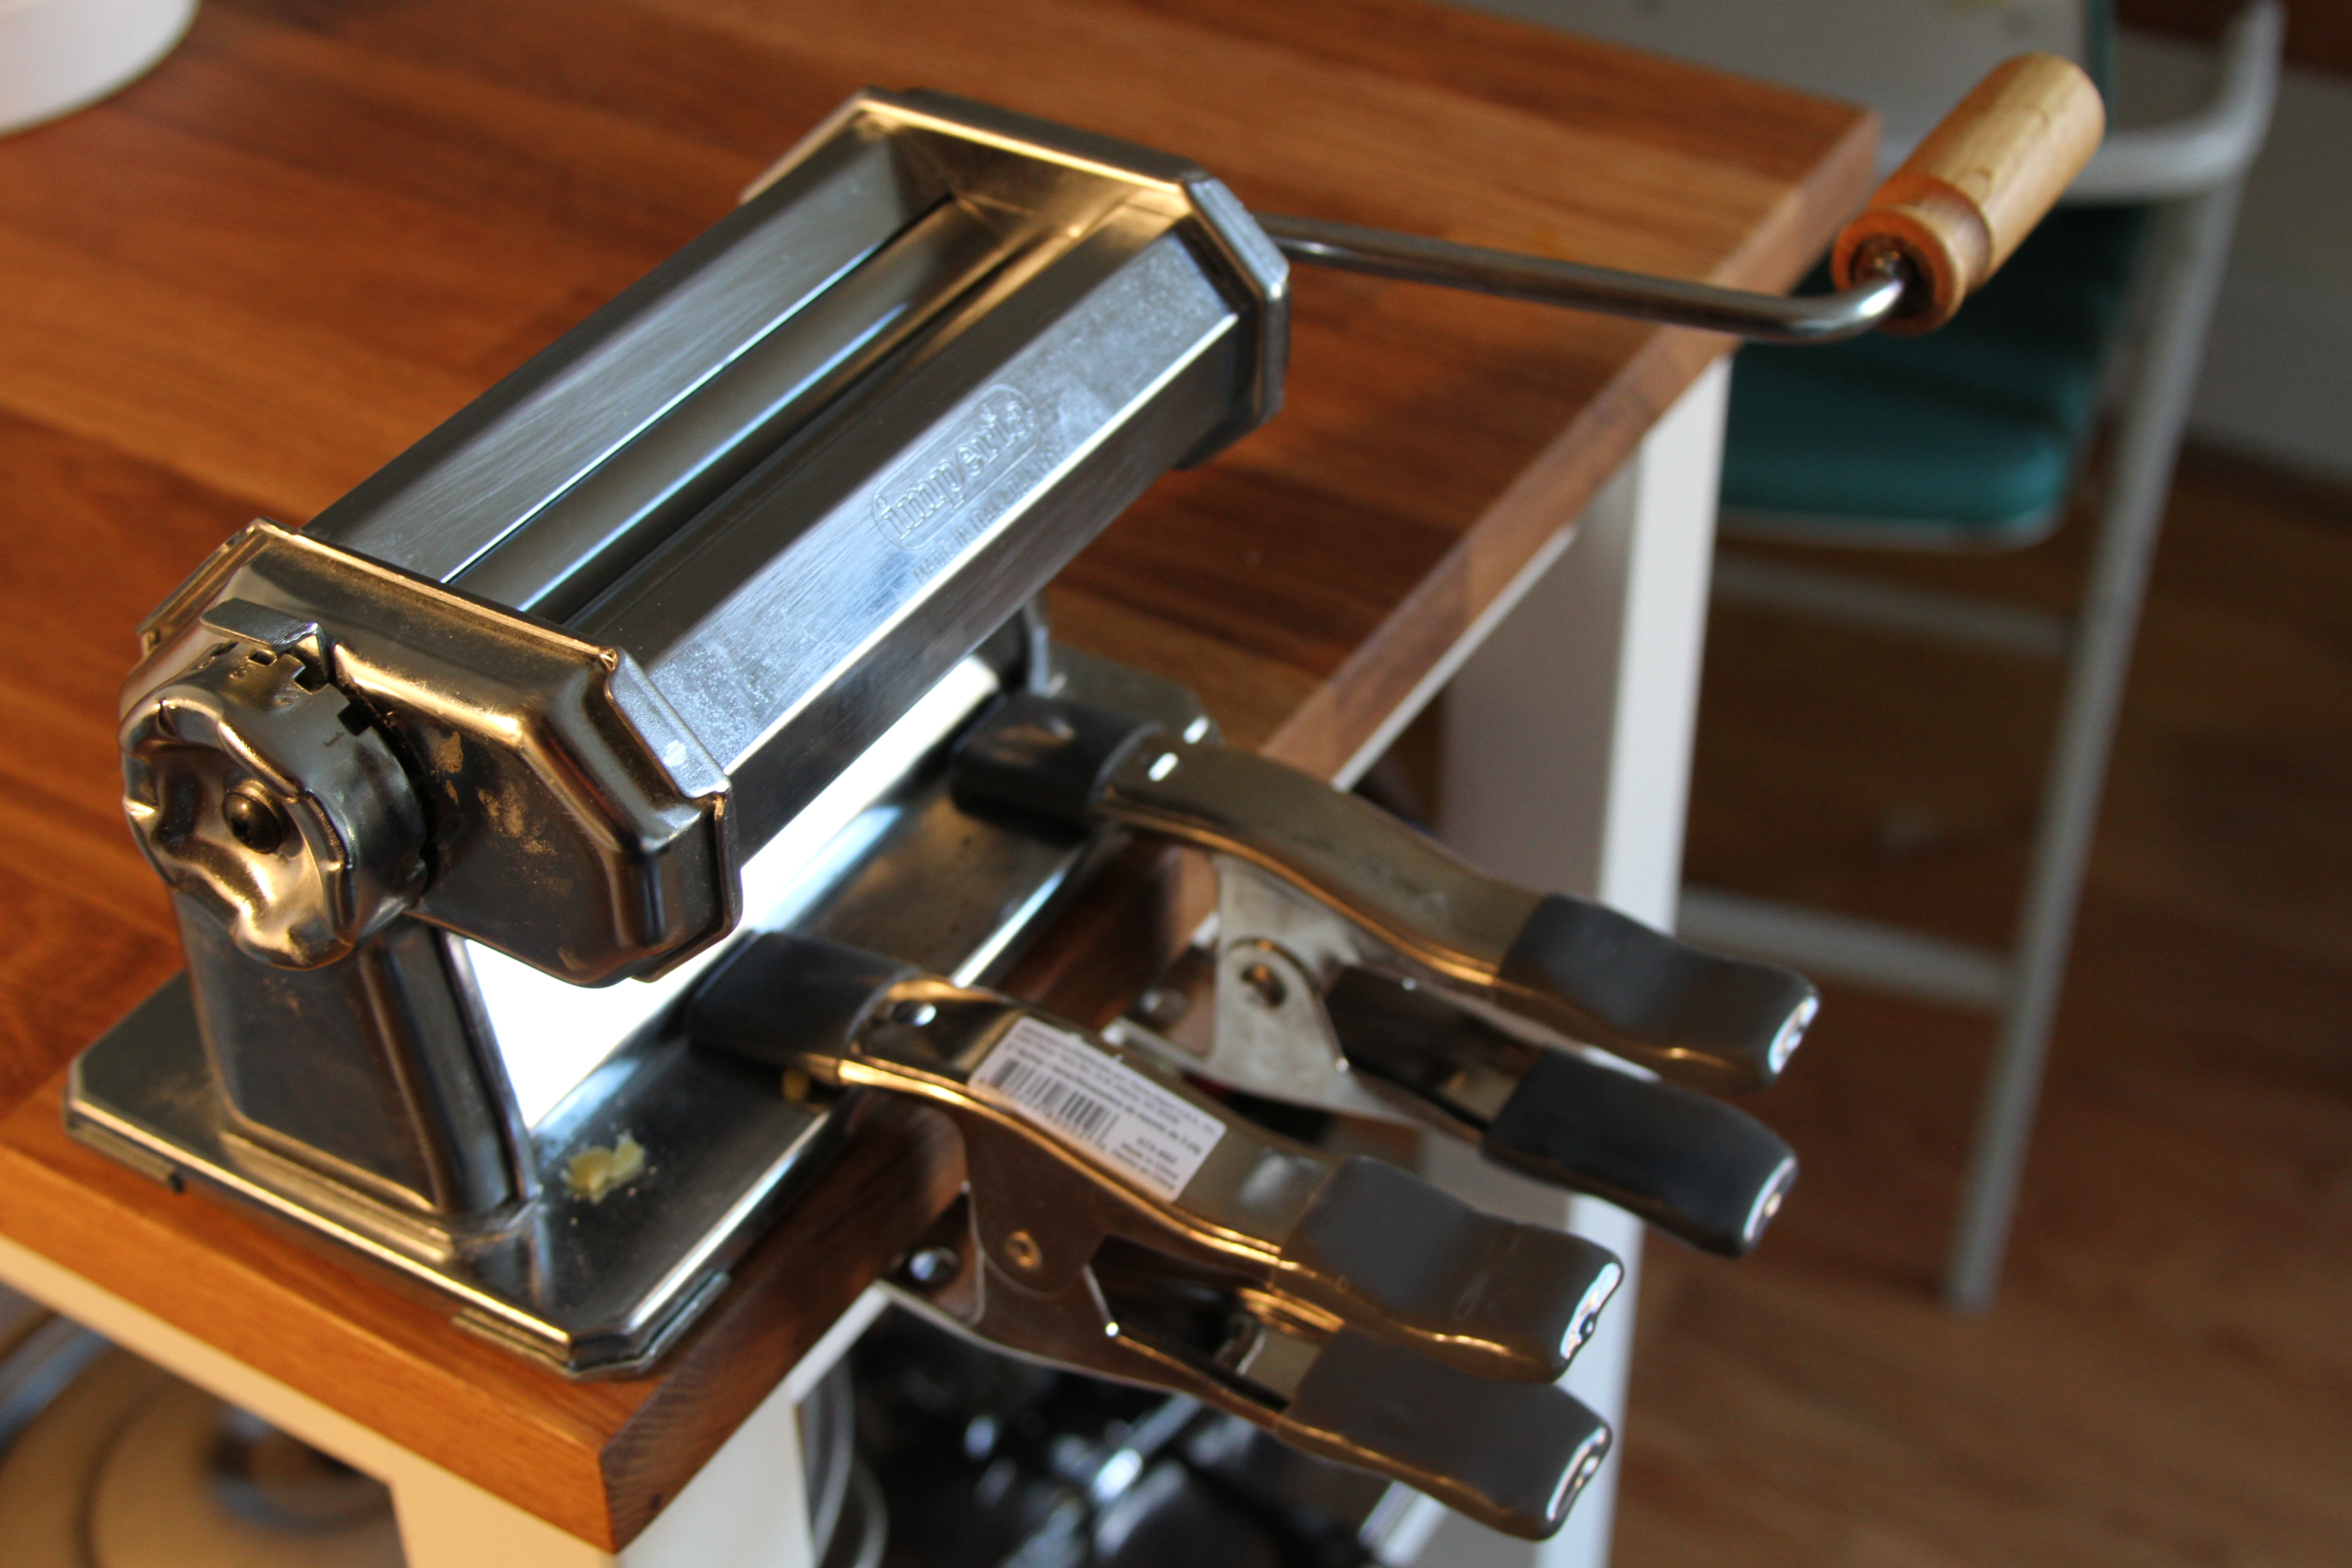
Set your pasta machine on its widest setting, pull maybe an eighth or so of your rested pasta dough (you won’t use all of the dough that you made, so you can refrigerate or freeze the balance) from the whole dough, gently feed it into the rollers, and start cranking. Take care to control the dough in such a way that feeds straight as it is consumed by the rollers. This will prevent the pasta dough from bunching and tearing . Run the pasta dough through the machine at its widest setting two or three times to ensure that there is uniformity in size and that the dough doesn’t have any lumps or wrinkles. Here’s the tricky part. Run your dough through the machine again, only this time stop cranking when the dough is about 90% of the way through. Take the end of the dough from the side that’s already been run through the machine and bring it back to the end that has not yet passed through the machine. Overlap the two ends, press them together and crank them through. Slide your hand, up to the wrist, into the pasta loop and help guide the pasta into and out of the machine. Now you’ve got a single sheet of pasta that you can continuously press and resize until you get it where you want. This will save you a lot of time.

I use the second to last thickness setting for ravioli. I find that the pasta tears too easily on the lowest setting and that you simply don’t get enough pasta for the ravioli. But that’s me.
Once the pasta has been rolled into sheets you can store it on a counter-top or baking sheet that’s been dusted with flour or corn meal to keep it from sticking. Grab your filling and cut your pasta into whatever size square will give the ravioli size that you desire.
Full disclosure time. Technically speaking what follows is more or less a dumpling and not a ravioli. True ravioli are comprised of a filling that is encased in TWO thin sheets of pasta. Ravioli molds and other fancy tools and more technical methods can be employed in making true ravioli. Seriously though, who cares? If you ask me it’s po-ta-to, pa-tat-o as long as it tastes good and looks good.
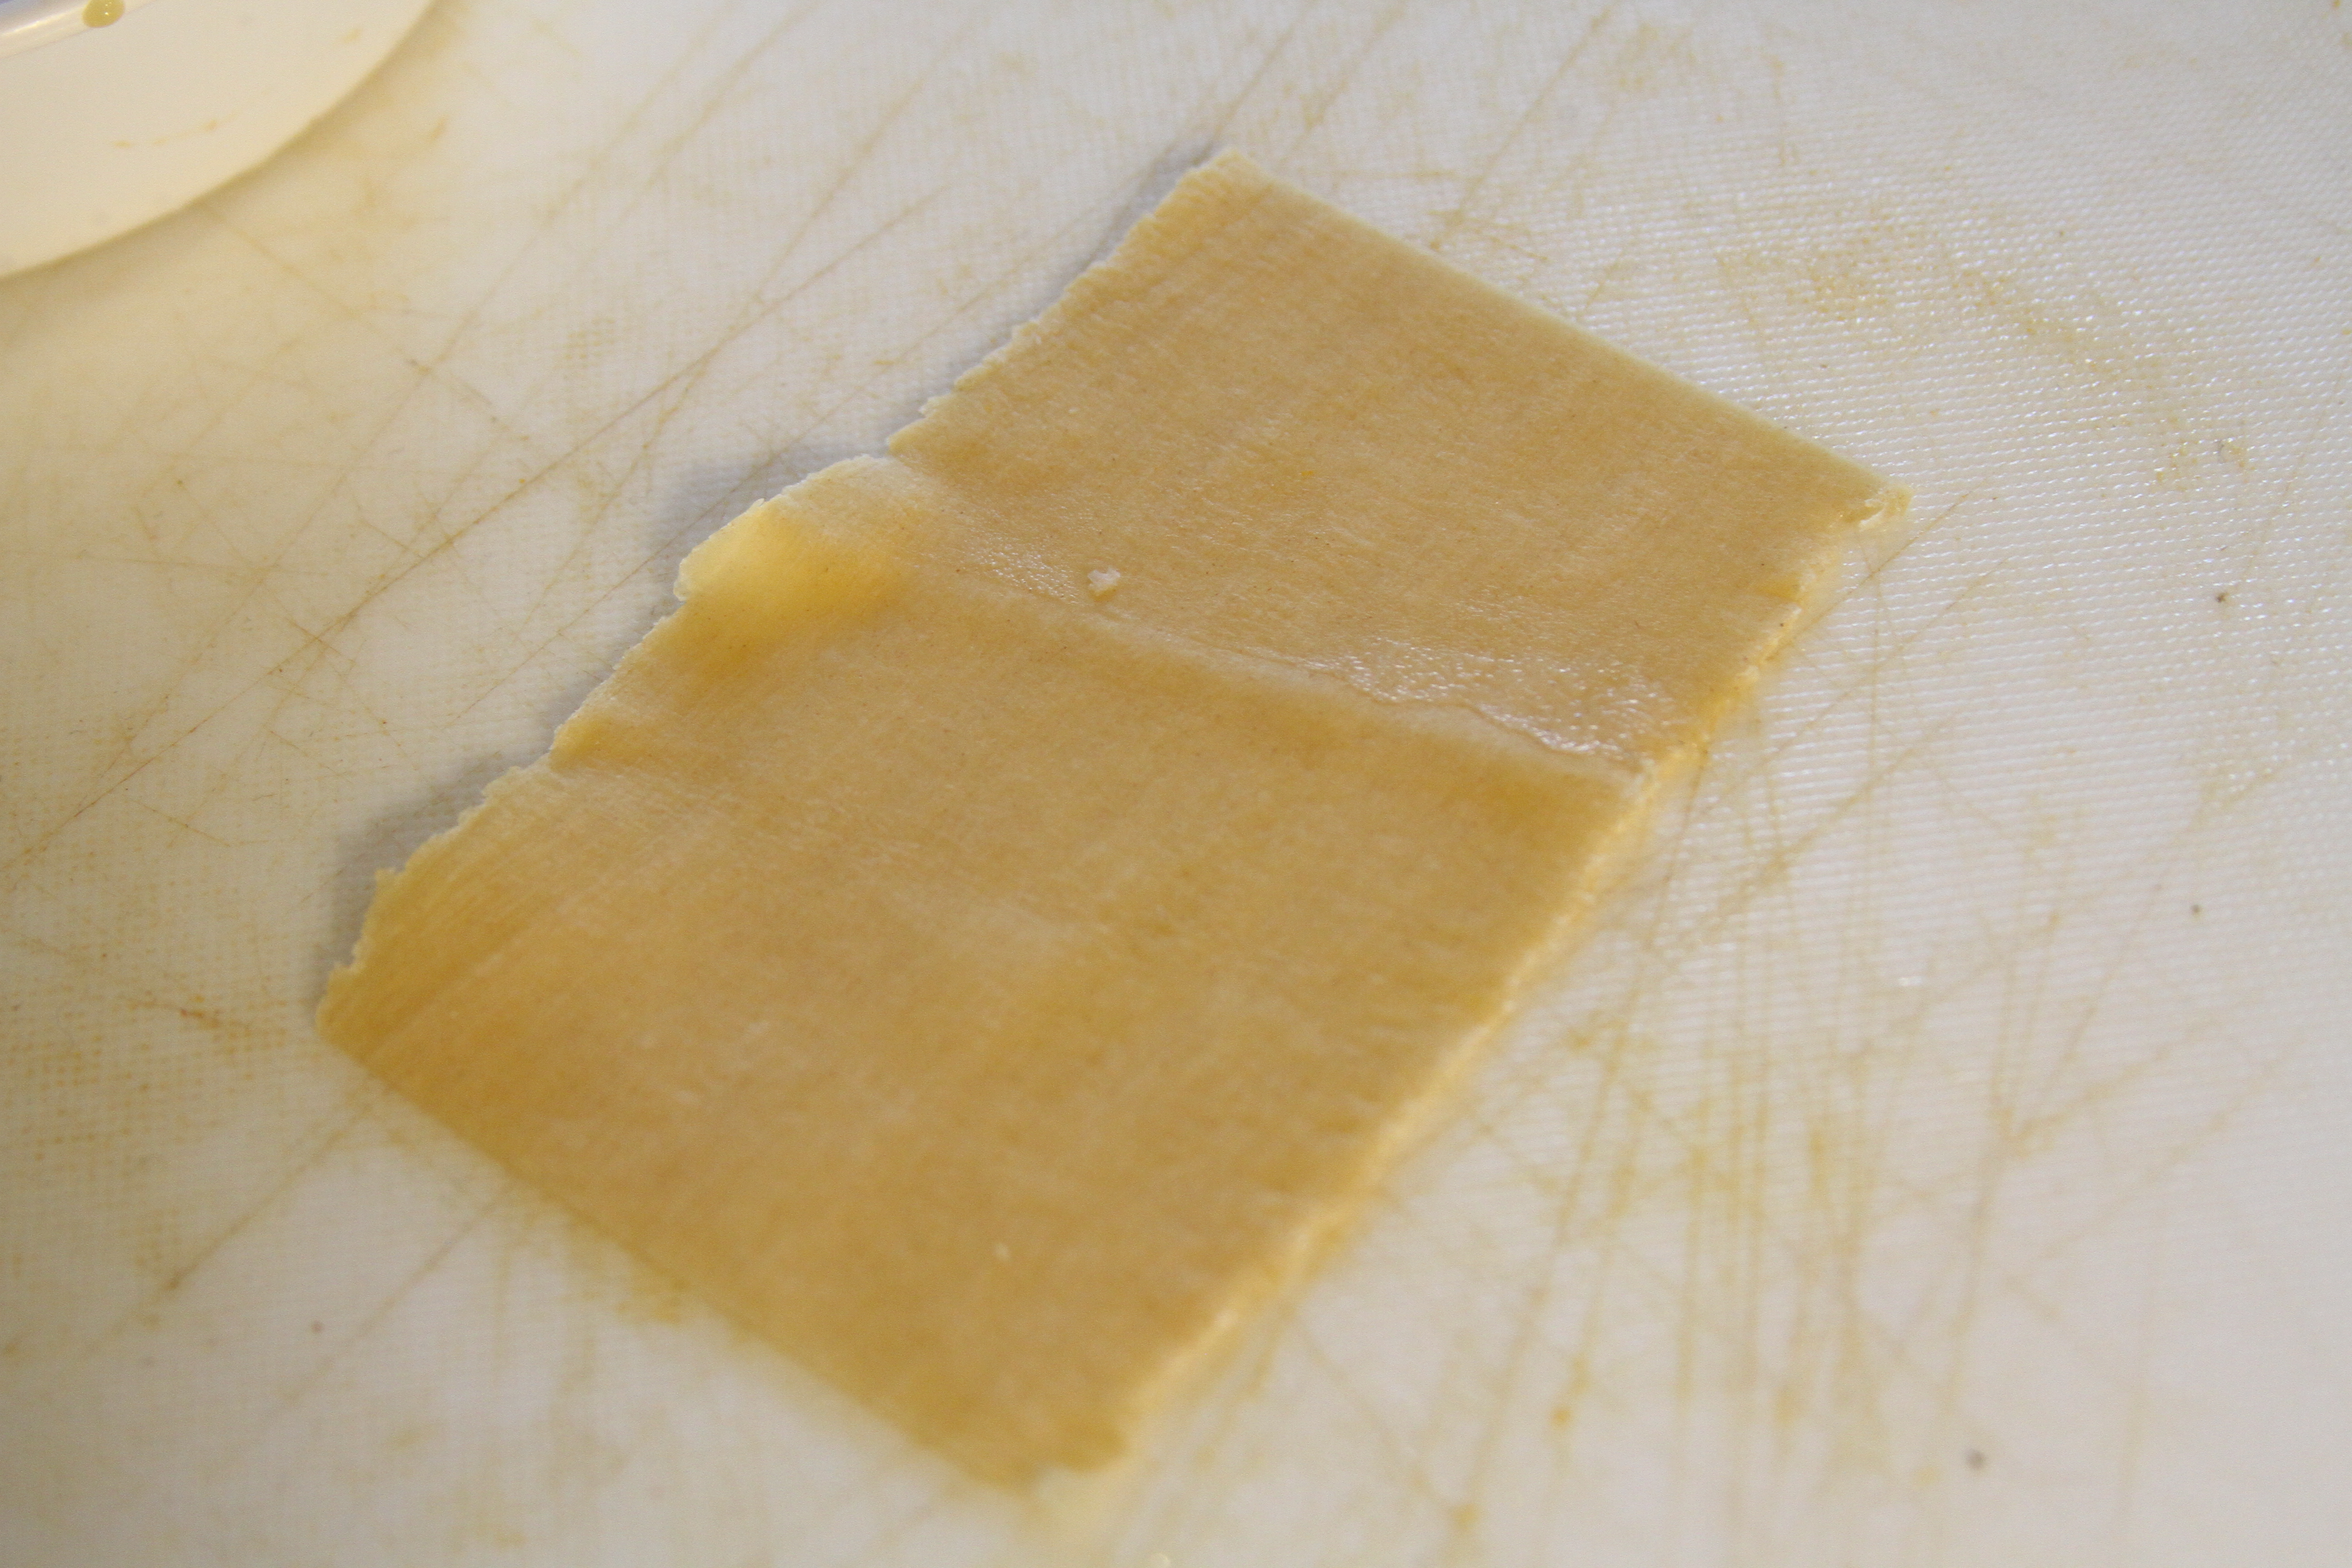
Spoon a small amount of filling into the middle of the pasta.

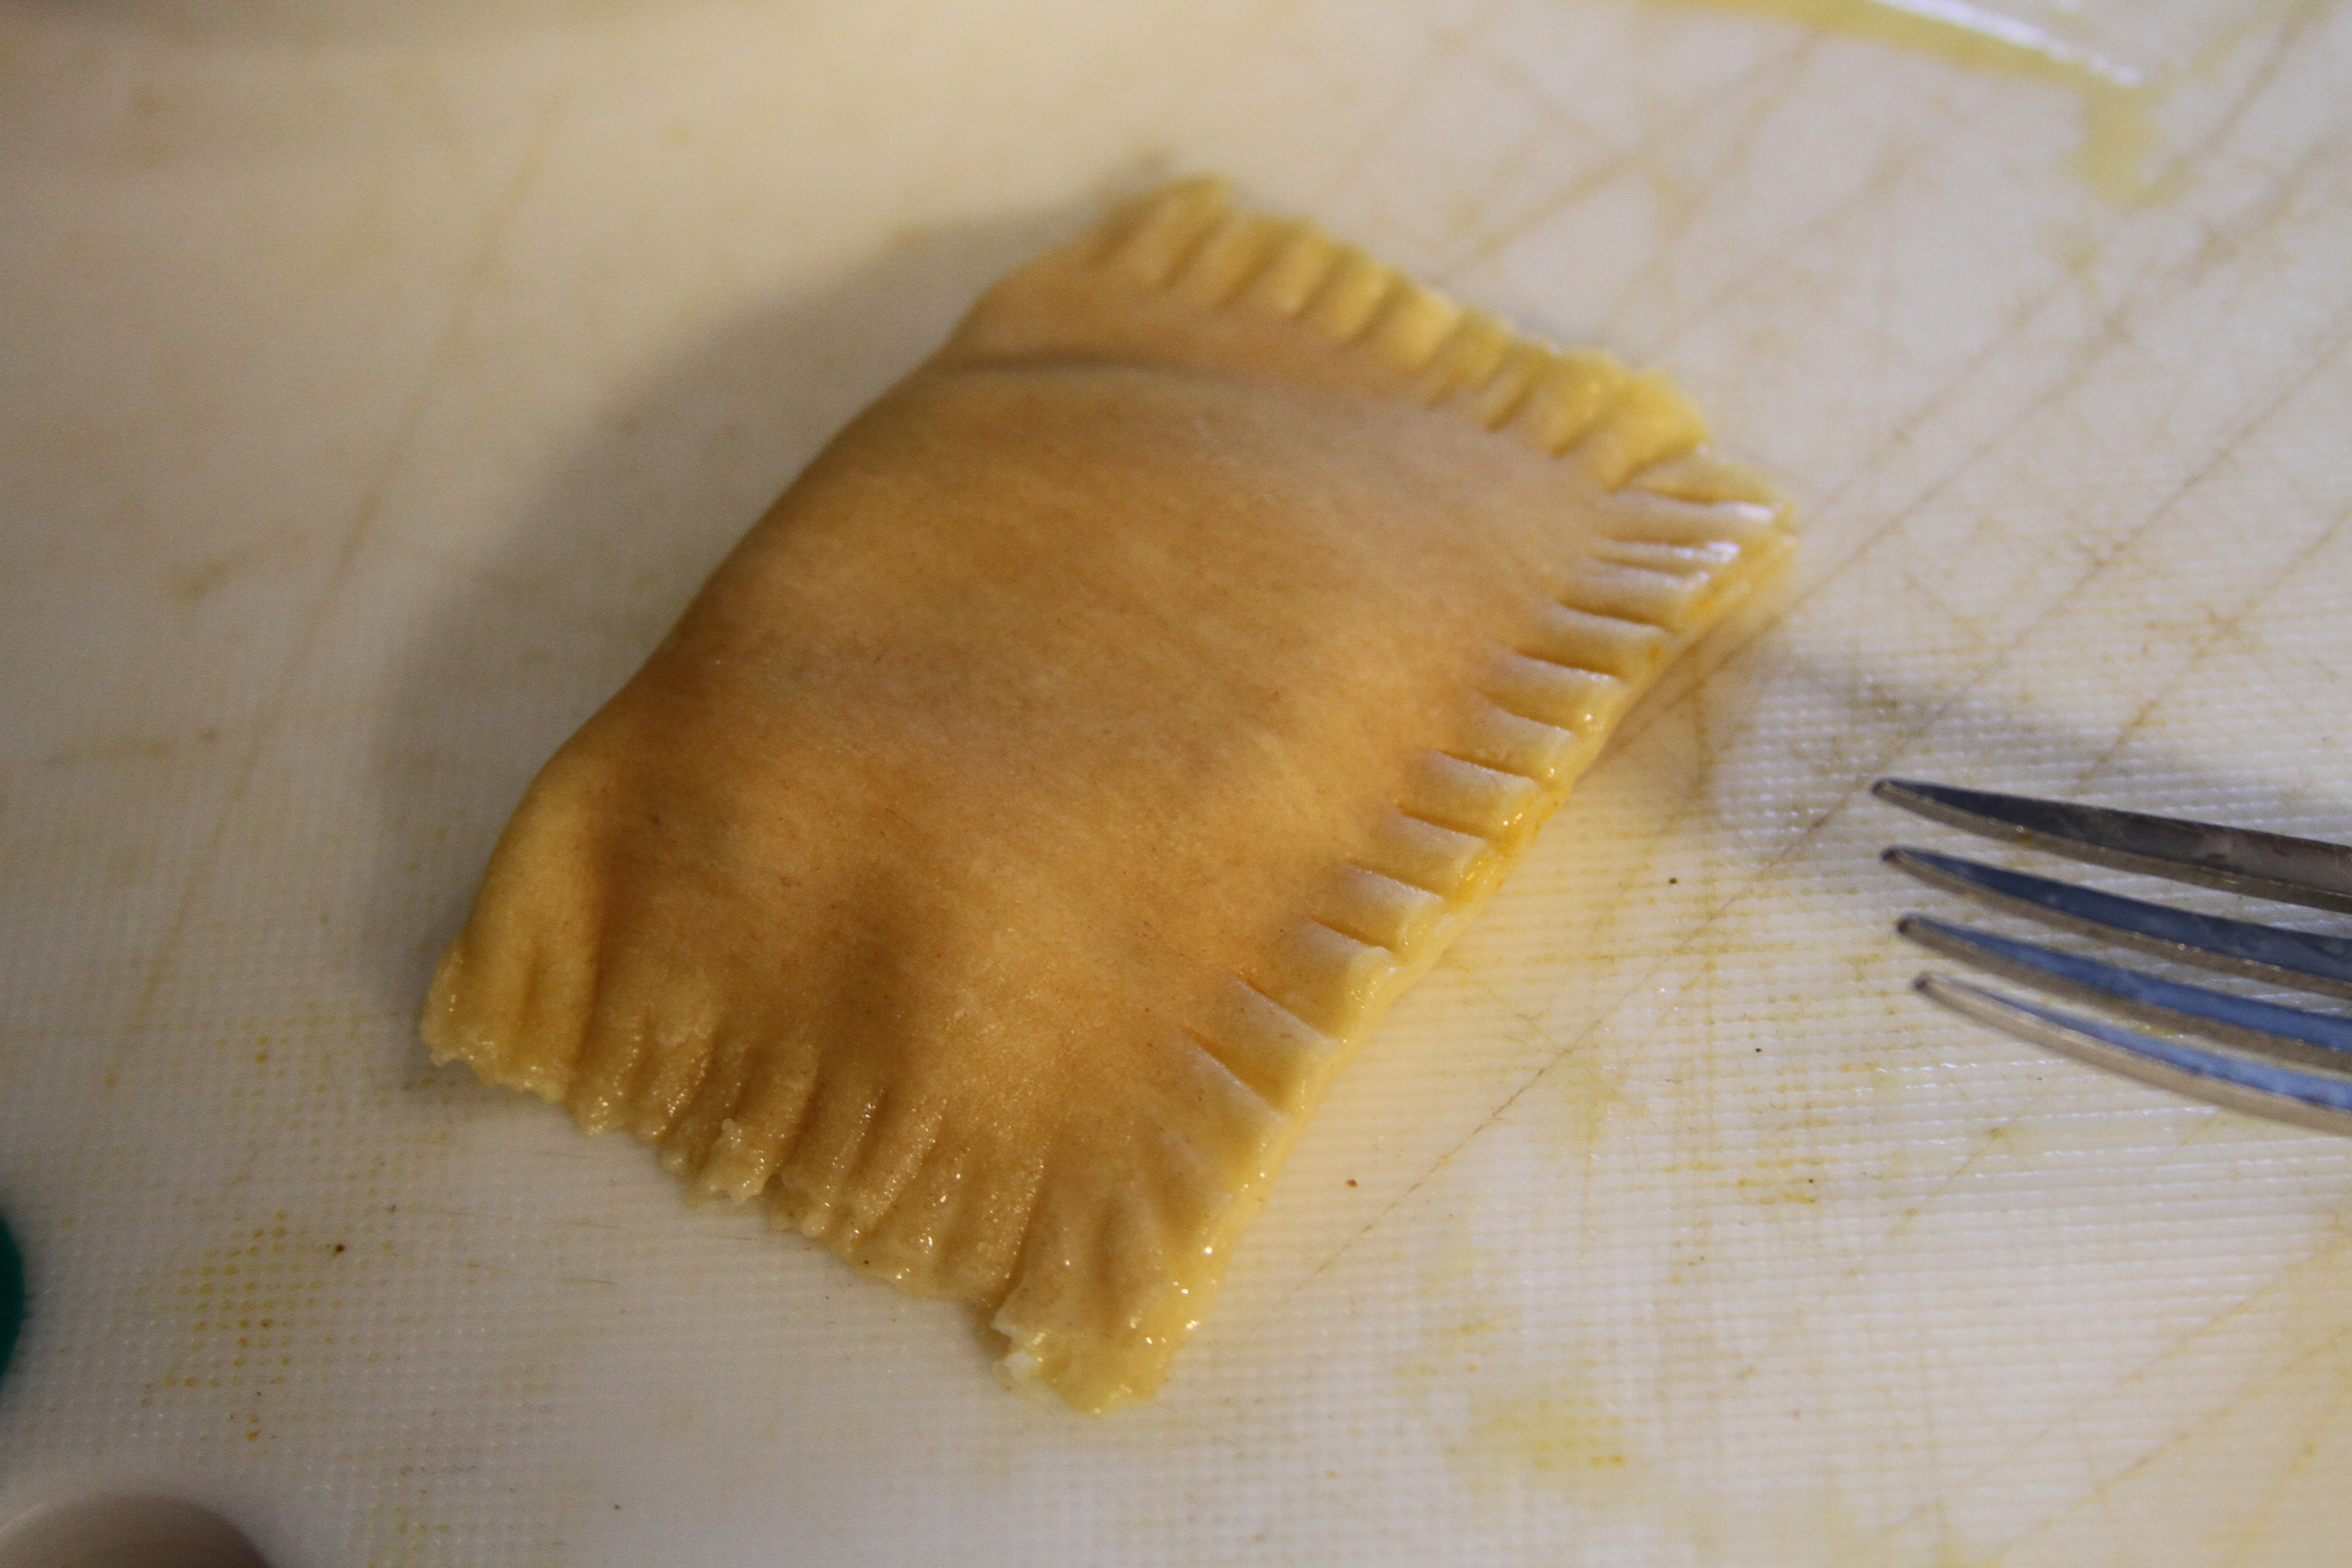
Make an eggwash and coat the edges and corners of half of the ravioli and then fold the pasta over onto itself.
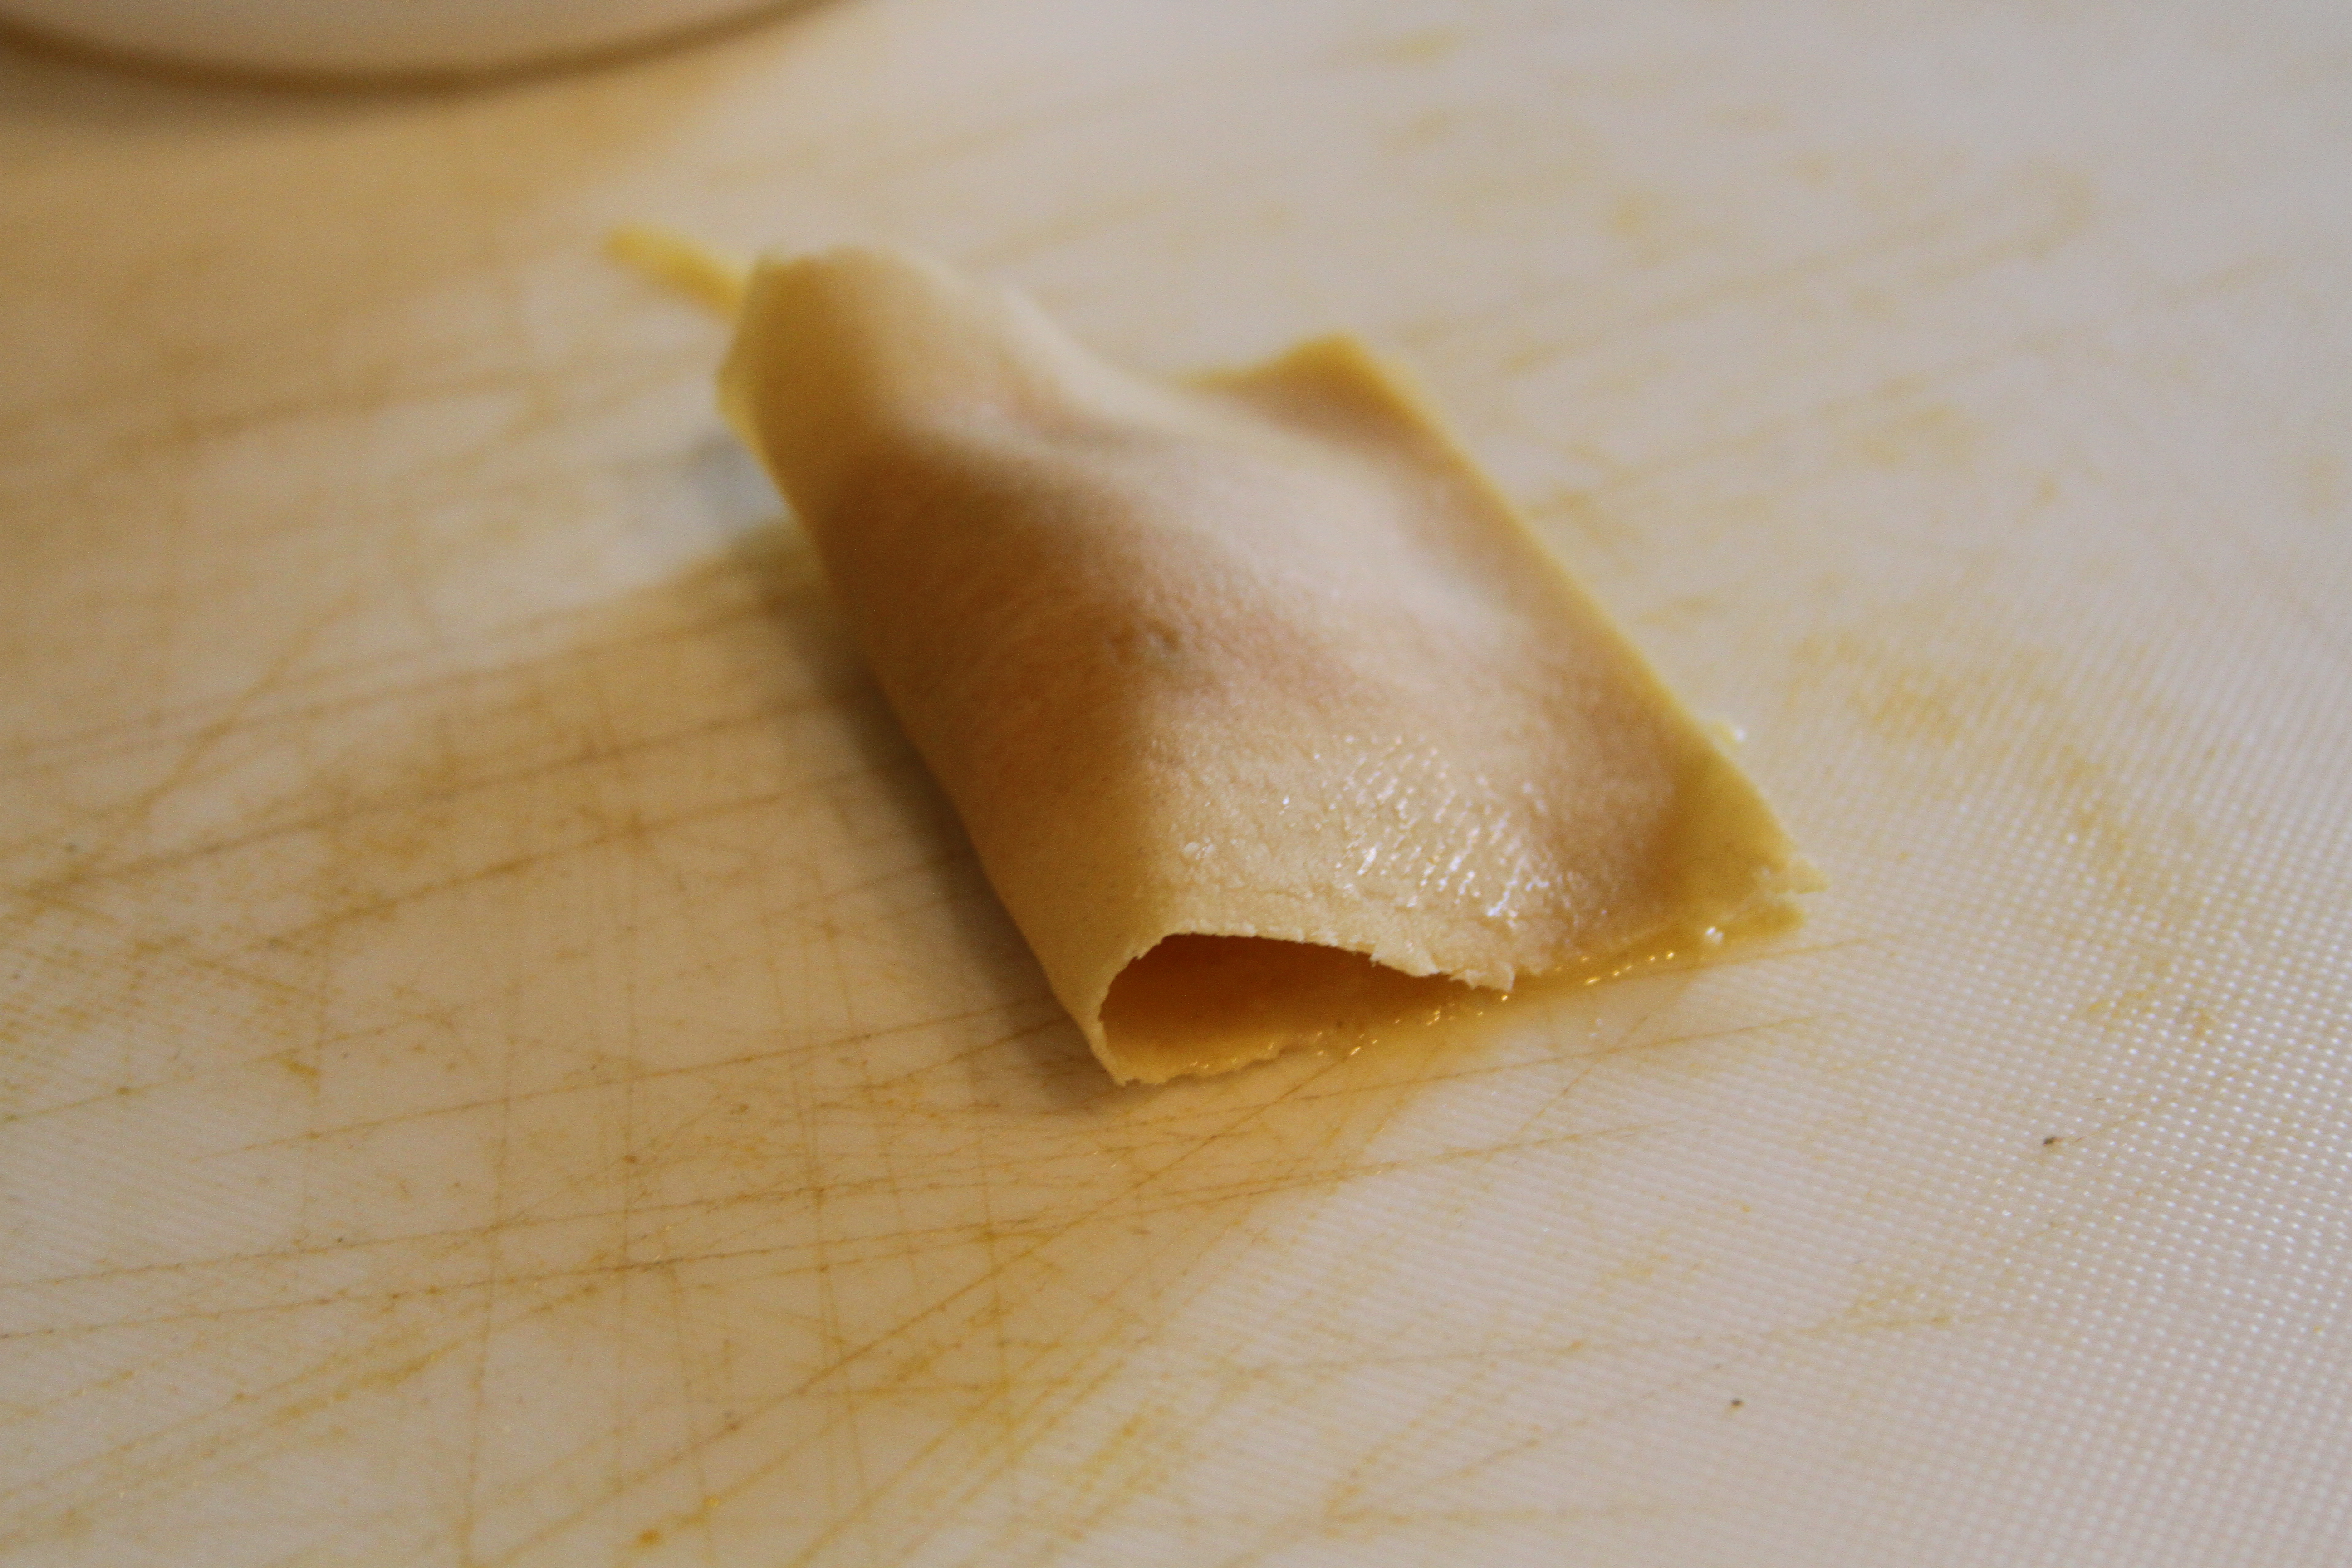
Gently press the edges of the ravioli together so that the filling is sealed in.
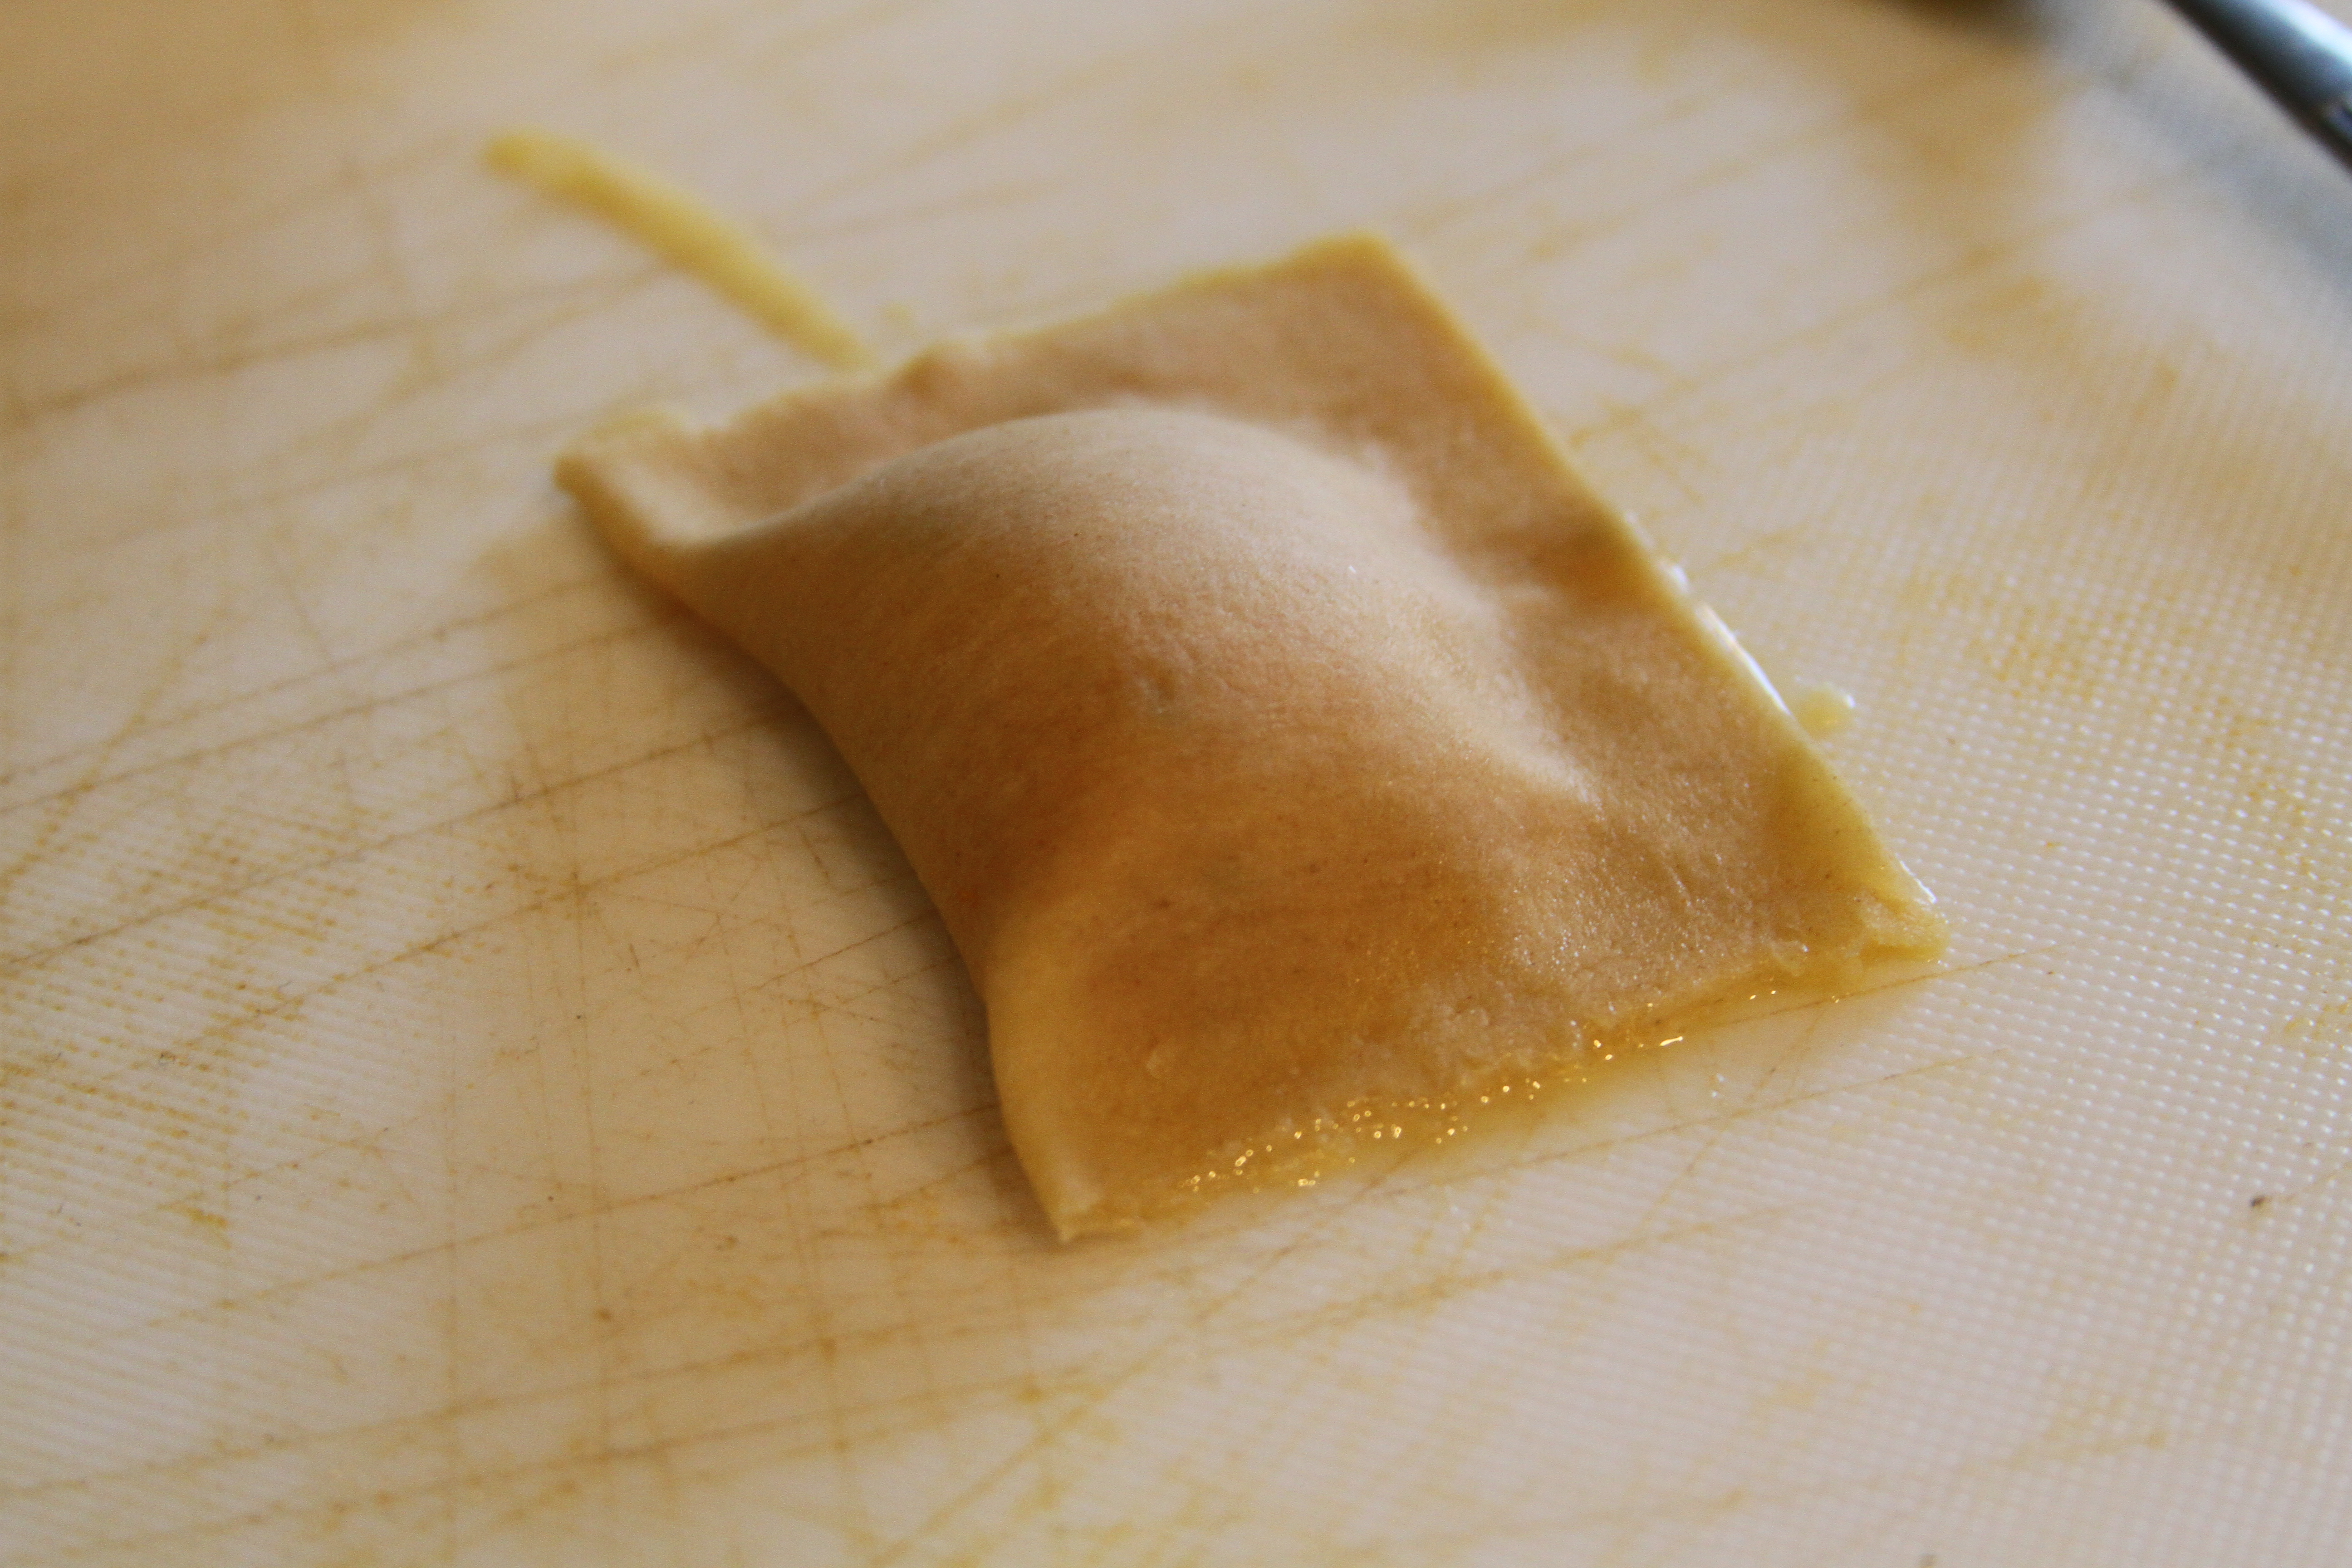
Once sealed, crimp the edges with the tines of a fork to “lock” the filling in. This is an important step. Not doing this could result in your filling bleeding out into the pasta water when you cook the ravioli. Thus jacking up your water and leaving you with some busted ass ravioli.
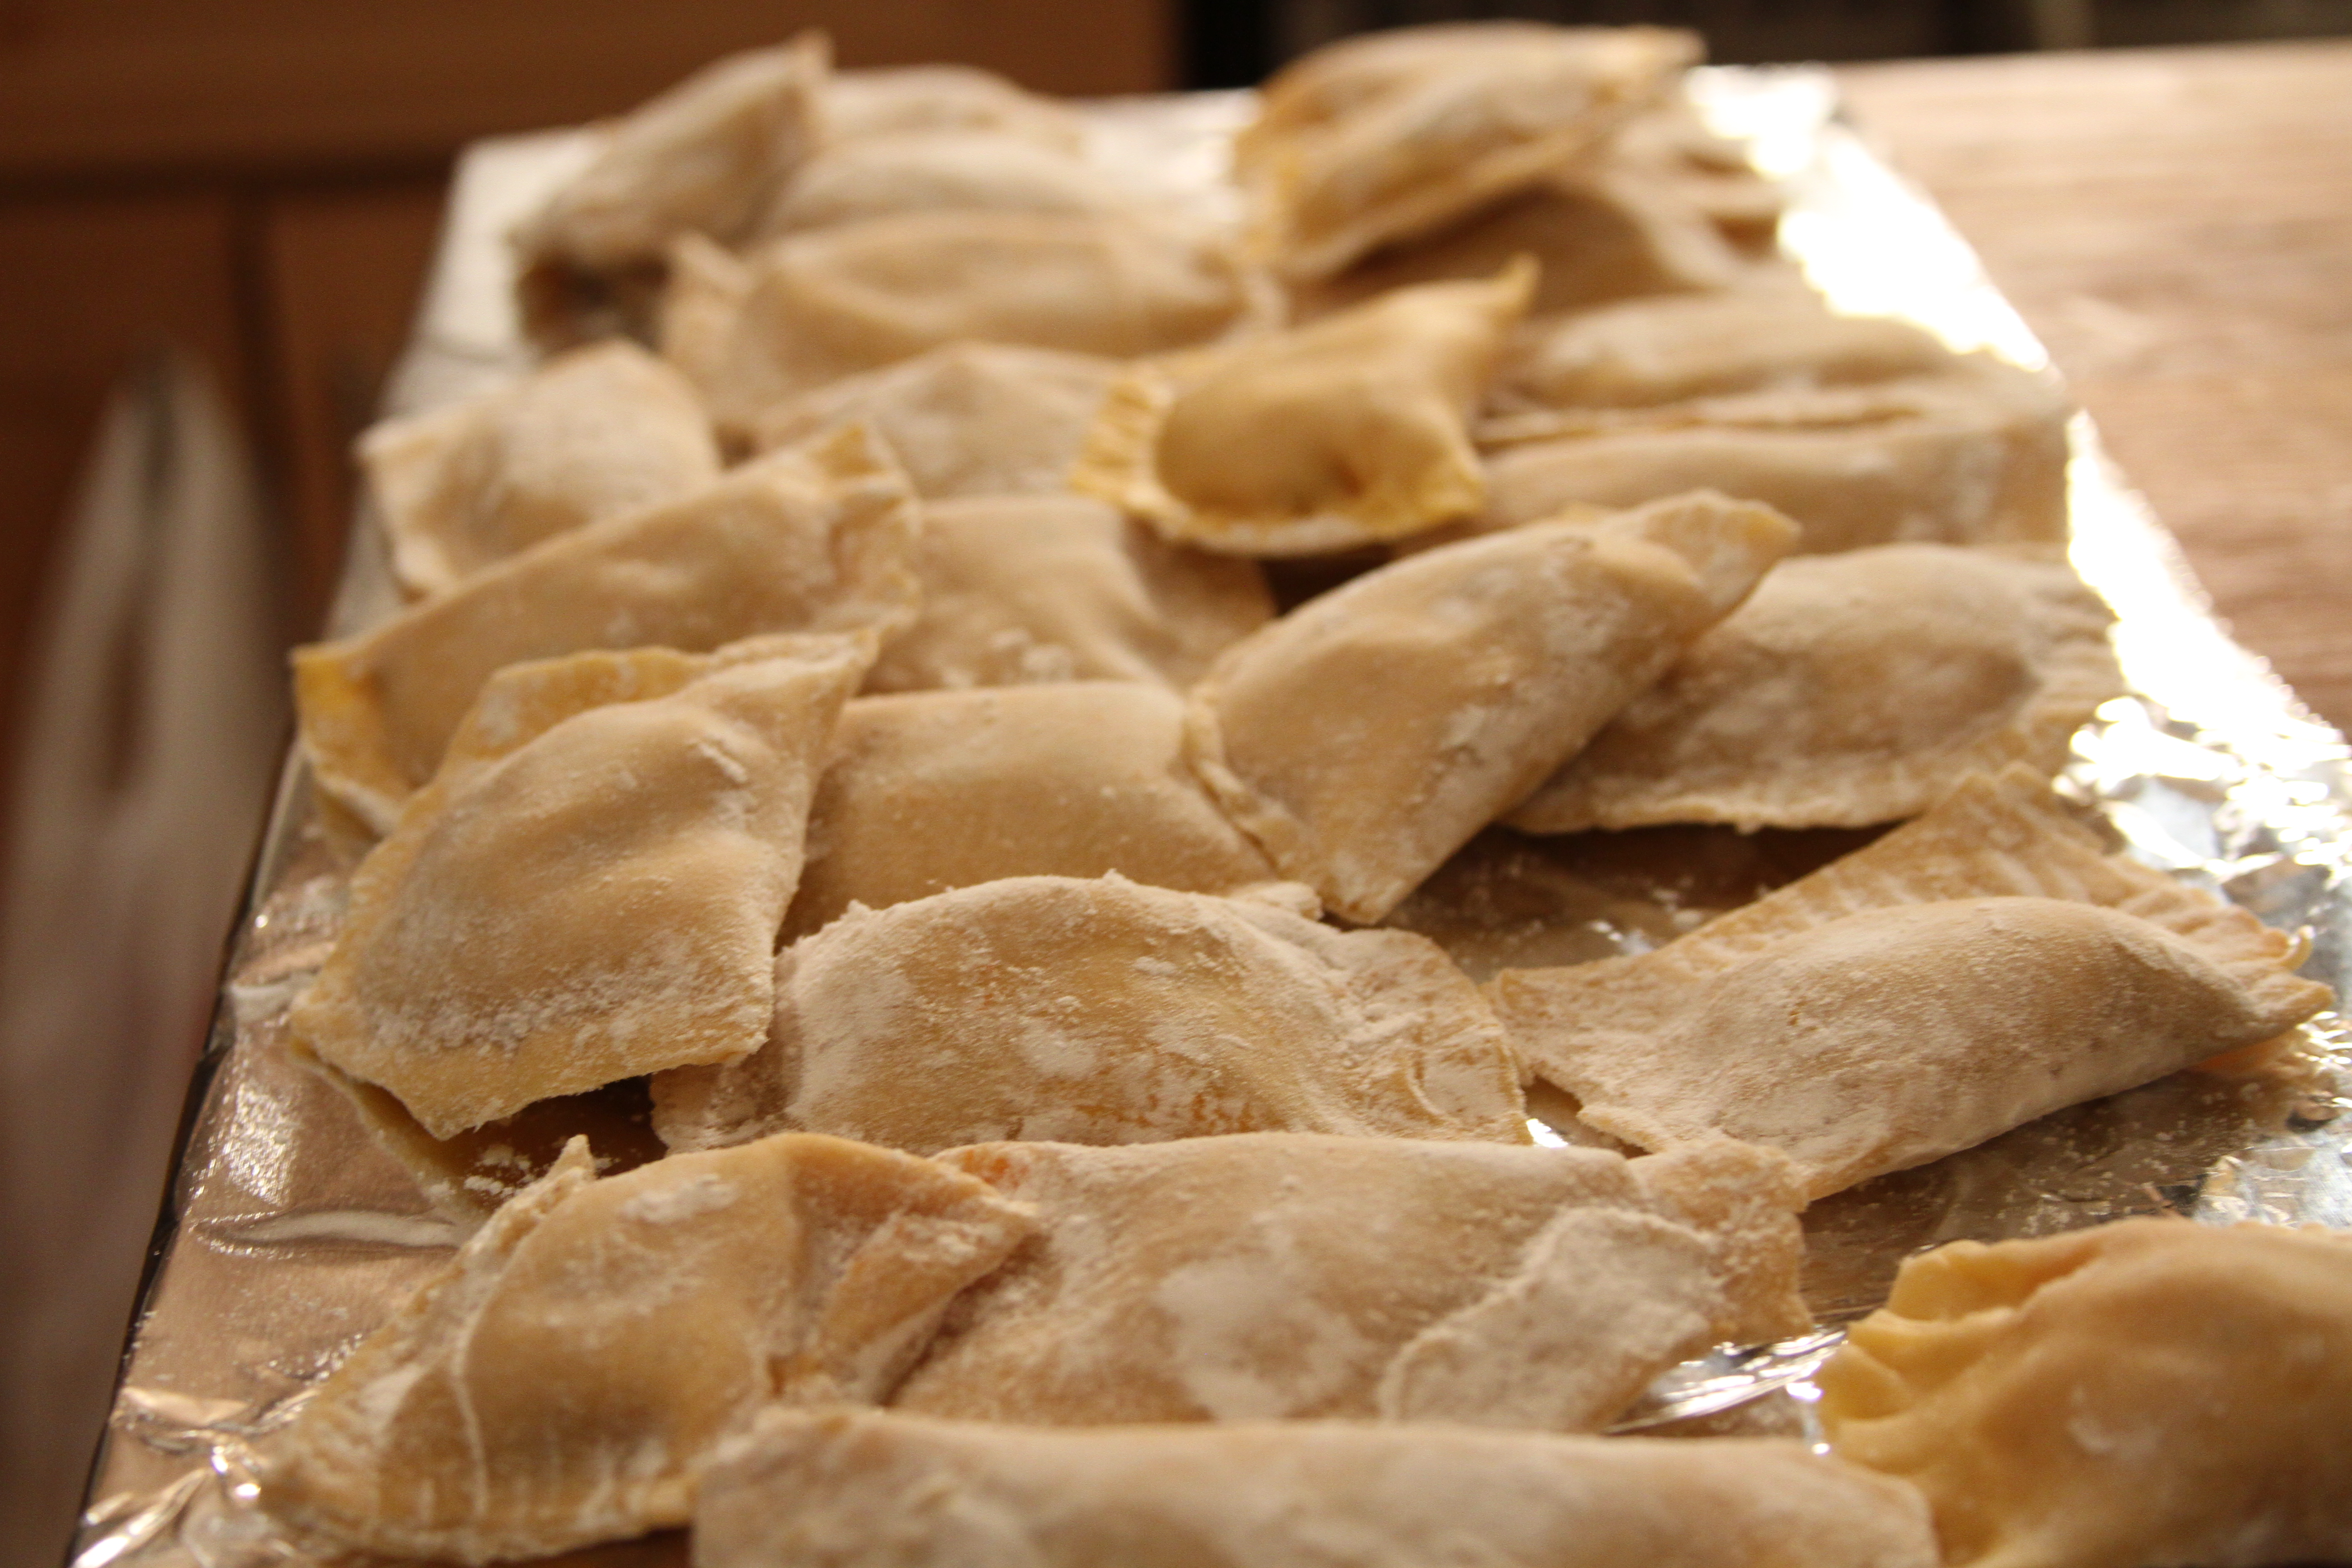
Transfer the completed ravioli to any appropriately floured or corn-mealed surface (sticking will destroy these little beauties) and employ the shampoo method (rinse and repeat) until you’ve reached the required amount of completed ravioli.
Get some salted water heating over a medium to medium low flame. You don’t need the intense rolling boil that you’d use for dry pasta. For fresh pasta you want a slightly more delicate approach. Look for the water to be moving, maybe a few tiny bubbles here and there, but not boiling or simmering. Moving. Think about that very faint roil of water that a tailing redfish pushes when he drops back below the water. Like that.
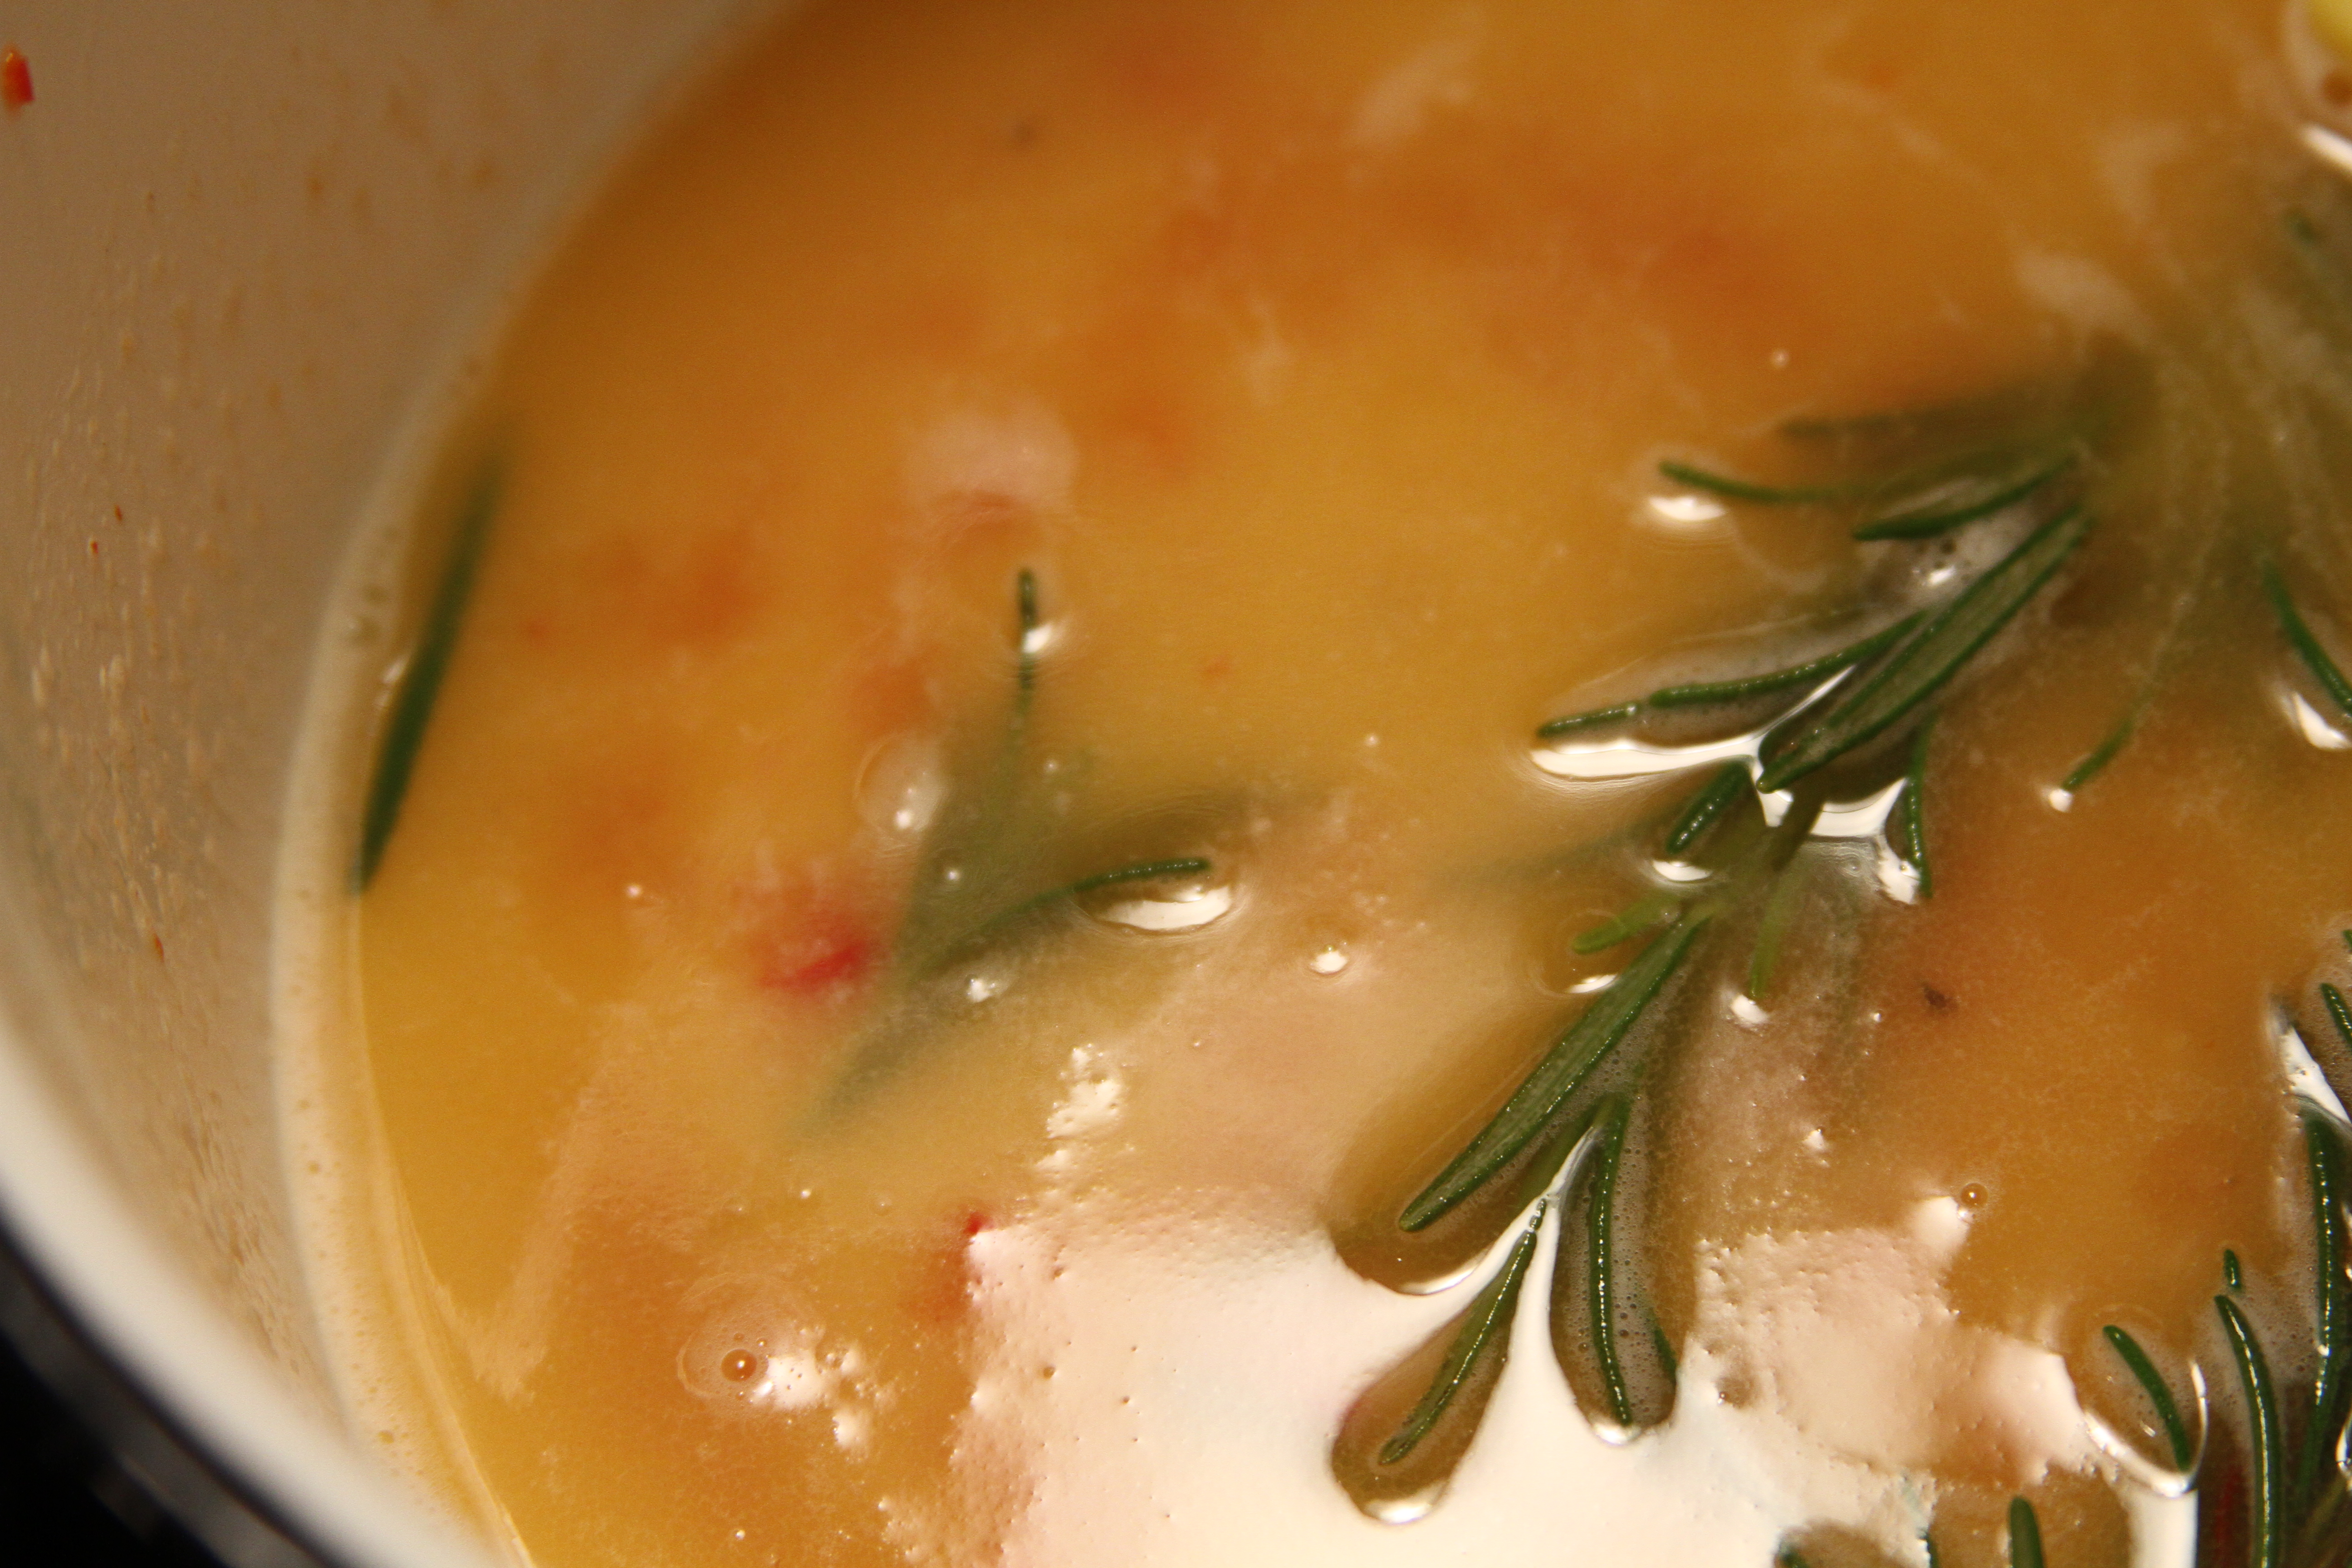
While the water heats start a stock pot over a low flame. Add the chilis, a couple of sprigs of rosemary, and a tablespoon of butter.

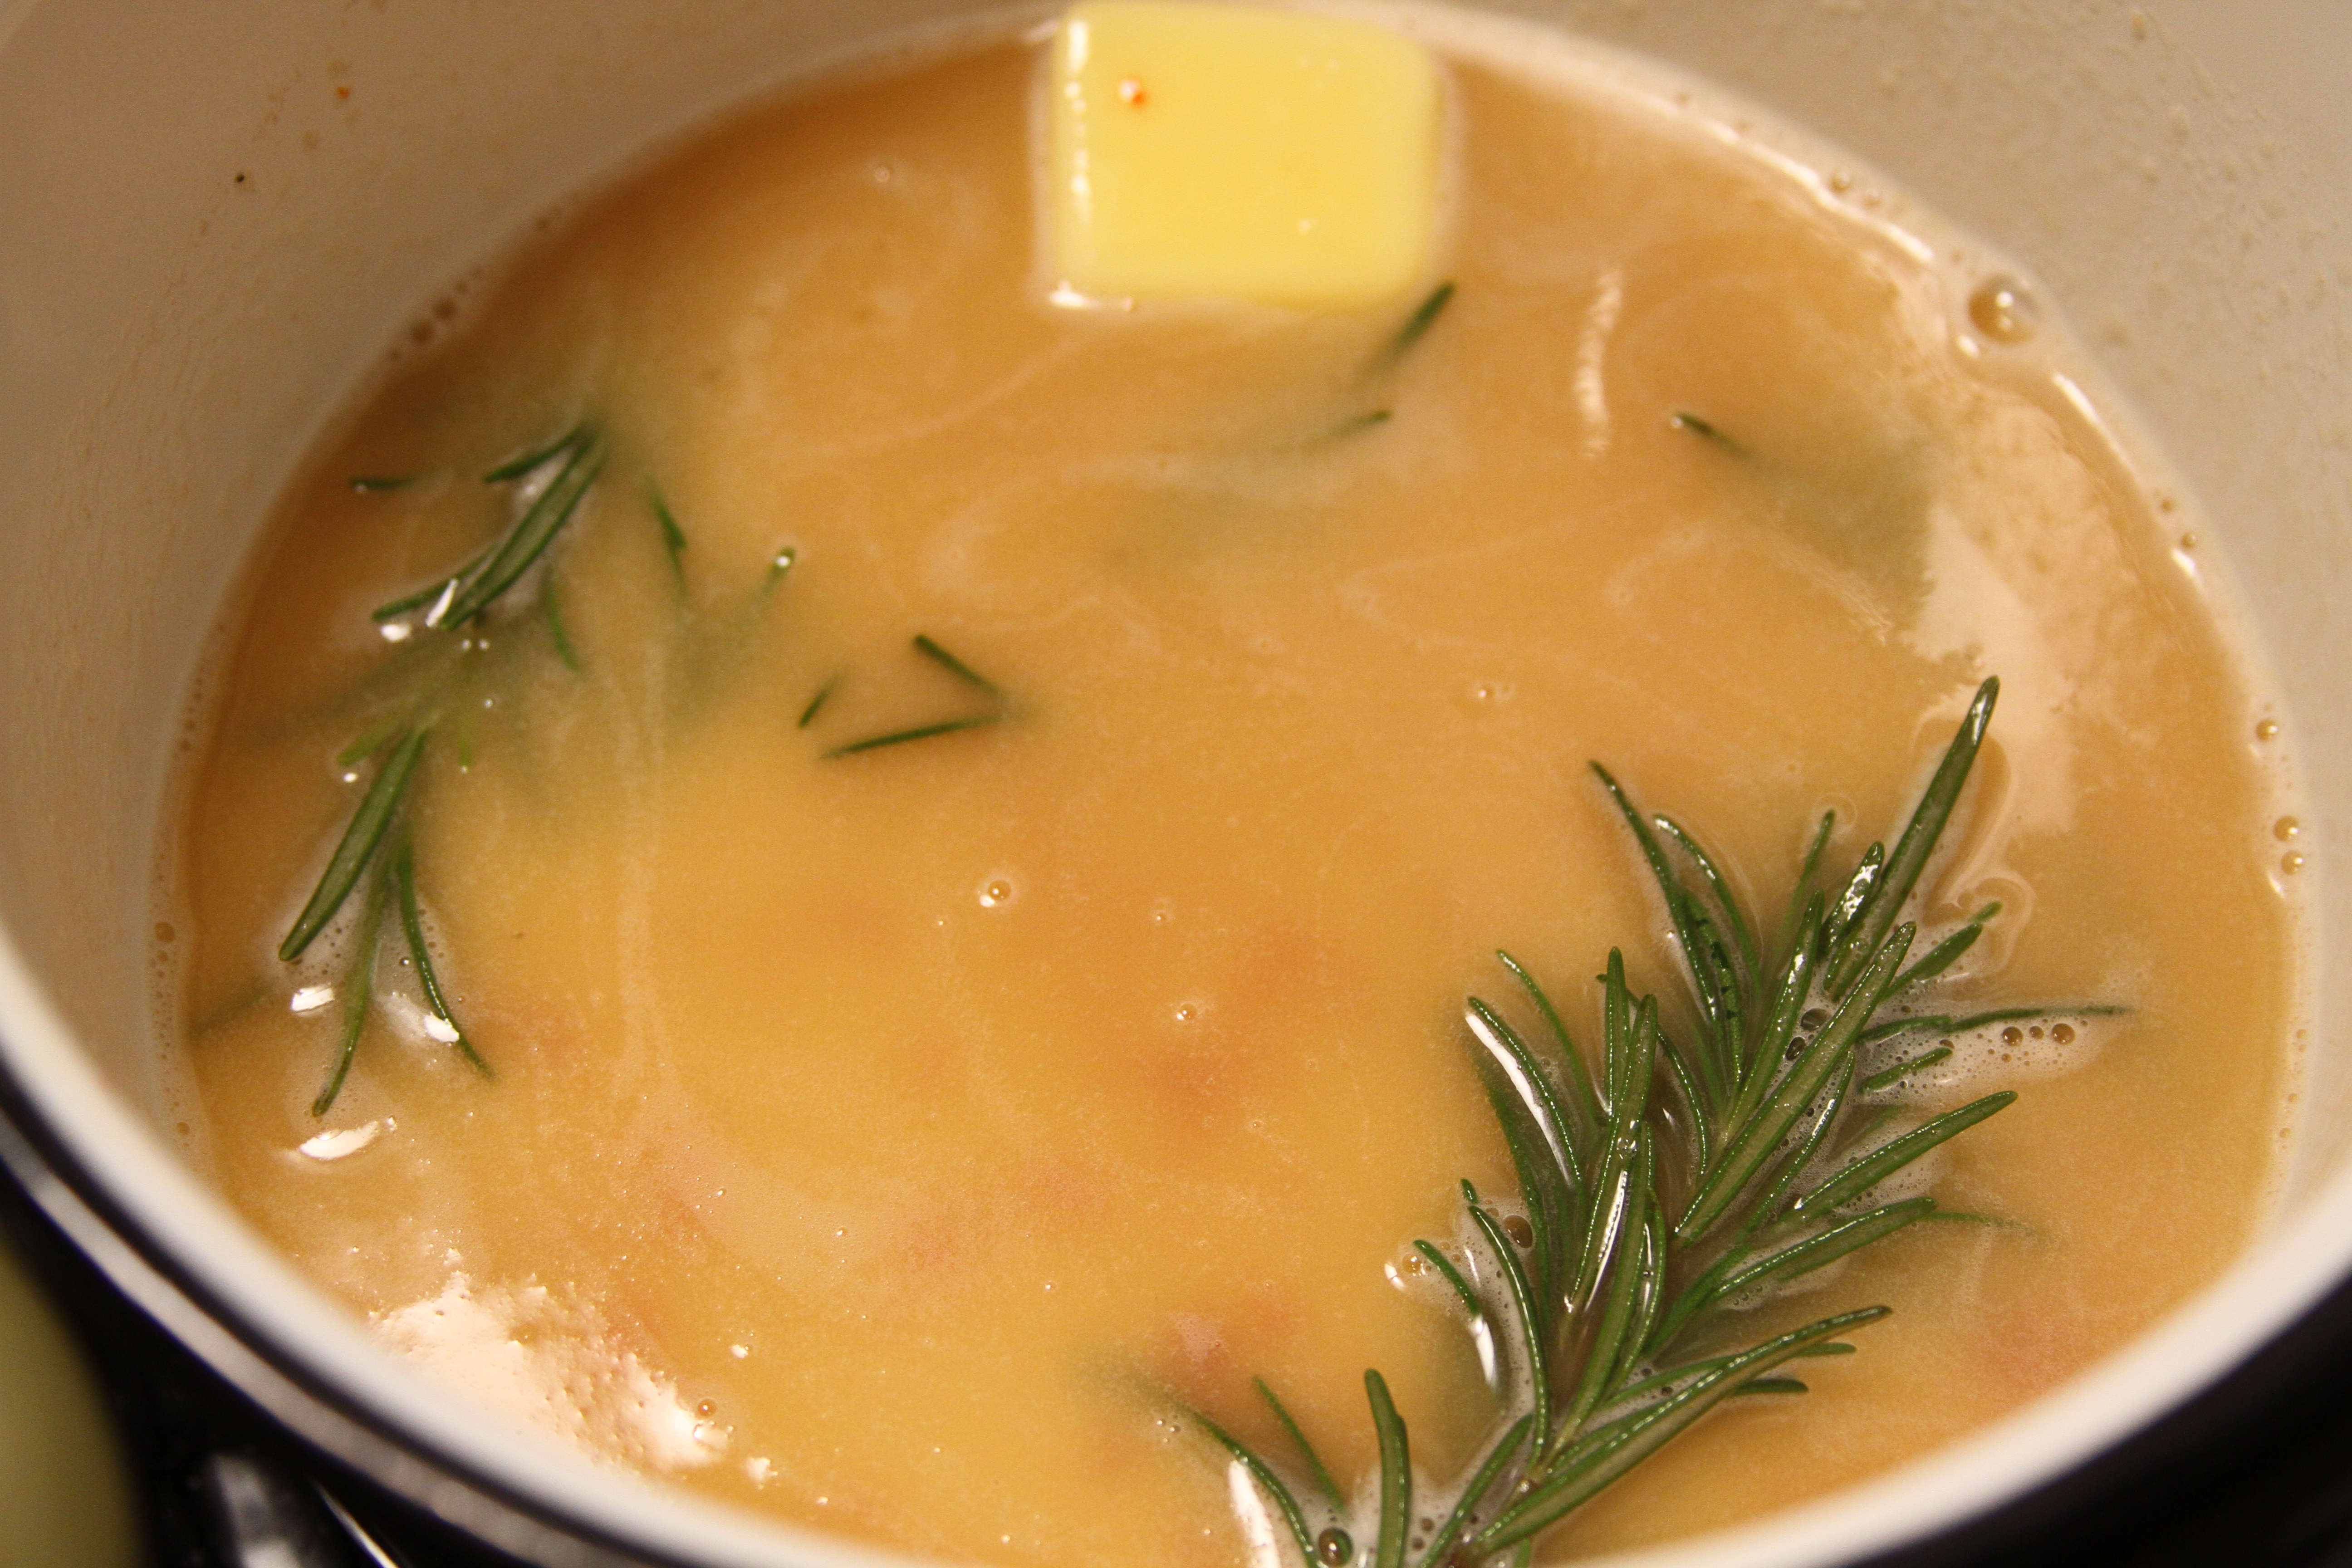
You want to let the butter melt VERY SLOWLY. Don’t let it break (like the butter you get with a steamed lobster), just keep it moving around the pot until it melts. It should retain an even, viscous texture. Keep adding butter a tablespoon at a time, until you’ve used about half a stick. Then we add the bourbon. About two fingers of something wonderful will do. You shouldn’t have to worry about the alcohol igniting due to the low heat, but just to be safe remove the pot from the flame before you add the bourbon. Also, don’t do anything like hold your face over the pot when you return it to the flame. Once there give it a stir to incorporate the booze.
You will be able to smell the sharp, astringent quality of the alcohol leaving the bourbon once the heat gets into the sauce. You want to cook all the alcohol out of the sauce and over the low heat it’ll take a few minutes, but you’ll get there. Add some more butter while the bourbon gives up the ghost.
Once it smells all rich and sweet and caramelly, you know you’re good to go. Hold the sauce over low heat until you’re ready to apply it.
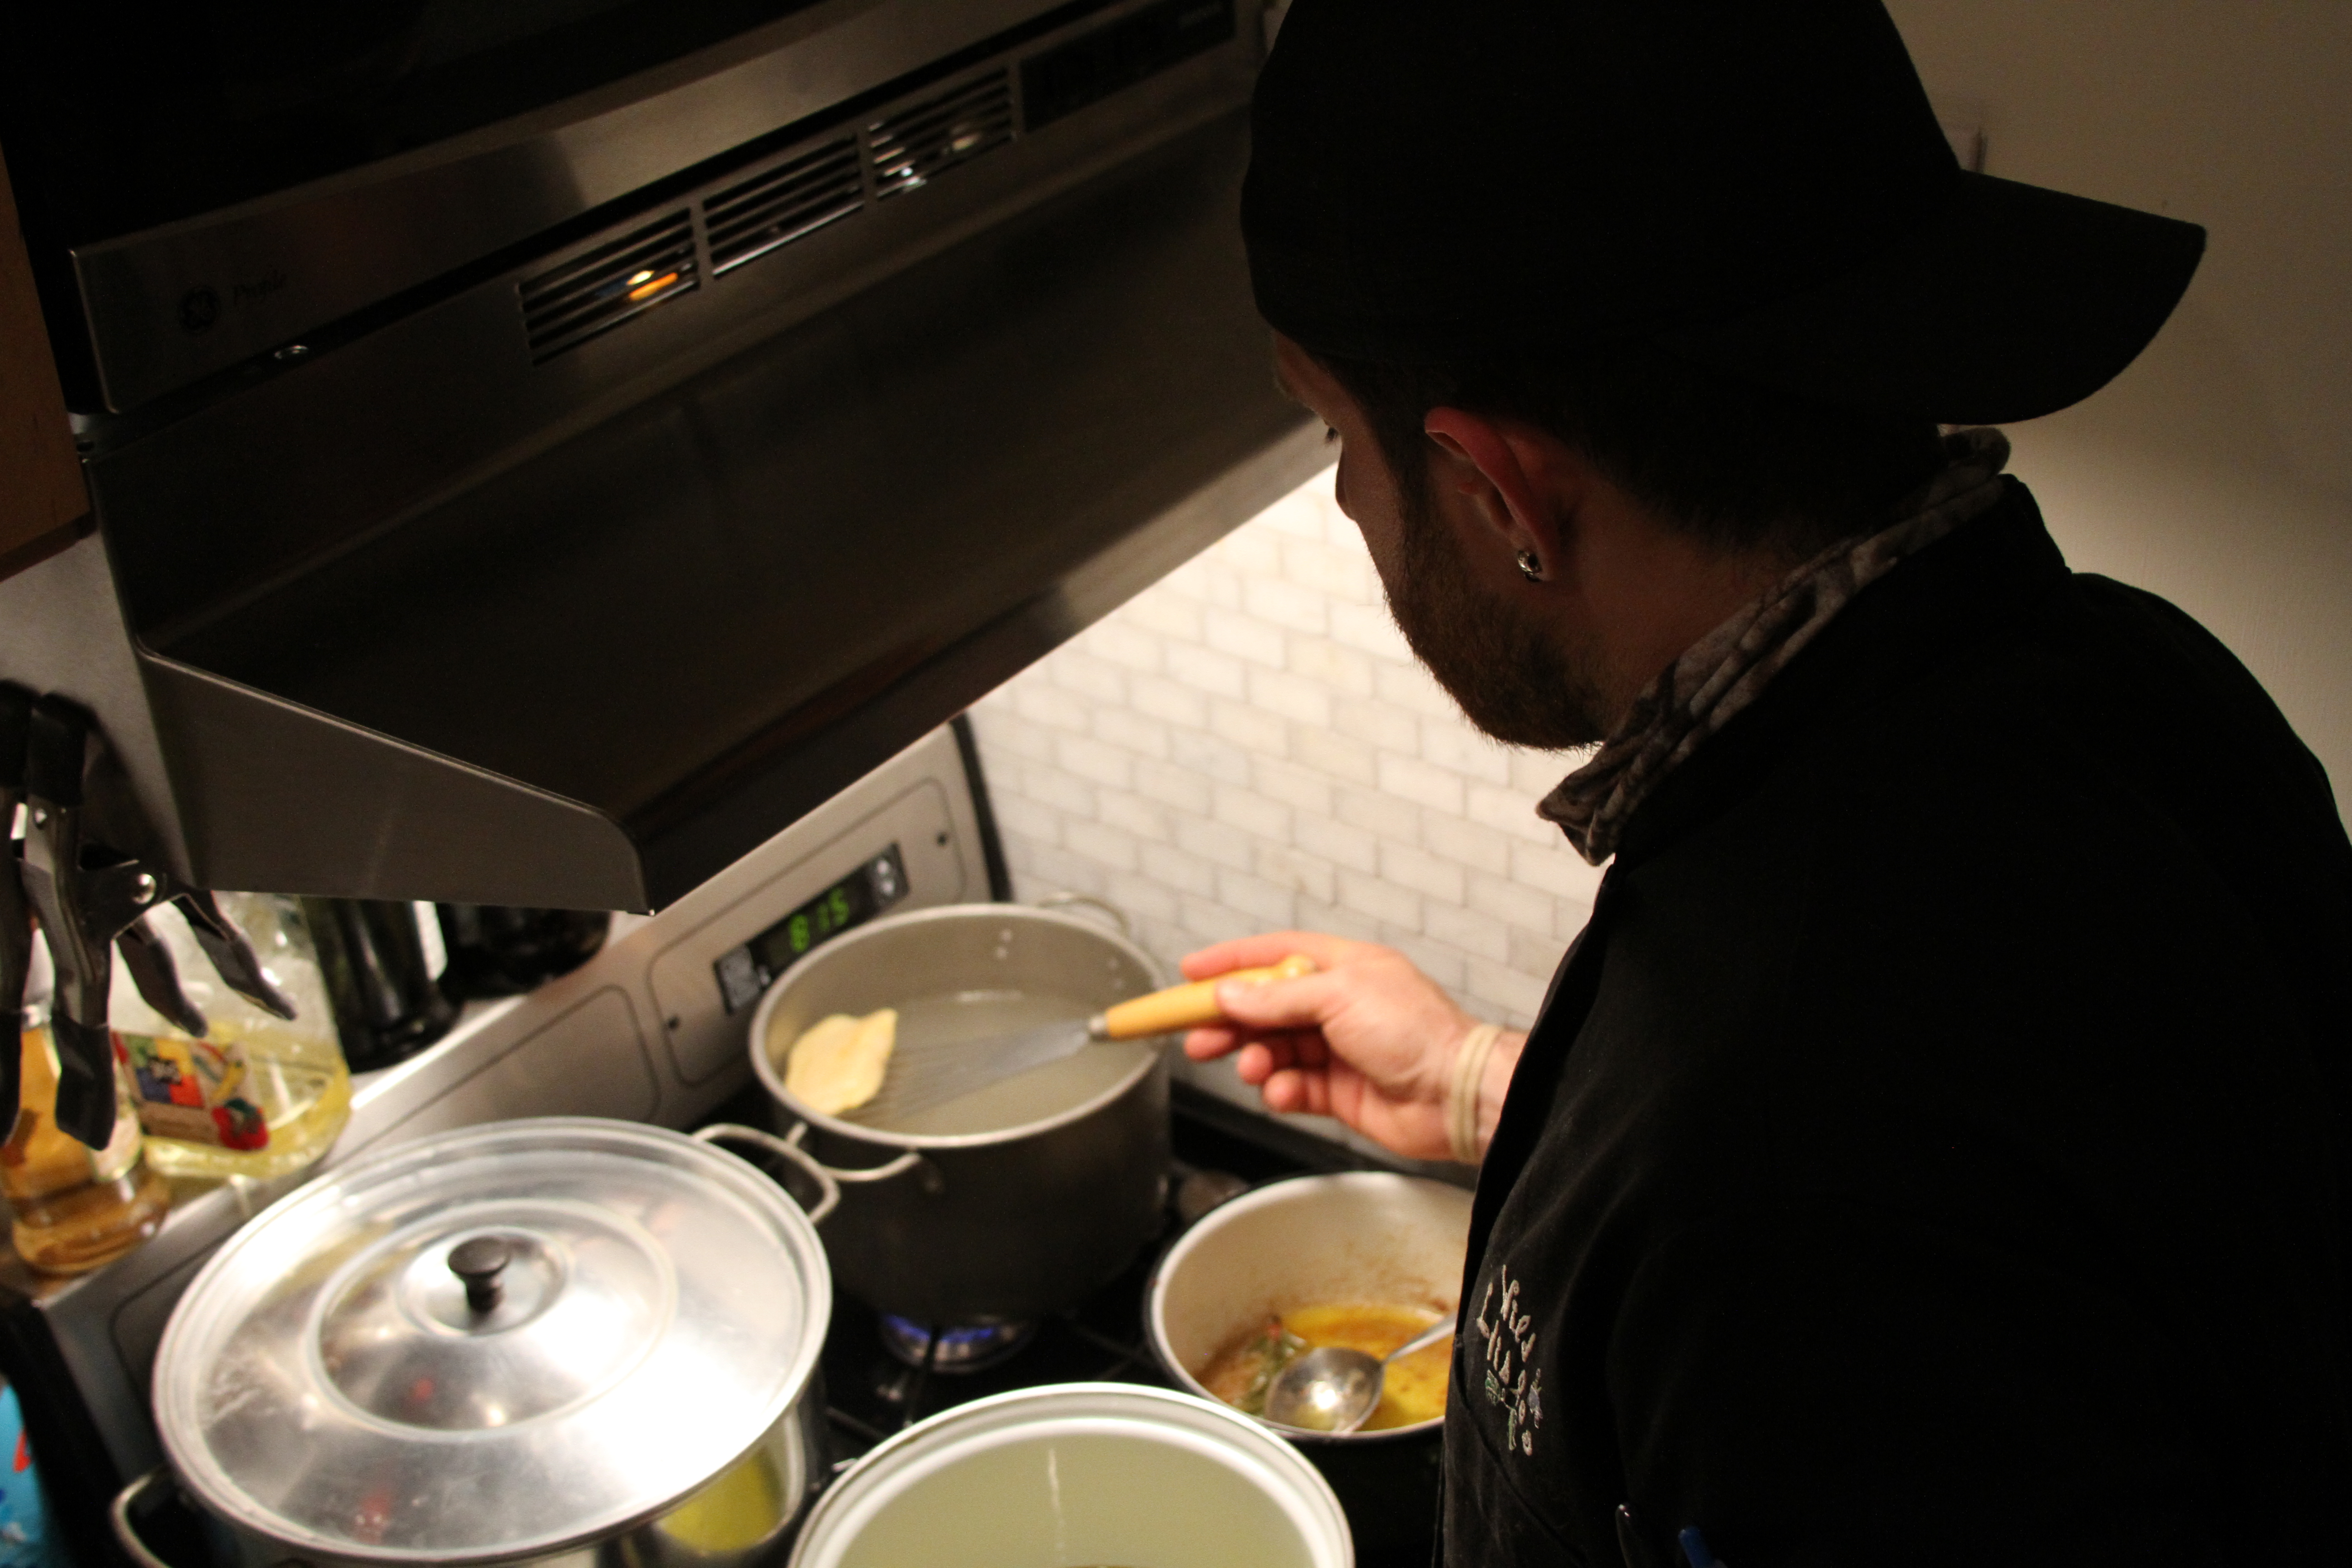
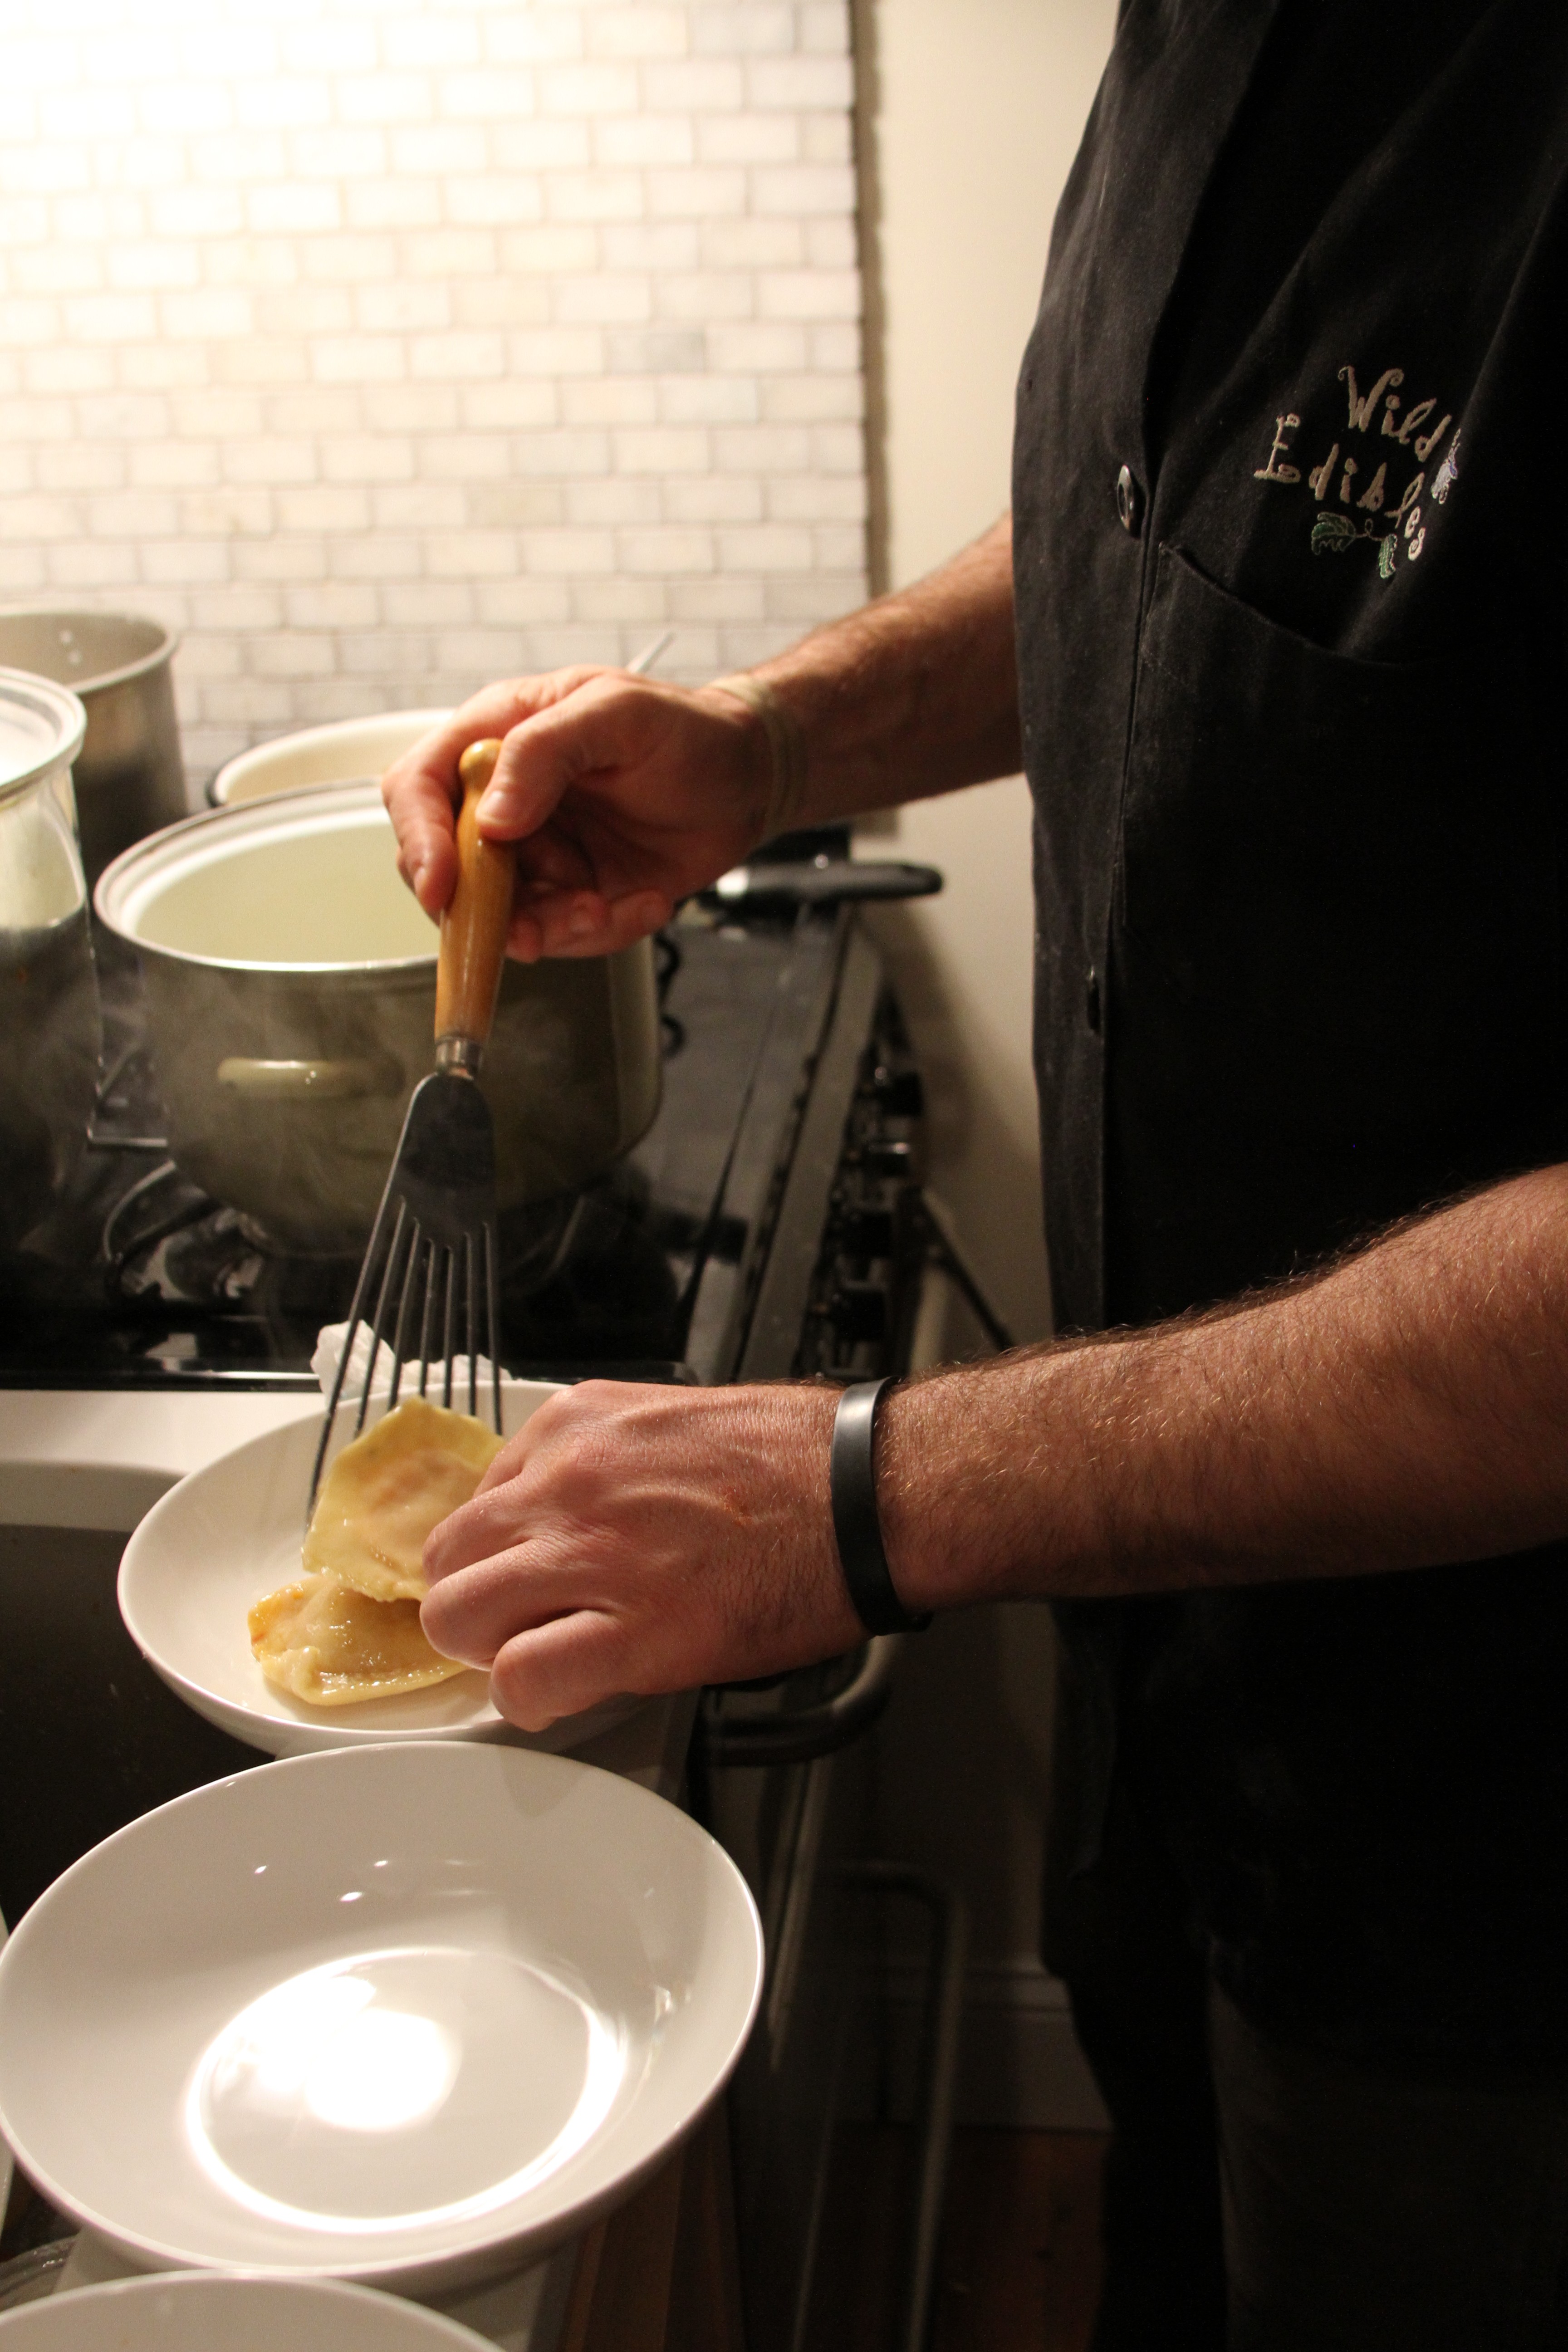
Ravioli’s go in the water.
Maybe two, three minutes tops. When the ravioli float, they’re done. Pull them out of the water, with a slotted spoon, and drain them. Plating is as follows: ravioli, sauce (make sure you get some chilis and any brown bits that have collected in the pot onto the pasta), garnish with a chiffonade of fresh basil. Serve. Stuff your craw full of tasty stuffed pasta. Repeat.
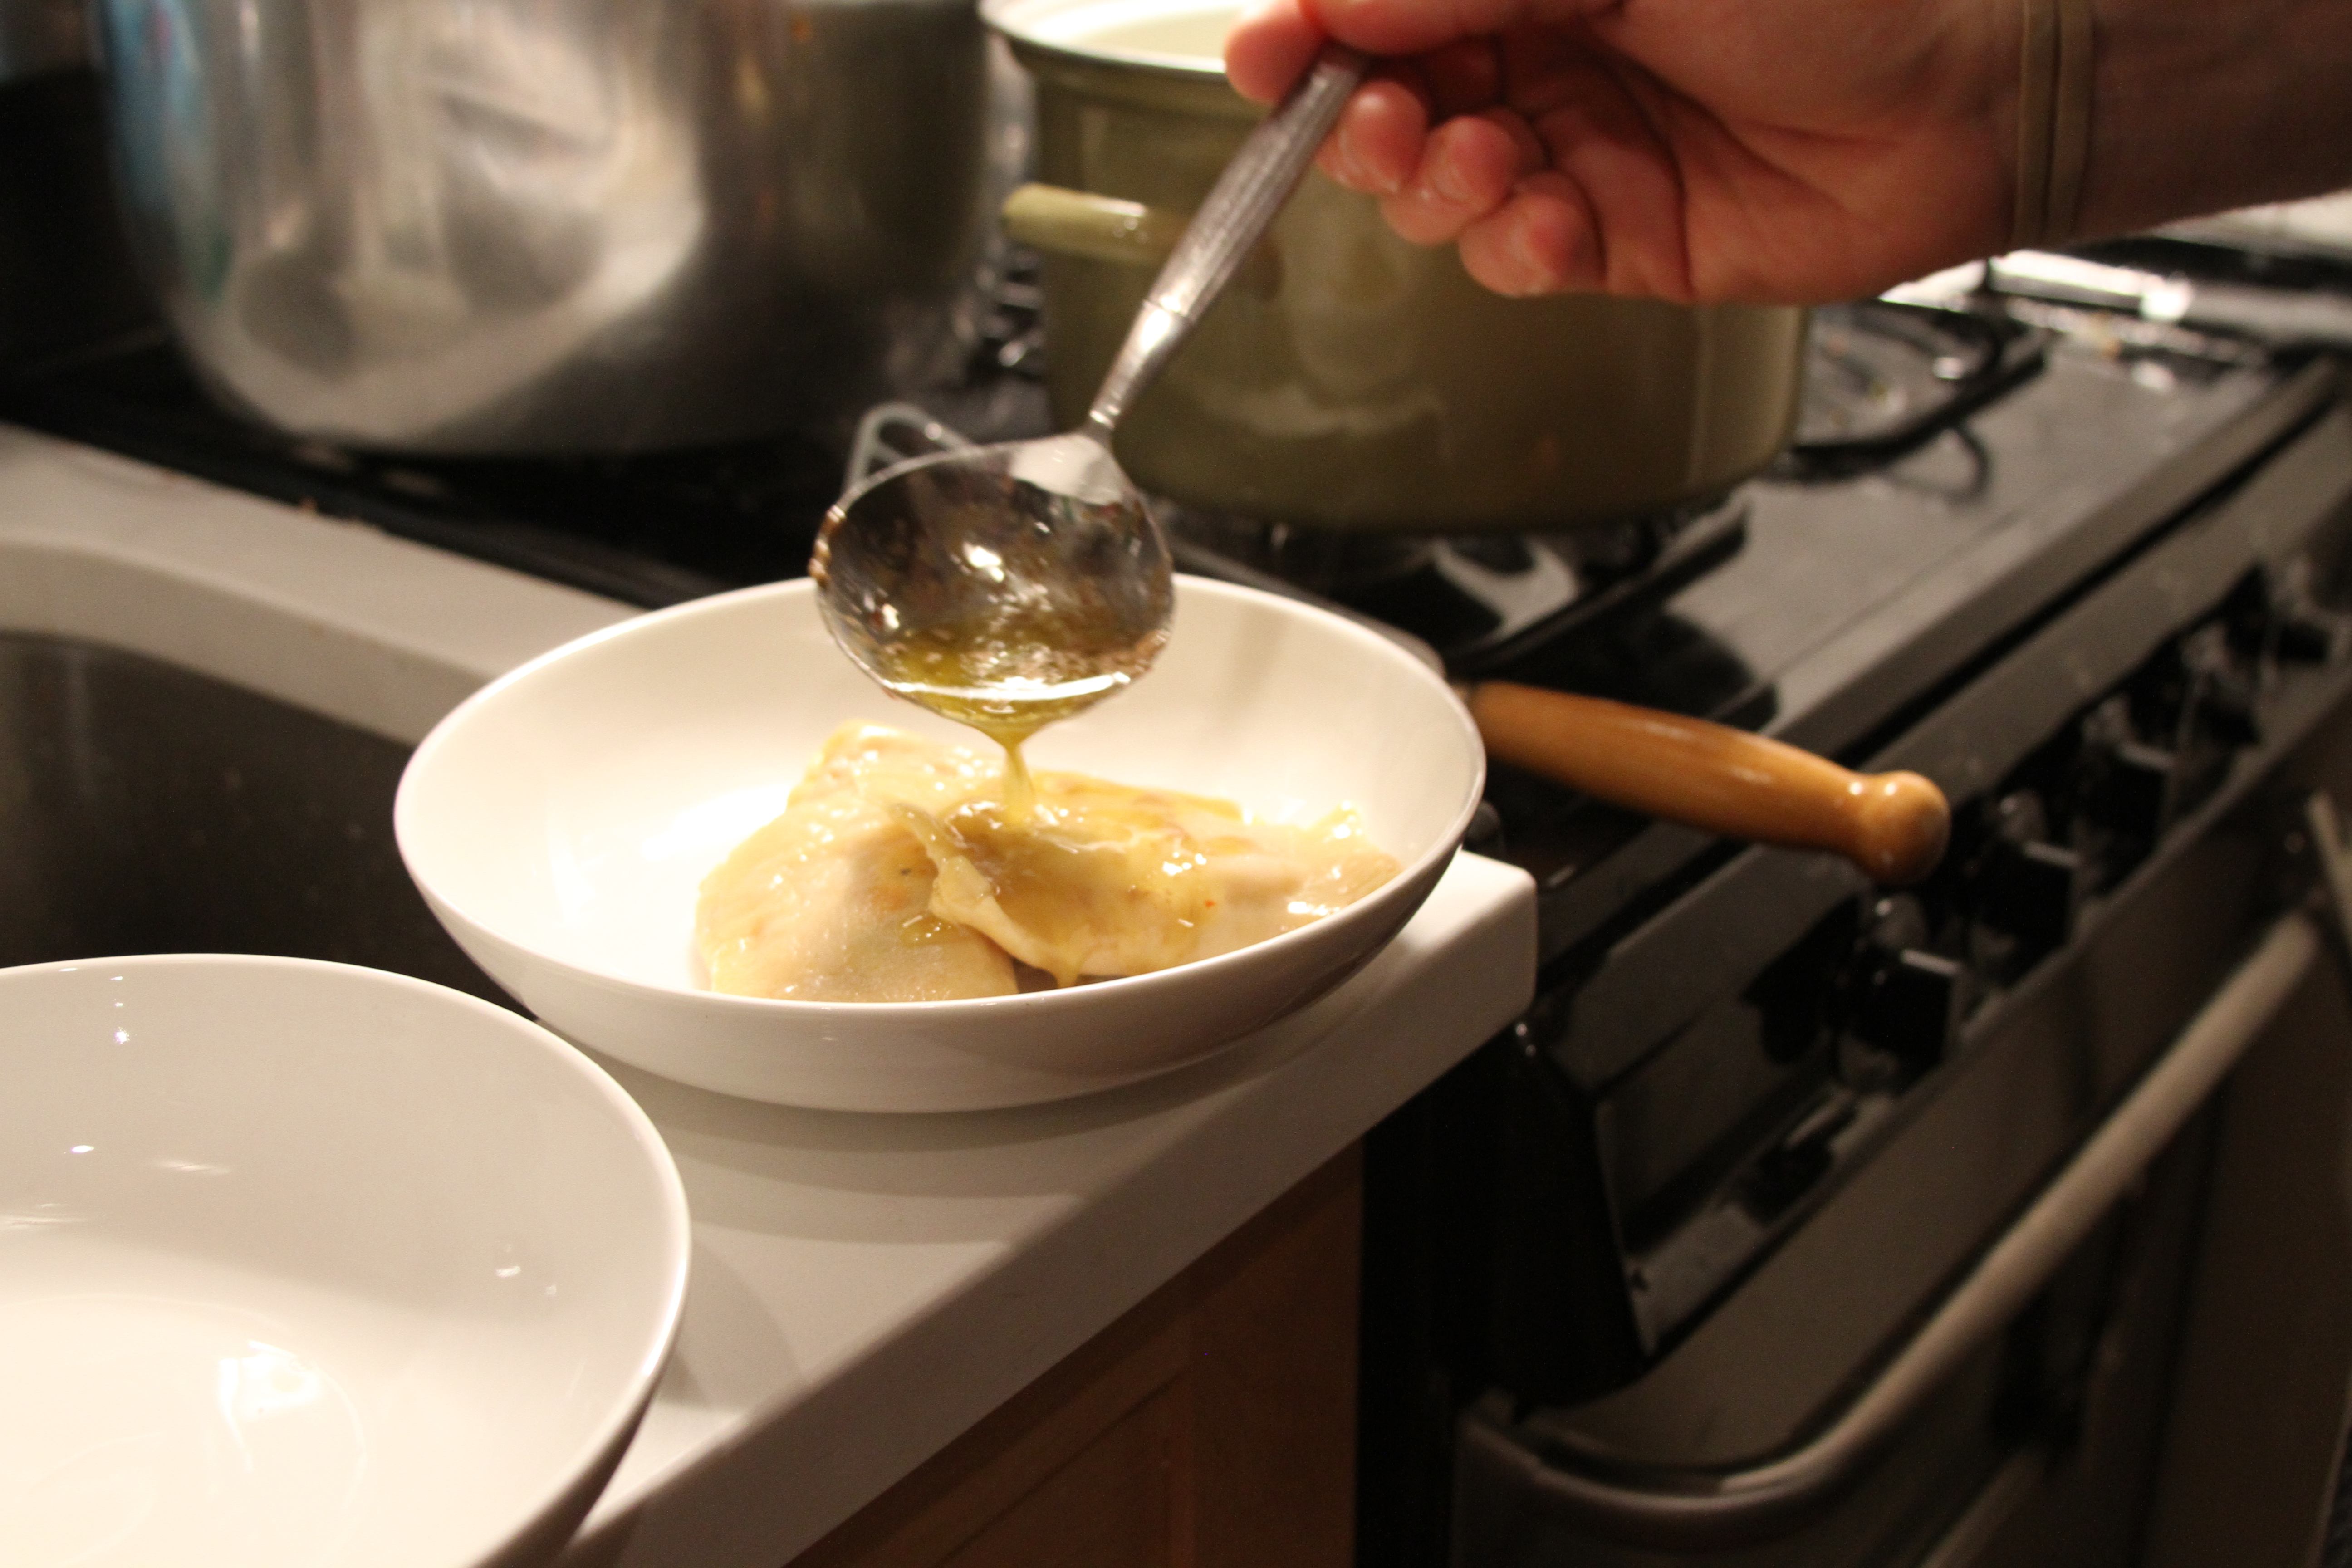
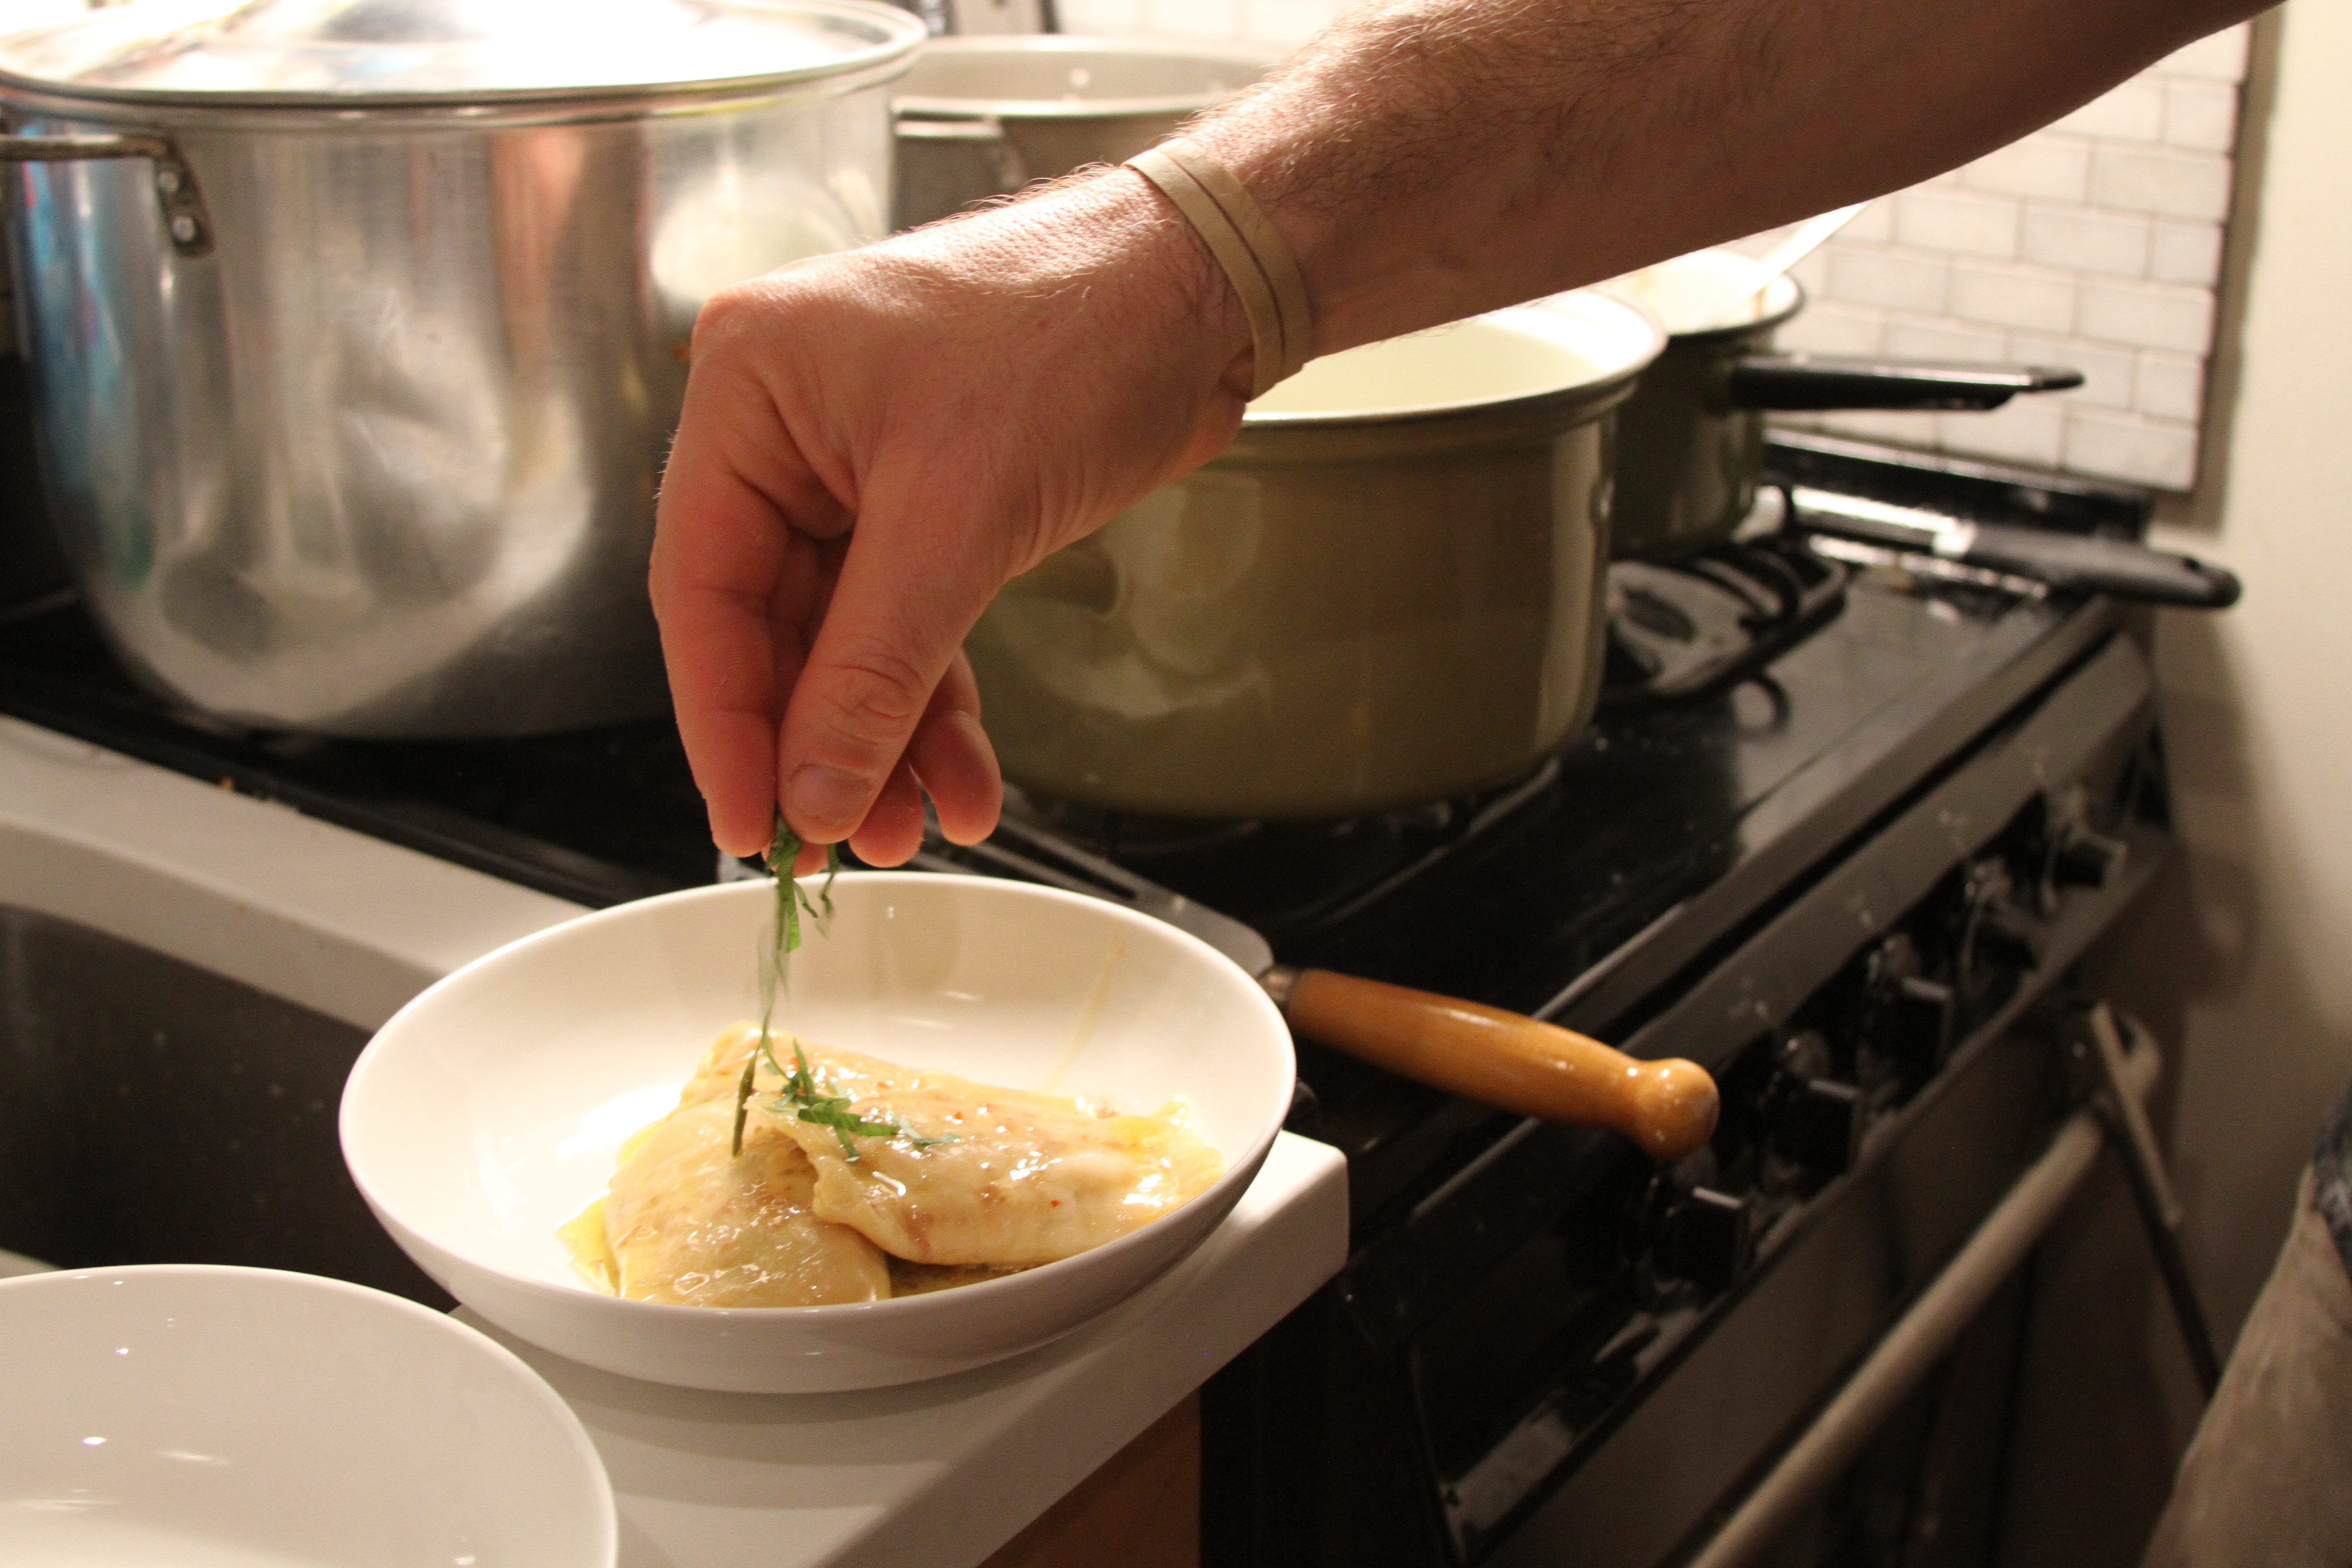
And your finished product should look something like this…

The flavor profile for this dish is sweet and spicy, though the sweet is darker and maltier and the spicy is fairly mild and bright. There’s not so much heat that it’s going to blow you up and ruin you for the next course. It’s plenty savory too, and I found that it did not suffer from being baconless and cheeseless. It was most enjoyable in this wholly vegetarian state. I like it for a first course as it hits a few different flavor notes and really wakes up your mouth. An important thing to do when the second course of the evening is a Maitake/Shitake Mushroom Ragu with Cheese Dumplings and Peashoots.
Nice segue, right?
First thing that we need to do for this dish is start our mushroom stock. This will be a very stripped down version, as most of the other ingredients necessary for a typical stock are already going into the ragu. We just want the essence of the mushroom to provide richness and depth to the ragu and to provide a little extra mushroom reinforcement to the whole maitake’s and shitake’s going into the ragu.
We’re going to use cremini mushrooms (a portobello by a another name) for our stock. You need about 8oz for this application. We’re going to be able to distill some pretty intense mushroom flavor from that small amount. Cut the cremini’s in half and add the whole halves to a stock pot. Cover the mushrooms with water and set over medium-high heat.

Bring the water up to boiling.
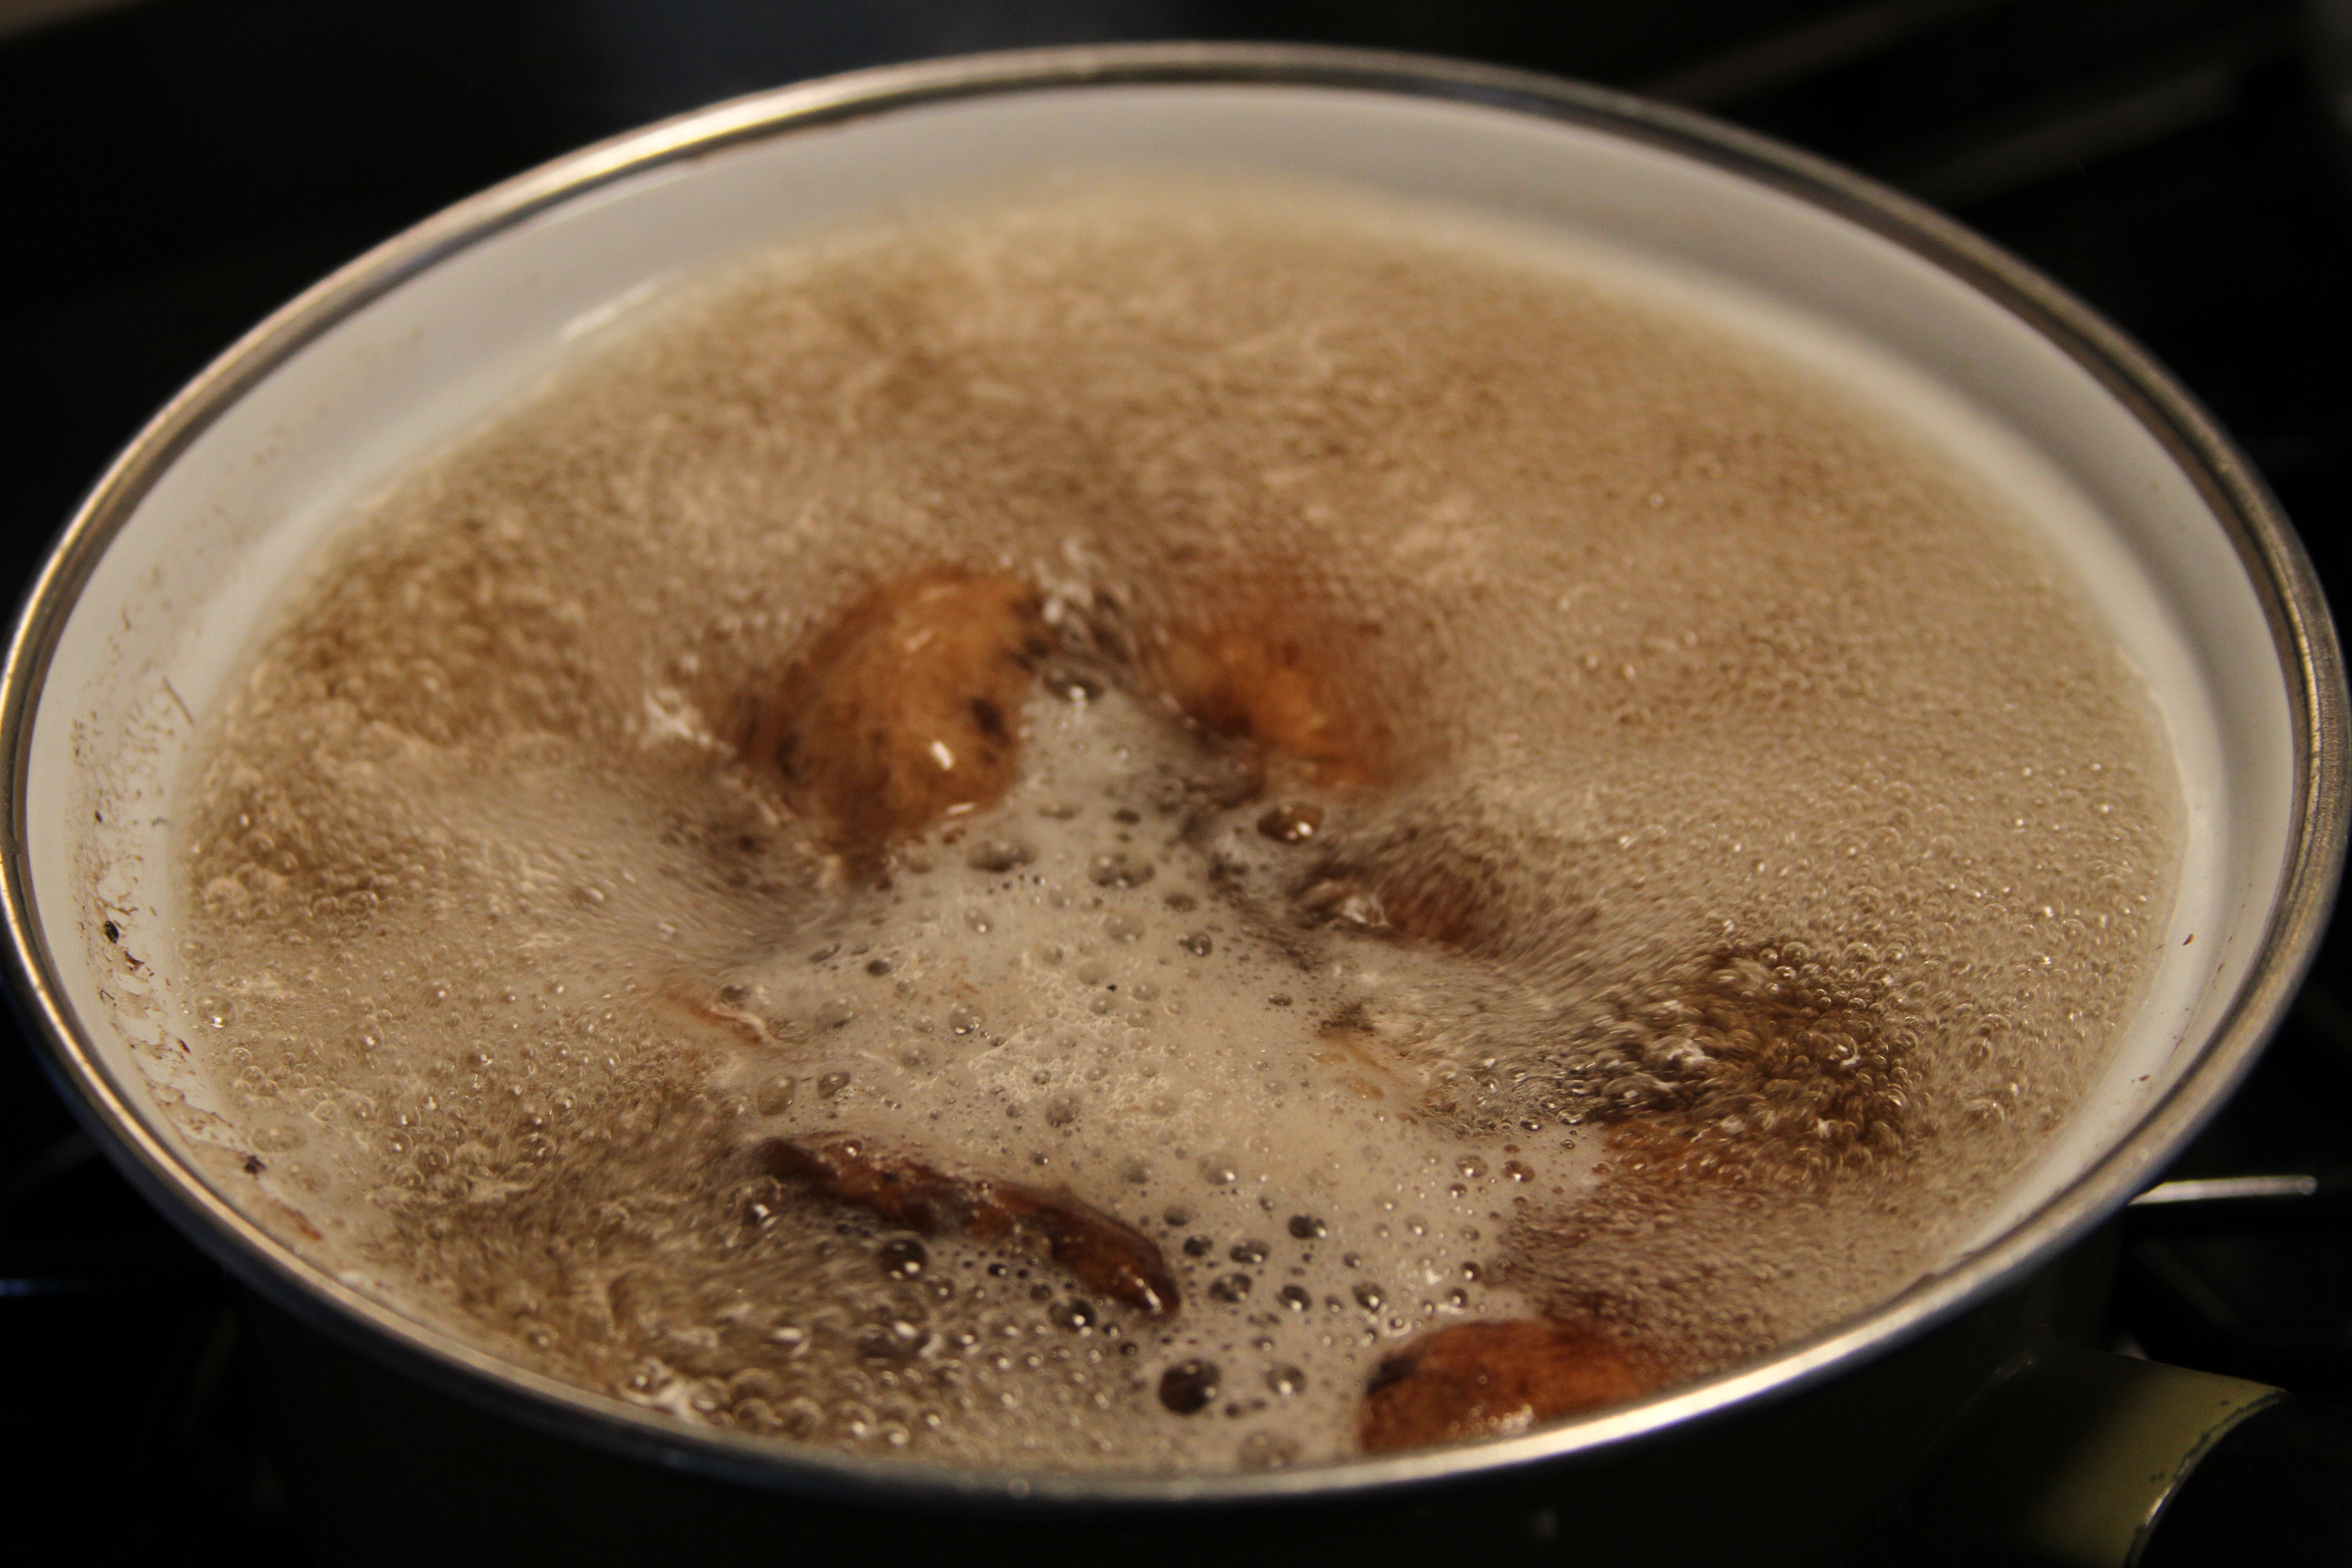
Once the water comes to a boil reduce the heat, until the water drops to a medium simmer.

Leave the pot uncovered and let it simmer until the stock liquid reduces to about 1/3 of the what you started with. Once the water reaches that level, refill the pot with more water and repeat the process. What you’re doing here is extracting all that funky, earthy, meaty mushroom goodness out of the cremini’s and concentrating it. Every time we cook the water down and refill the pot the flavor will intensify. Repeat this process for at least an hour. Two plus hours is even better, and you can do this while prepping the rest of ingredients for the dish. Like the cheese dumplings.
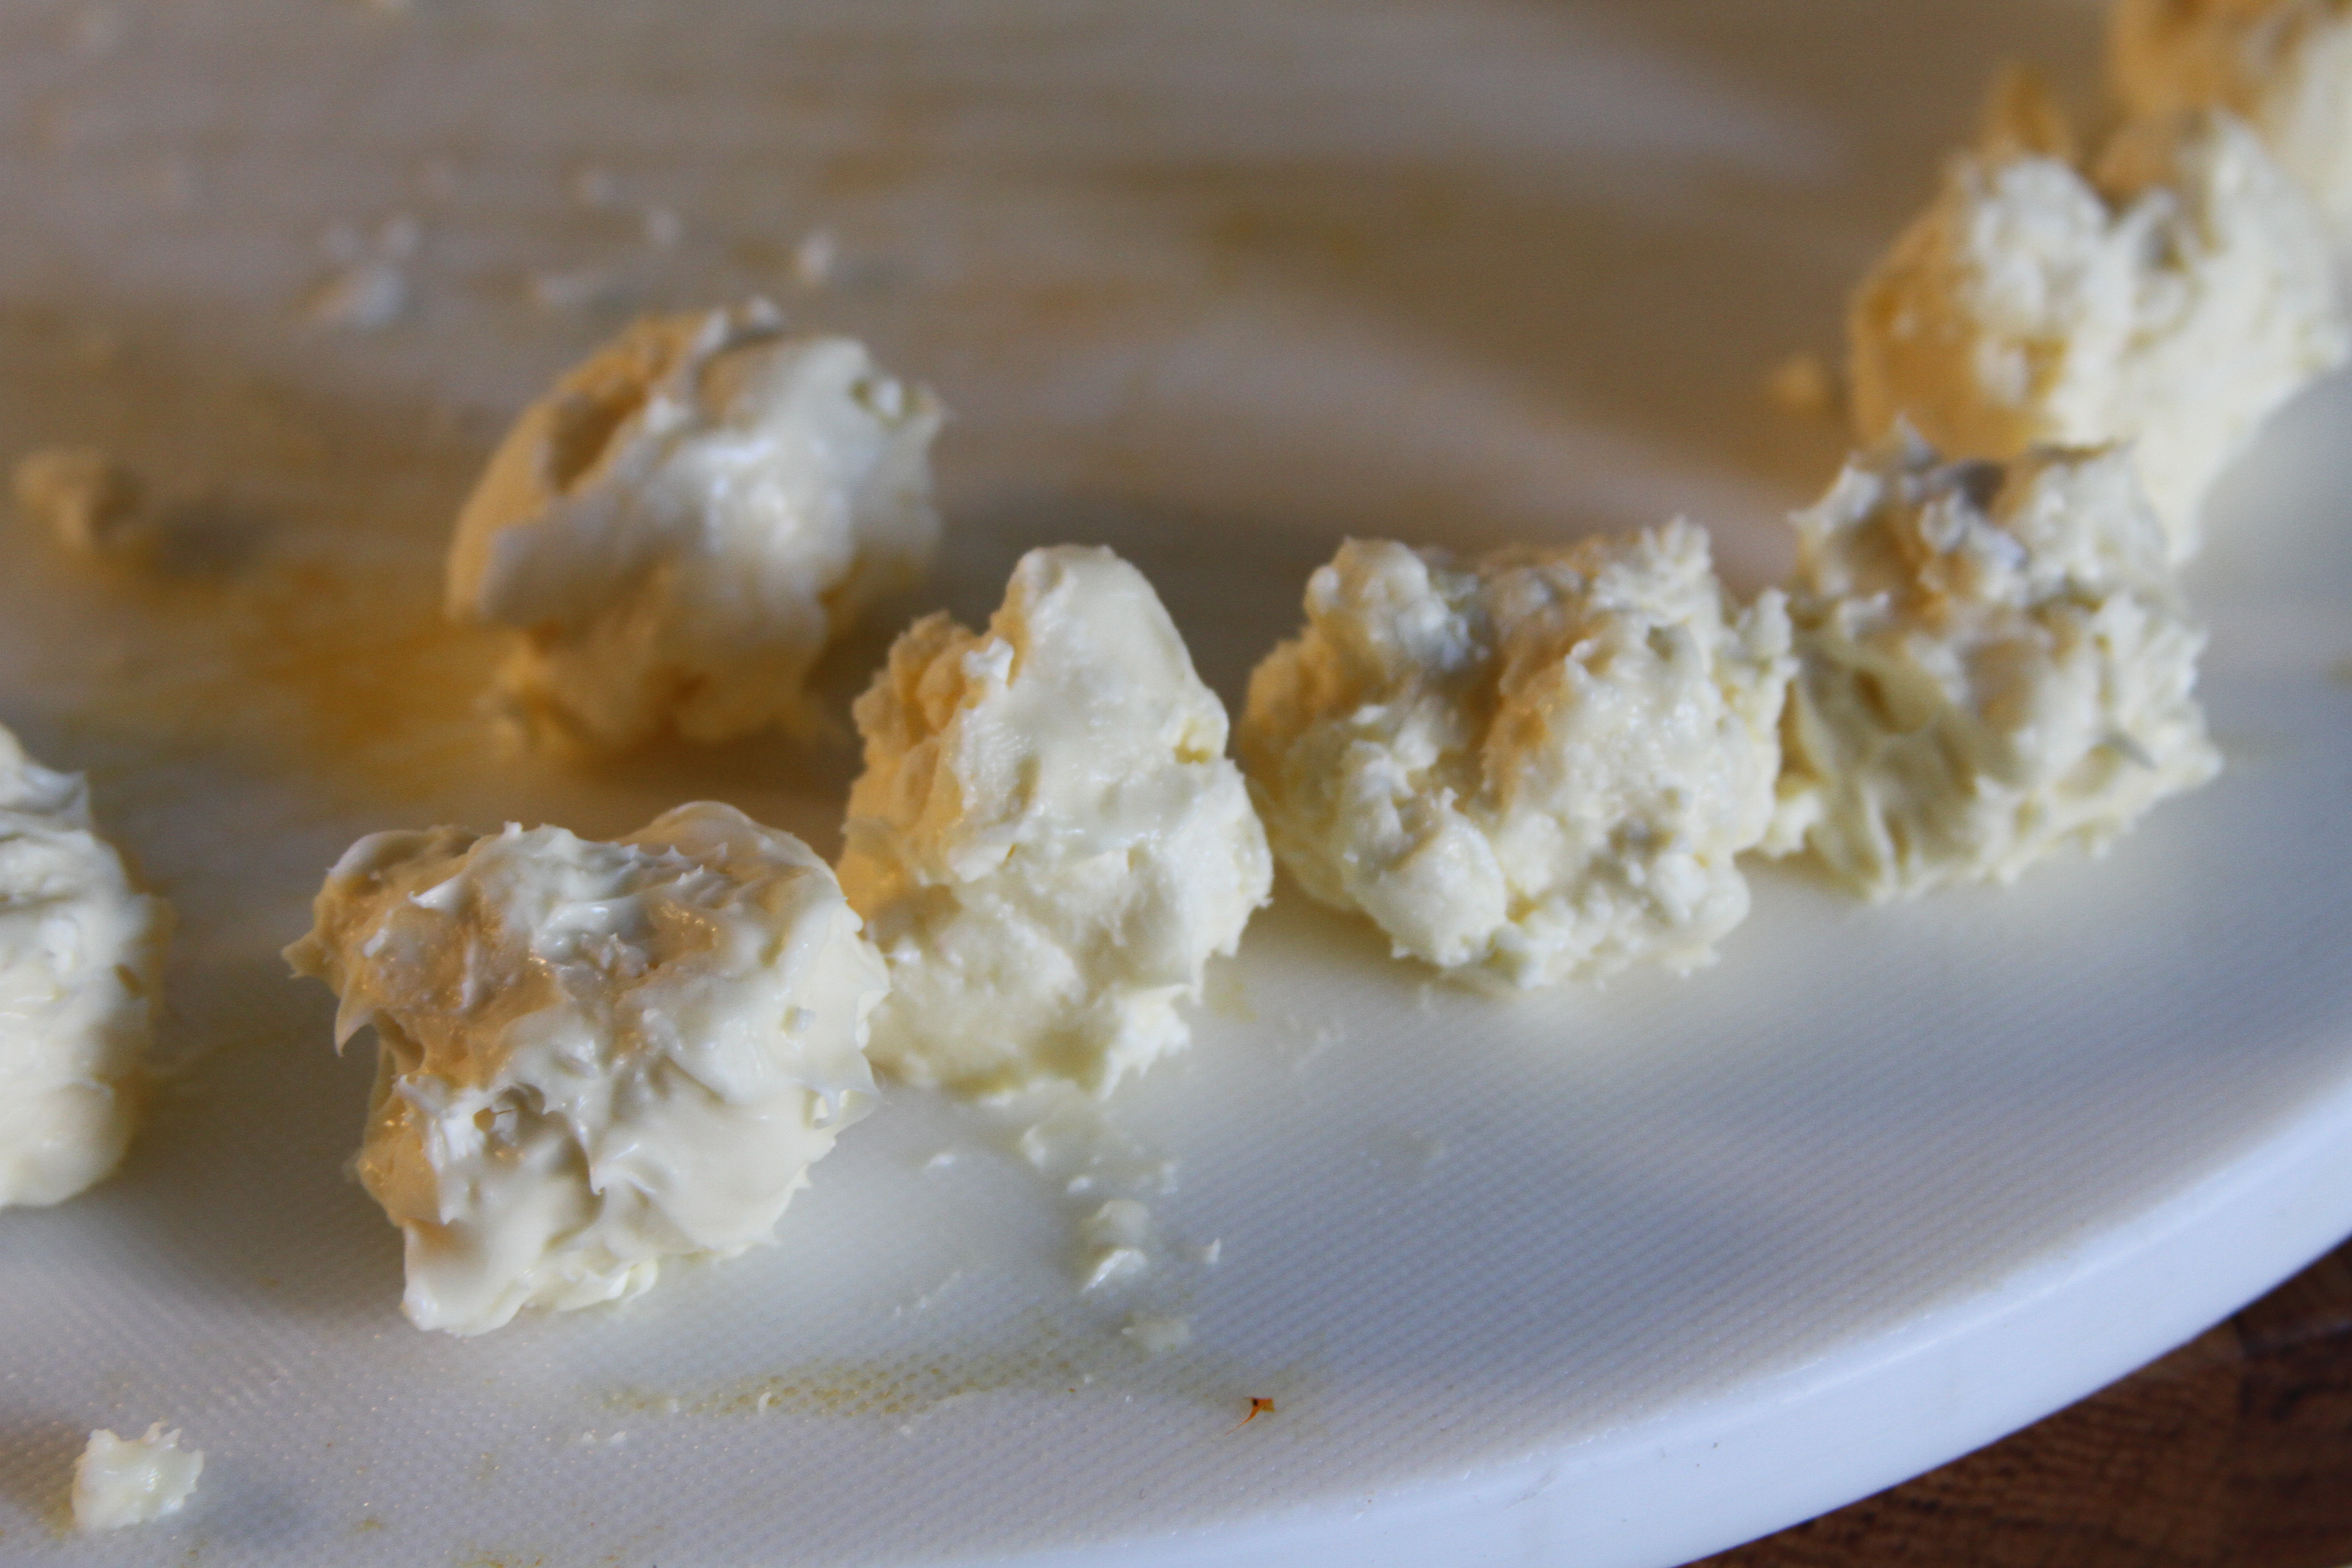
Our cheese is the Mt. Tam from Cowgirl Creamery. It’s an aged triple cream, so it’s super rich, but also quite malleable, making it ideal for shaping the dumplings. The flavor is of a velvety, rich, barnyard nature and there are some trufflesque notes in there too. A nice match for the ragu. The fancy way to make the dumplings would be to use a spoon to scoop out cheese from the center of the wheel and then use a second spoon to “cut” or shape a quenelle (basically little footballs) out of the cheese. I hate cutting quenelles and I’m not very good at cutting quenelles, so I didn’t cut quenelles. I just made some rather sloppy cheese balls. I mean we’re gonna fry them. Not much else matters.
You can use a standard bread crumb if you’d like, but I prefer panko as it’s lighter and texturally it’s a little more fun. Set up a basic dredging station and you’re ready to go.
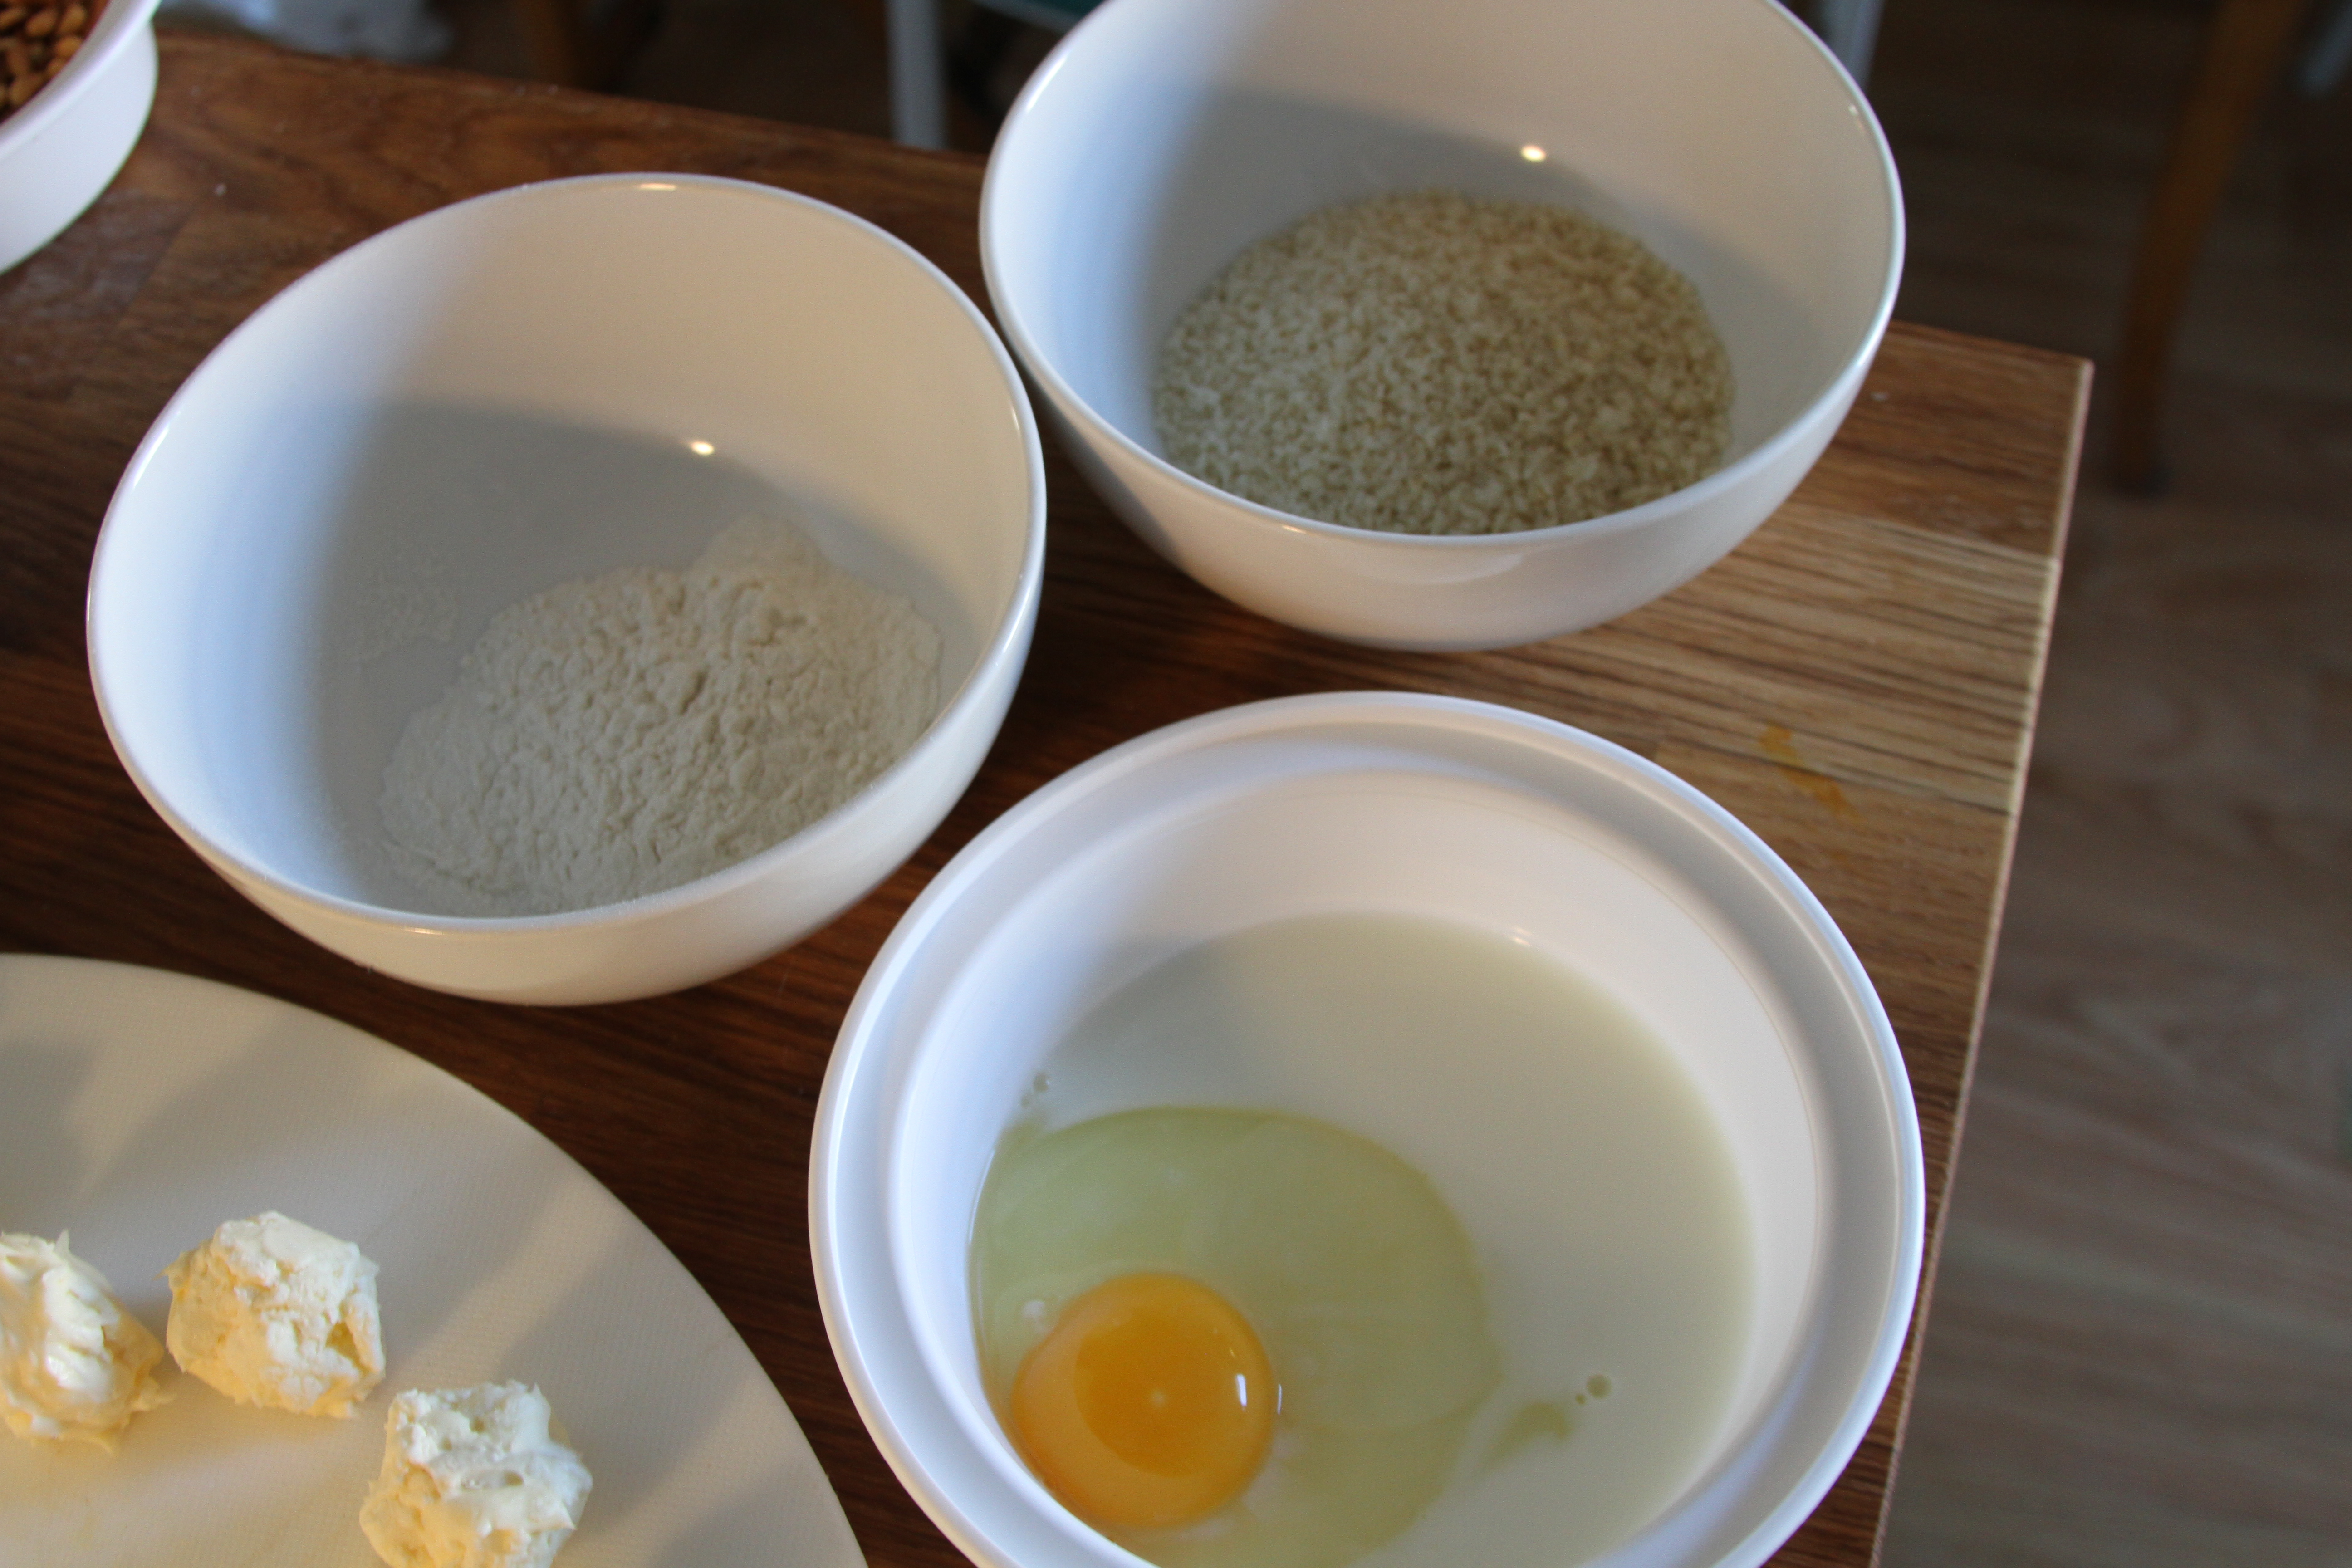
White flour, an egg, a little heavy cream to be whipped in with the egg, and the panko. Dredge the cheese in flour first, coat it with the egg wash and roll it in the panko.
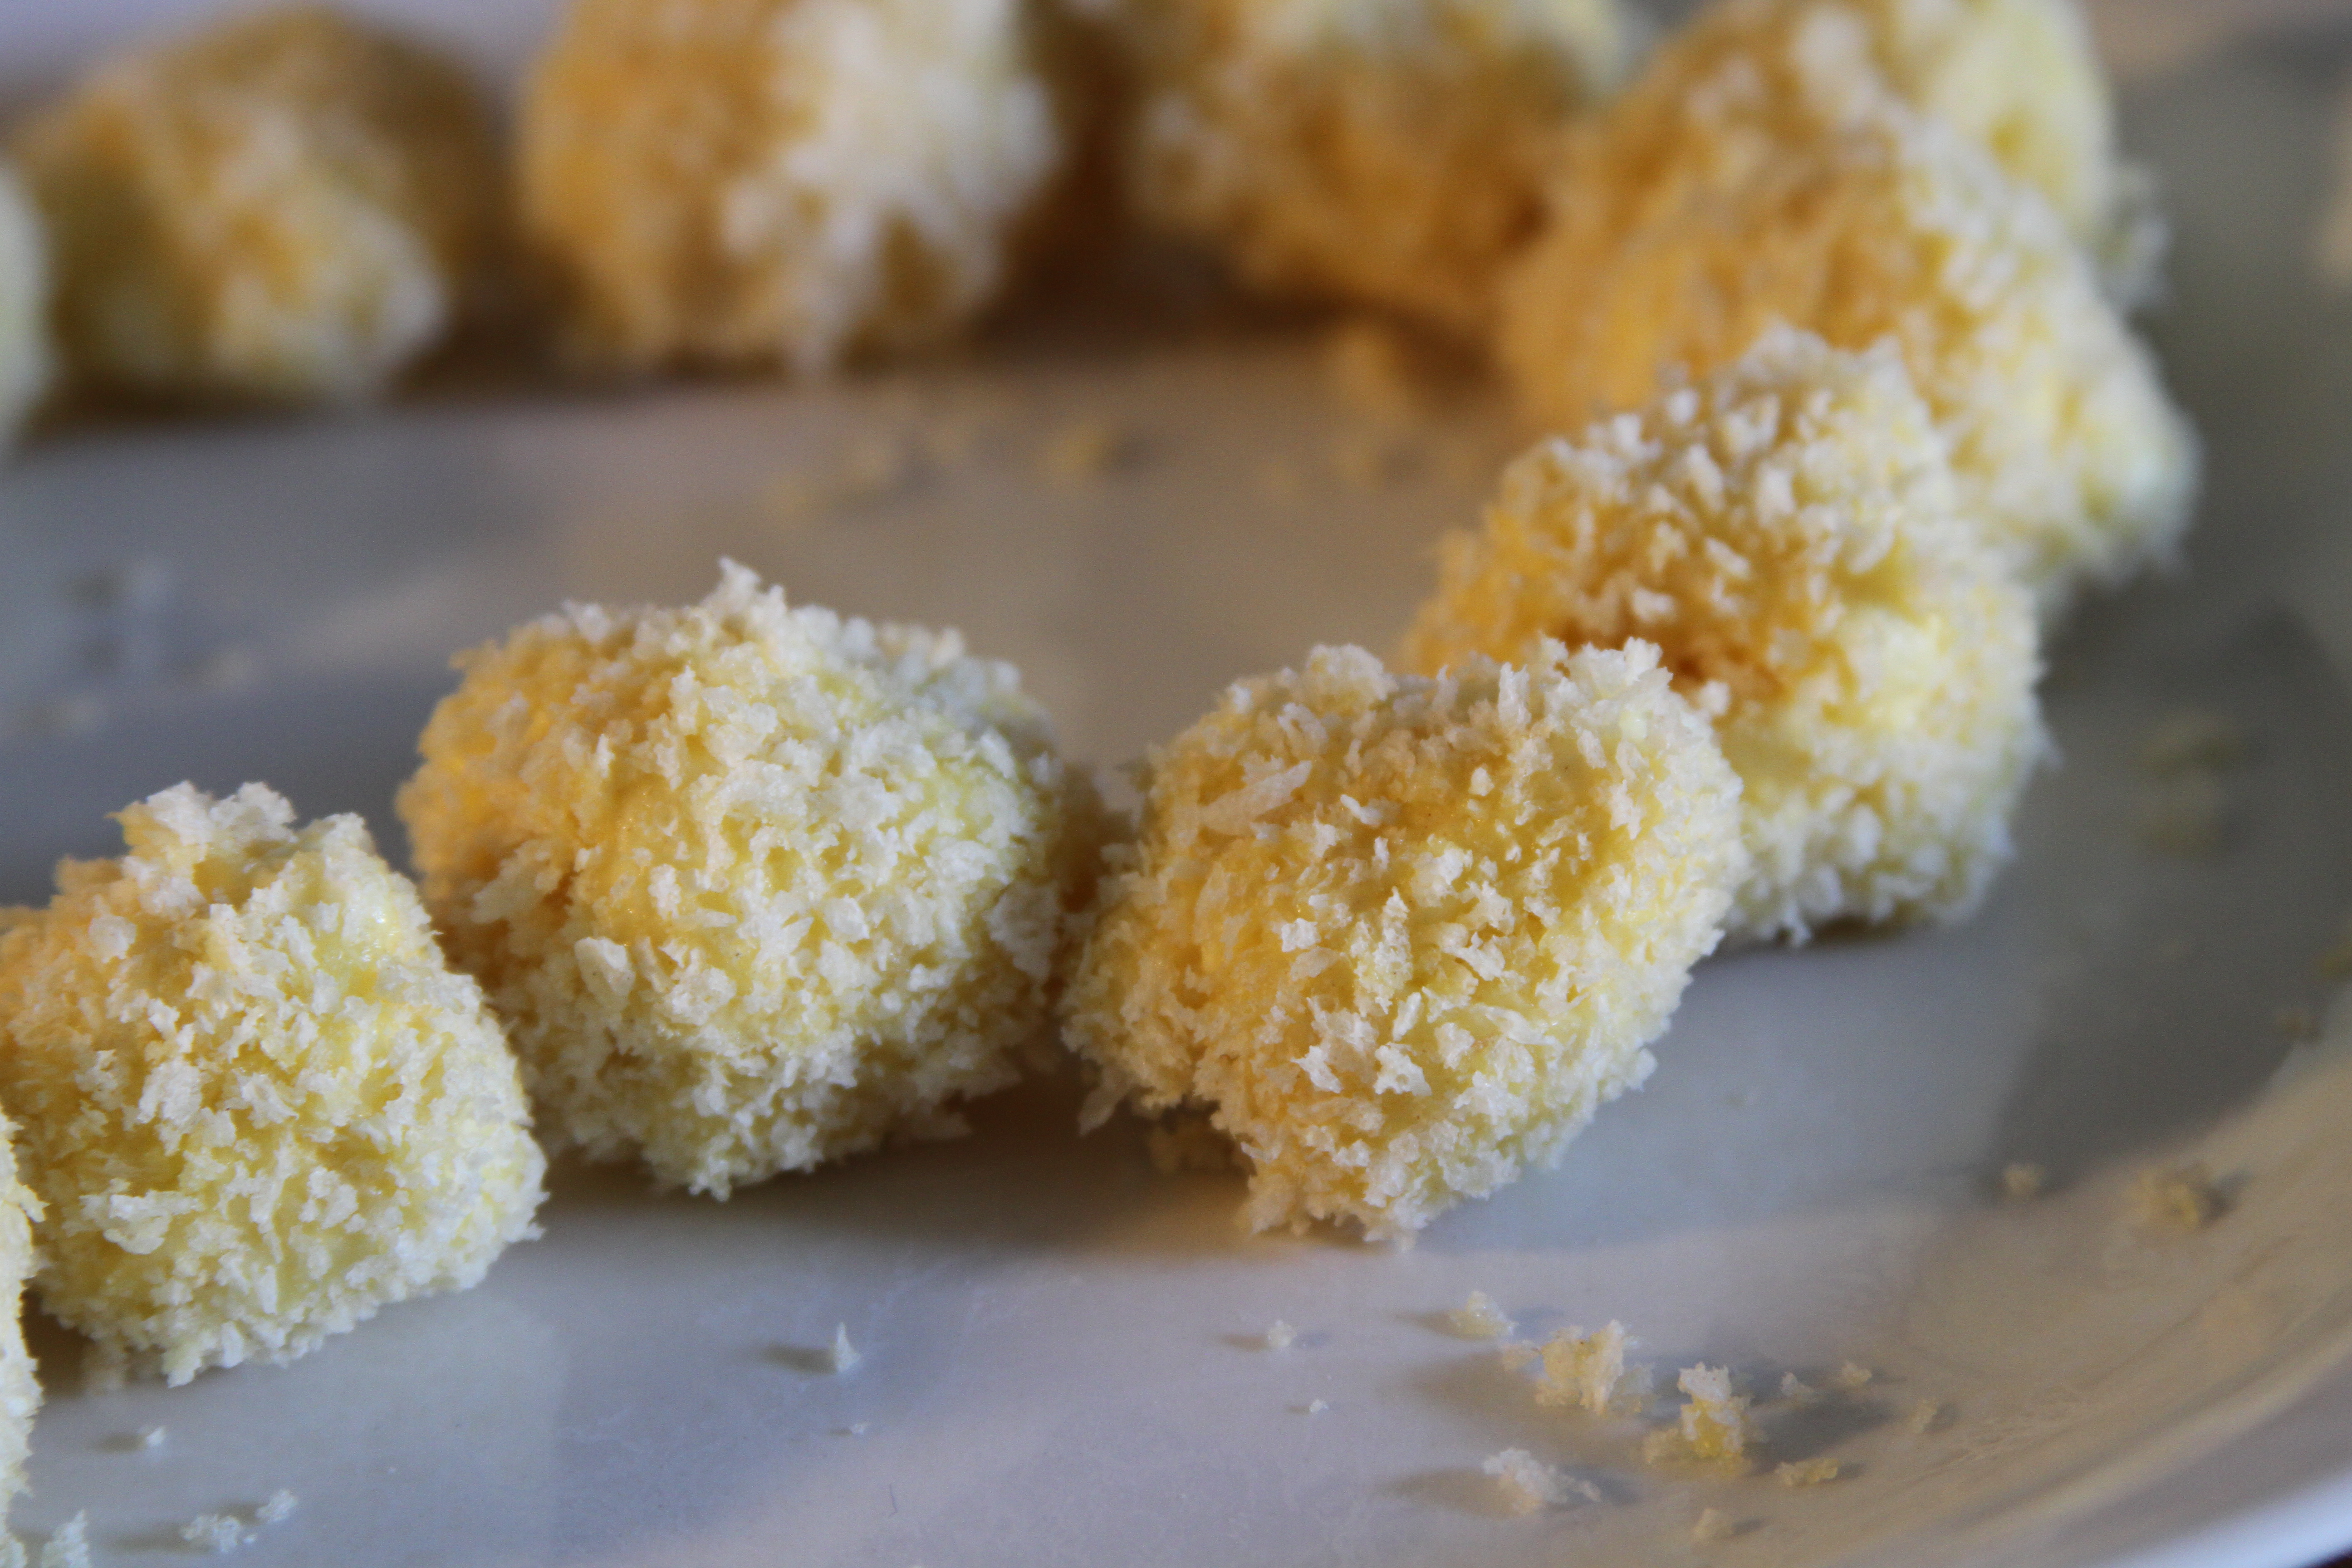
Be careful to make sure that the cheese is fully coated with the panko. Don’t leave any gaps or the cheese will leach out once these daddy’s hit the frying oil. You’ll wind up with a bunch of scorched cheese and sad faces. Once you’ve got these squared away pop them in the fridge until about twenty minutes before you’re ready to fry them, at which point you want to remove them from the fridge to let them come up to room temperature.
On to the ragu…
If you’ve ever worked in a restaurant kitchen then you’ve probably given up hours of your life and a novels worth of vile epithets over cutting piles and piles of mirepoix. The trio of celery, carrot, and onion that serves as a flavor anchor for countless dishes in a variety of cuisines. And you probably hate the word mirepoix and anyone who speaks it. If you’ve only used mirepoix in home cooking applications then consider yourself lucky. Fortunately for me I don’t have to cut mirepoix for a living any longer and I find the knife work involved in cutting the aromatics relaxing and enjoyable. Whatever. I’m weird.
Celery, carrot, onion. The standard size to which the vegetables should be cut is called a brunoise. It’s a dice that leaves a vegetable cube that is, depending on how French you want to be, from 1/8inch to 1/16inch. In my opinion wherever your cut falls doesn’t matter too much, as long as everything is the same size. Uniformity counts as it means that everything is going to cook at the same rate. For this dish we don’t want to go any larger than 1/8inch, smaller than that is fine. We want the mirepoix to be an ingredient in the ragu. Not a featured piece.
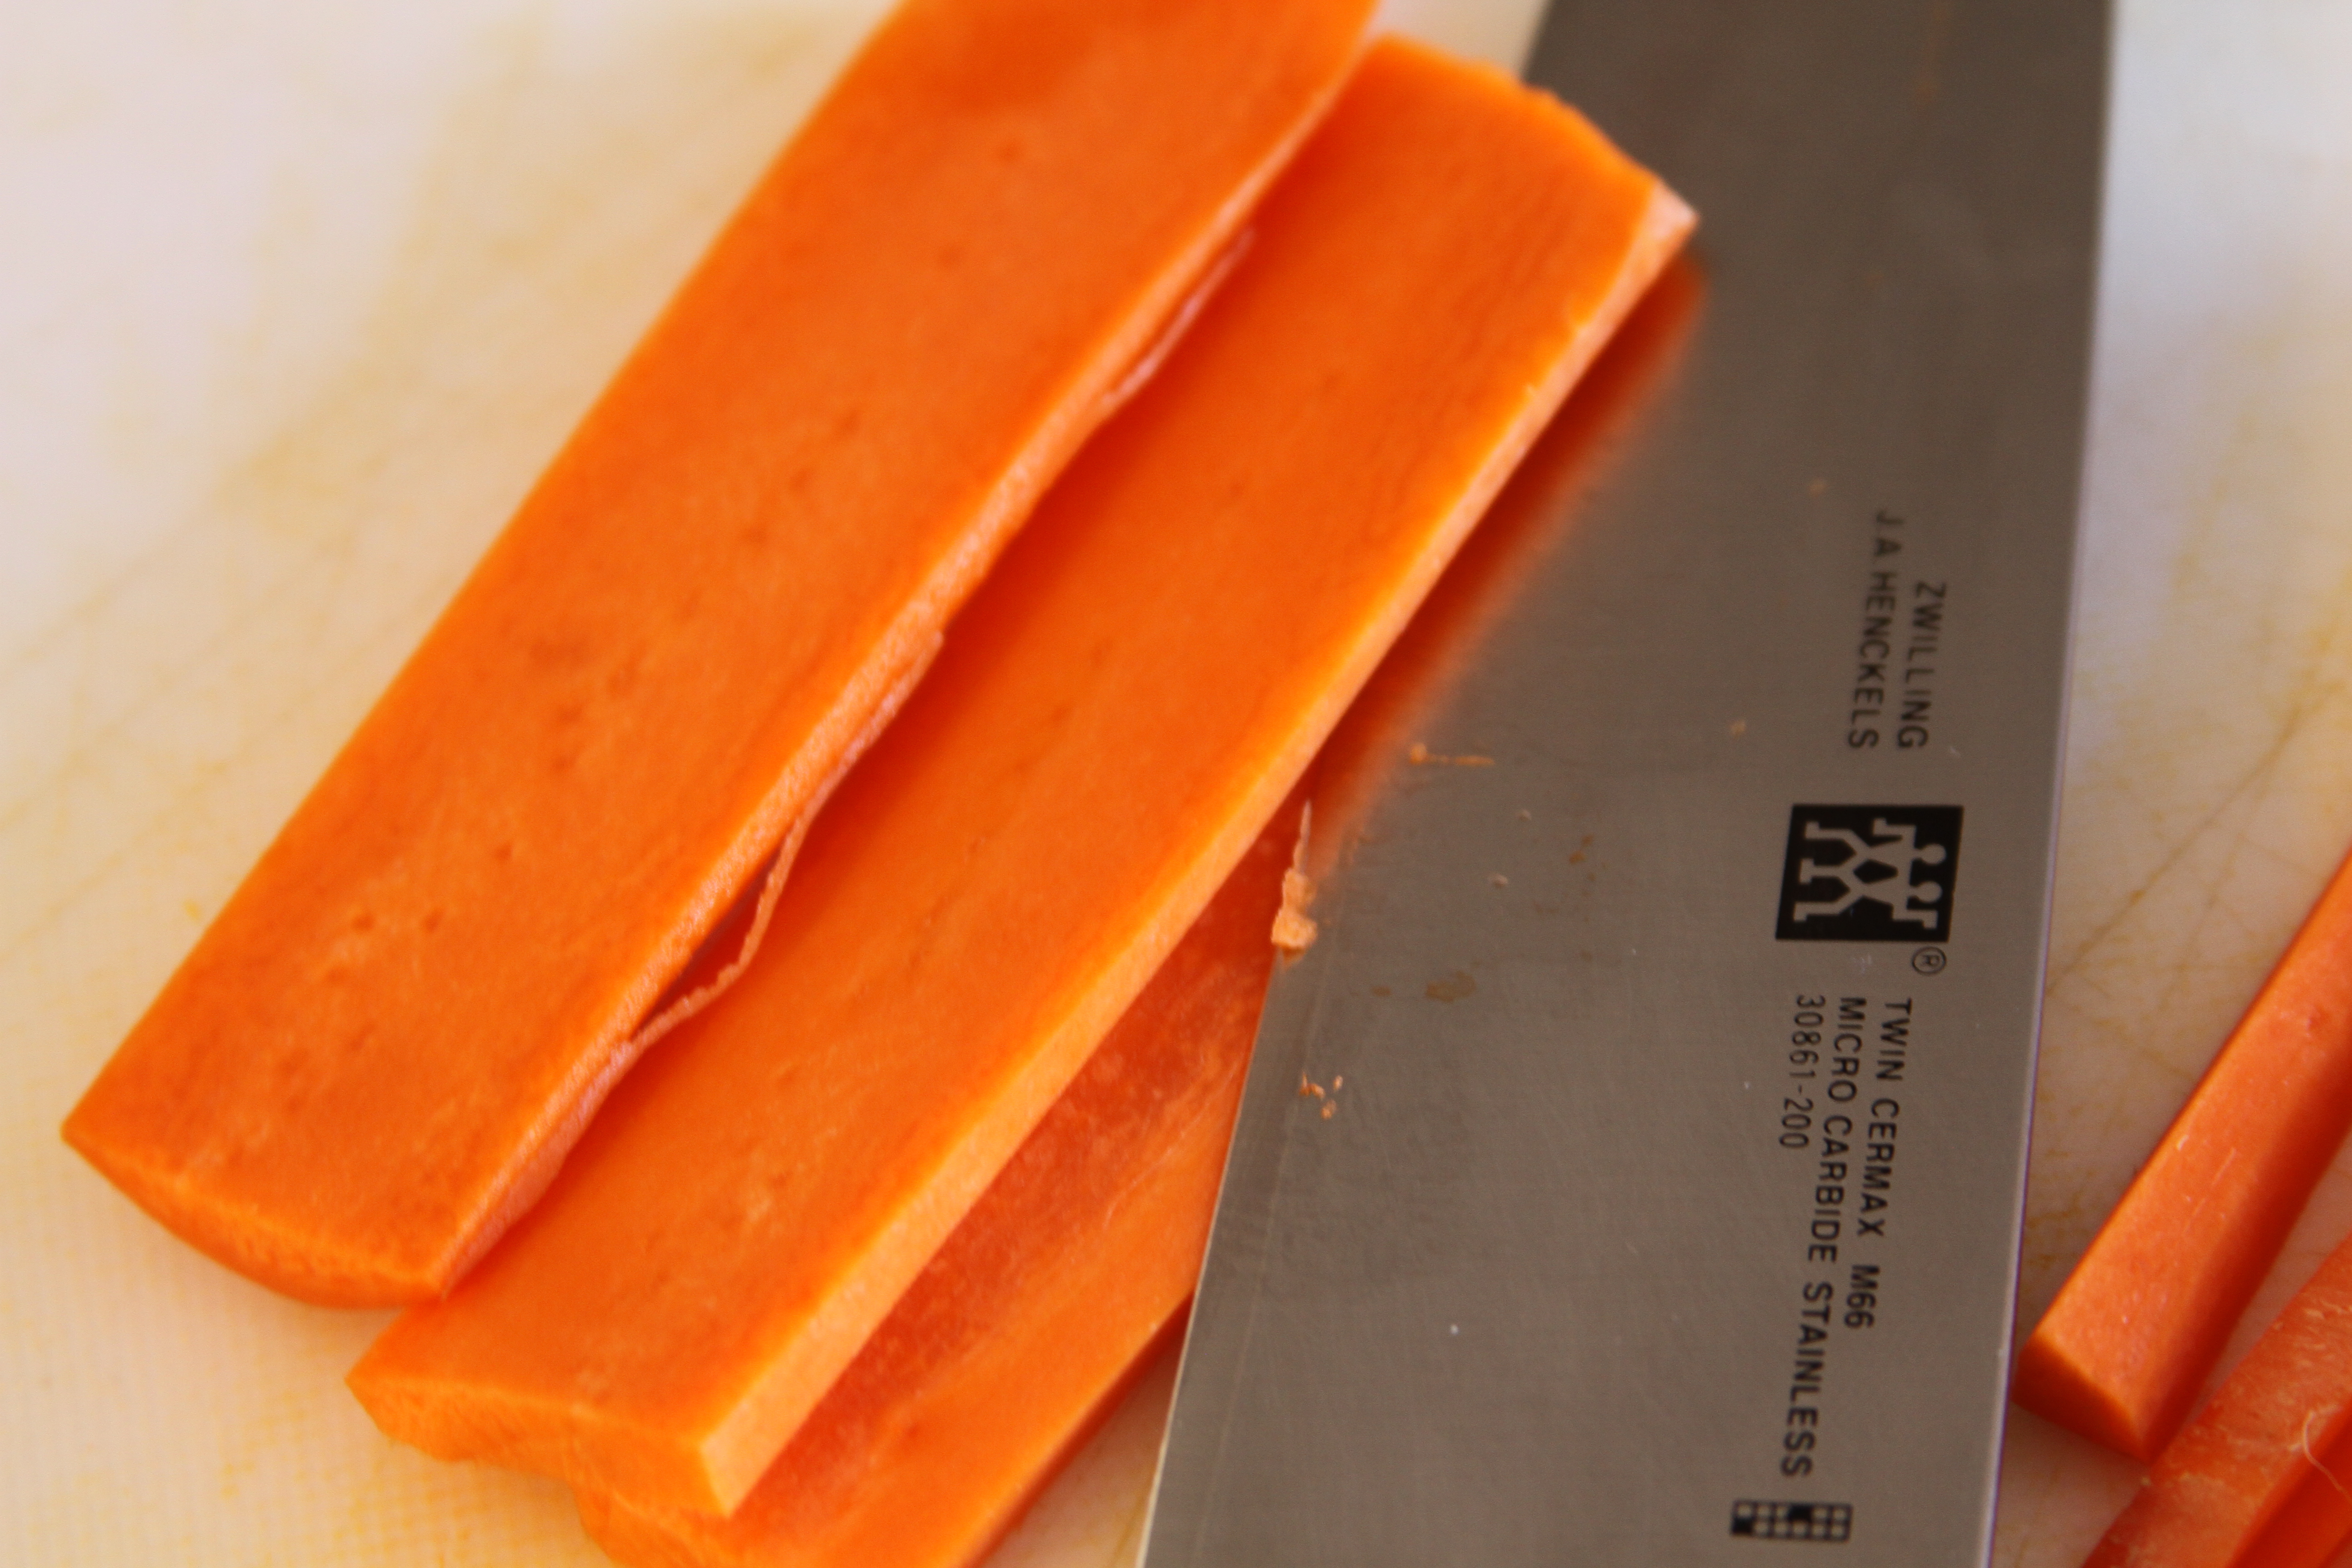
Cut the ends from your whole carrot and cut the body down into flat sided planks.
Cut sticks at the size you want from your carrot planks.
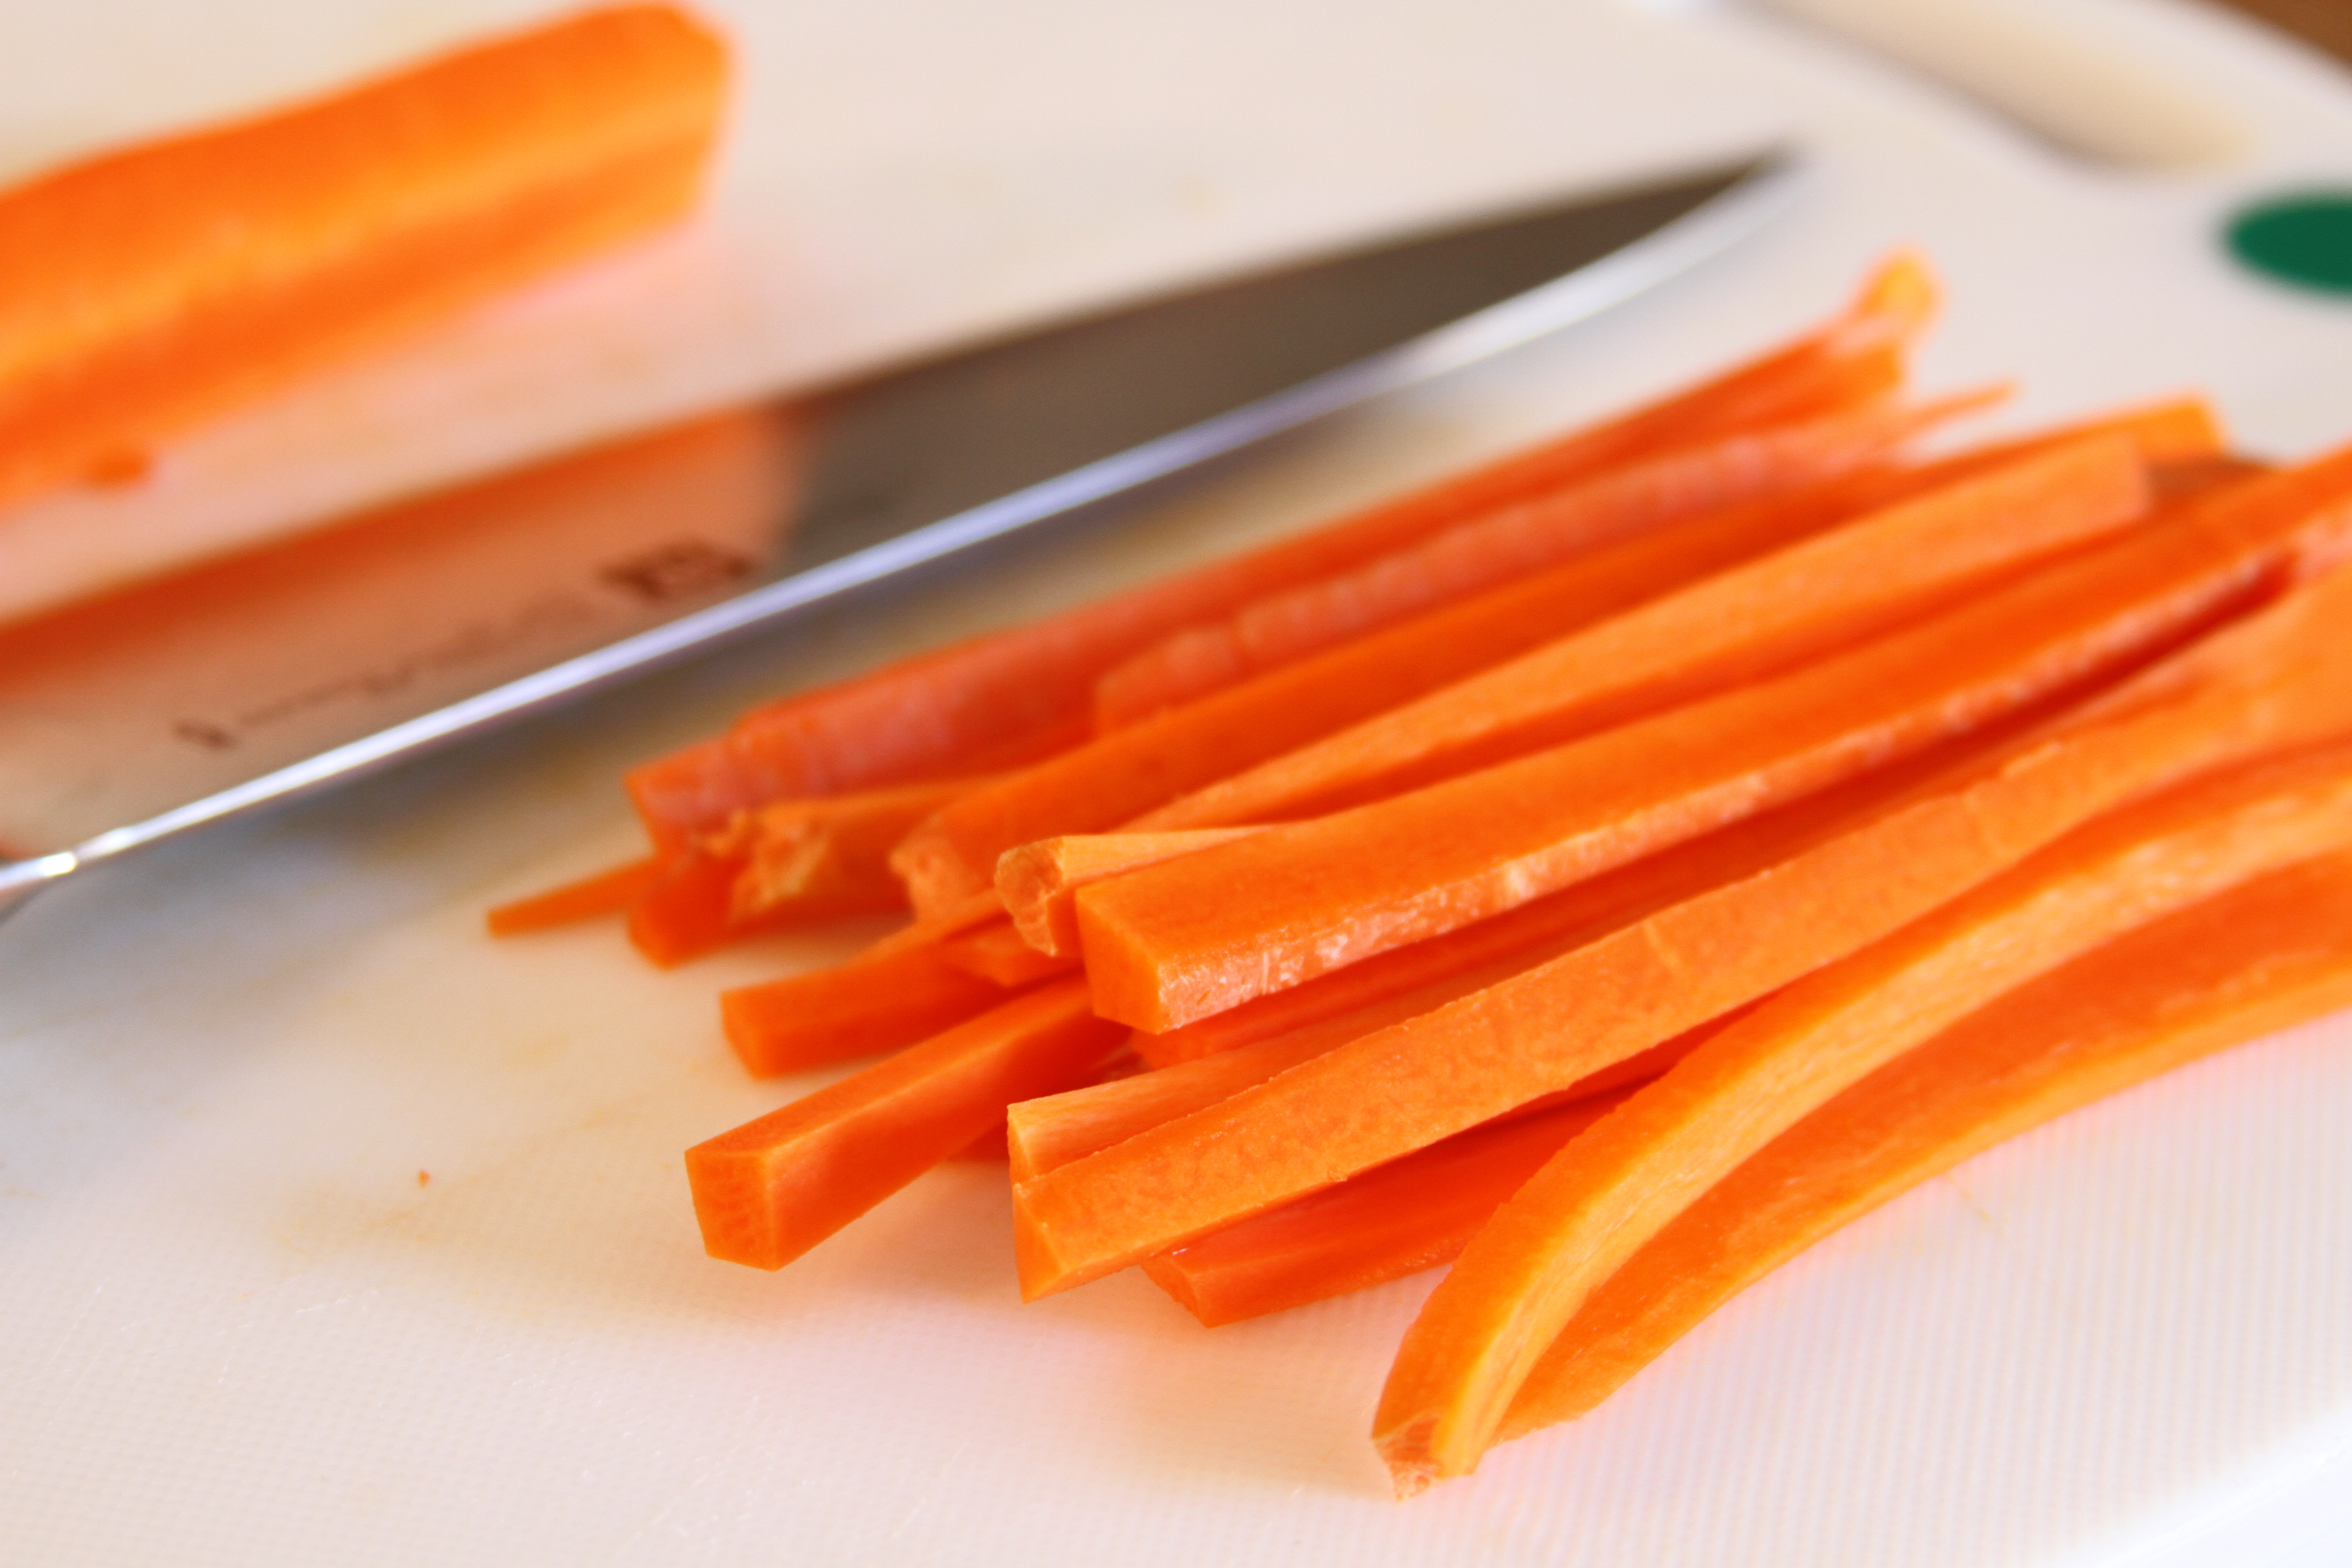
Taking a few sticks at a time, move along their length slowly dicing out cubes of carrots at the right size.

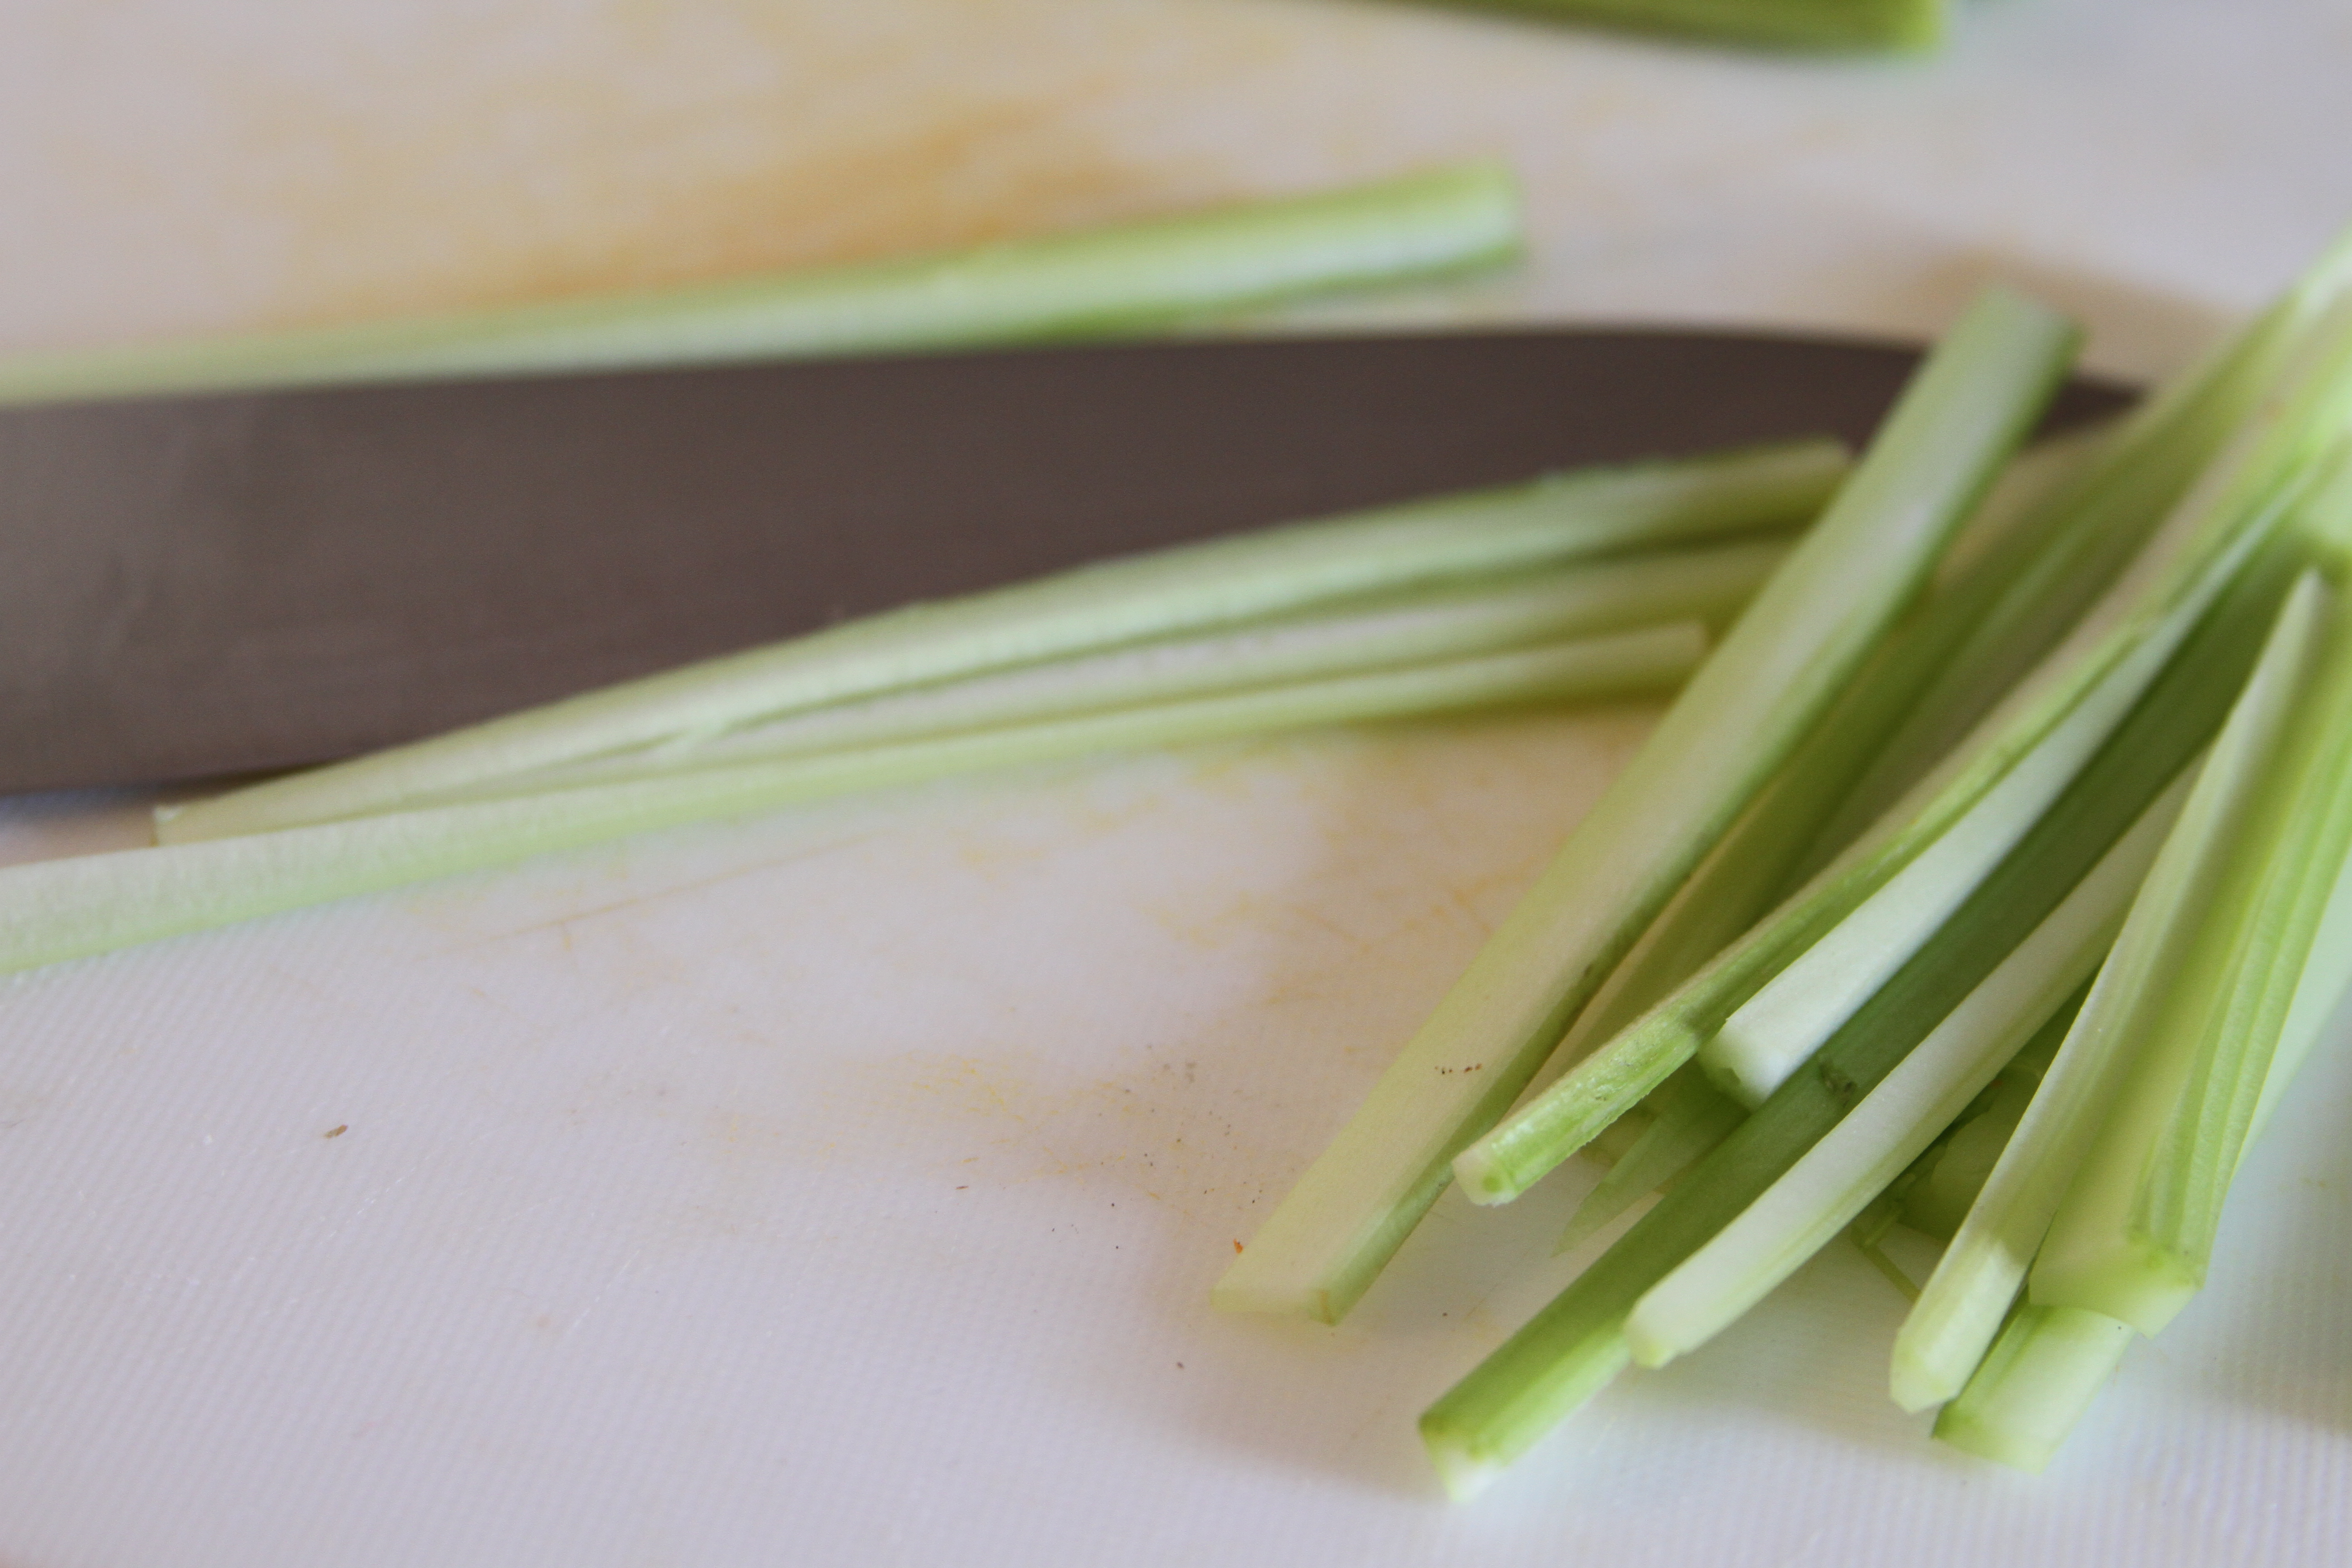
We’re going to treat the celery more or less the same, only we can just skip right to cutting sticks from whole stalk. Use only the deep green outer stalks.
.

Breaking down the onion can be tricky, but once you get the hang of the technique (this means practice, which means cooking more. A good thing.) it’s pretty easy. Cut the ends from the onion. Peel off the skin and any damaged layers of flesh. Cut the onion in half vertically. Lay the onion down on your board with the flat side down and the dome up. Cut, with the grain, from the dome down through the onion to the board, at about 5/6 of the onions length. You want the onion still attached on one end so everything doesn’t come apart on you when you start chopping. Make this cut over the entire dome of the onion. Next, cut into the onion with the knife held horizontally to your cutting board. Cut about 5/6 of the way back and work bottom to top until you’ve cut to the top of the onion dome. Be careful. Your onion should look like this.

Once you’ve reached this point you want to cut from the top of the onion dome down and perpendicularly to the horizontal cuts. Gauge the size before you make your cut and you should wind up with pretty, perfect little onion cubes.
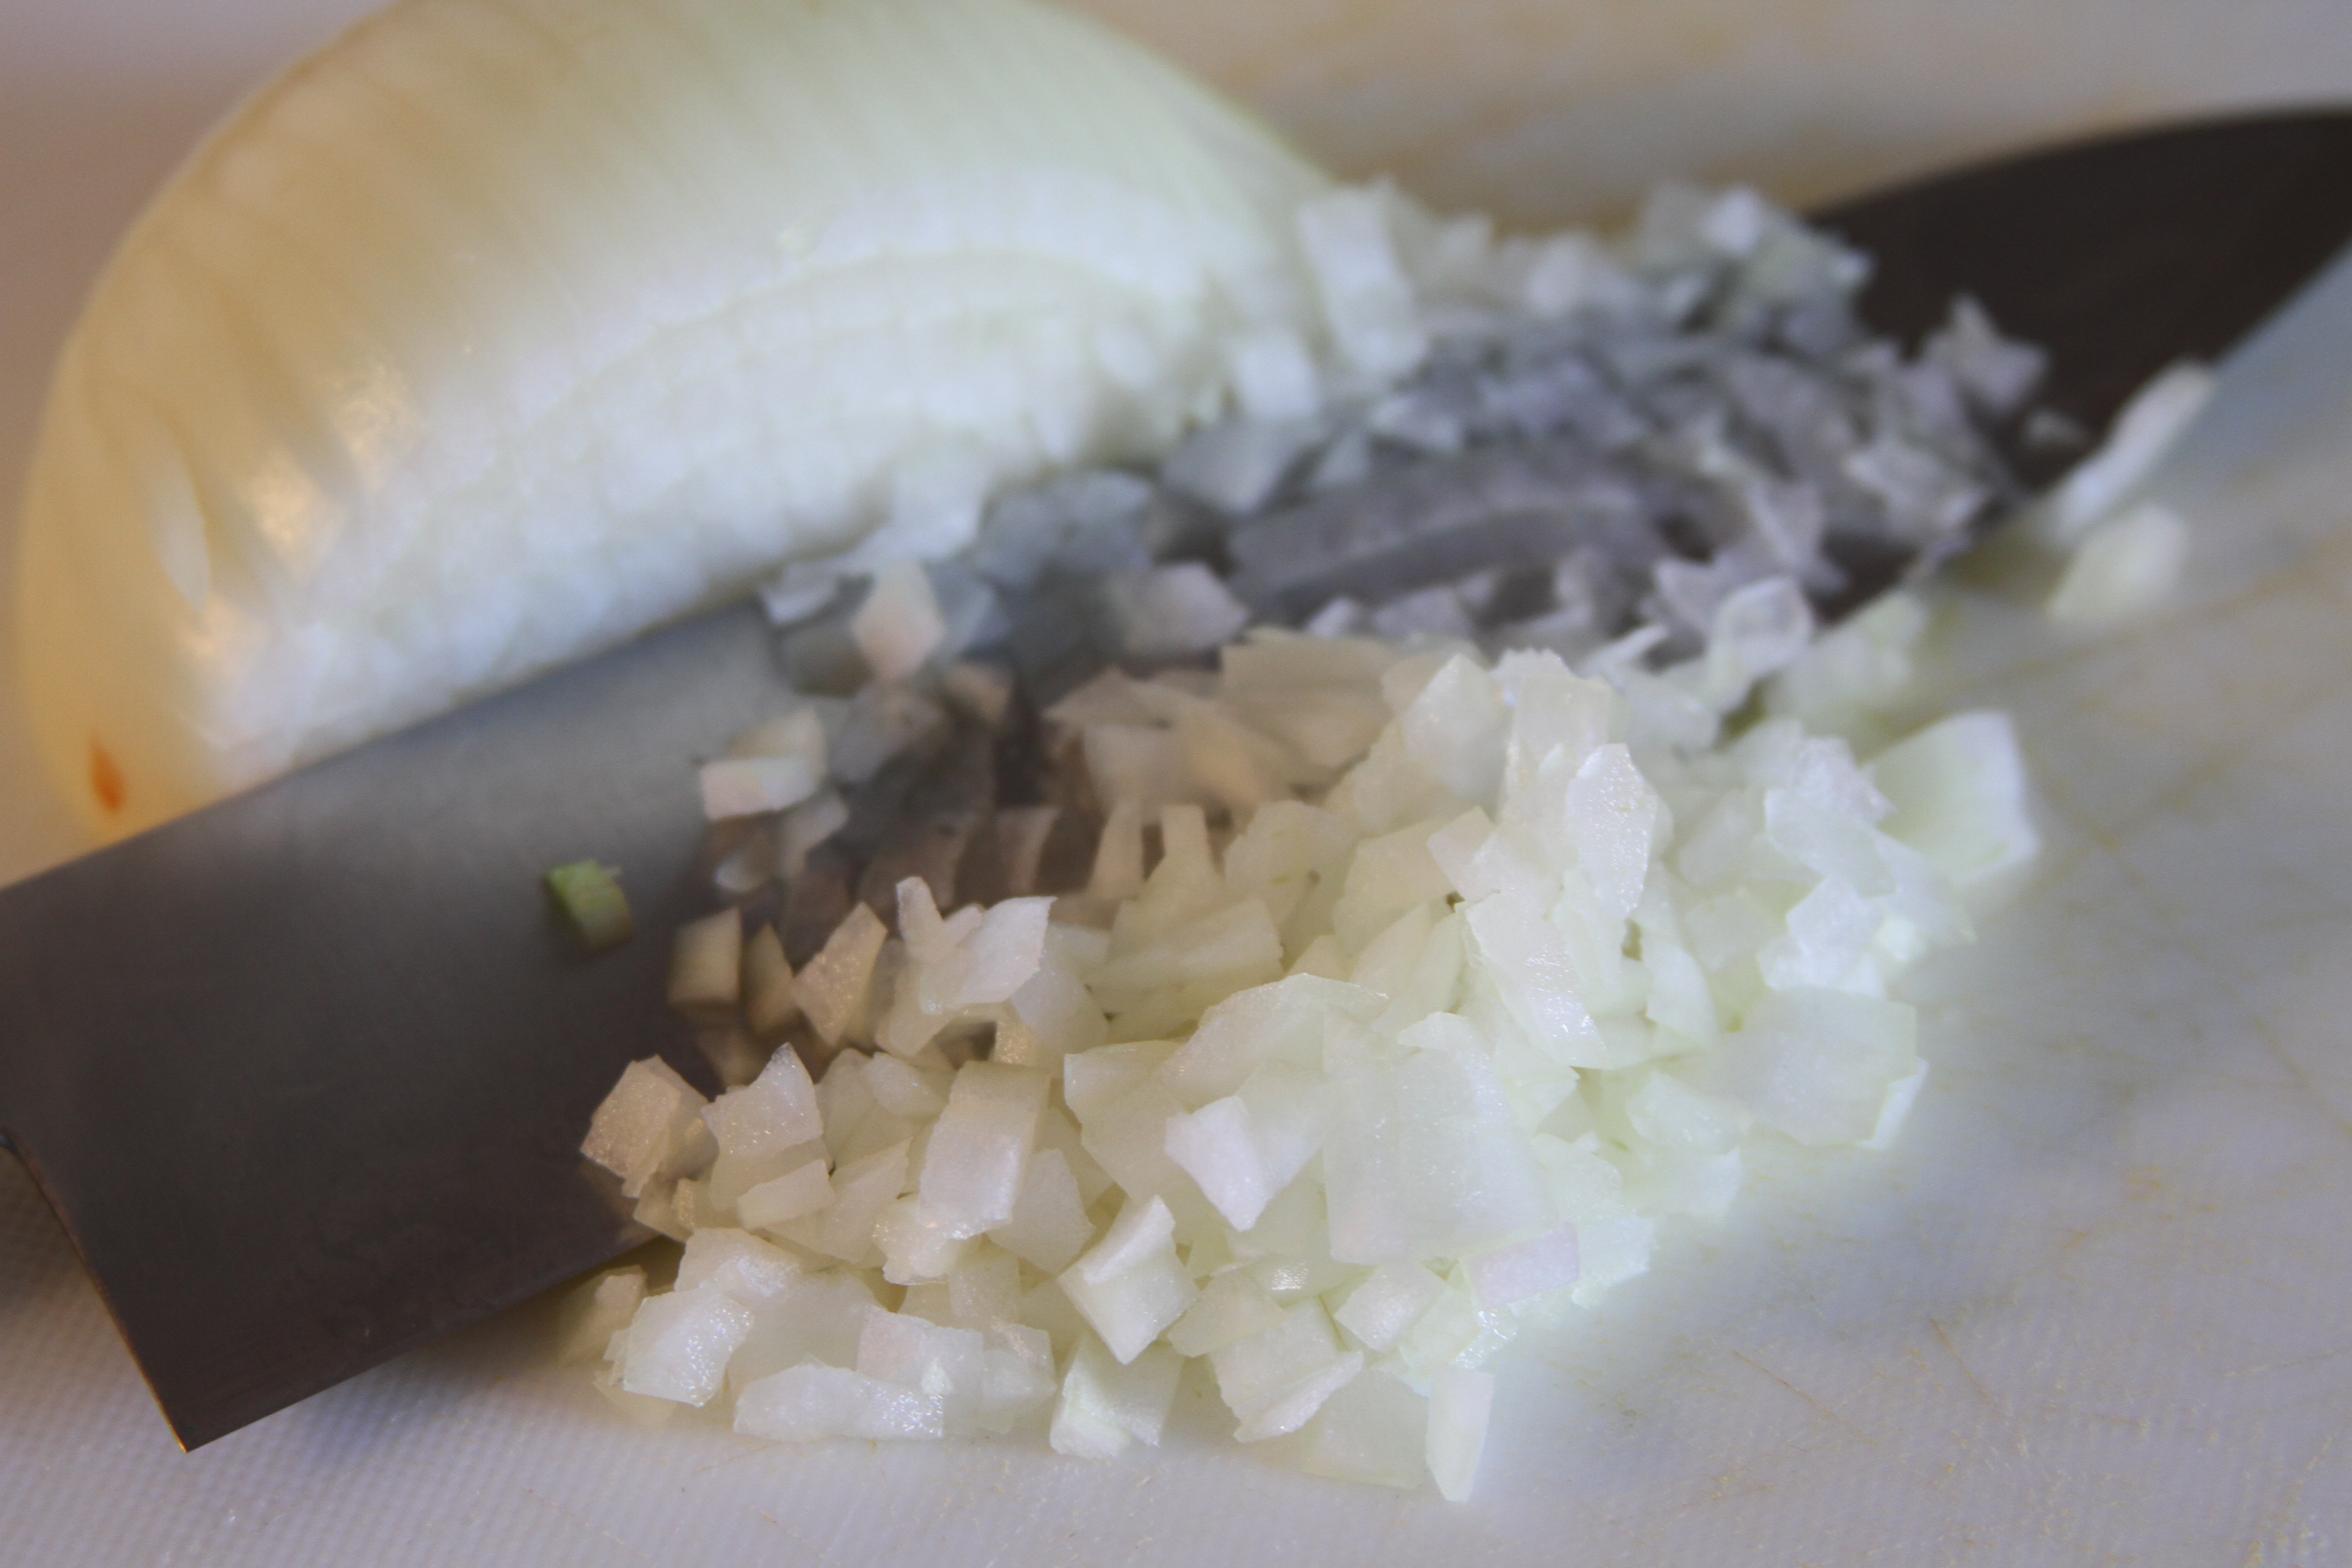
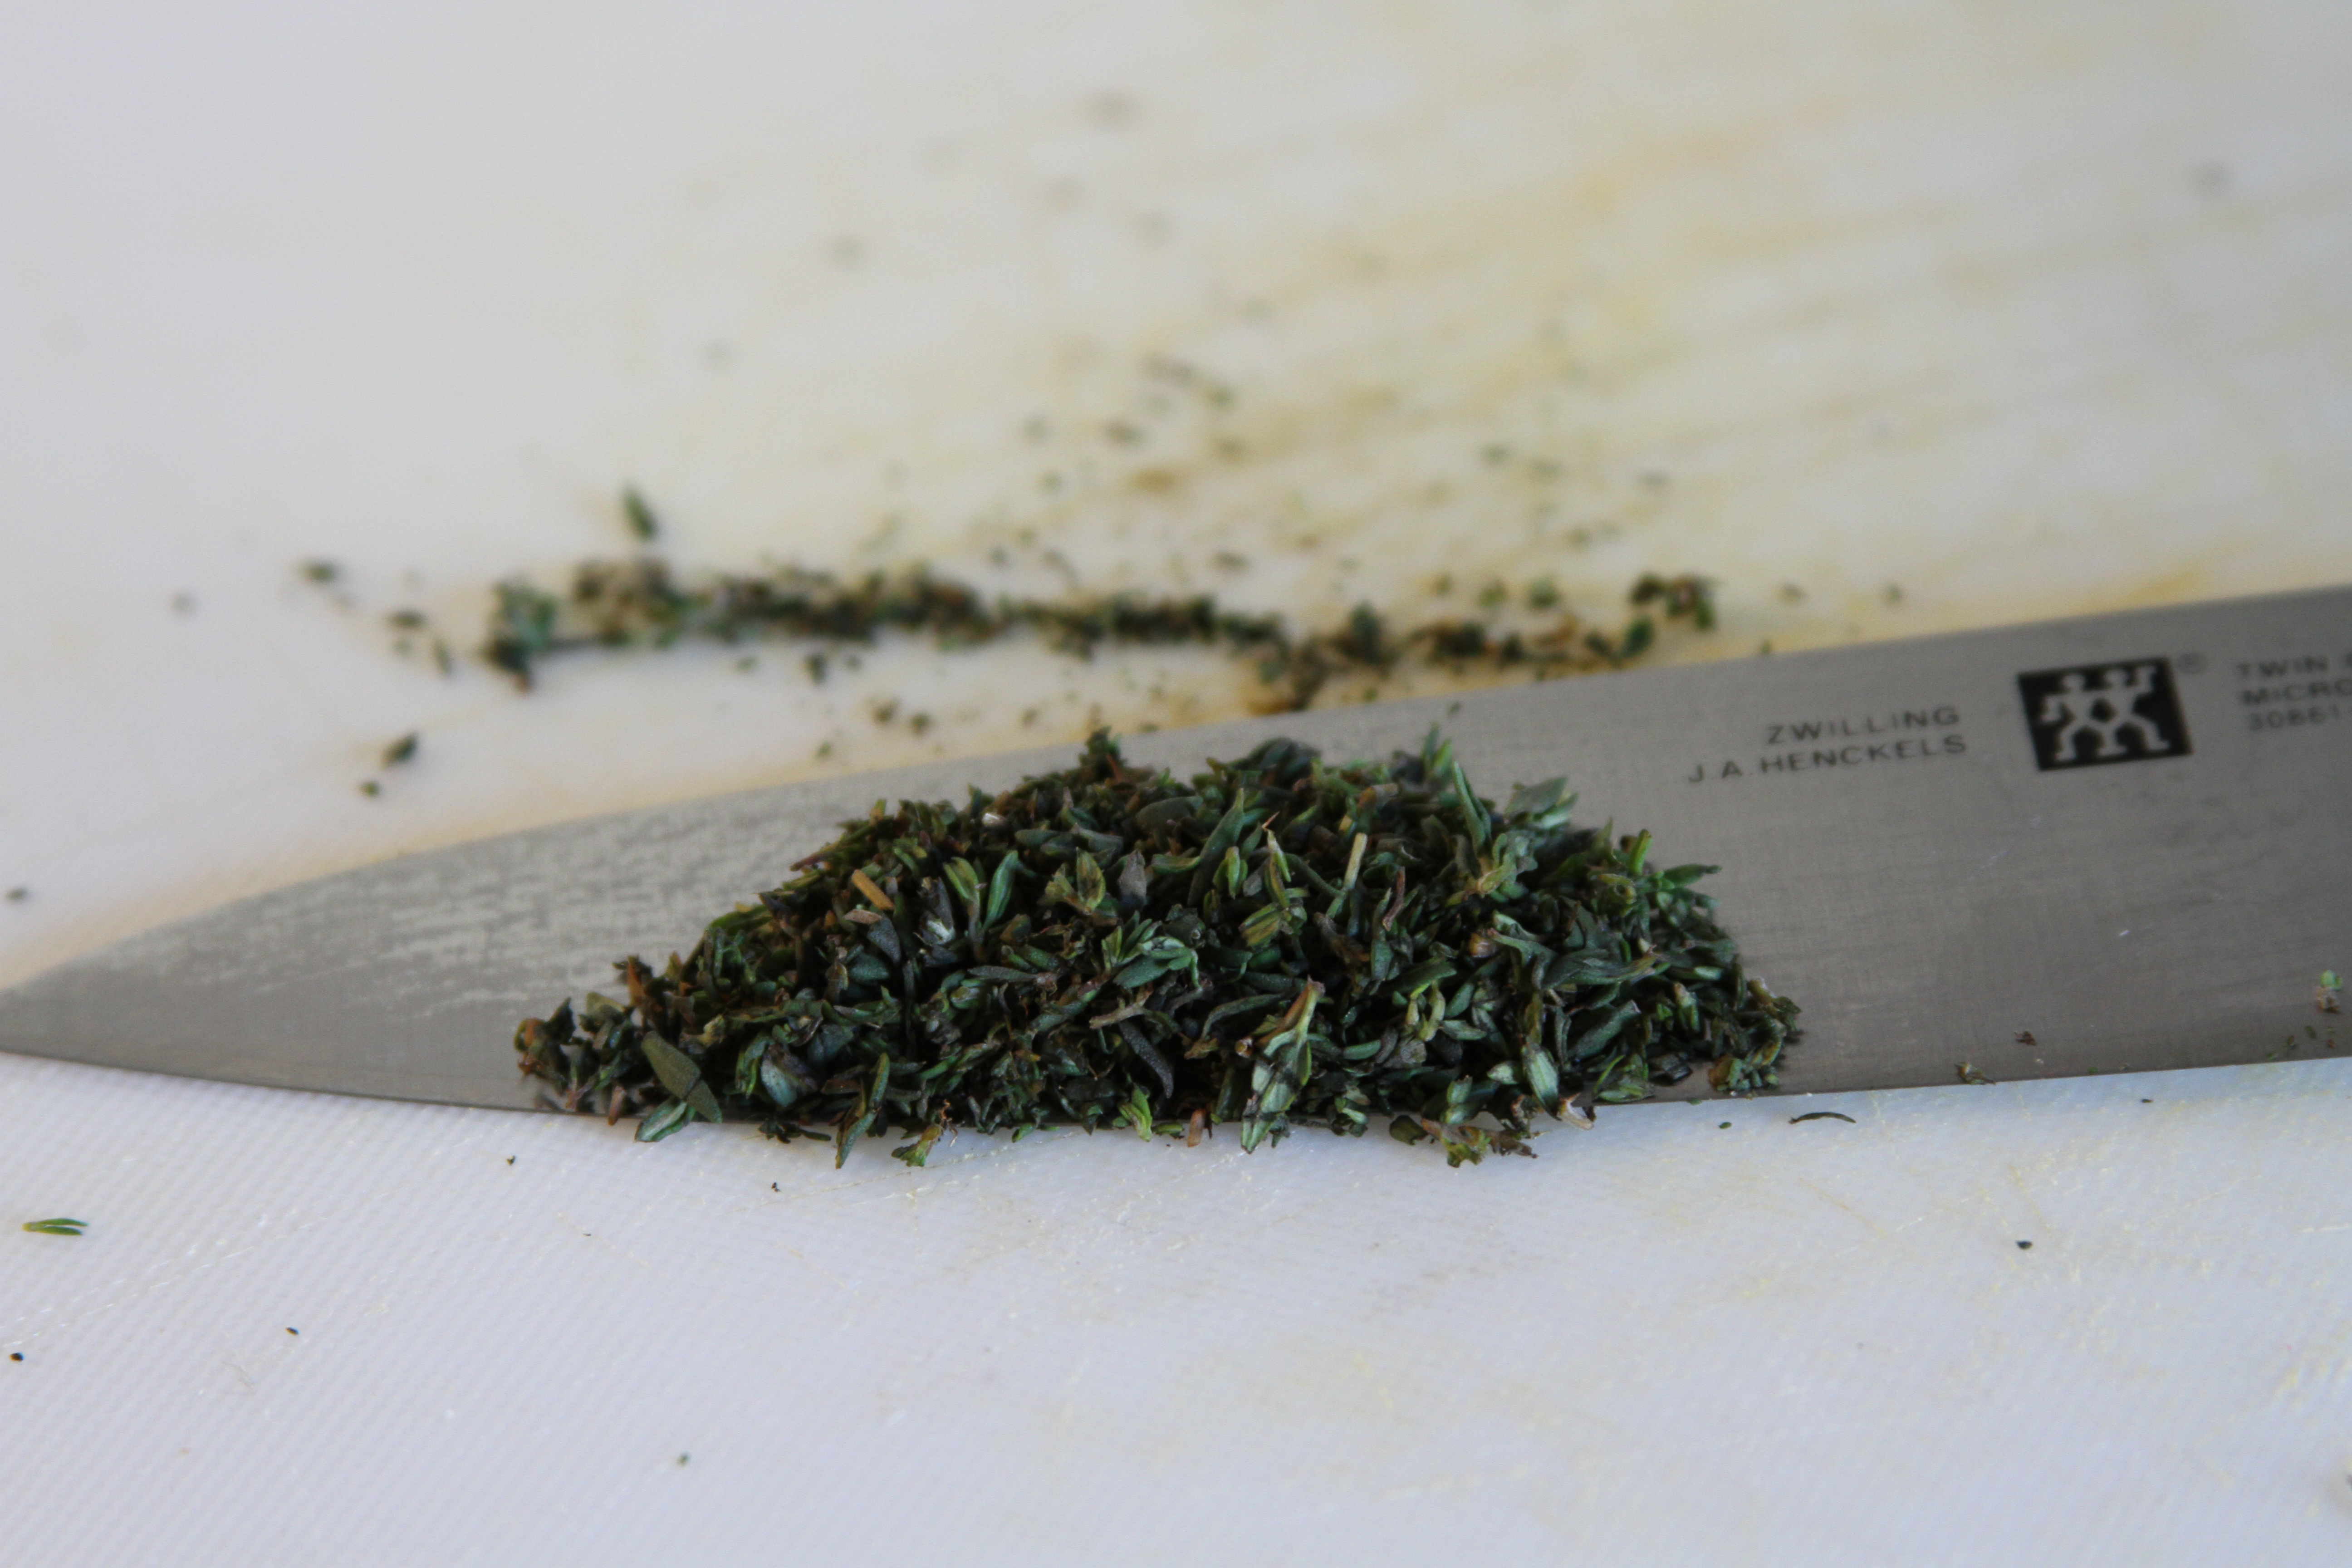
Your ratio for the mirepoix is 50% onion, 25% carrot, 25% celery. Ballpark it. An onion, a carrot, a couple of stalks of celery ought to cover it. Combine everything into a bowl and set it aside. Next to prep is fresh thyme and some garlic.
For the thyme, pull the leaves from the stem and roughly chop the fresh leaves and set them aside.
Break two cloves of garlic out of a bulb, or do three if you’re feeling intrepid. The best way to “peel” the garlic clove is to place it underneath the flat of the knife blade near the heel of the knife.
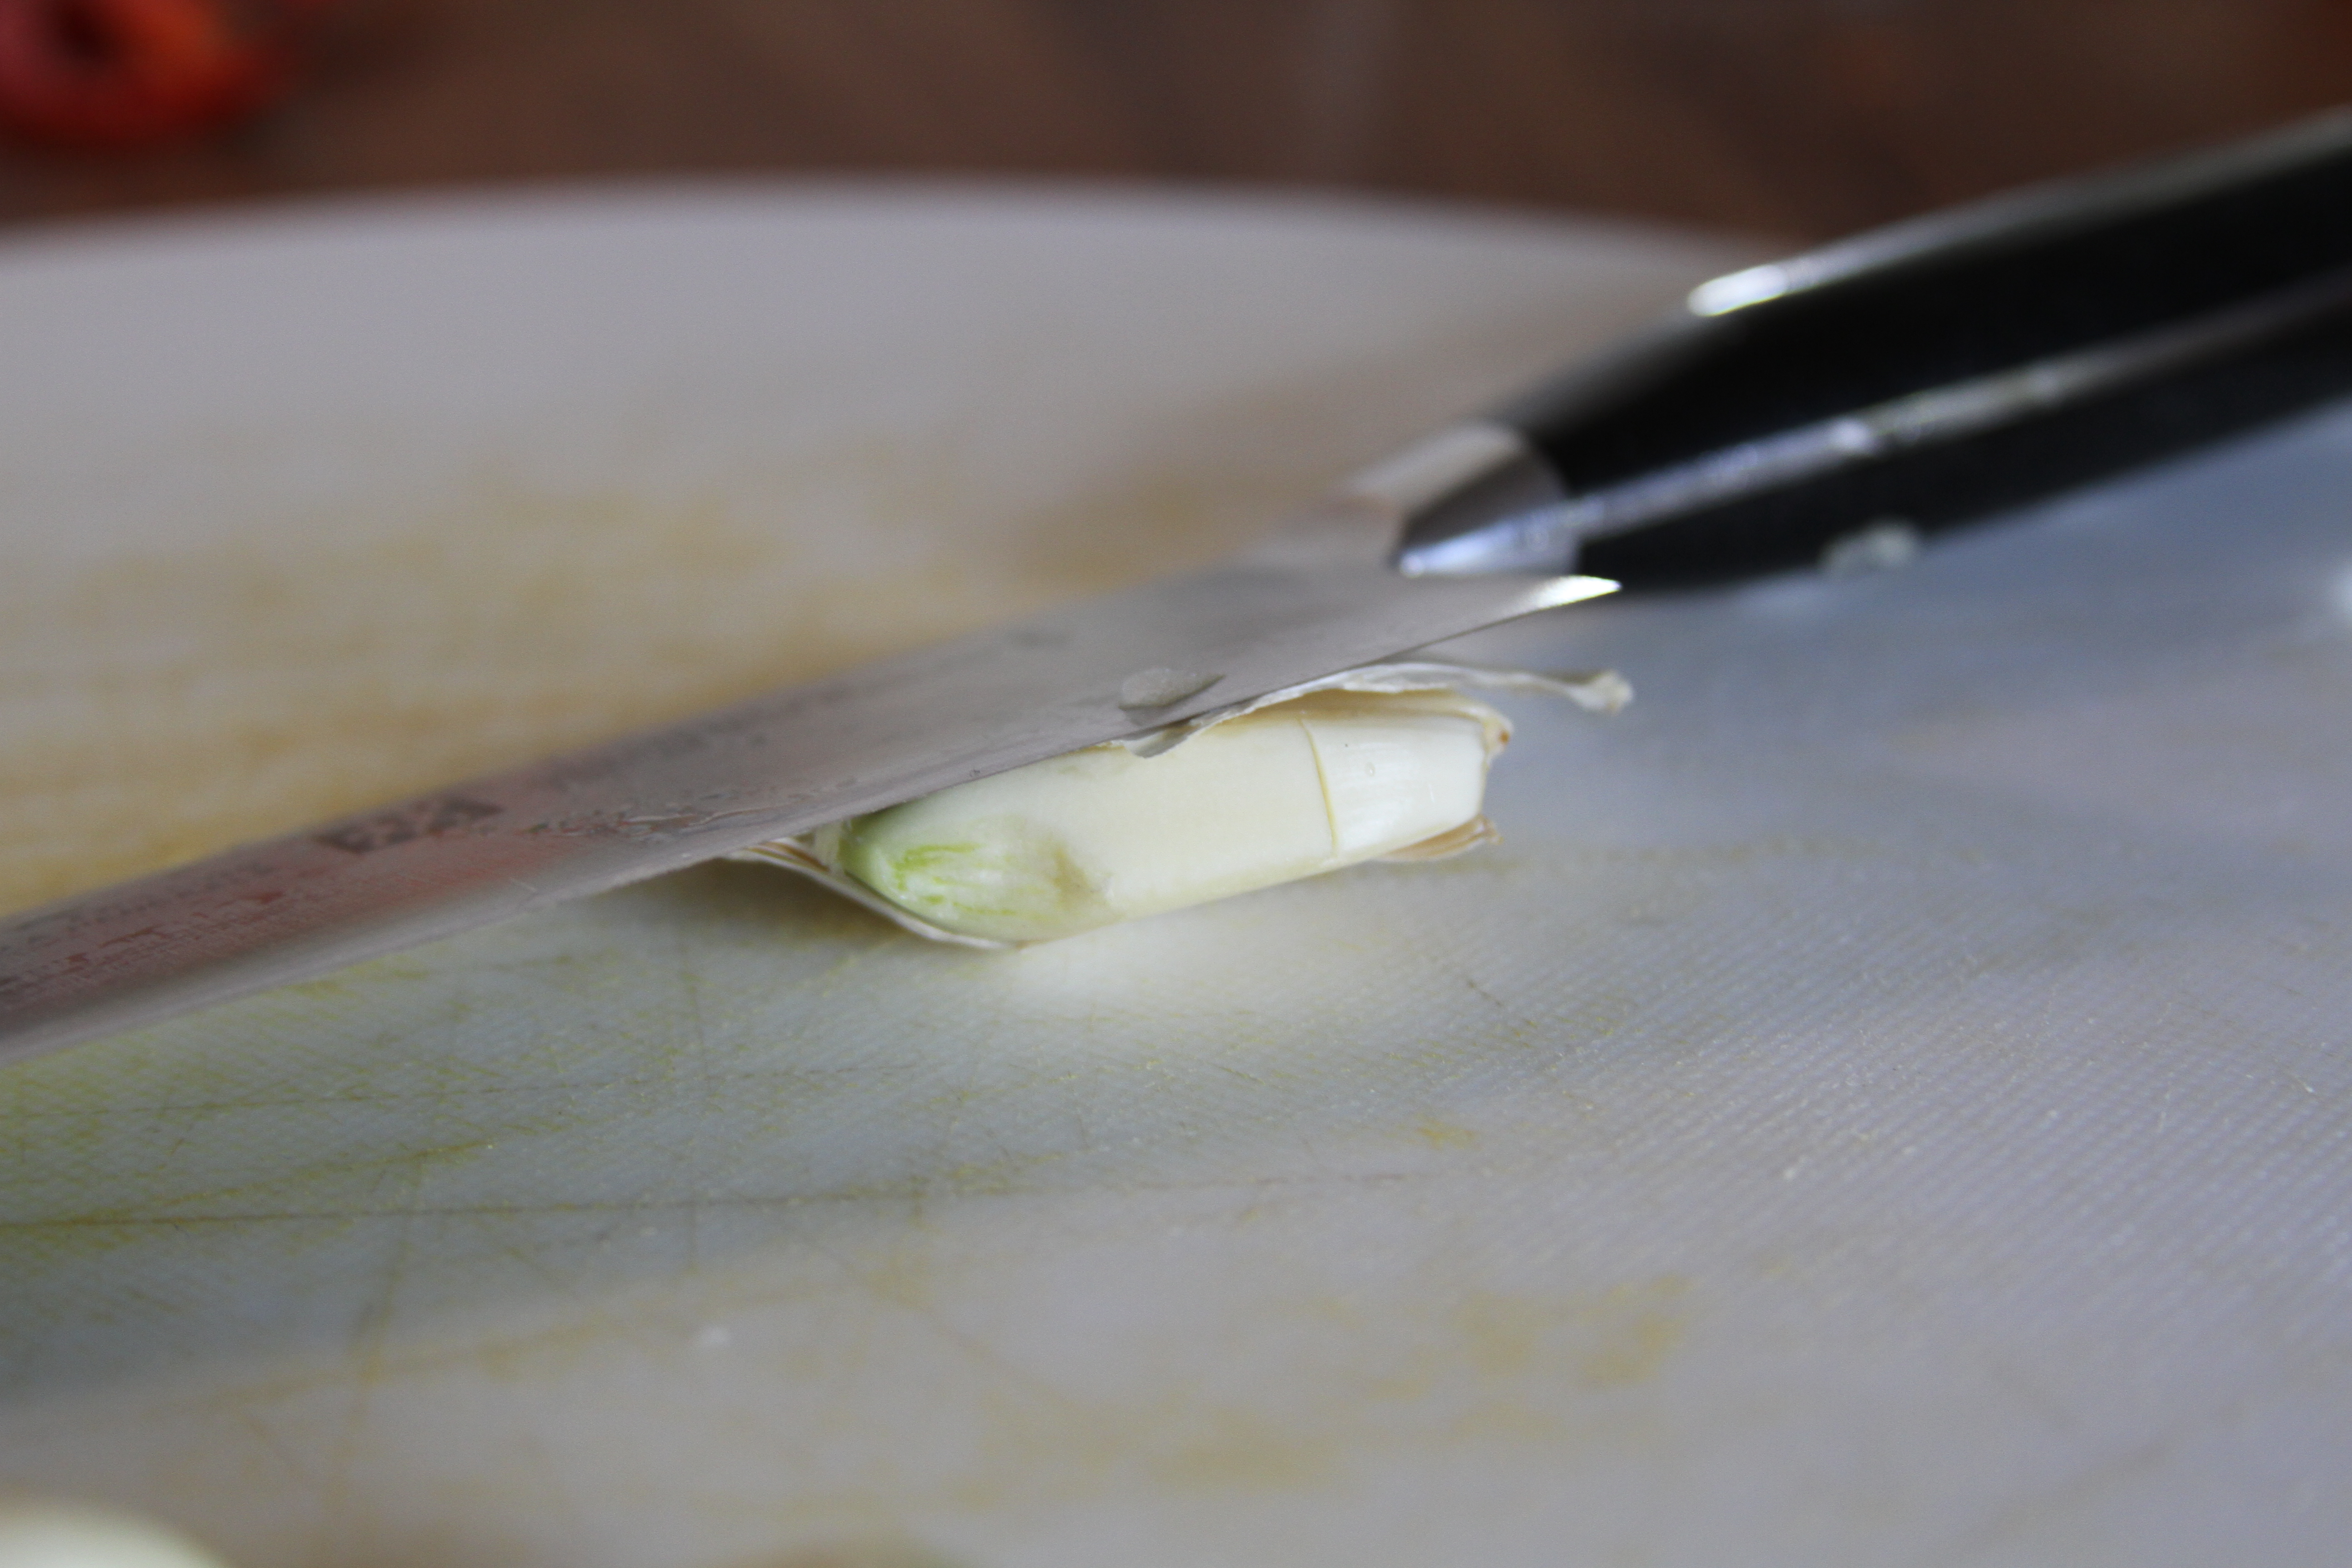
Strike the flat of the blade with the ball of your hand. Boom! The clove will pop right out of its skin and you can dice the garlic and set it aside. Now you’ve got the prep complete for the base of the ragu. The remaining ingredients can be readied on the fly once the mirepoix, garlic, and thyme are started.
Now it’s off to Shroomtown.
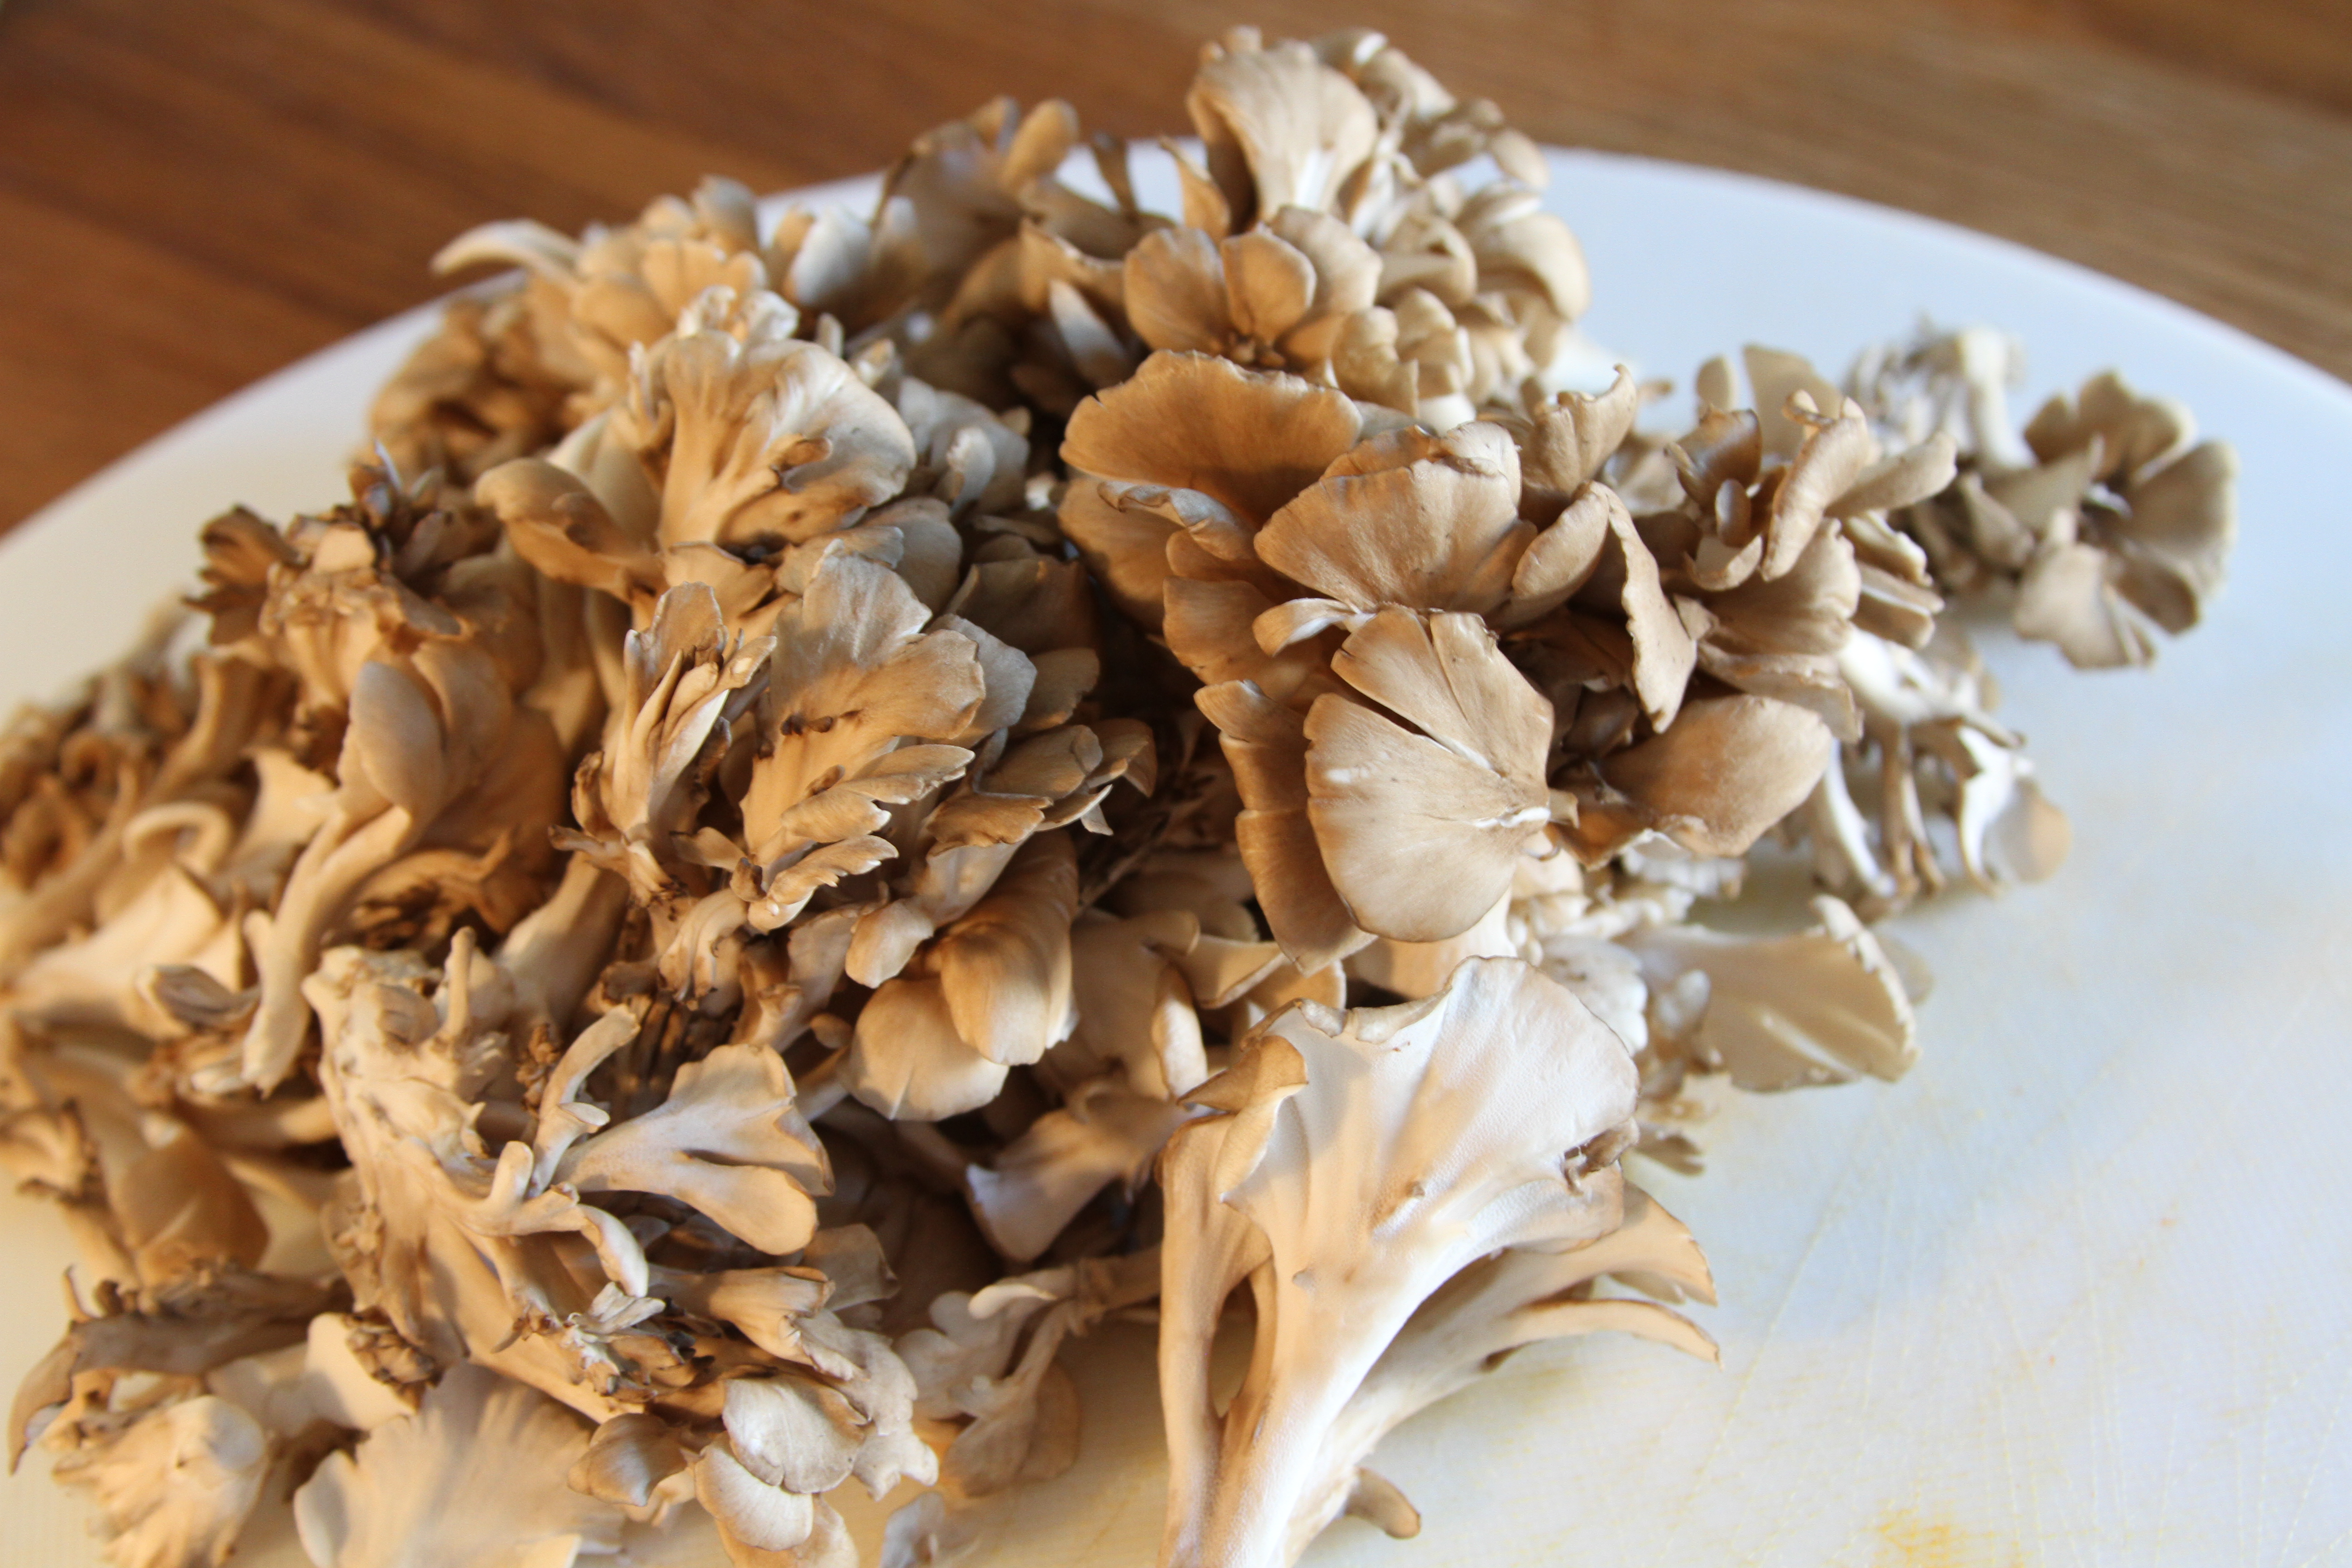
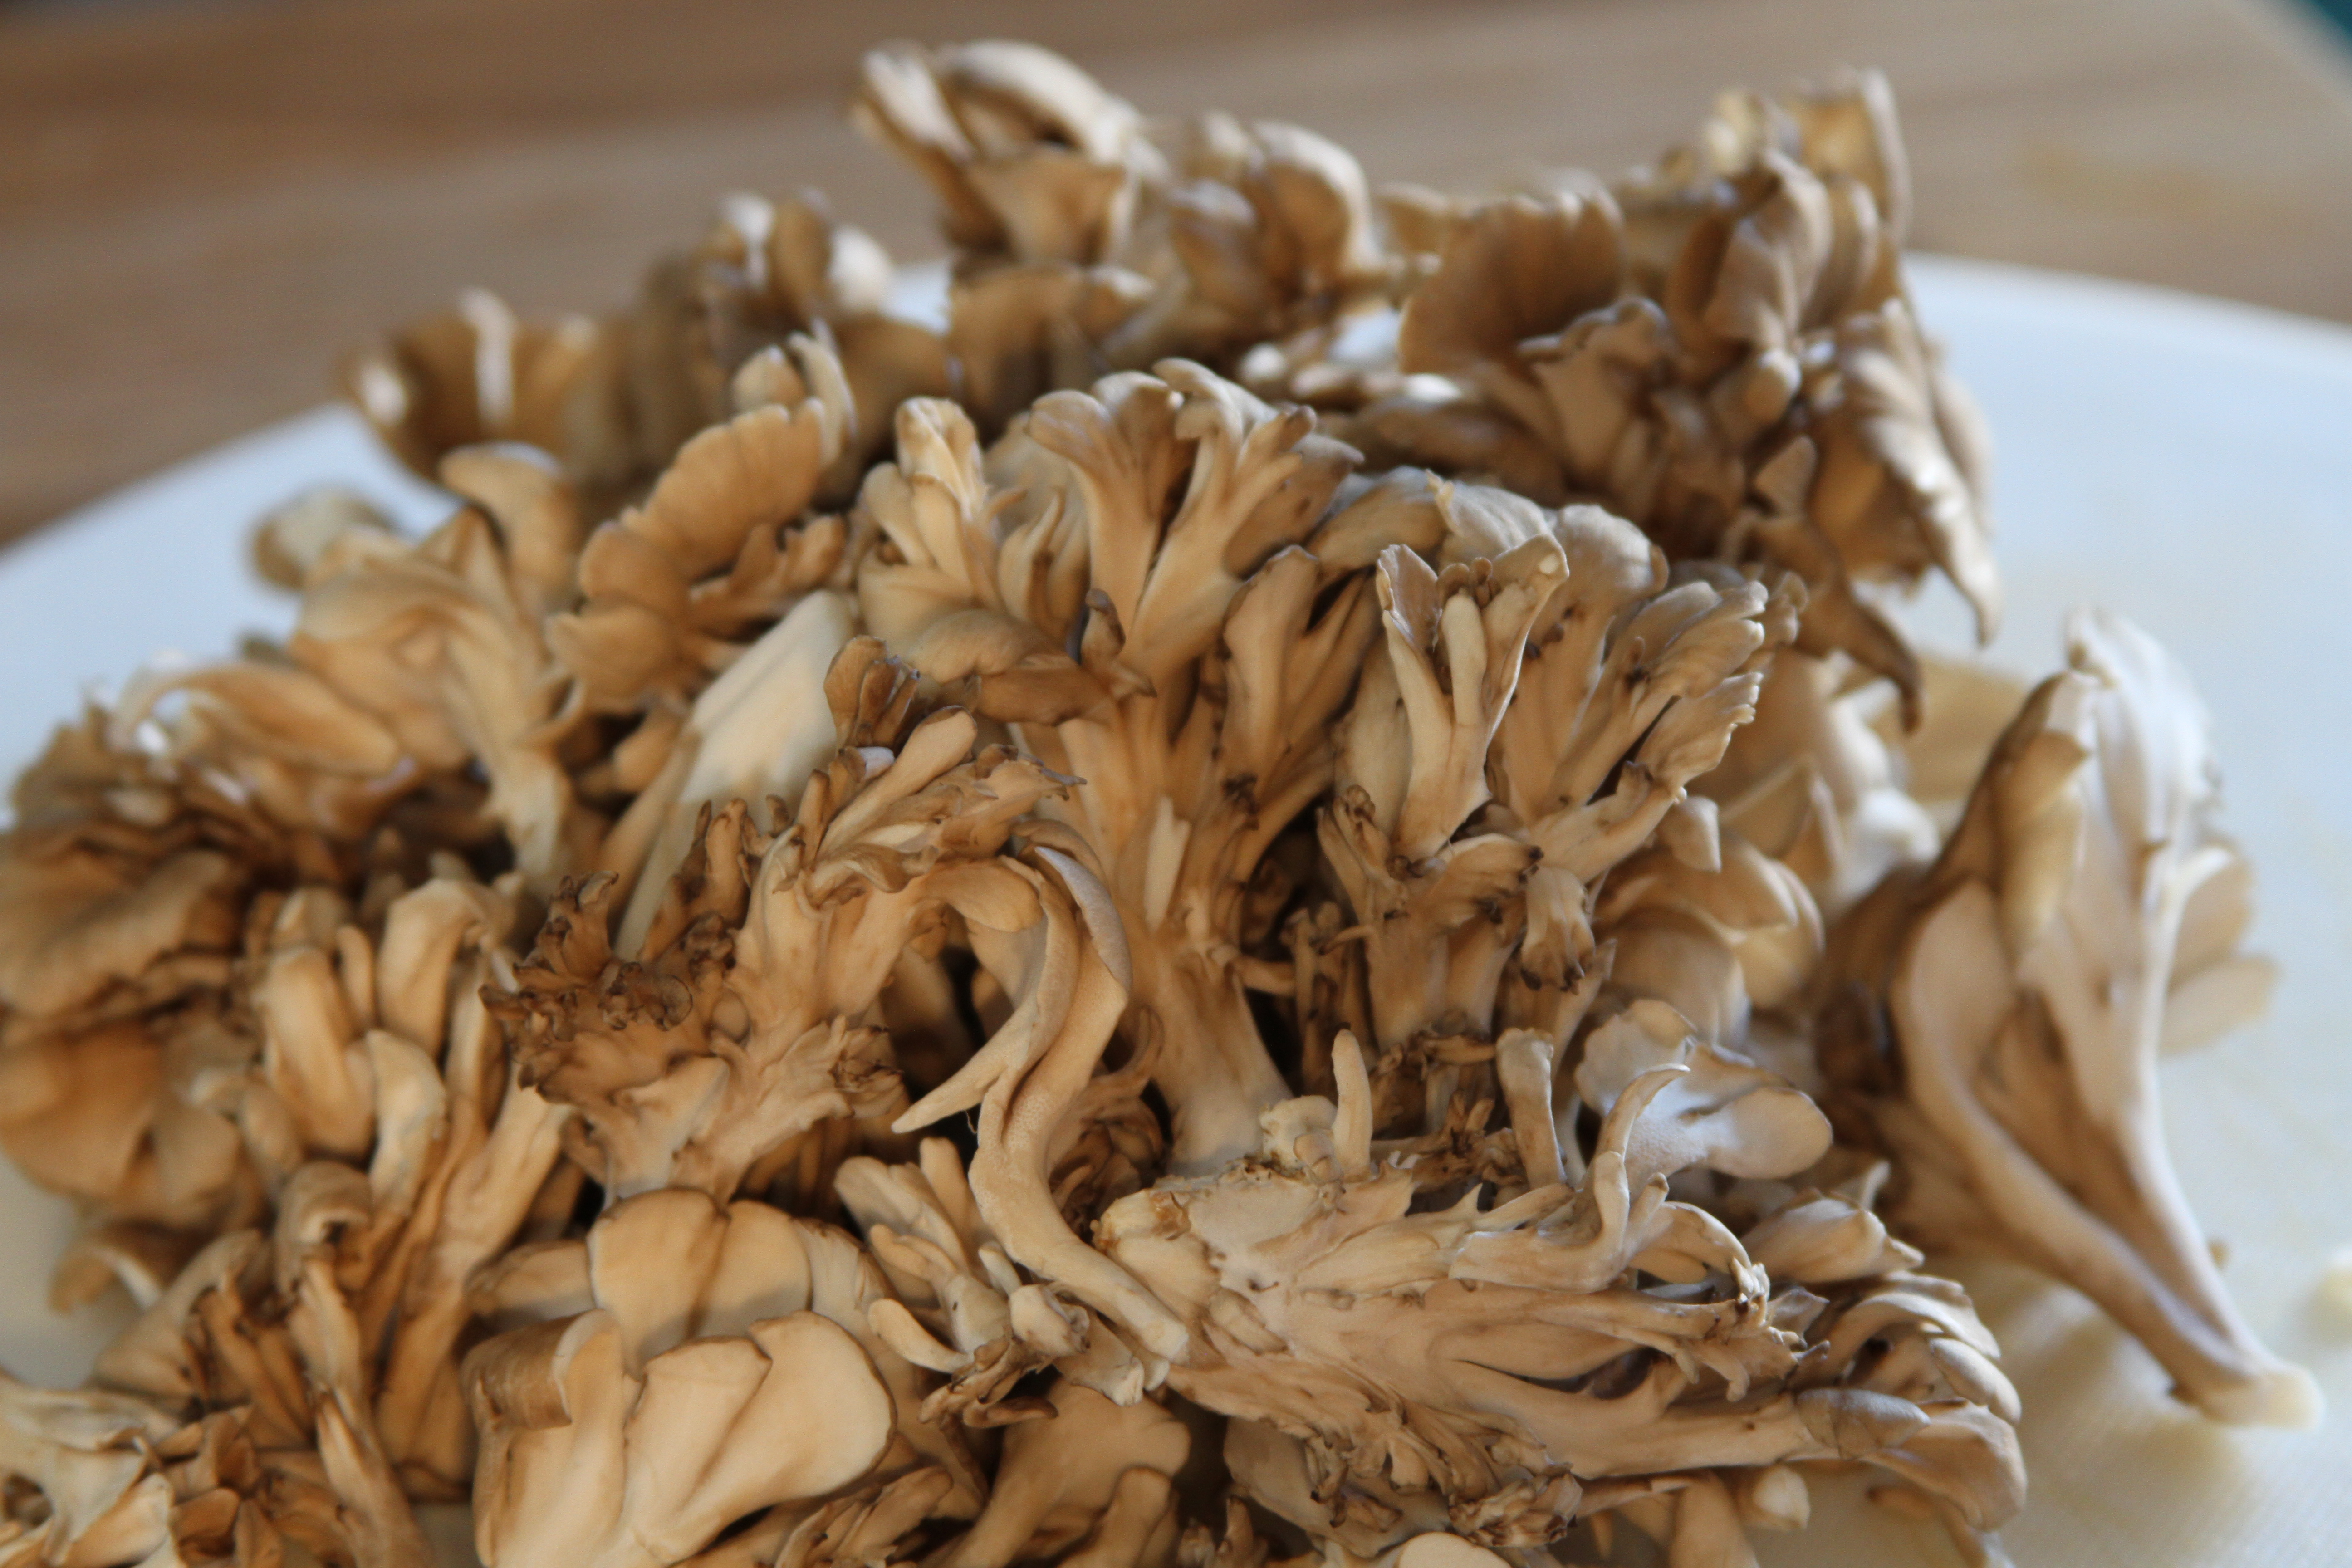
Grifola Fondrosa, more commonly known as the maitake, which translates to “dancing mushroom” or the hen-of-the-woods mushroom which translates to “hen-of-the-woods”, is a lovely little fungus native to North America and Japan. Hen-of-the-woods can grow as large as 5o pounds and will often occur in the same place year after year. The HOTW has great culinary potential. With a meaty flavor that is medium in body, similar to a lighter cut of pork, a loin or chop I would say, and an earthy quality that is bright and woody like the oak trees that I understand this mushroom like to grow beneath it’s no surprise that this mushrooom shows up in a number of different cuisines. More interesting though are the medicinal properties that are accorded to the HOTW.
Used in traditional eastern medicine for centuries, the HOTW was introduced to western medicine only within the last 25 years. There is a wealth of scientific literature available regarding studies, trials, and other possible medical applications for G. Fondrosa available online. It’s pretty interesting reading if you have the time. For our purposes though, the Memorial Sloan-Kettering Cancer Center had the Cliff’s Notes here. Basically it has properties that can potentially prevent cancer, put a beat down on already existing cancer, could aid in bone marrow formation, could help treat diabetes, and it’s ability to boost immune function could have applications in treating HIV. So, yeah. It’s a total fucking badass fungus. And my new favorite mushroom.
Anyway, HOTW come in leafy clusters. We want to leave them more or less whole as they have a slightly crunchy texture, even once they’re cooked, which will cut nicely against the smoother texture of the finished ragu. Cut them in half lengthwise and set them aside.
After that we move onto the shitakes.
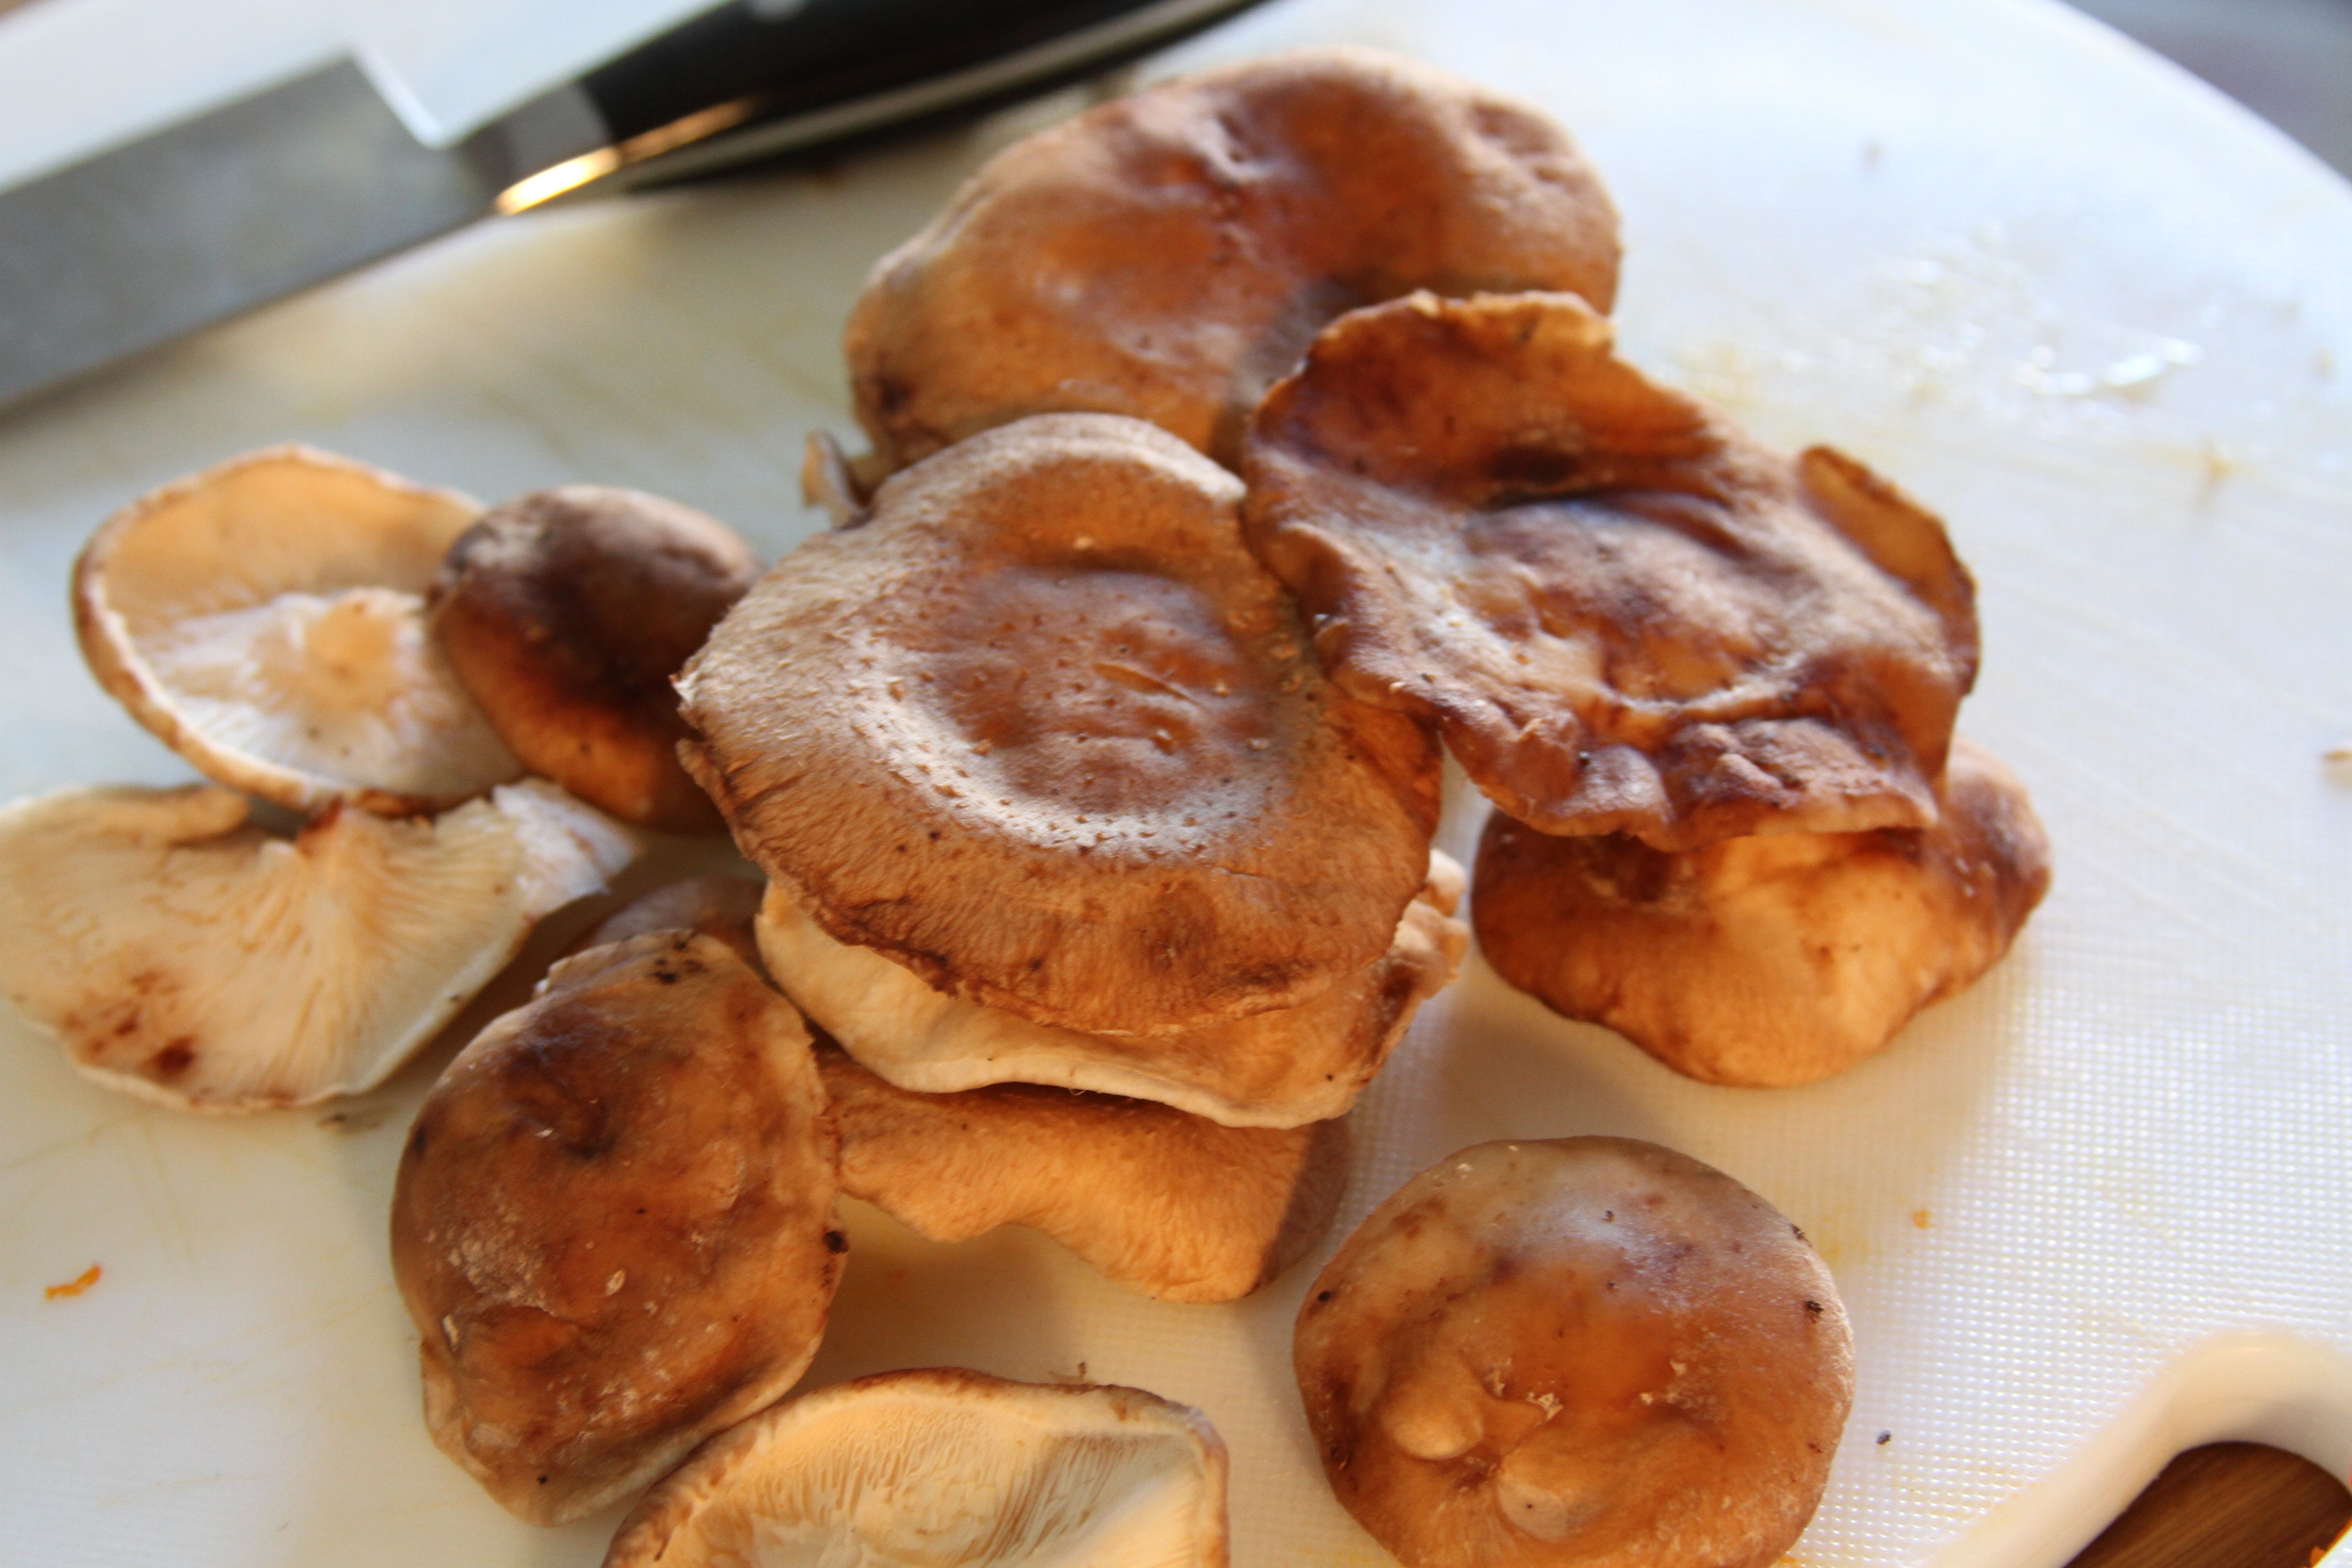
Native to Japan, Korea, and China, shitake origins date back to the Cretaceous period, and the mushrooms have been cultivated by man for hundreds of years for both culinary and medicinal uses. While the shitake does not boast the medicinal potential of the maitake, it is certainly no slouch as it has been purported to have antiviral and antibacterial properties.
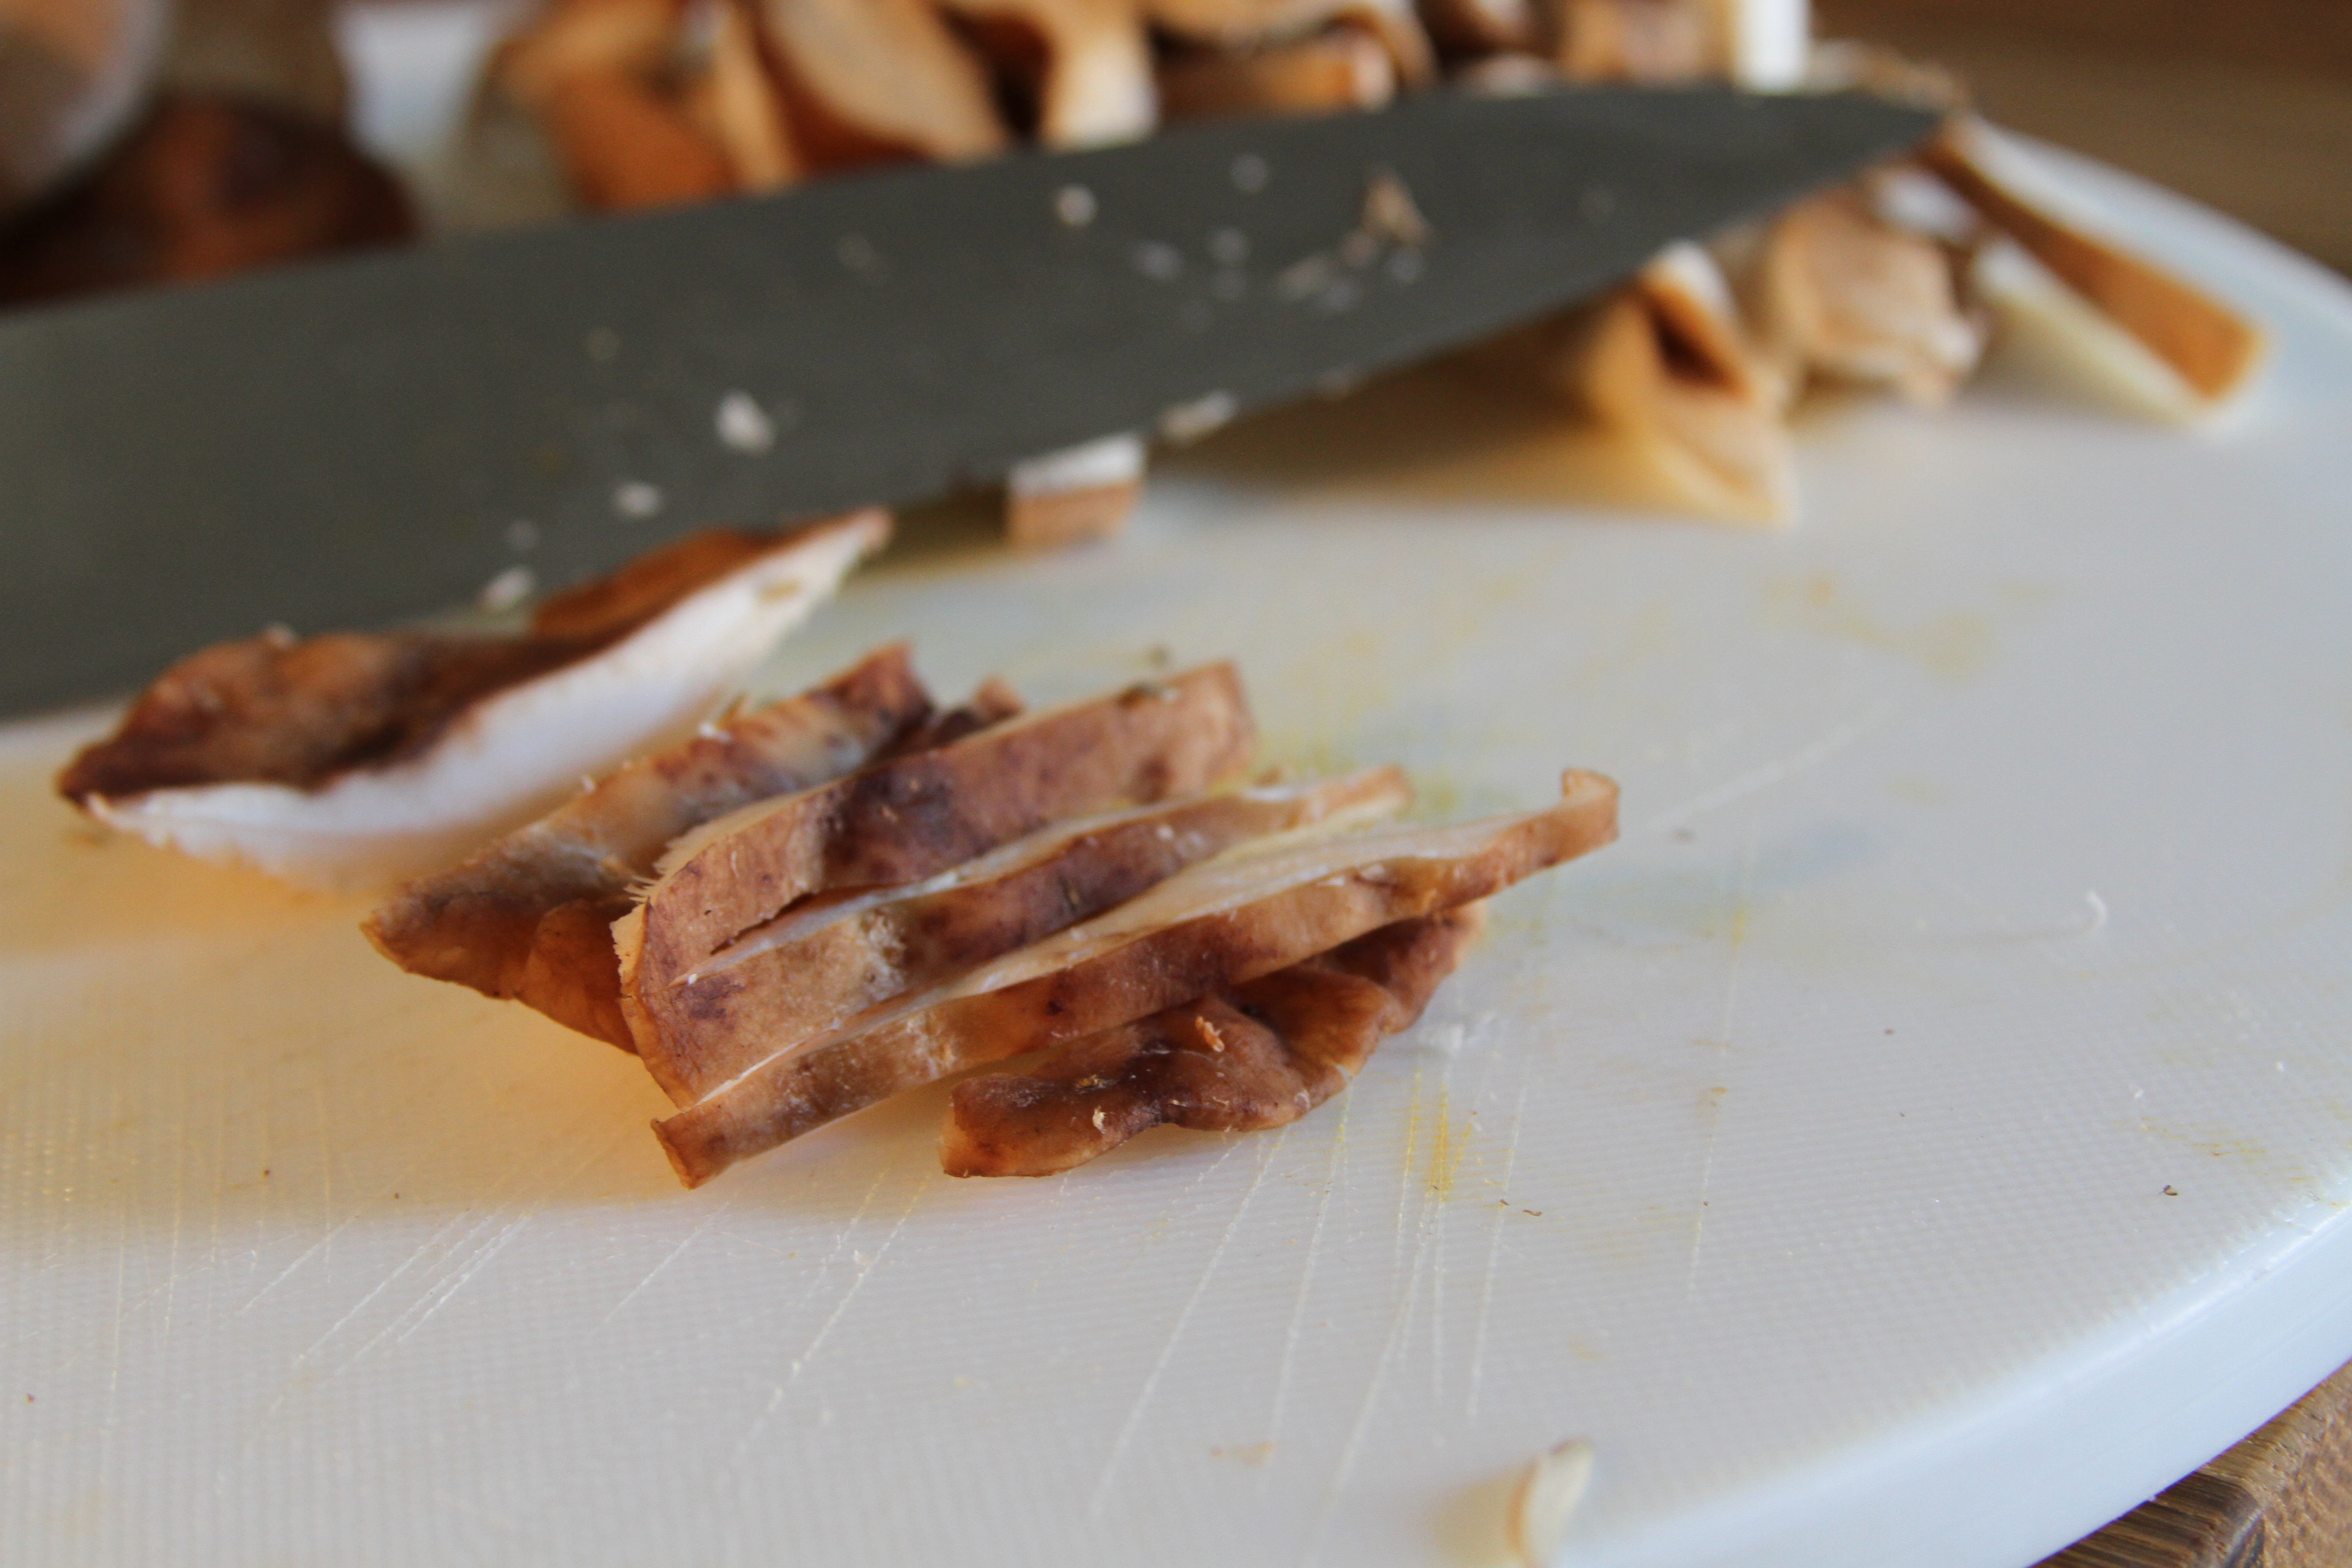
Shitake’s are smoky, beefy, and delicious. Texturally they’re a little bit softer than the maitake’s, so they’ll contribute nicely to the textural quality of the ragu. Remove the stems from the caps and add the stems to the mushroom stock. Cut the caps into strips and set them aside.
The thing to keep in mind before you start the ragu, and to borrow a term from the world of barbeque, is to work slow and low. You want to use low heat and you want to take your time, let the flavors develop. The longer the ragu cooks the better. Ready?
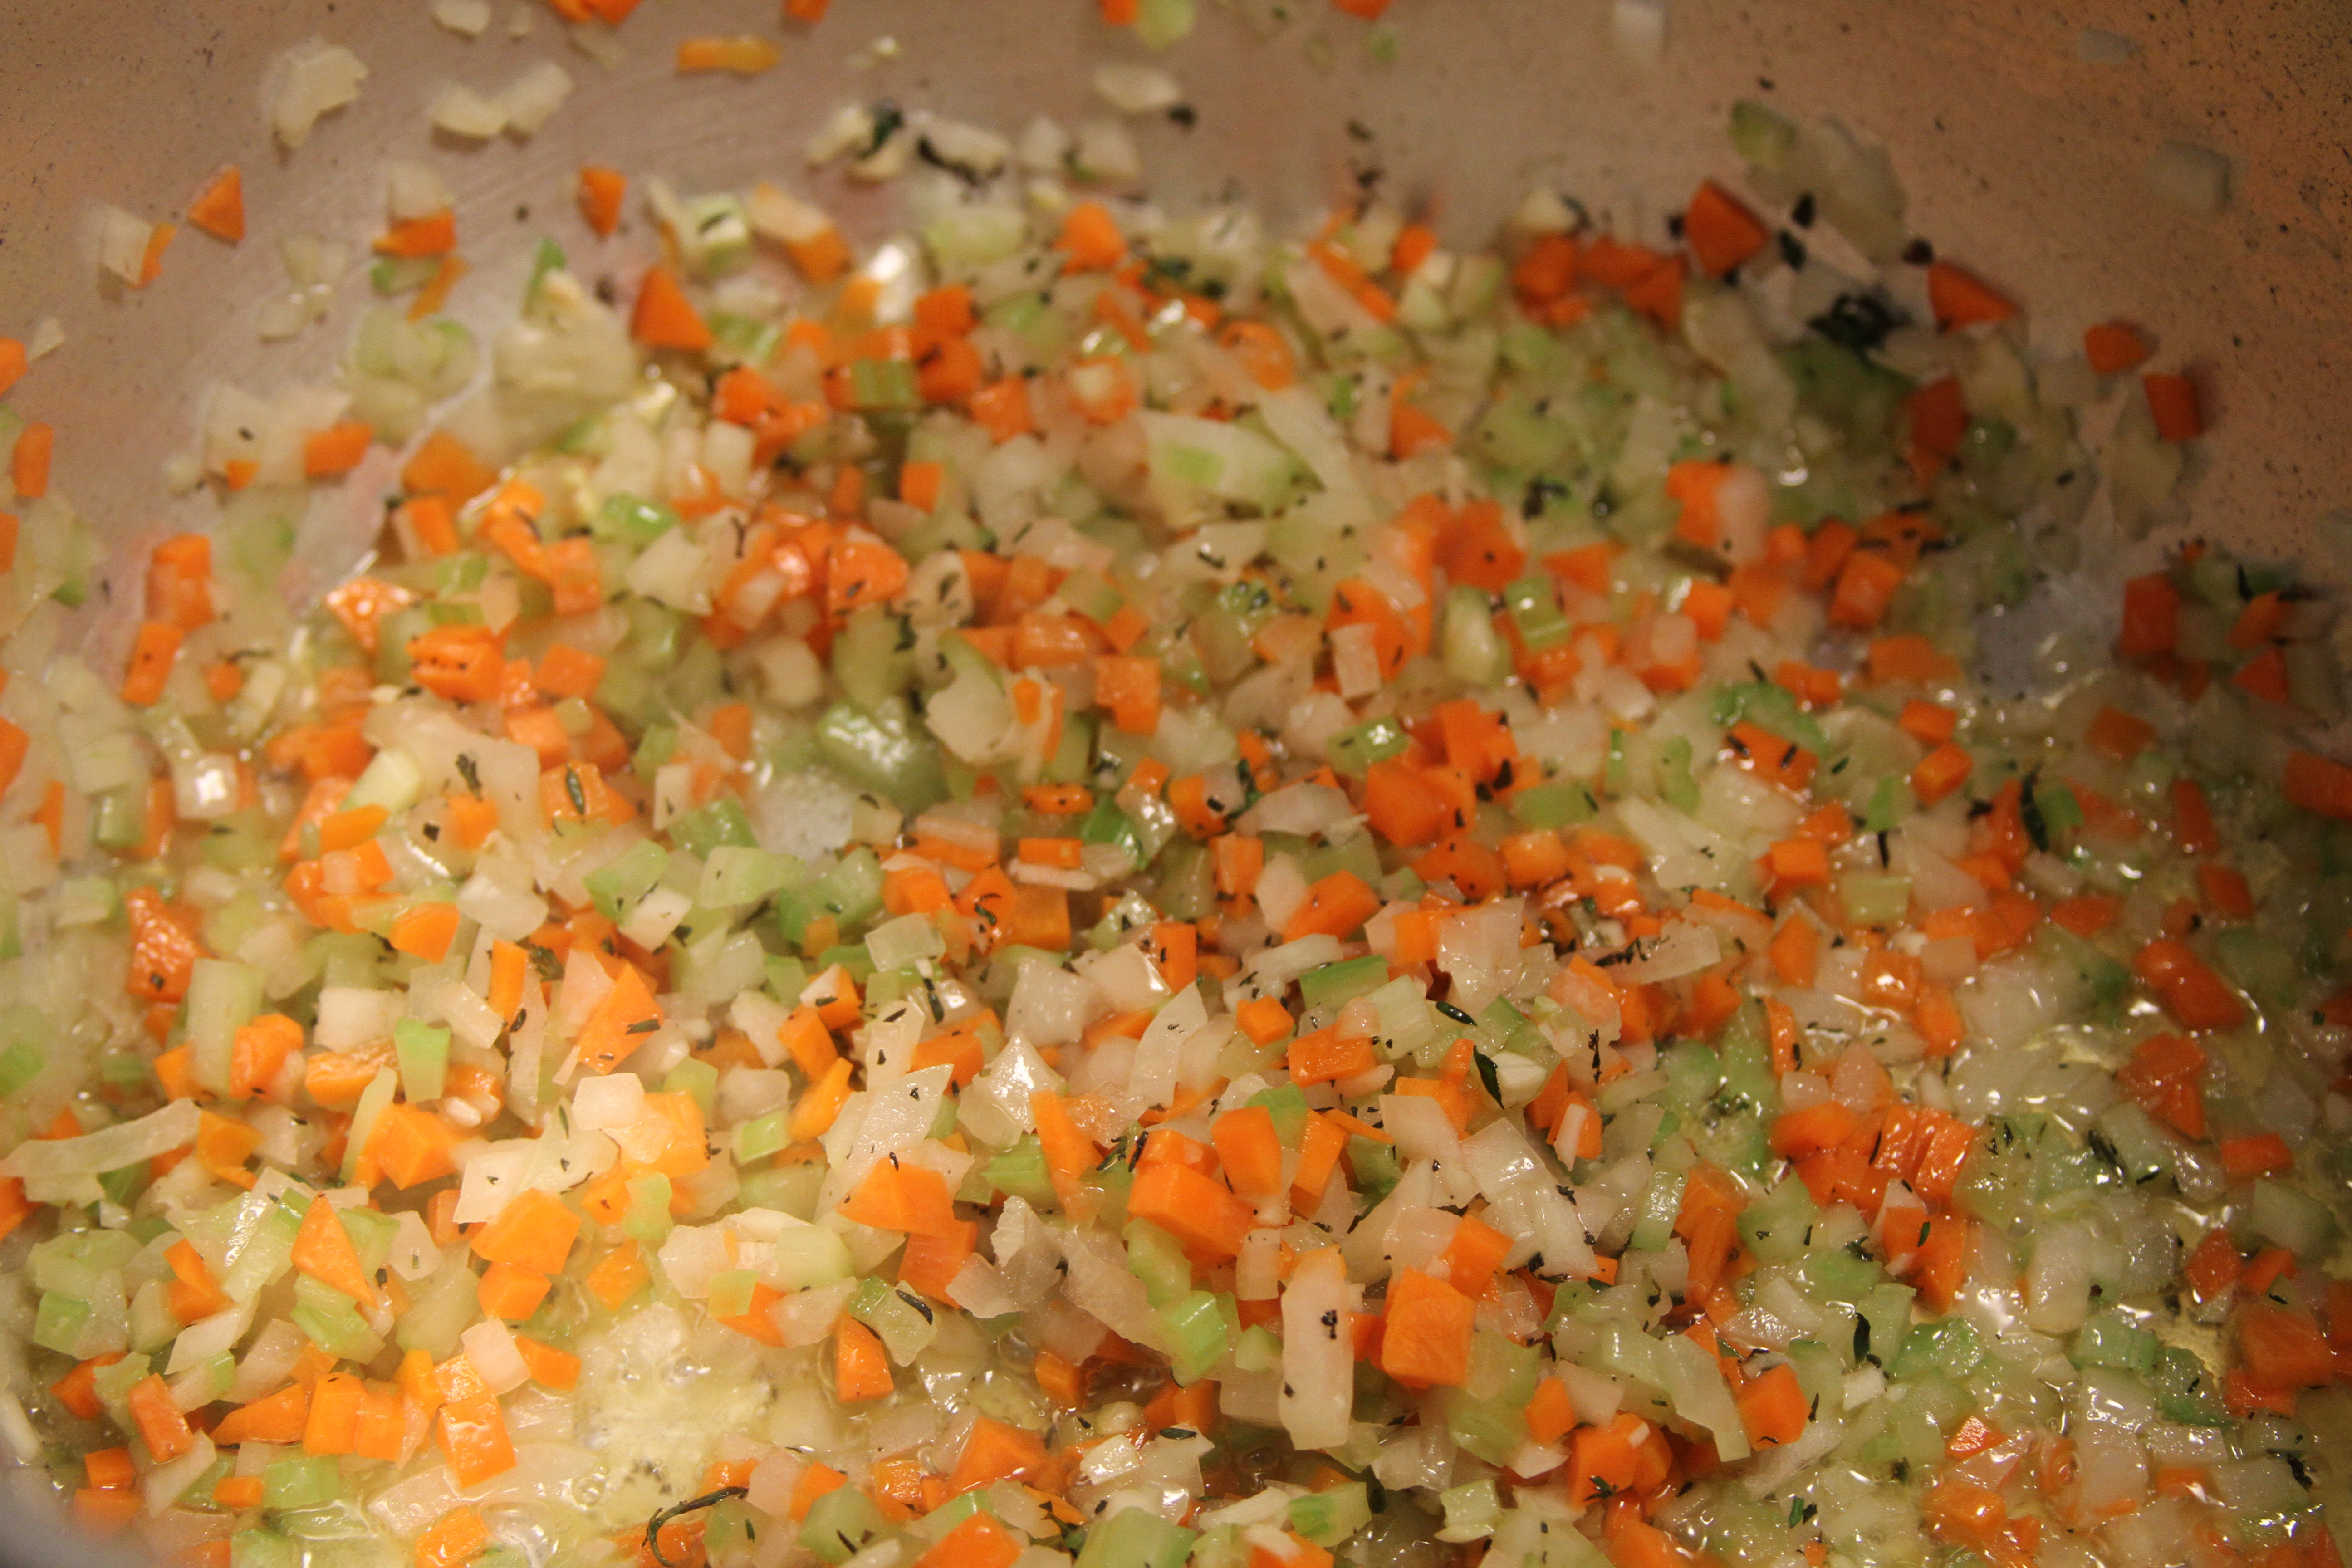
Set a high sided pot over medium heat. An enameled pot is ideal for this, but not necessary. Add enough olive oil to cover the bottom of your pot. When the oil starts to shimmer add the mirepoix, garlic, and thyme.
While the mirepoix softens bust open a can of whole, peeled tomatoes.
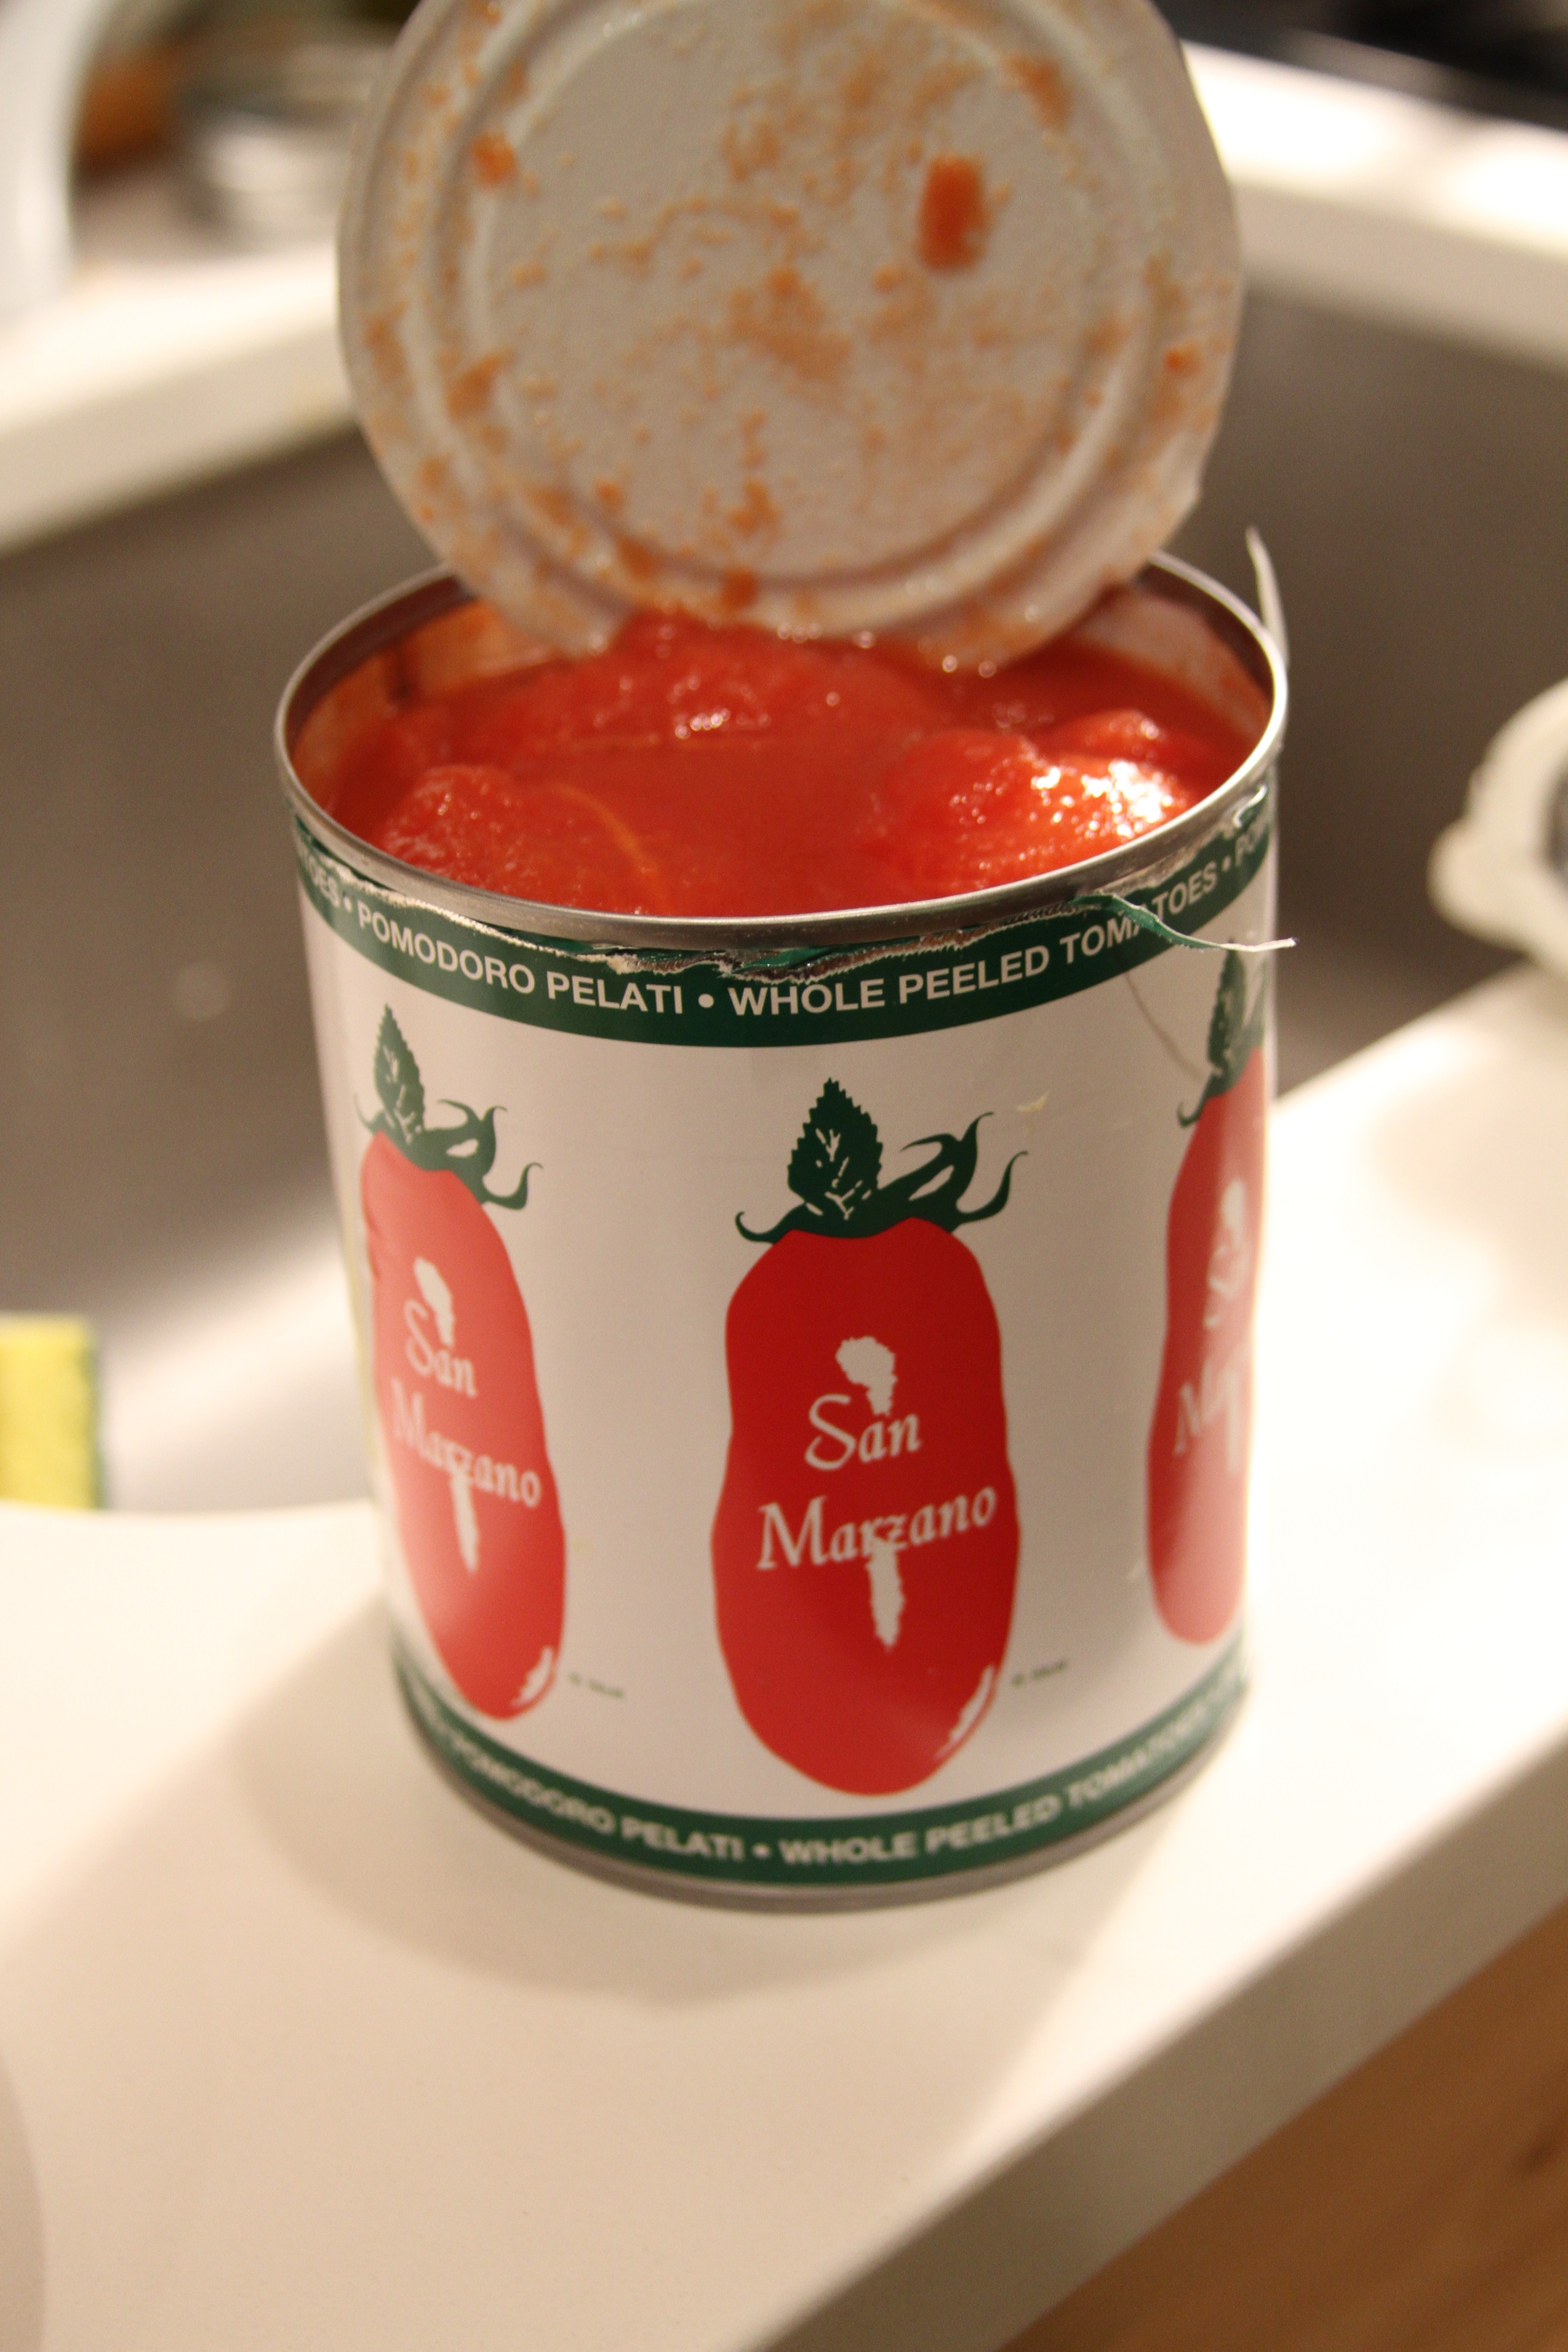
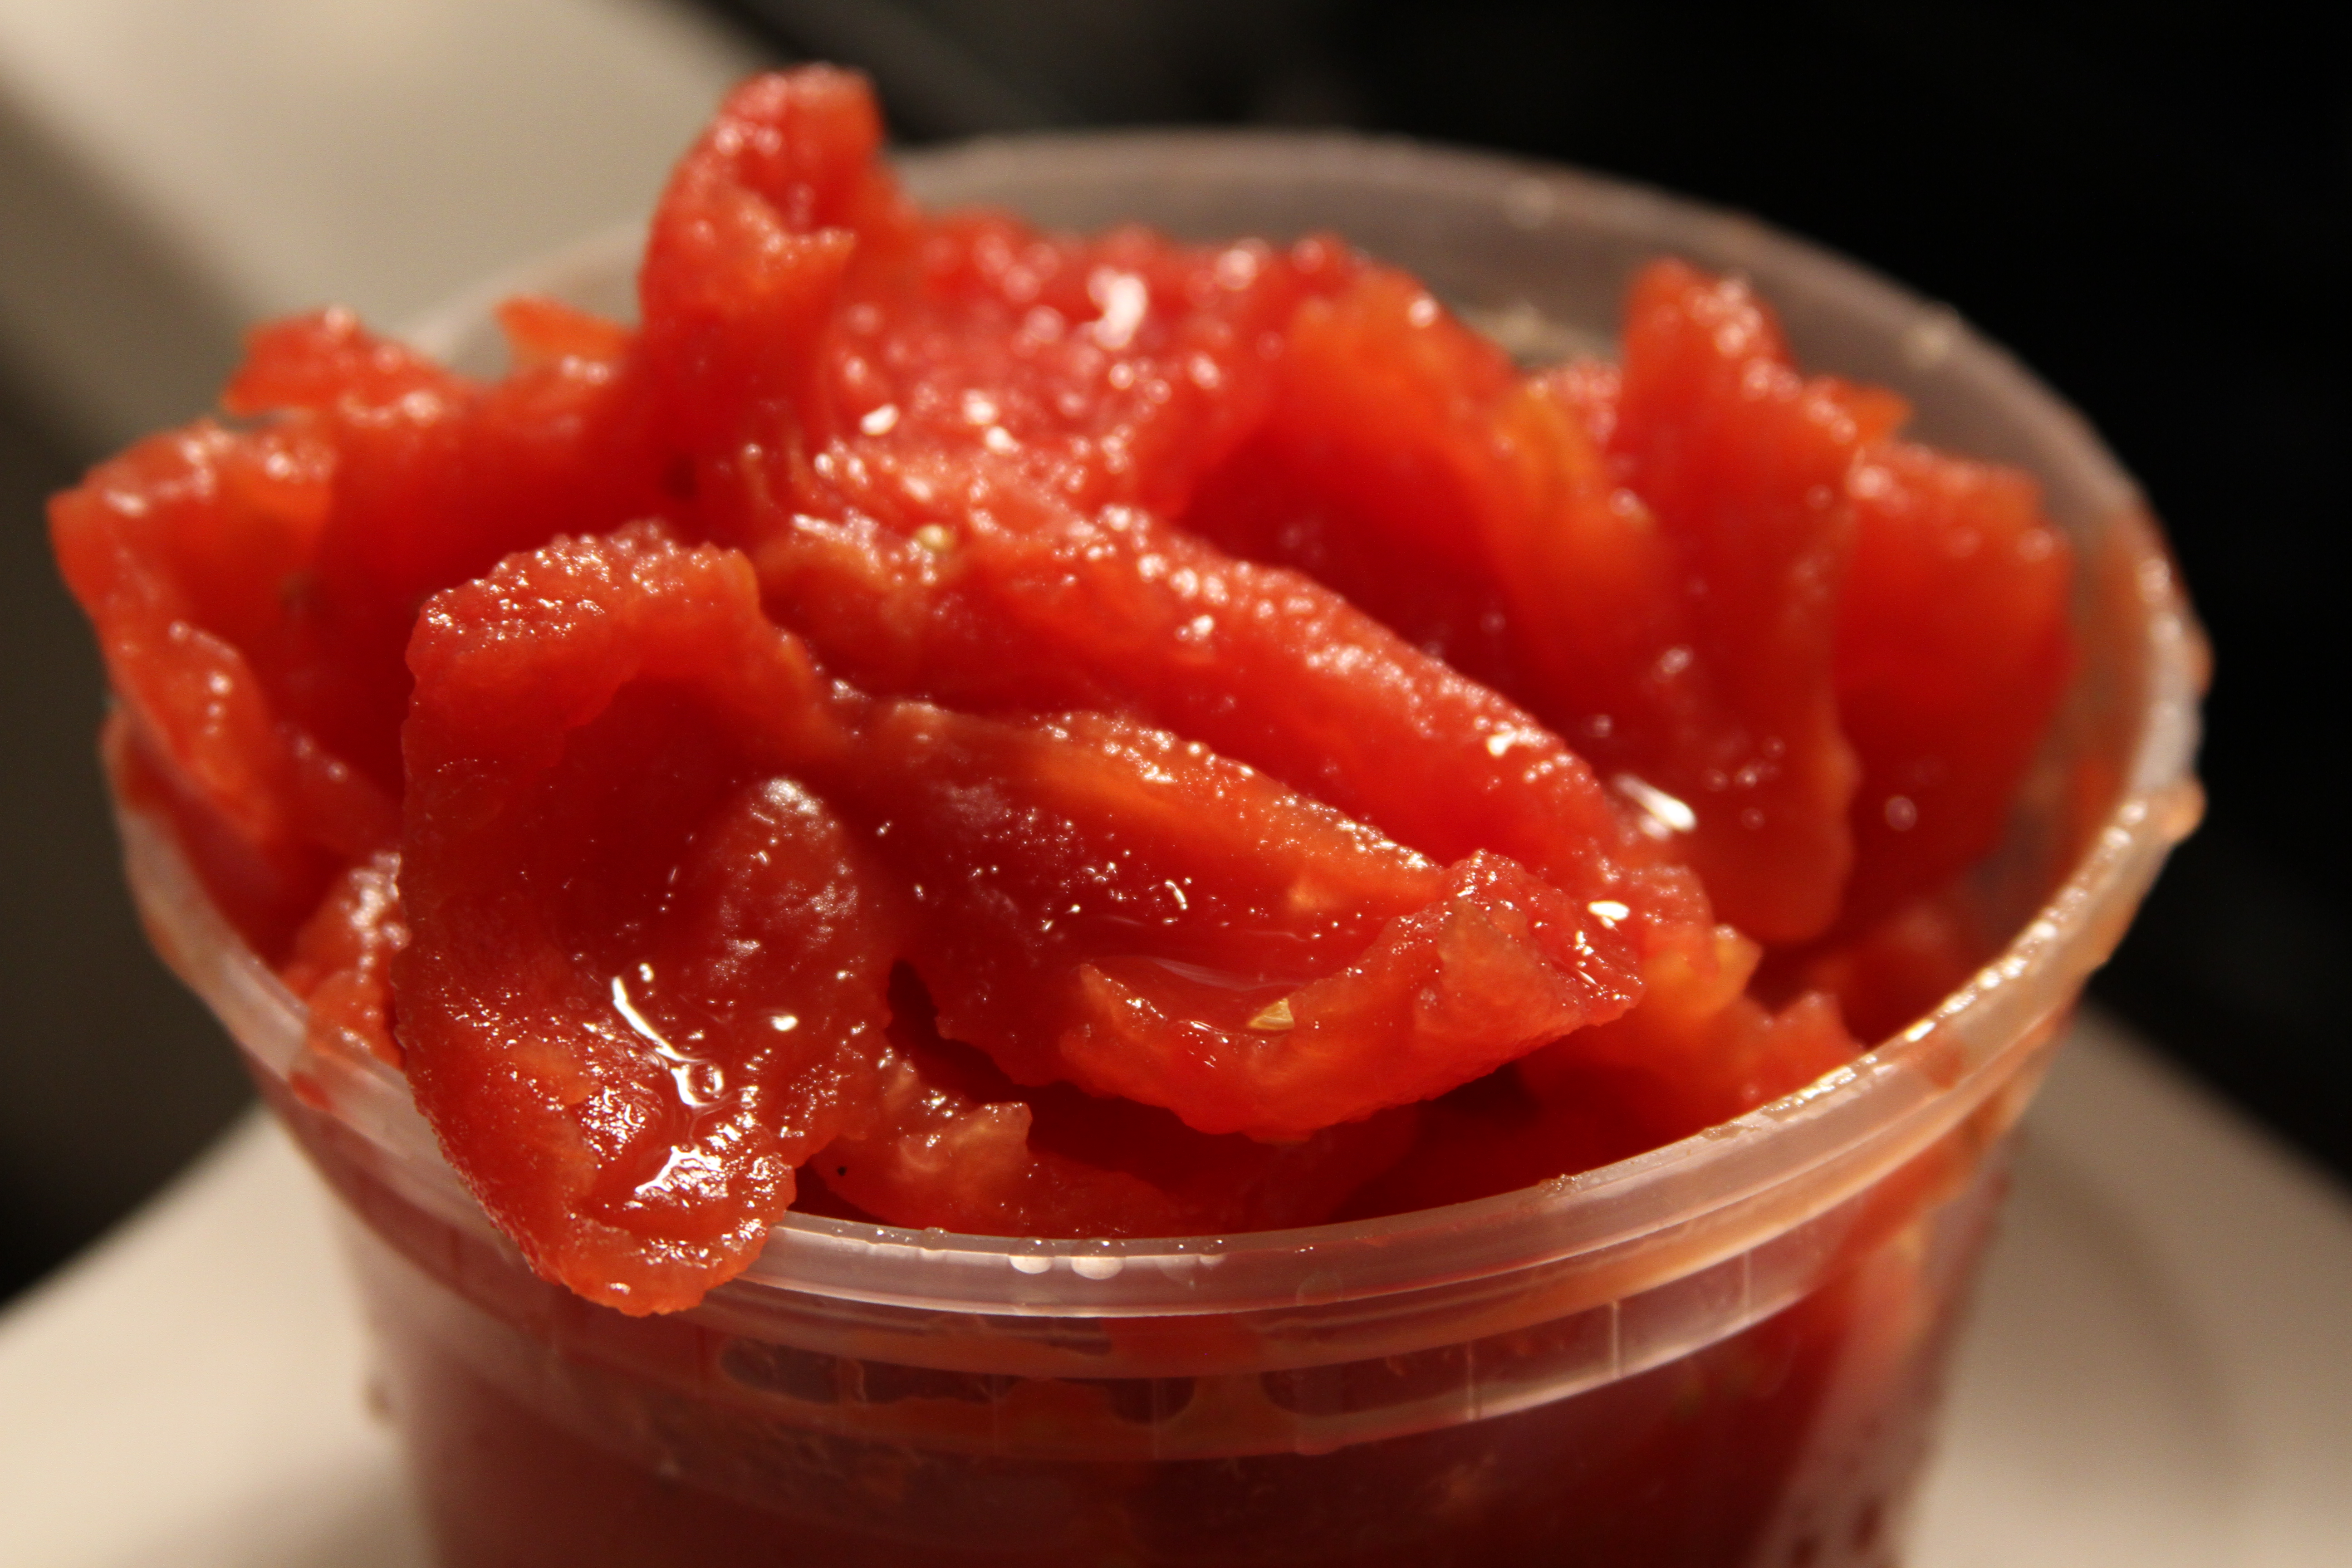
Remove the innards of the tomato and tear the tomato into smaller pieces and set aside.
Once the mirepoix turns translucent and softens up nicely you want to deglaze the pot with red wine, a cup, cup and a half should do, and add the tomatoes.
Don’t be fooled by the maxim stating that you shouldn’t cook with wine that you wouldn’t drink. It’s total bullshit. Pick your color and buy cheap. A $600 bottle of Bordeaux is indistinguishable from two-buck-chuck once it goes into a sauce. Most high-end, fine dining restaurants have Franzia on their shelves. For real.
While we wait for the ragu base to come up to a boil we’re going to sear off the mushrooms.
Start your cast iron pan over medium-high heat. Add some butter, a sprig of rosemary and when the butter starts to bubble start the HOTW.
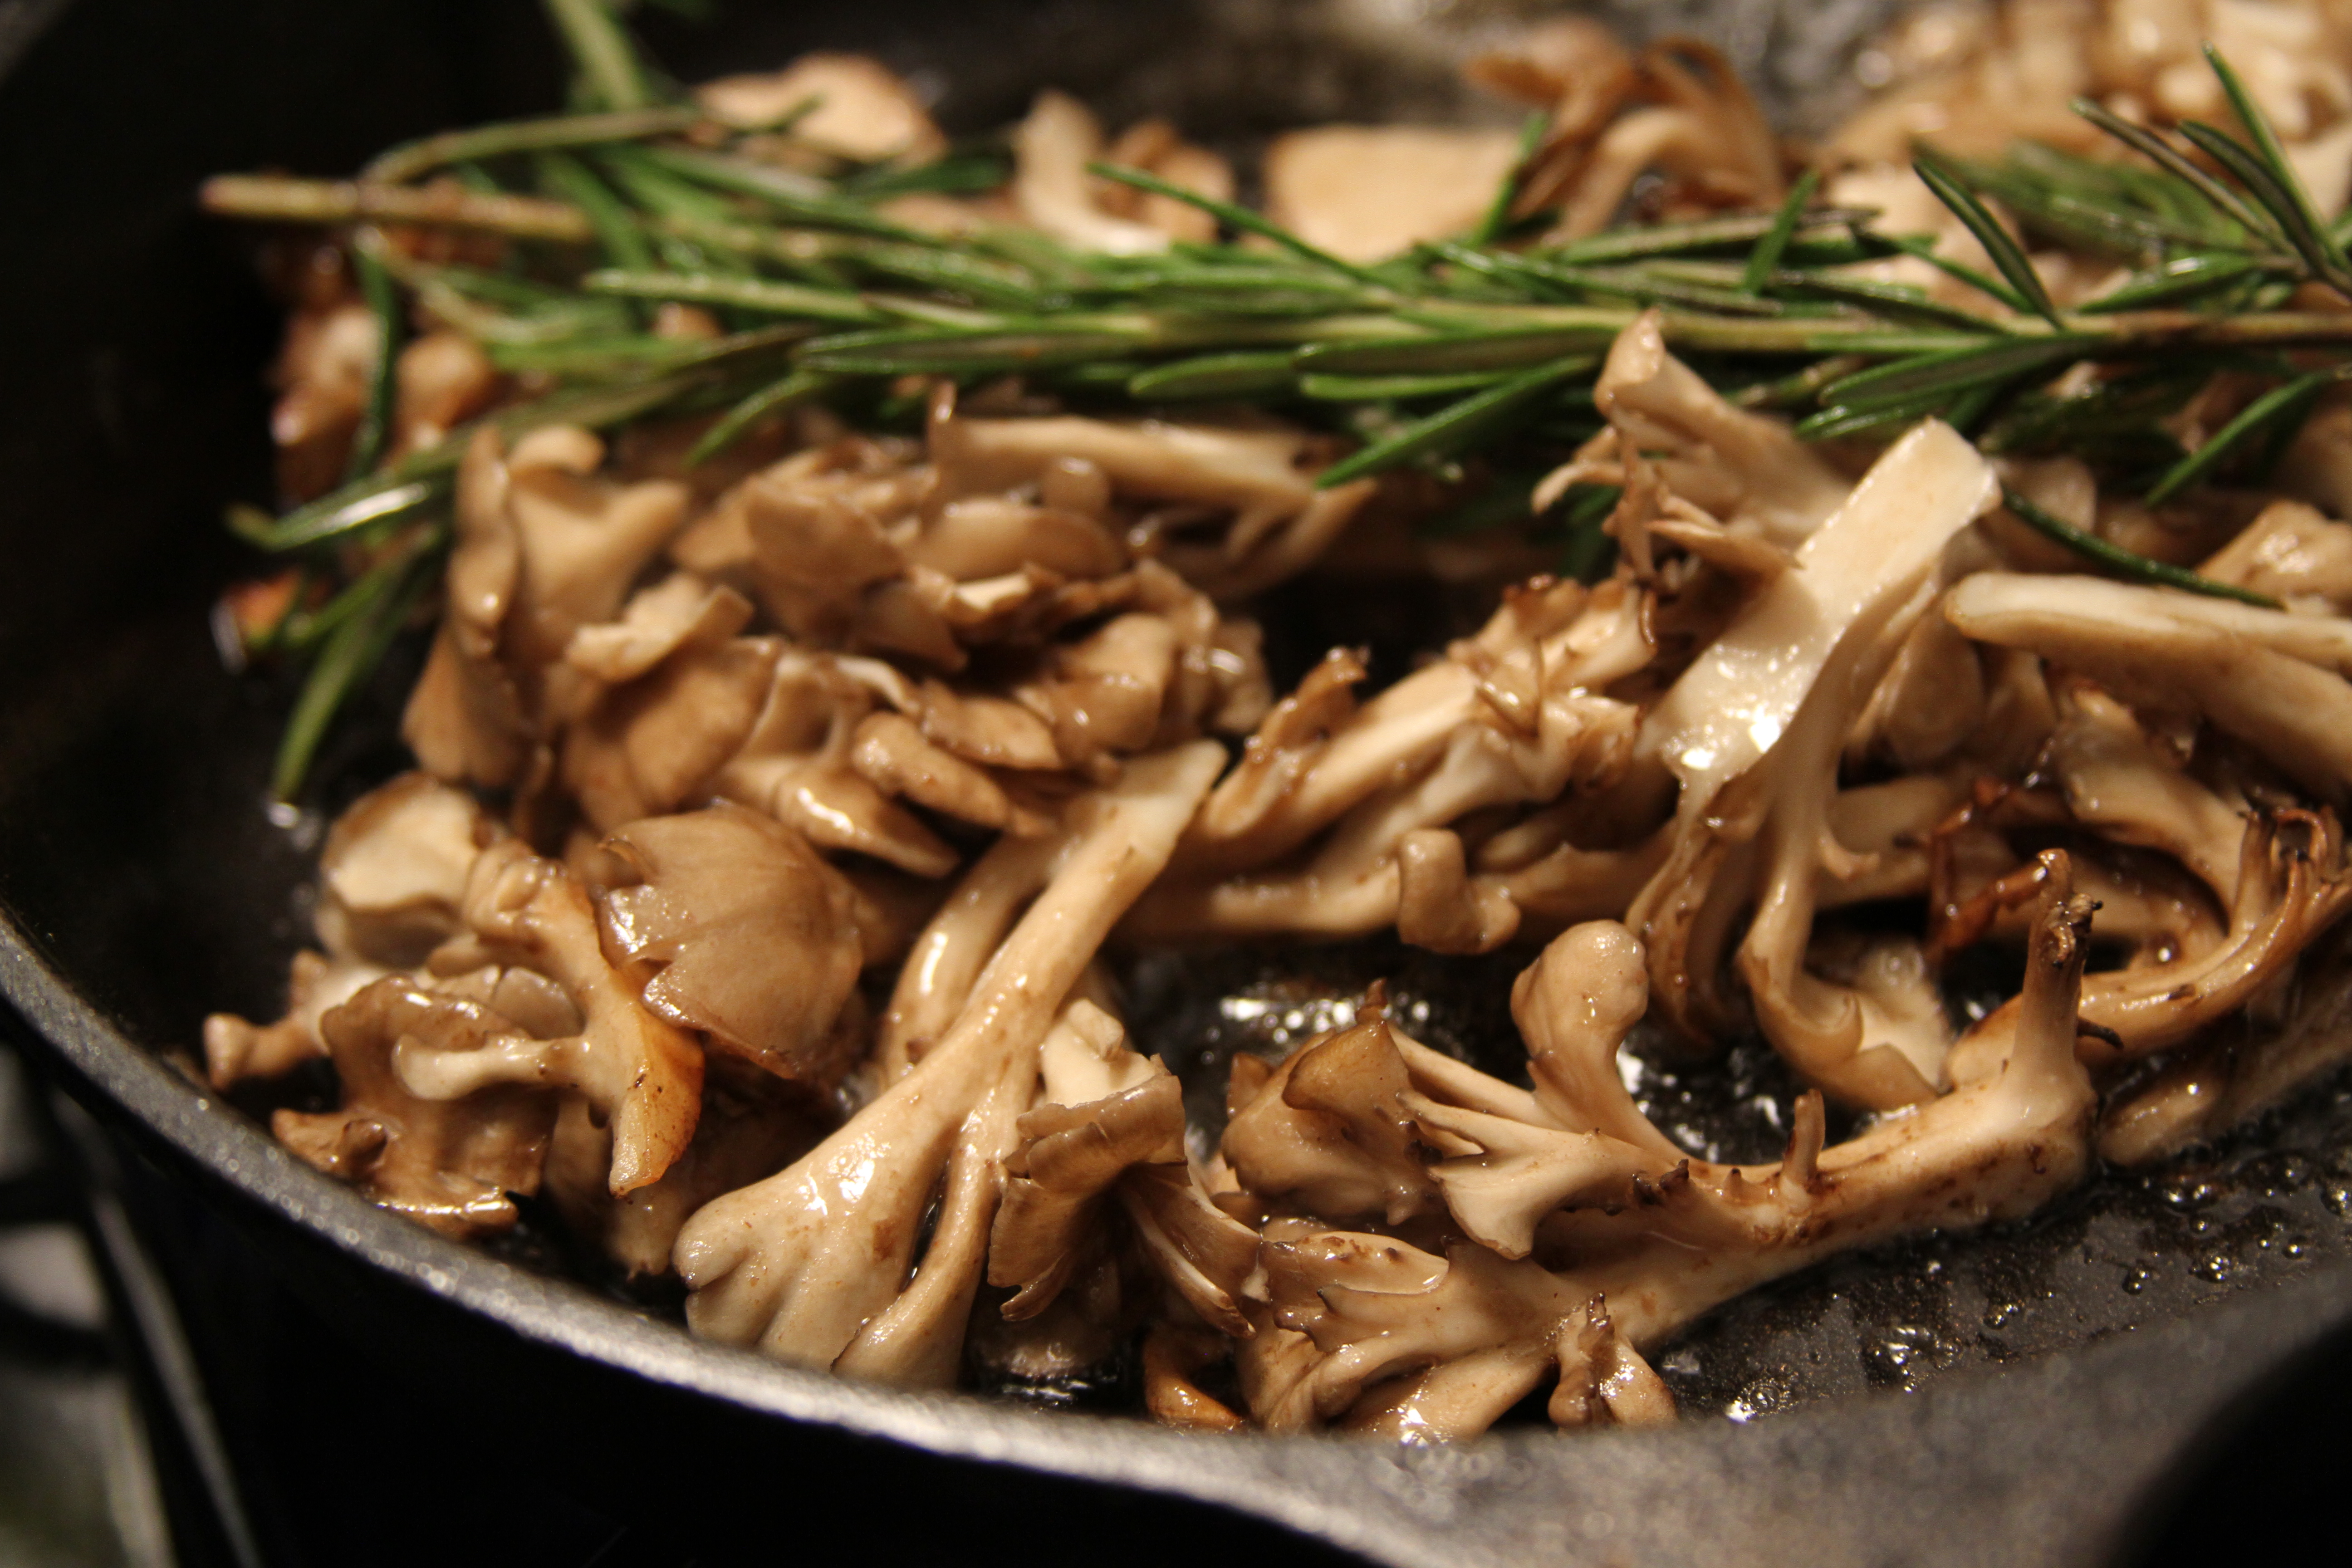
You looking for a solid brown carmelization on the mushrooms. The color is where the flavor lives. Sear off of the HOTW, set them aside and start the shitake.

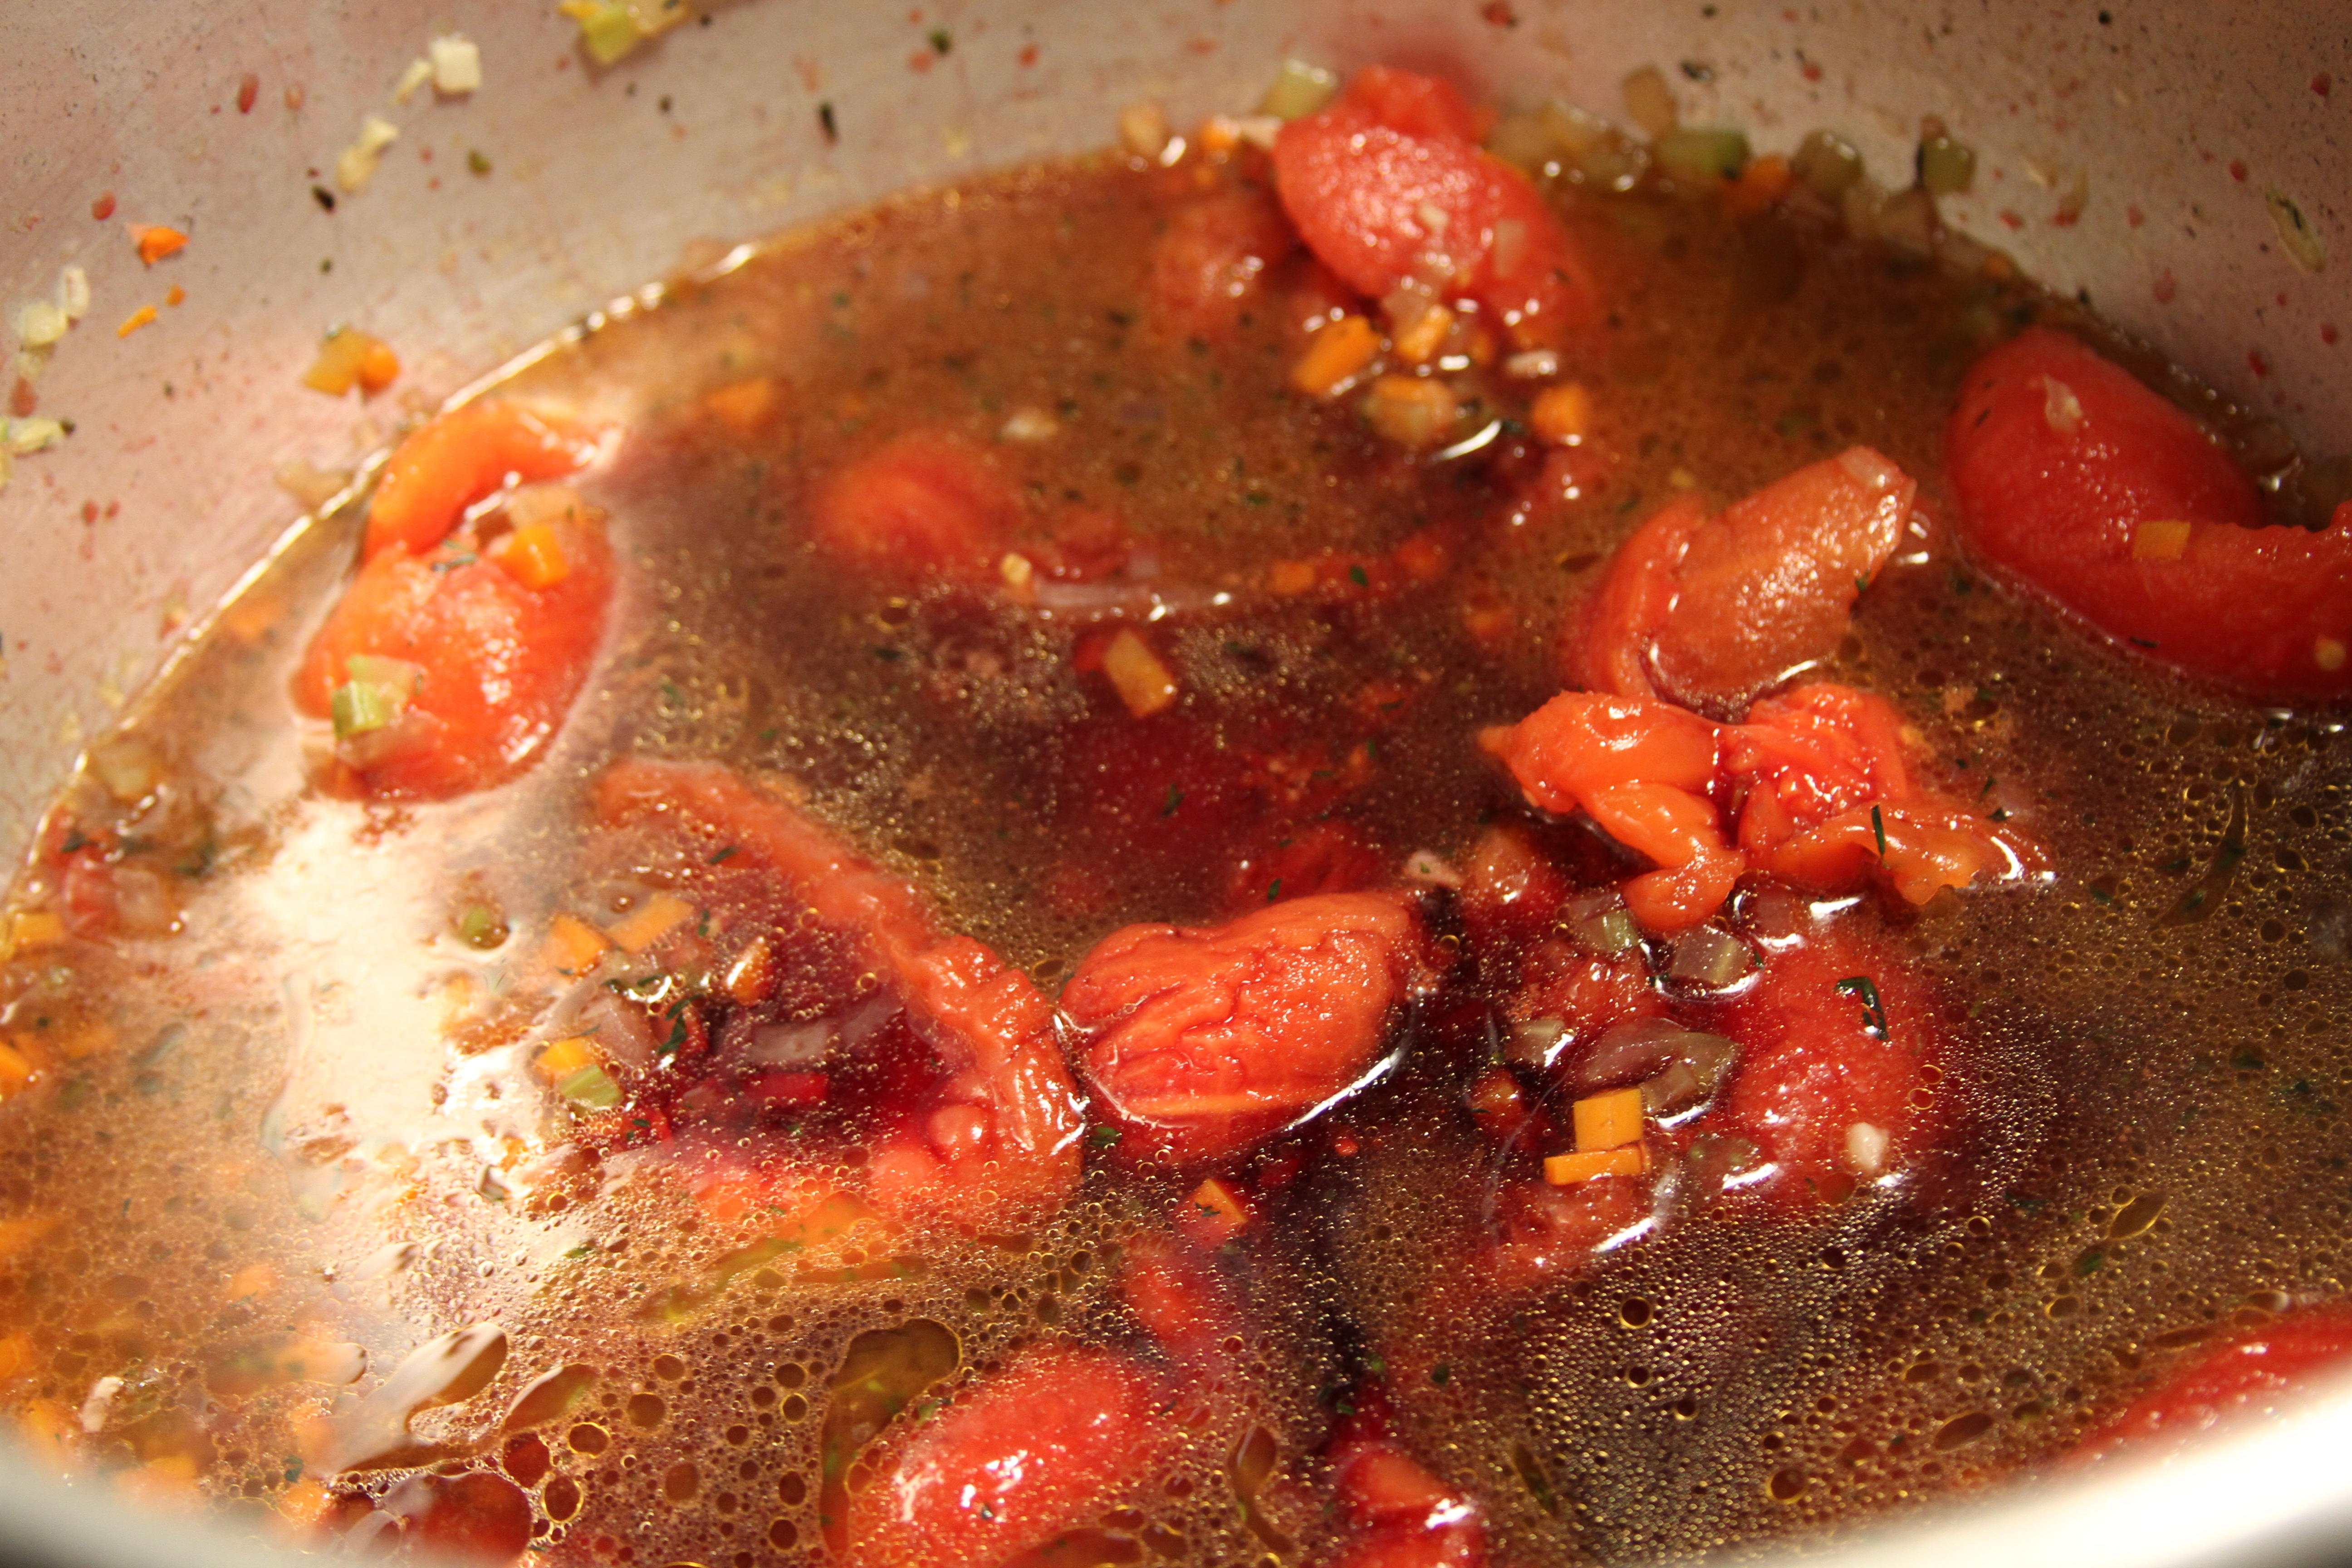
Your ragu base should have come to a boil and once it does reduce the heat so that it drops to a simmer. At this point you want to add the seared mushrooms, the rosemary, and the mushroom stock to the ragu. Use a little bit of the stock to deglaze the cast iron. You want to add that liquid to the ragu as well. The last thing to add is some vegetable stock for a little extra flavor.
You can make your own vegetable stock pretty easily. Good recipes abound out there on the internets. I didn’t have enough space on my range or the time to make one when I put this dinner together, so I cheated. Whatever. Furthermore, if making this dish vegetarian is not a concern I would highly, highly recommend using beef stock here. Even if you’re not putting any actual meat into the dish the beef stock will add a richness and give the ragu a velvety quality that will really help to elevate the dish.
After the shrooms and the stocks go into the cauldron, you should be staring down the barrel at this sexy mess.
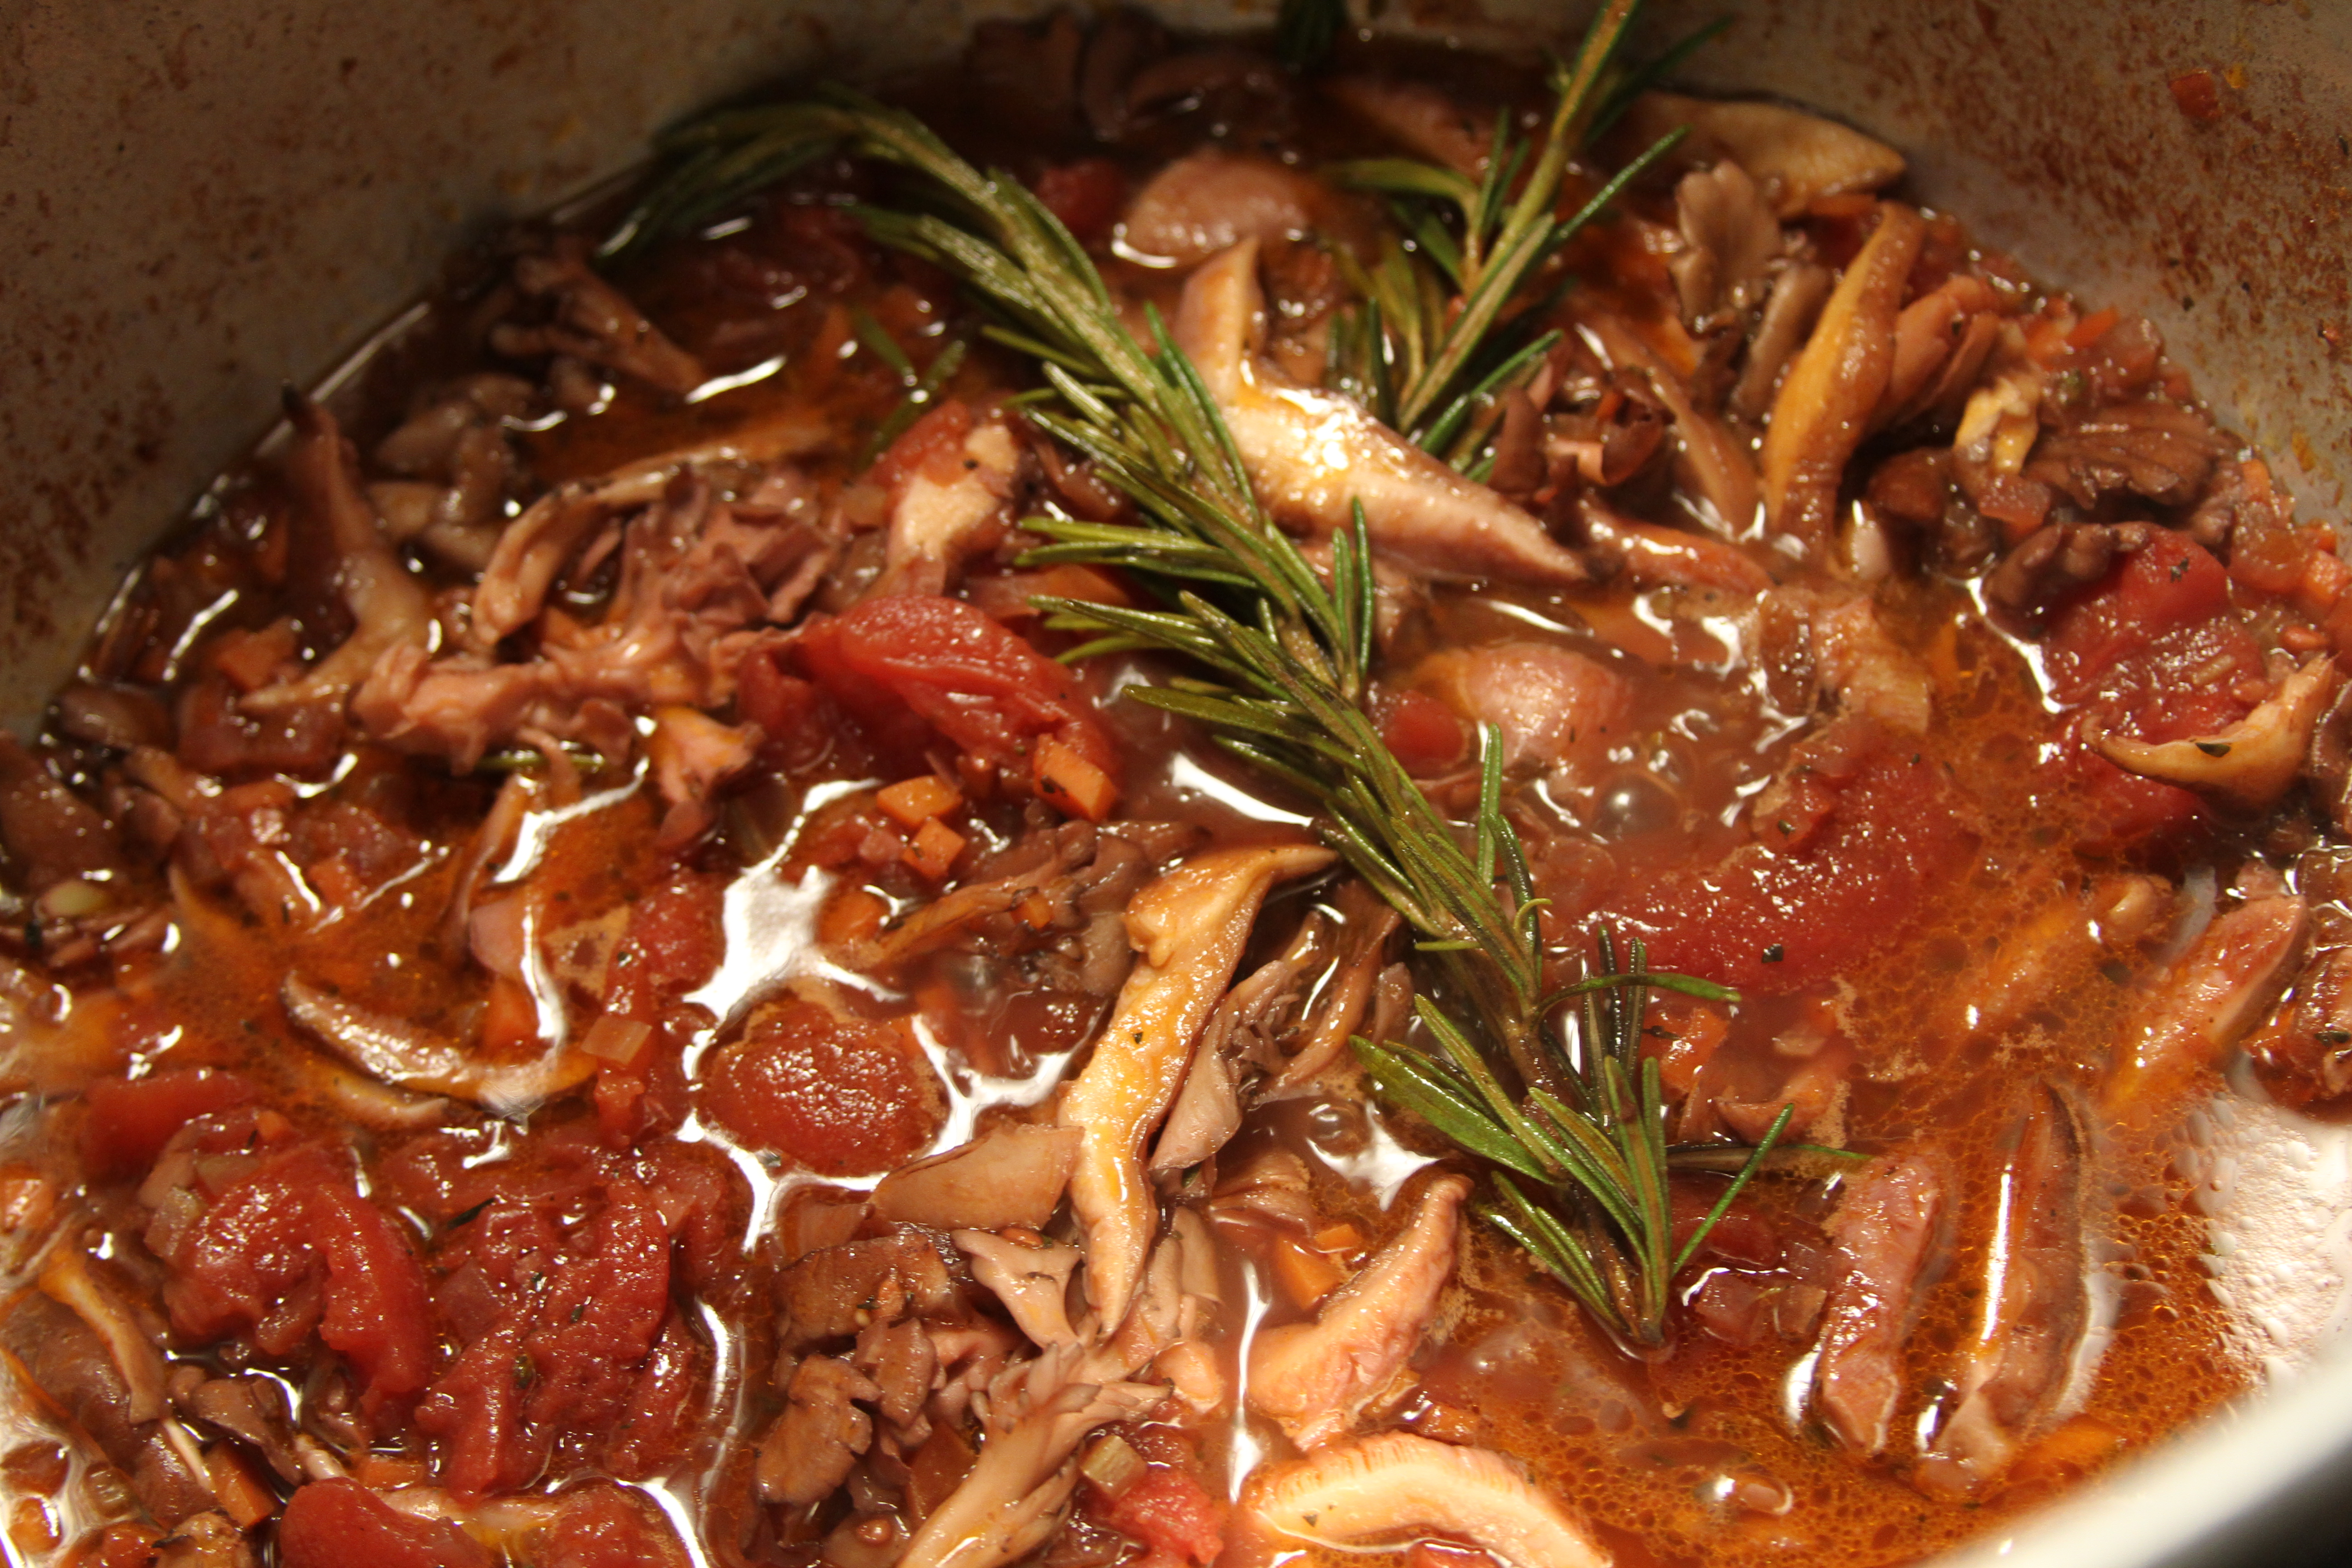
And that’s pretty much it. Adjust your seasoning, let the ragu simmer, and have a glass of wine. Once the ragu comes down by 1/3 or half and has a thick, viscous quality (or one that coats and sticks to the back of a spoon) it’s ready to serve. If the ragu gets too thick you can add water to thin it back out. You’re looking at about an hour or so of cook time. Maybe a little longer. Have some more wine.
Just before you put everything on the plate you need to knock out the peashoots, which you’ll use as a garnish along with some blistered cherry tomatoes, and fry the cheese, yo!
Frying the cheese is pretty straight forward. Canola oil in a shallow pan. Medium-high heat. When the oil shimmers drop the dumplings in and watch them dance. About two minutes a side for the dumplings or until they turn golden brown.

Remove the dumplings from the oil and set them aside on a paper towel to drain. Throw a handful of cherry tomatoes into a dry pan over high heat. Should only take a minute or two for them to scorch a little and blister. Set these aside too.
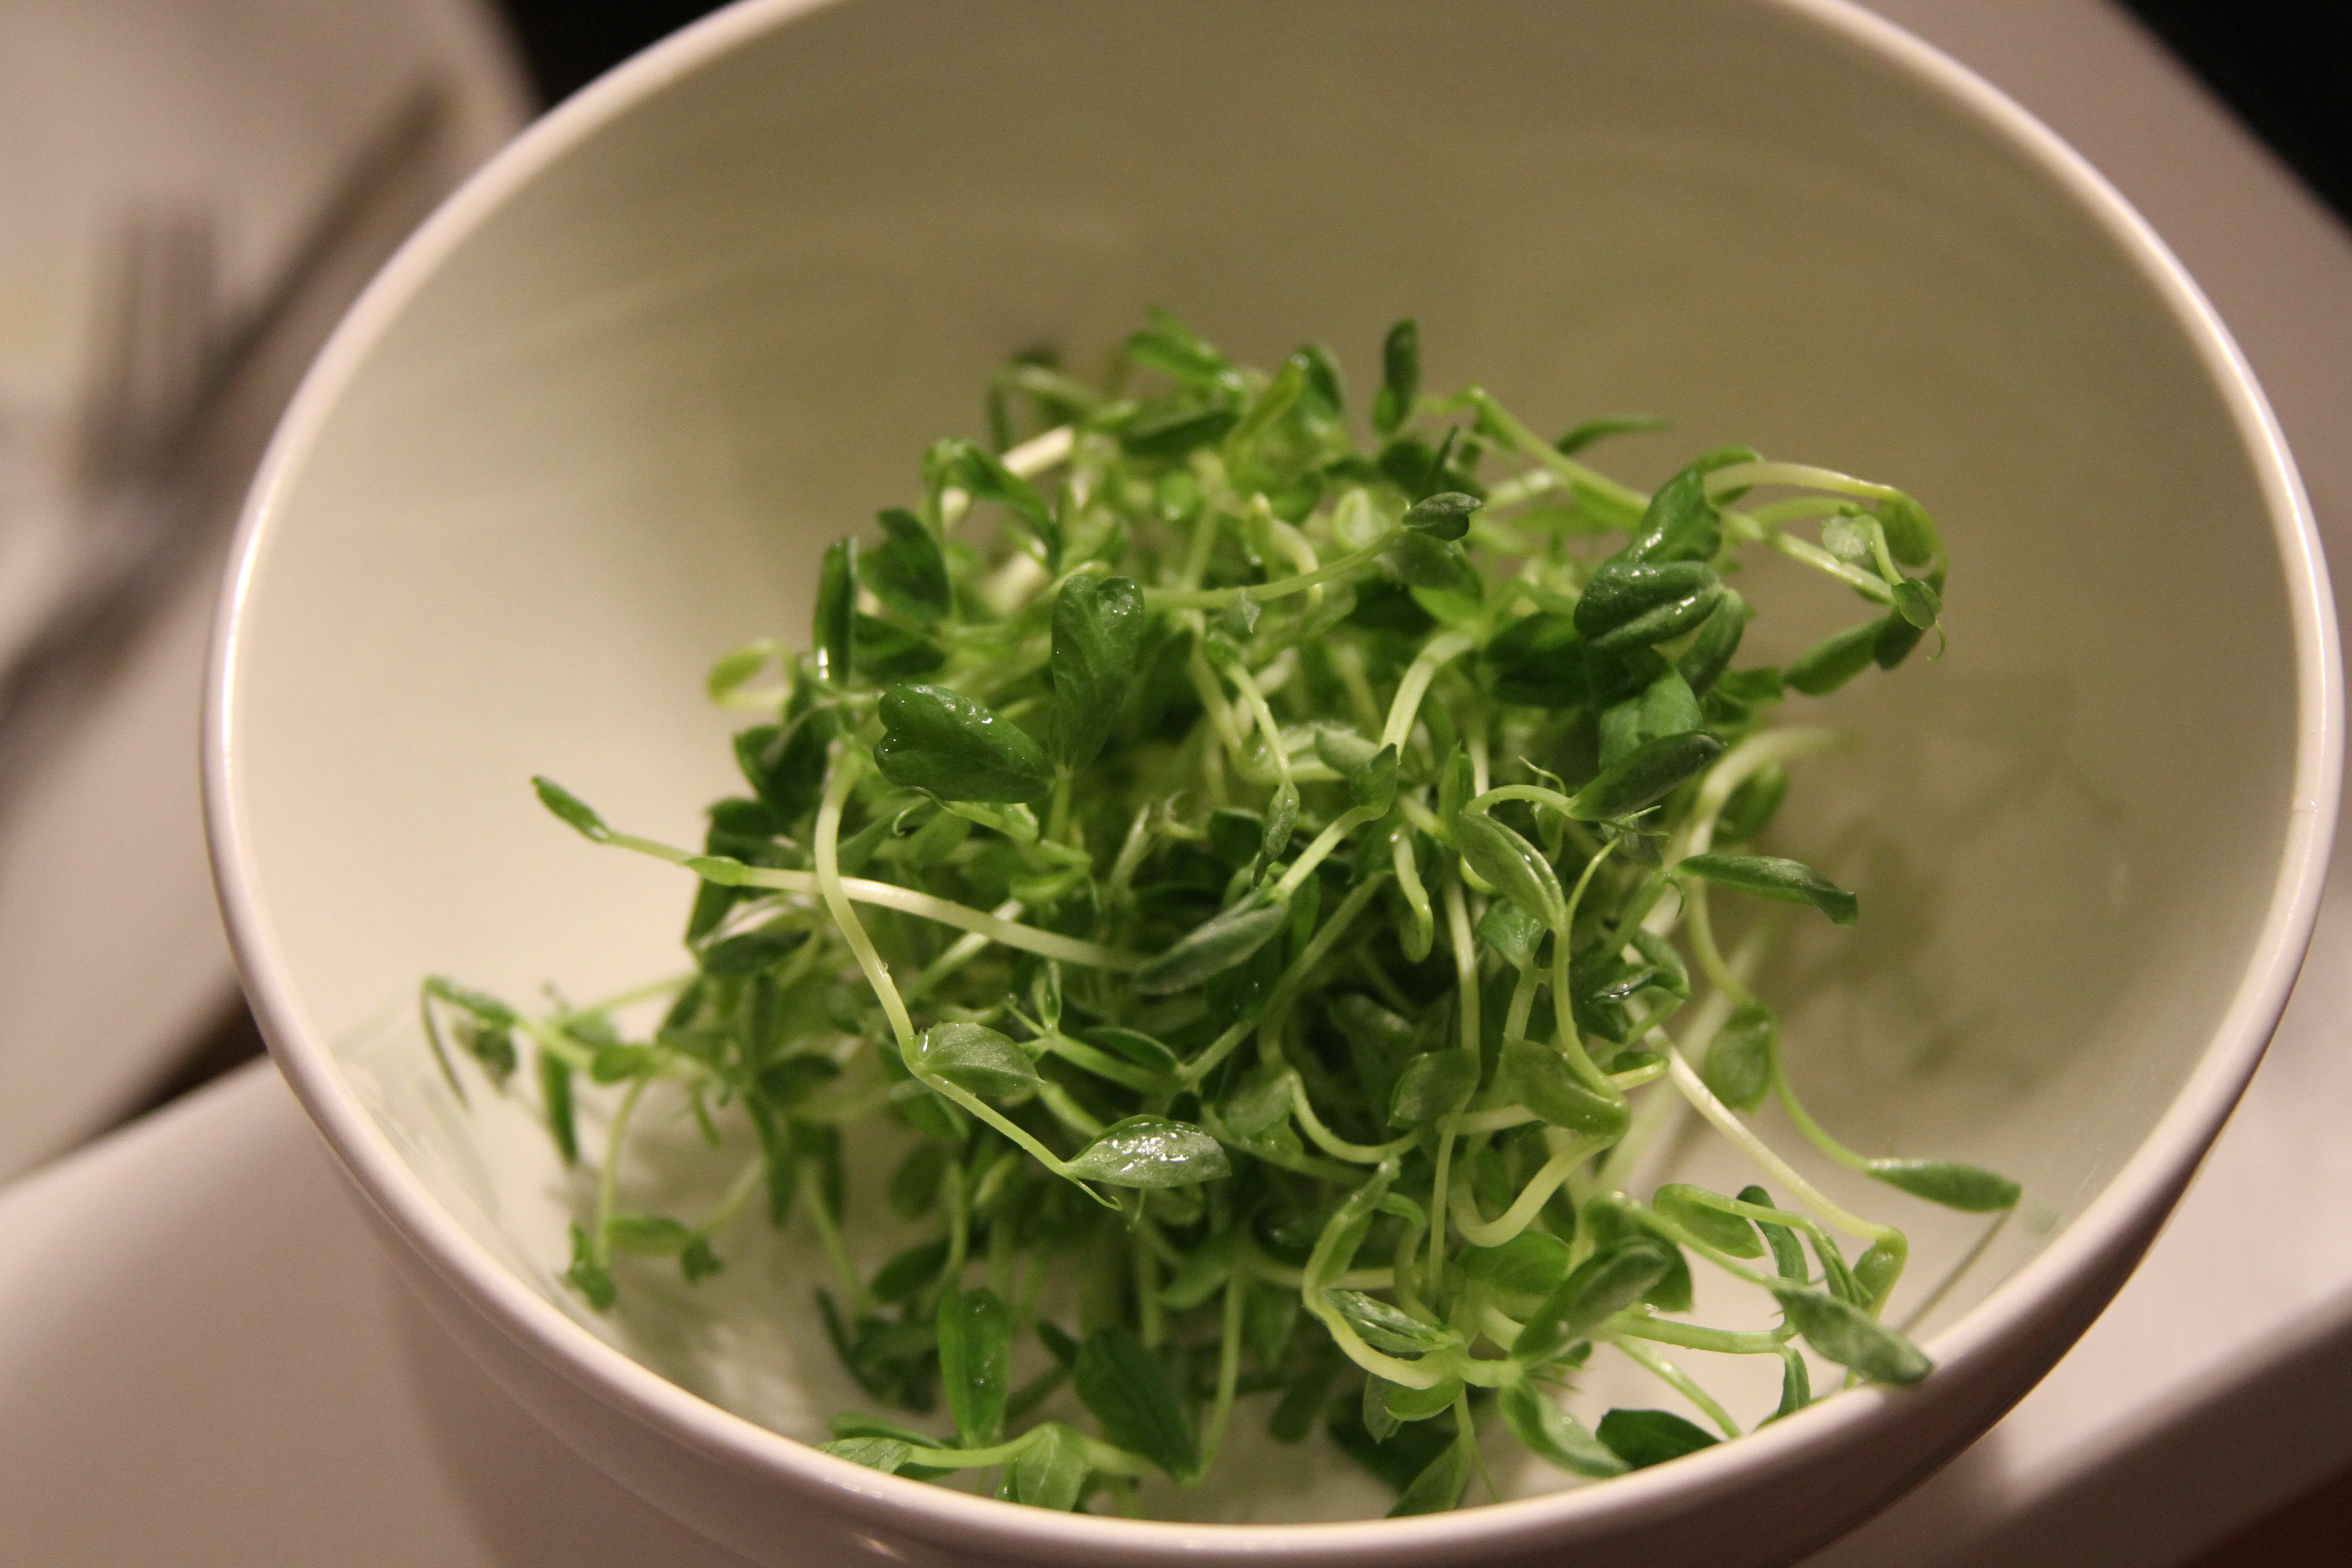
Peashoots are the leaves of the pea plant and they are crunchy and sweet and delicious. They’ll give you a chance to add acid into the dish, make it a little lighter on its feet some and add texture too. Remove the longer pale green stalk from the peashoot and toss the leafy ends into a bowl. Hit them with some lemon juice and salt. Got all that? Good. Let’s plate this bitch.
Ragu first. Then add a pair of dumplings and a couple of tomatoes and place a small tangle of the peashoots on top of the ragu. Boom. Sell ’em!
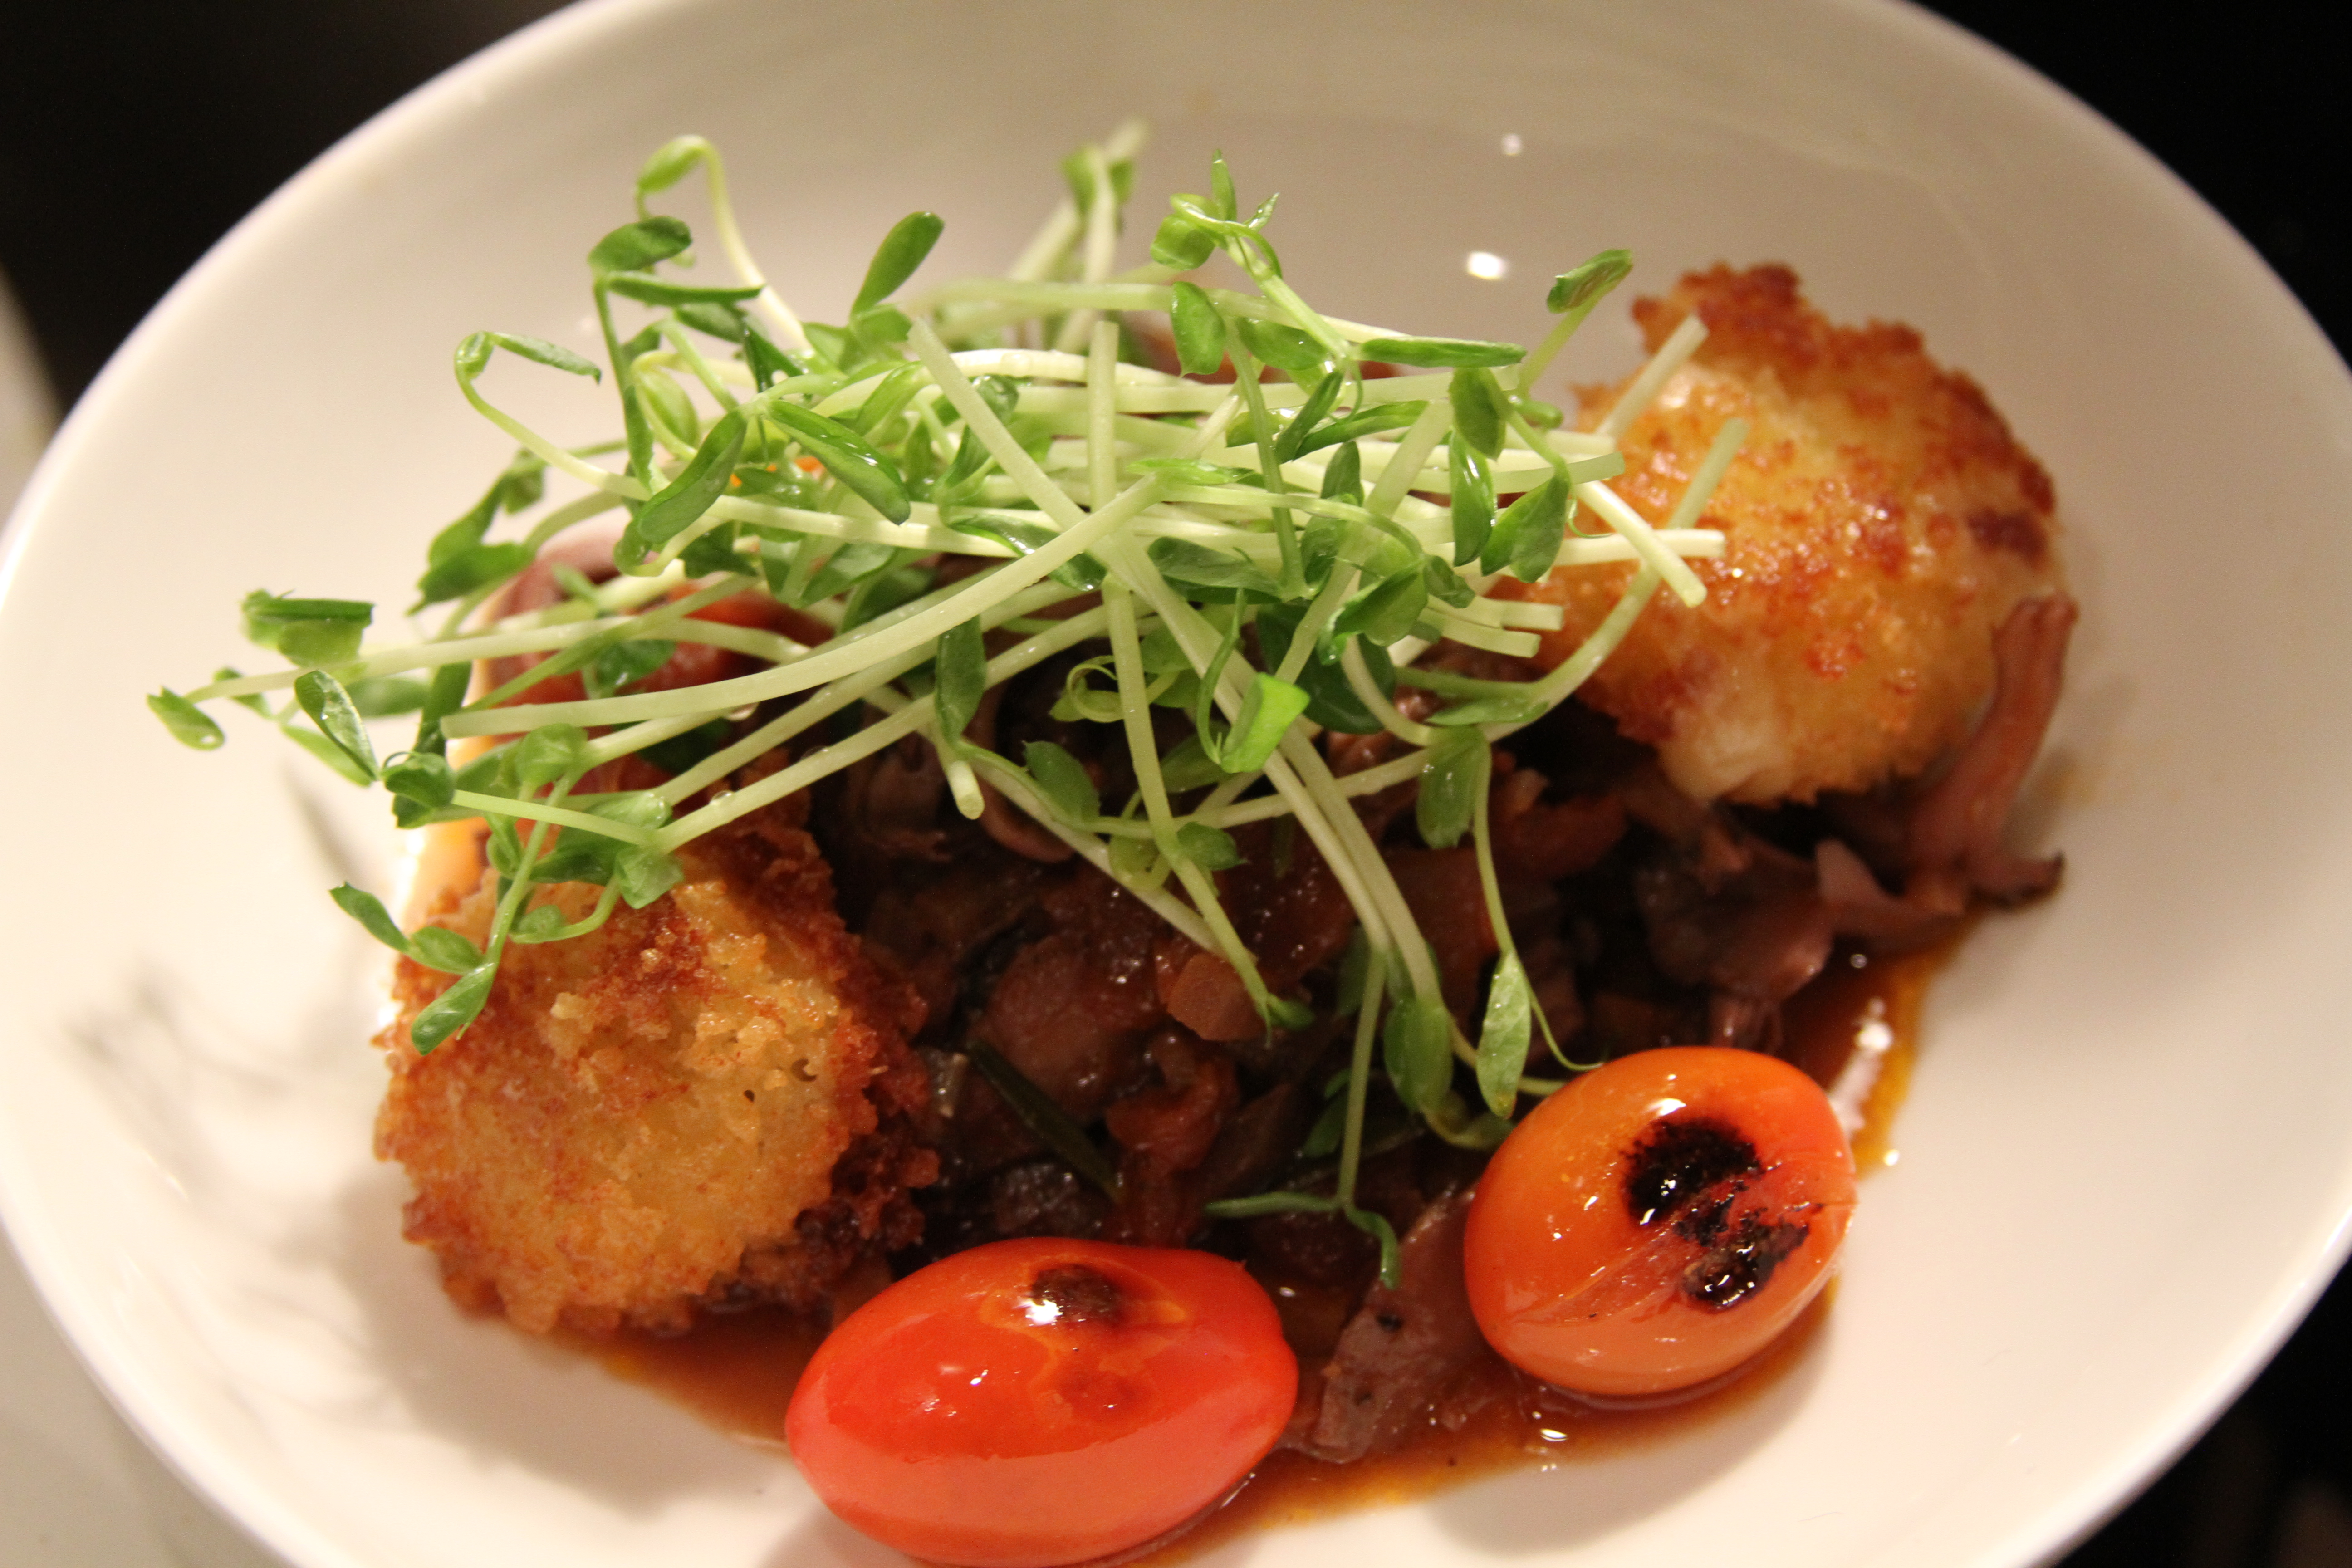
As much as I found this to be a successful vegetarian interpretation, and one that I will make again, of the excellent food that I enjoyed at August, and as much I enjoyed eating it, it just wasn’t the same without the beef cheek. Maybe it’s the carnivore in me, but I missed a having a piece of an animal in this dish. But that’s just me.
Oh, and to top all this off Nicki made some absolutely ridiculous Chocolate-Chip Banana Cupcakes with Caramel Cream Cheese Icing and Sea Salt.
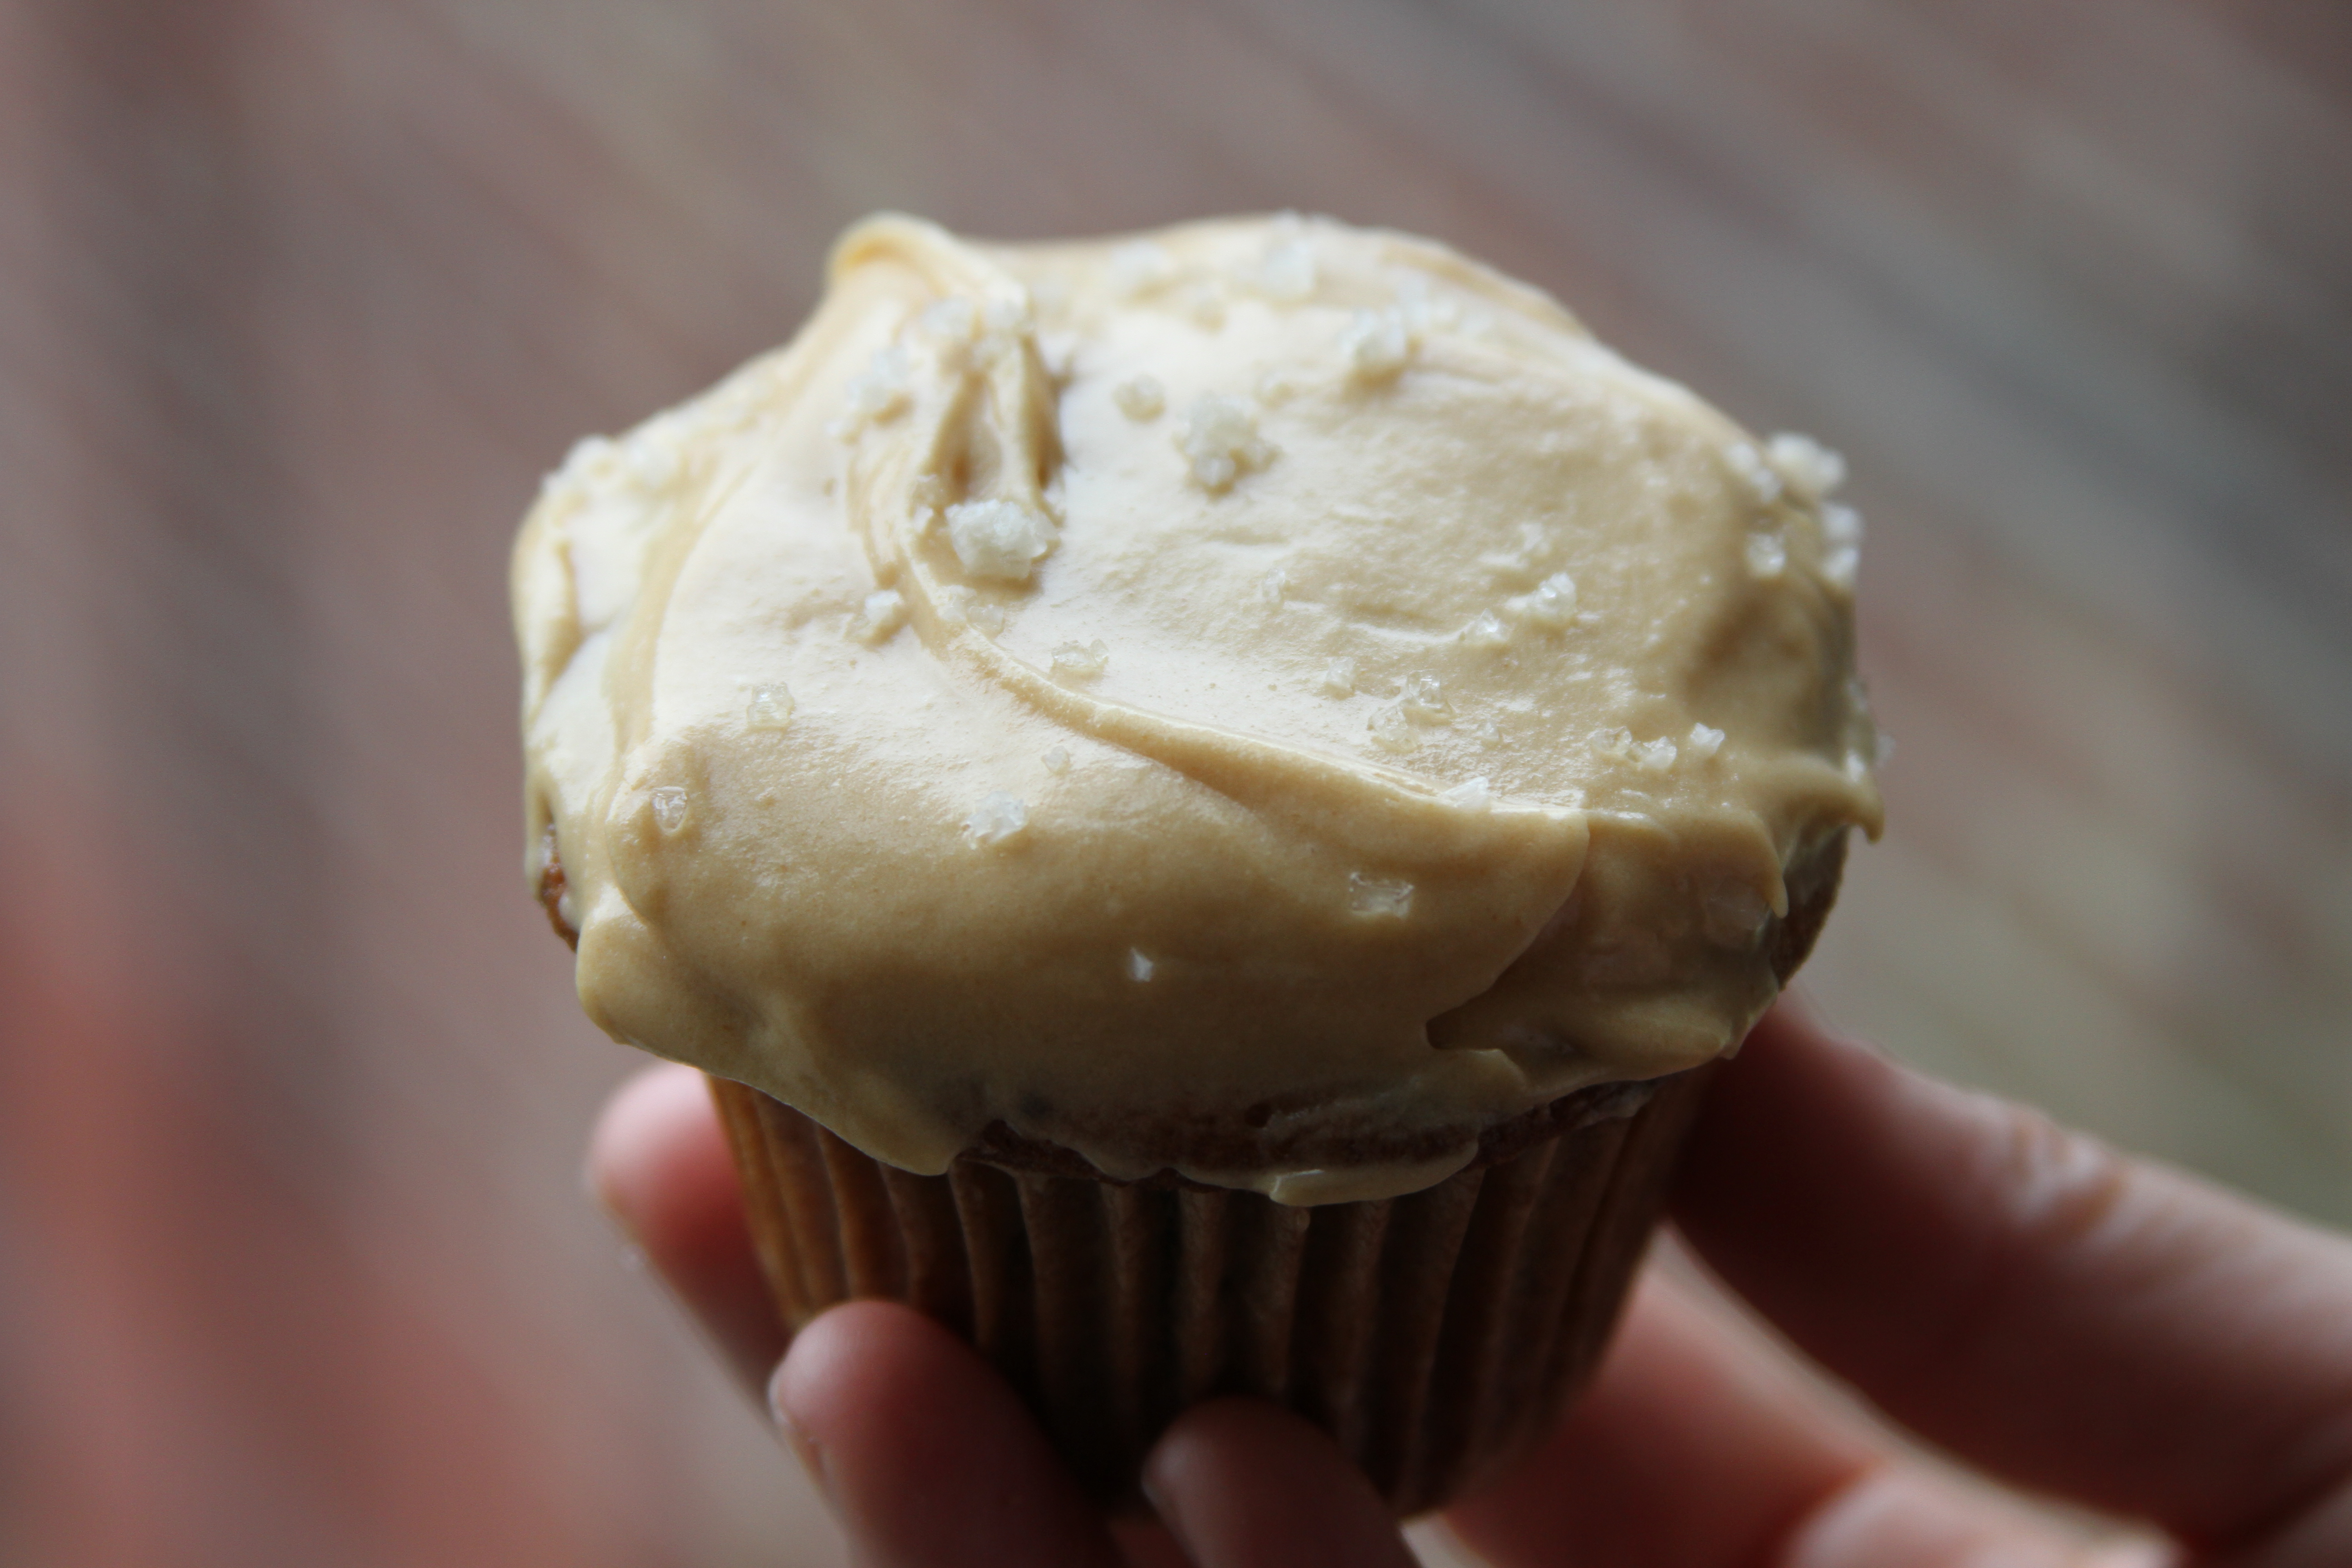
Such a mean-spirited thing to do, right? These were insanely delicious and very dangerous. My fat ass ate like eight of these. It was gross.
The ravioli can be made ahead of time by a day or two if you want to keep them in the fridge before serving them. Also, any extras that you may wind up with can be frozen. Just make sure that they have a bed of cornmeal to lay on. Otherwise they’re going to stick whatever you store them in.
The ragu can also be made ahead of time. Ideally, you’d make it the day before and let it rest in the refrigerator overnight, thus allowing a full day for the marriage of all the flavors. Then it’s as simple as just warming the ragu through before serving it. You can freeze any leftover ragu and it should be good for quite some time.
The cupcakes you will eat immediately and then regret for the next week.
Both of these dishes are great for large groups as most of the ingredients are inexpensive and you’re able to generate a significant amount of food fairly easily. It’s the perfect kind of food to make for yourself and a bunch of your buddies when you’re in the Bahamas on a weeklong bonefishing extravaganza while the rest of us have to stay home and work.
Judging from the silences and smiles and laughter that followed the service of each course, and the clean plates, I think it’s safe to say that my lovely lady diners were satiated and happy. A few told me so too. And that’s what food should be about. Fun. No matter what you’re eating.
My apologies for the dearth of anything fishy in this post. A recent trip to the New Fulton Fish Market in the Bronx and the wholesale division of the seafood purveyor that I work for proved to be a very interesting outing. One that yielded some SERIOUS fishporn. That should be up in the near future and will hopefully be salty enough to make up for what was lacking here.
-Baz
Special thanks to Amanda Carney for helping out behind the camera lens, to Kristin St. Clair for assisting me with some much needed ravioli rescue, and of course Nicki Manchisi for the absolutely insane cupcakes.
Check them out at http://myediblesunshine.com/, http://lemmemakeit.com/, http://nickimanchisi.com/. Do it!