
I do not think it much of a leap at all to say that the onion ring could be one the most polarizing fried treats to ever adorn a restaurant menu. Oft lauded, the mention of onion rings as a possible accompaniment to a cheeseburger or even served by themselves in a bowl or basket is rarely met without a raised eyebrow or muffled “ooh” or “aah.” But God save the onion rings served heaped and sweaty and mushy onto a plate. Never, not ever will they be able to escape being labeled as “bad” onion rings. When an onion ring is correctly made though, they can be marvelous. A crispy salty, starchy shell around a just cooked and perfectly sweet cord of onion. And it is at these two extremes where the onion ring lives. Unlike sister french fry, there is no middle ground for the onion ring to occupy. And while there are certainly arguments to be had of who has the best onion rings or the worst onion rings, of those that are loved and those that are hated, there will never be talk of onion rings being just “fine.” It does not happen. All the more reason to love the onion ring. There is only triumph or failure. And it is in the spirit of triumph that I offer the recipe for the first great onion ring that I ever tasted. I’ve had a few that have been as good, but none that have been better.
Full disclosure. This is not my recipe. Basic though it is, gotta give credit where it’s due. I encountered this recipe about sixteen years ago at my very first restaurant job.
I was running expo at a restaurant in Jupiter, Florida and still pretty green as far as the restaurant industry was concerned when the chef (who was running kitchens at two other locations) bullrushed into the kitchen all shit, cocks, and motherfuckers because the protein delivery came in short that morning and nobody caught it until that very moment. Missing from the delivery was the fish he wanted to use that evening for a special entree. So, there he was, an hour and a half out from service, prep table all loaded with prepped foodstuffs for a fish dish that he’d been planning for two days, without the fish he wanted. Rather than force it and use a fish that was not the right fish for the dish he asked the cooks to pack up all the prep. They would run the fish special tomorrow.
It was a few minutes before chef broke the silence he maintained while charging around the kitchen gathering ingredients and when he did all he said was, “Onion rings. Fucking Onion rings.” We ran onion rings that night. That was our special. And we sold the shit out of them.
I stood not-so-close that I would catch a firm get-the-fuck-away-from-me from chef, but close enough that could see everything he was doing. Now this is not one of those moments I think back on and get all starry-eyed and talk about how it changed me forever and made me want to work in restaurants forever and blah, blah, blah. It was the moment where I was like, “Oh. That’s how you make onion rings.” It was the only way I’d ever been shown to make onion rings and it’s the only way I’ve ever made them where they’re just, I don’t know, right. Every time I eat that first one I can’t help but smile and nod. Batter is for fish and chips. And corn dogs. Okay, and Oreo’s.
Let’s cook.

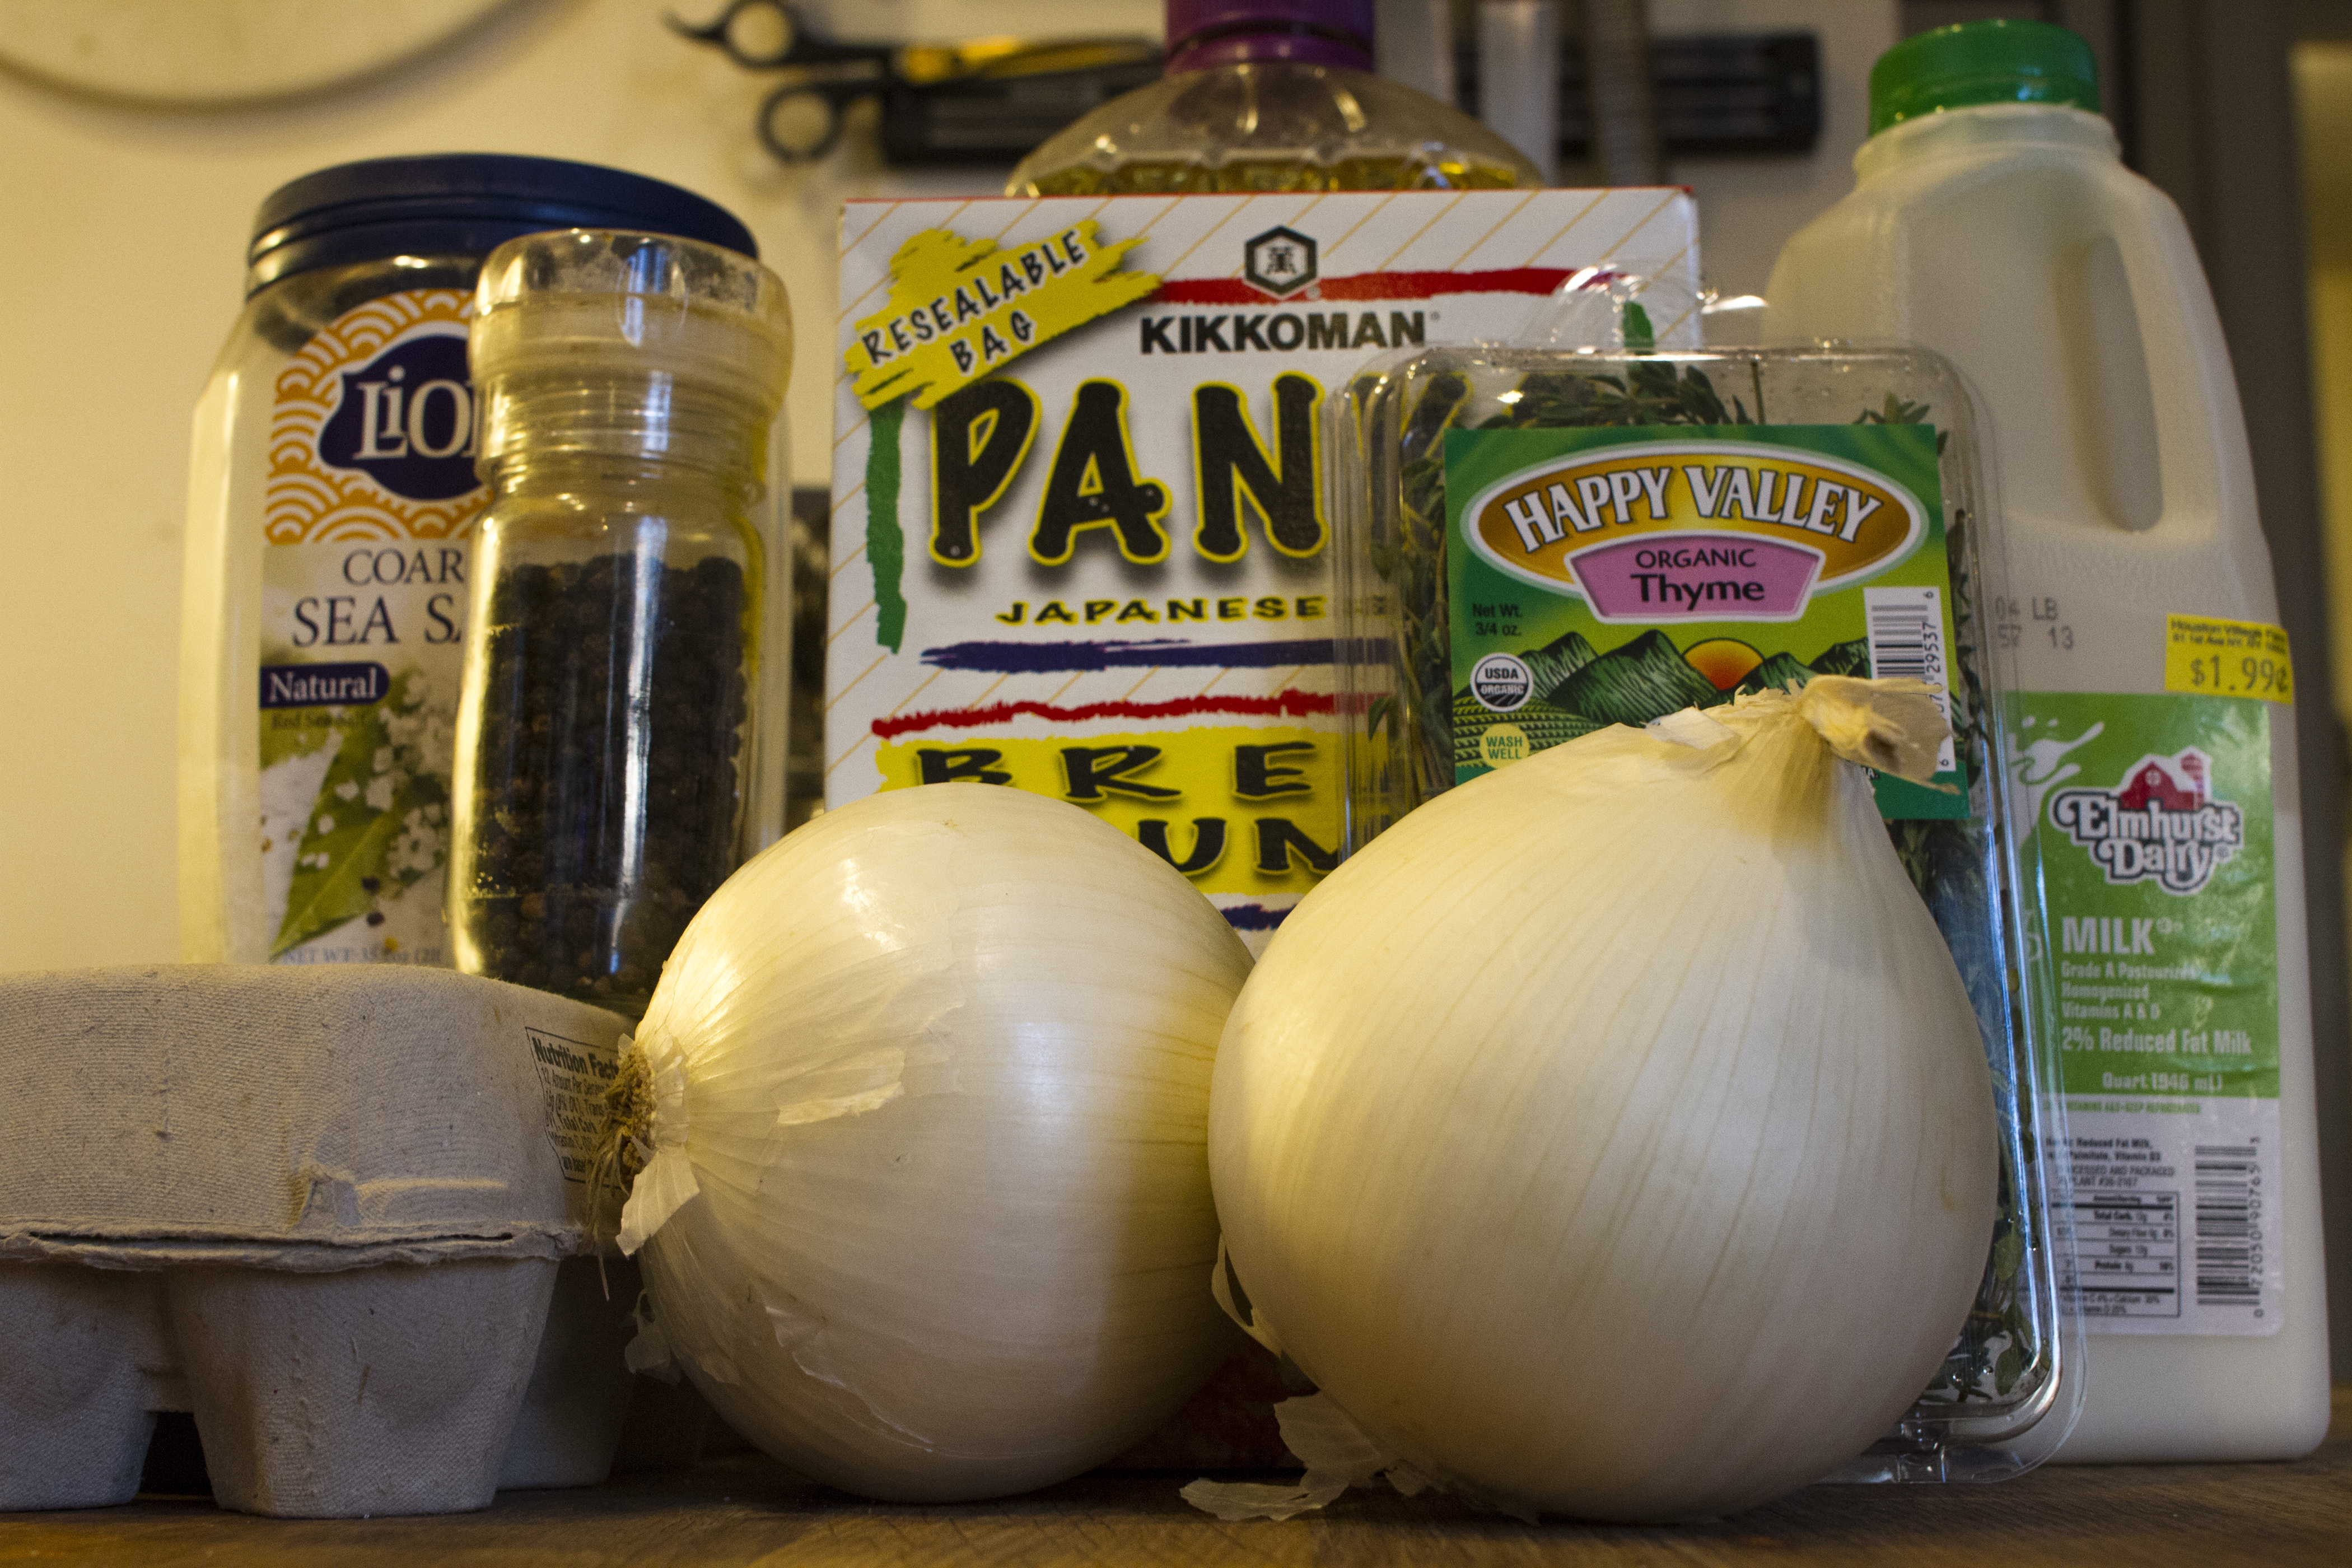
First, the onion. You want a white onion that isn’t too oblong or oval shaped. Once the ends are removed it should look like the Earth. Round, but a little compressed in the middle. Think of the nice big rings you’ll get.
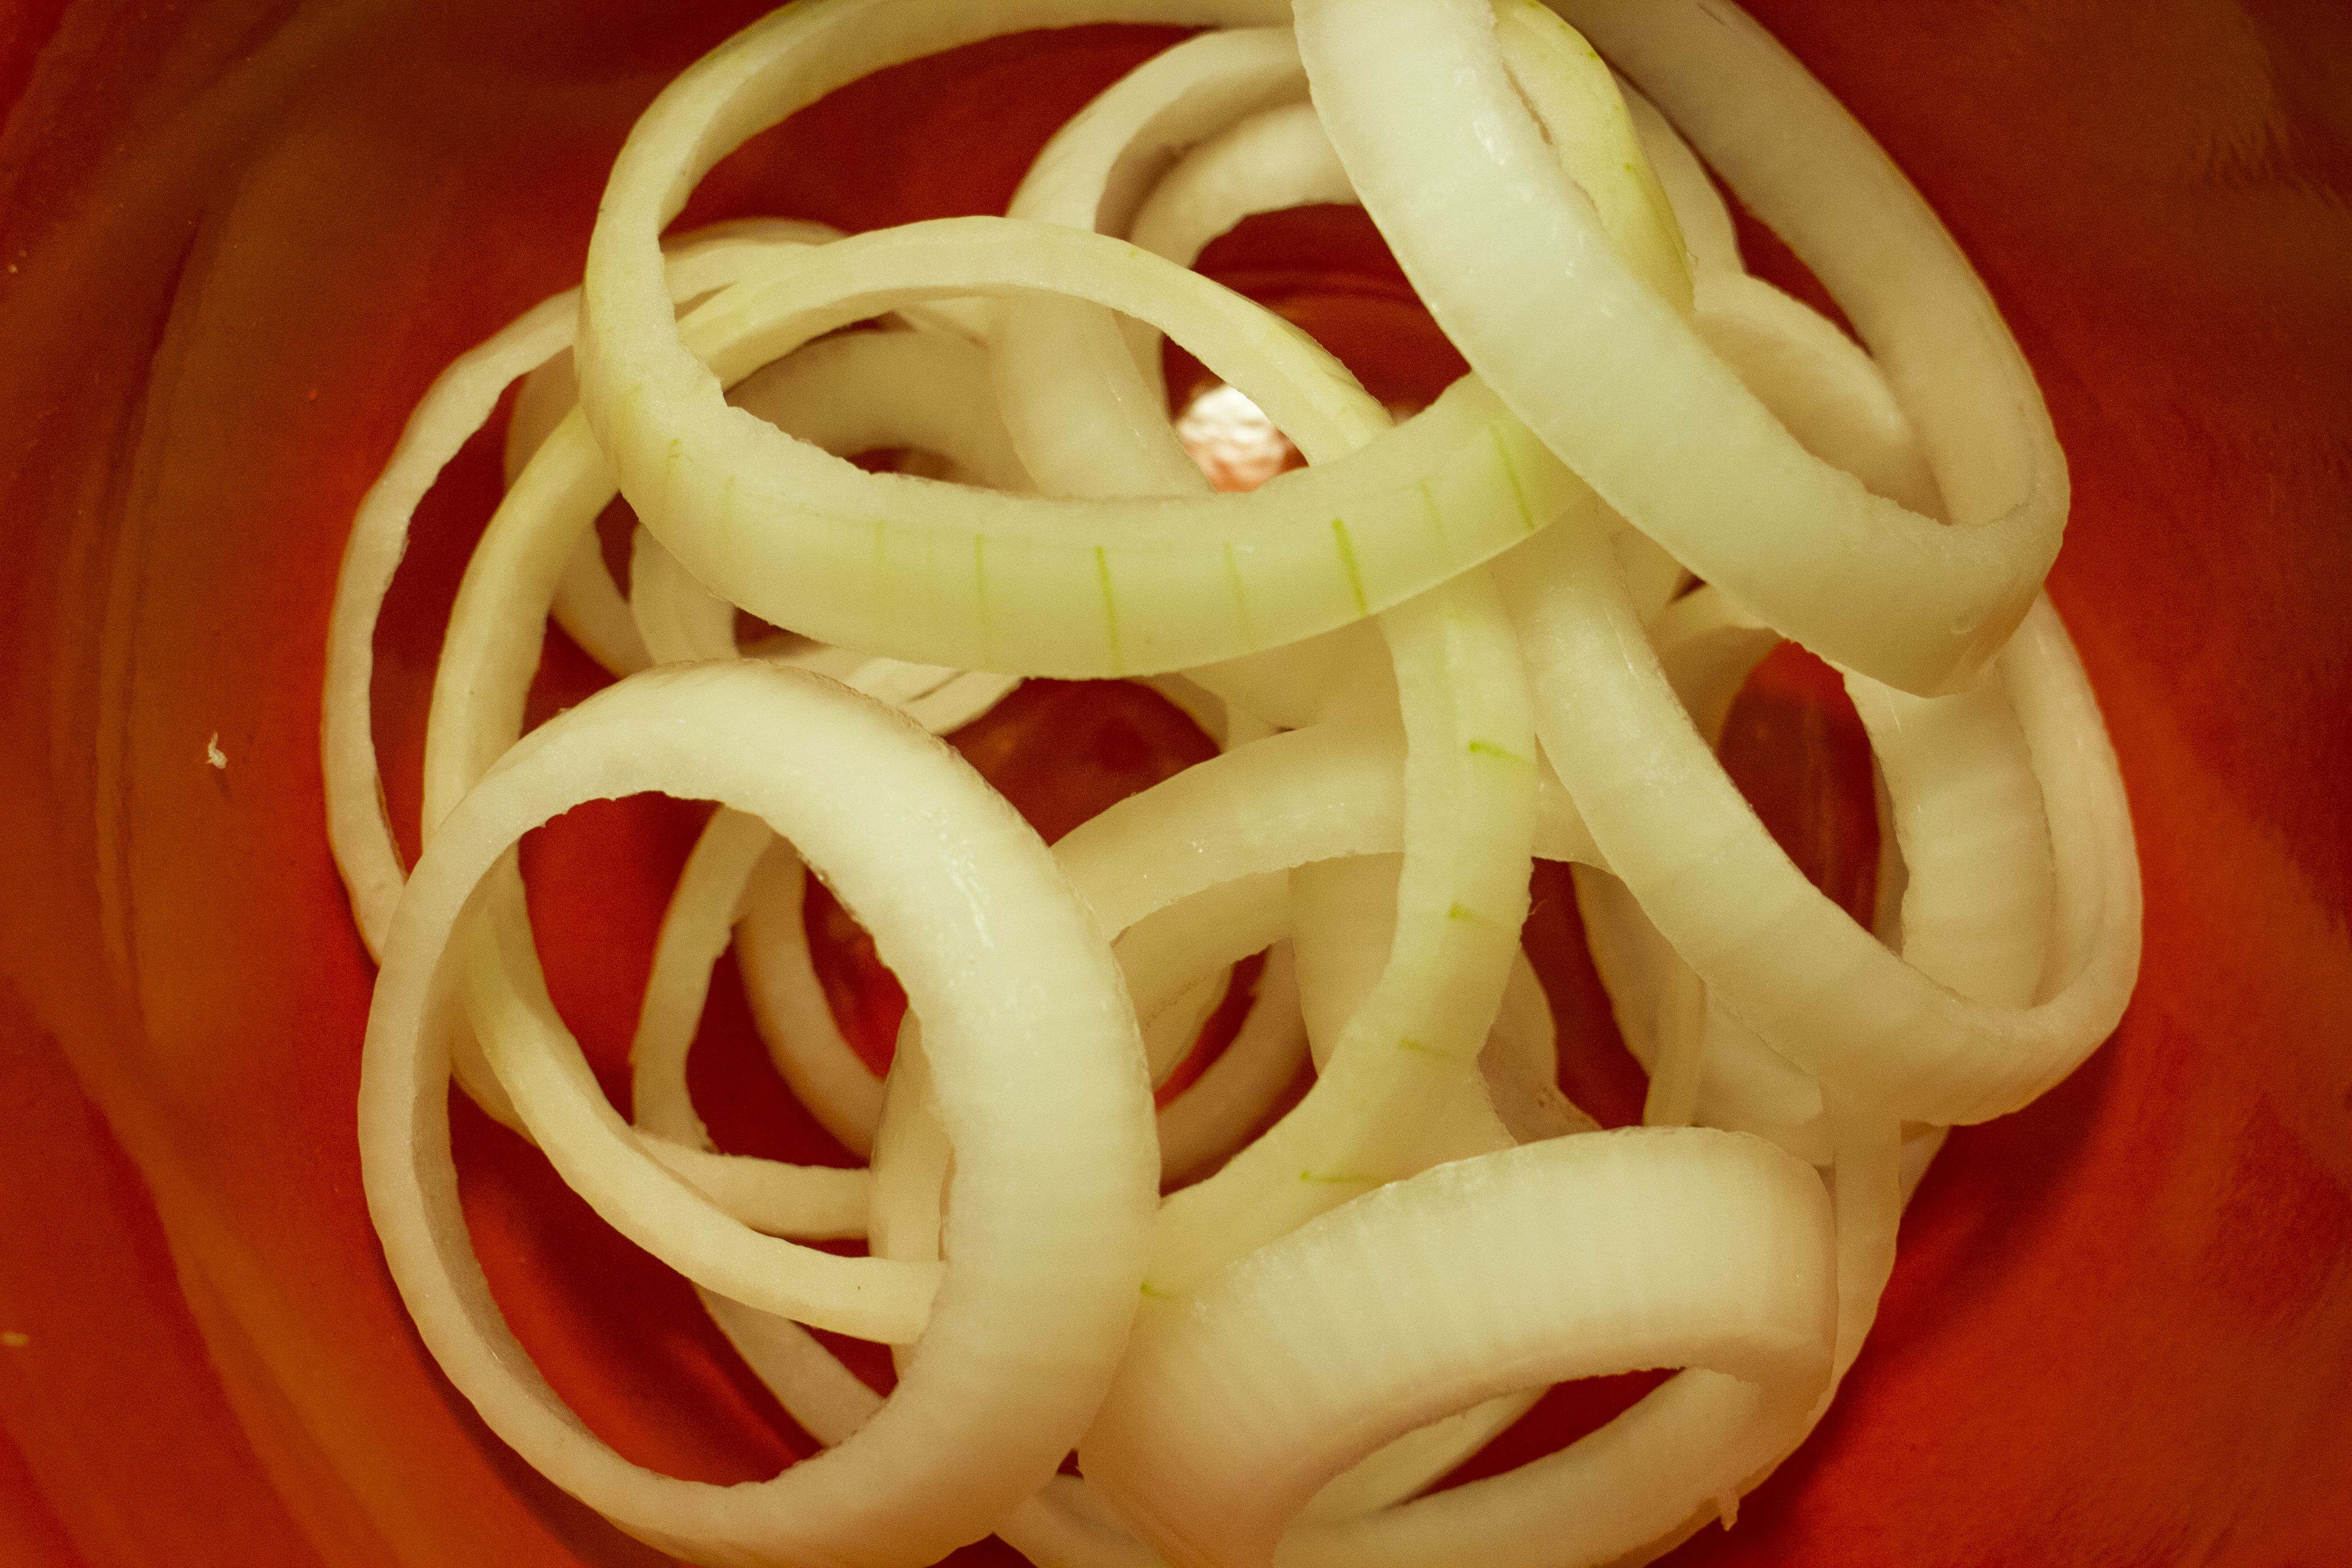
Cut the onion horizontally into 1/4 inch sections. Pop the individual rings out and set aside. One average onion will cover enough rings for two people.
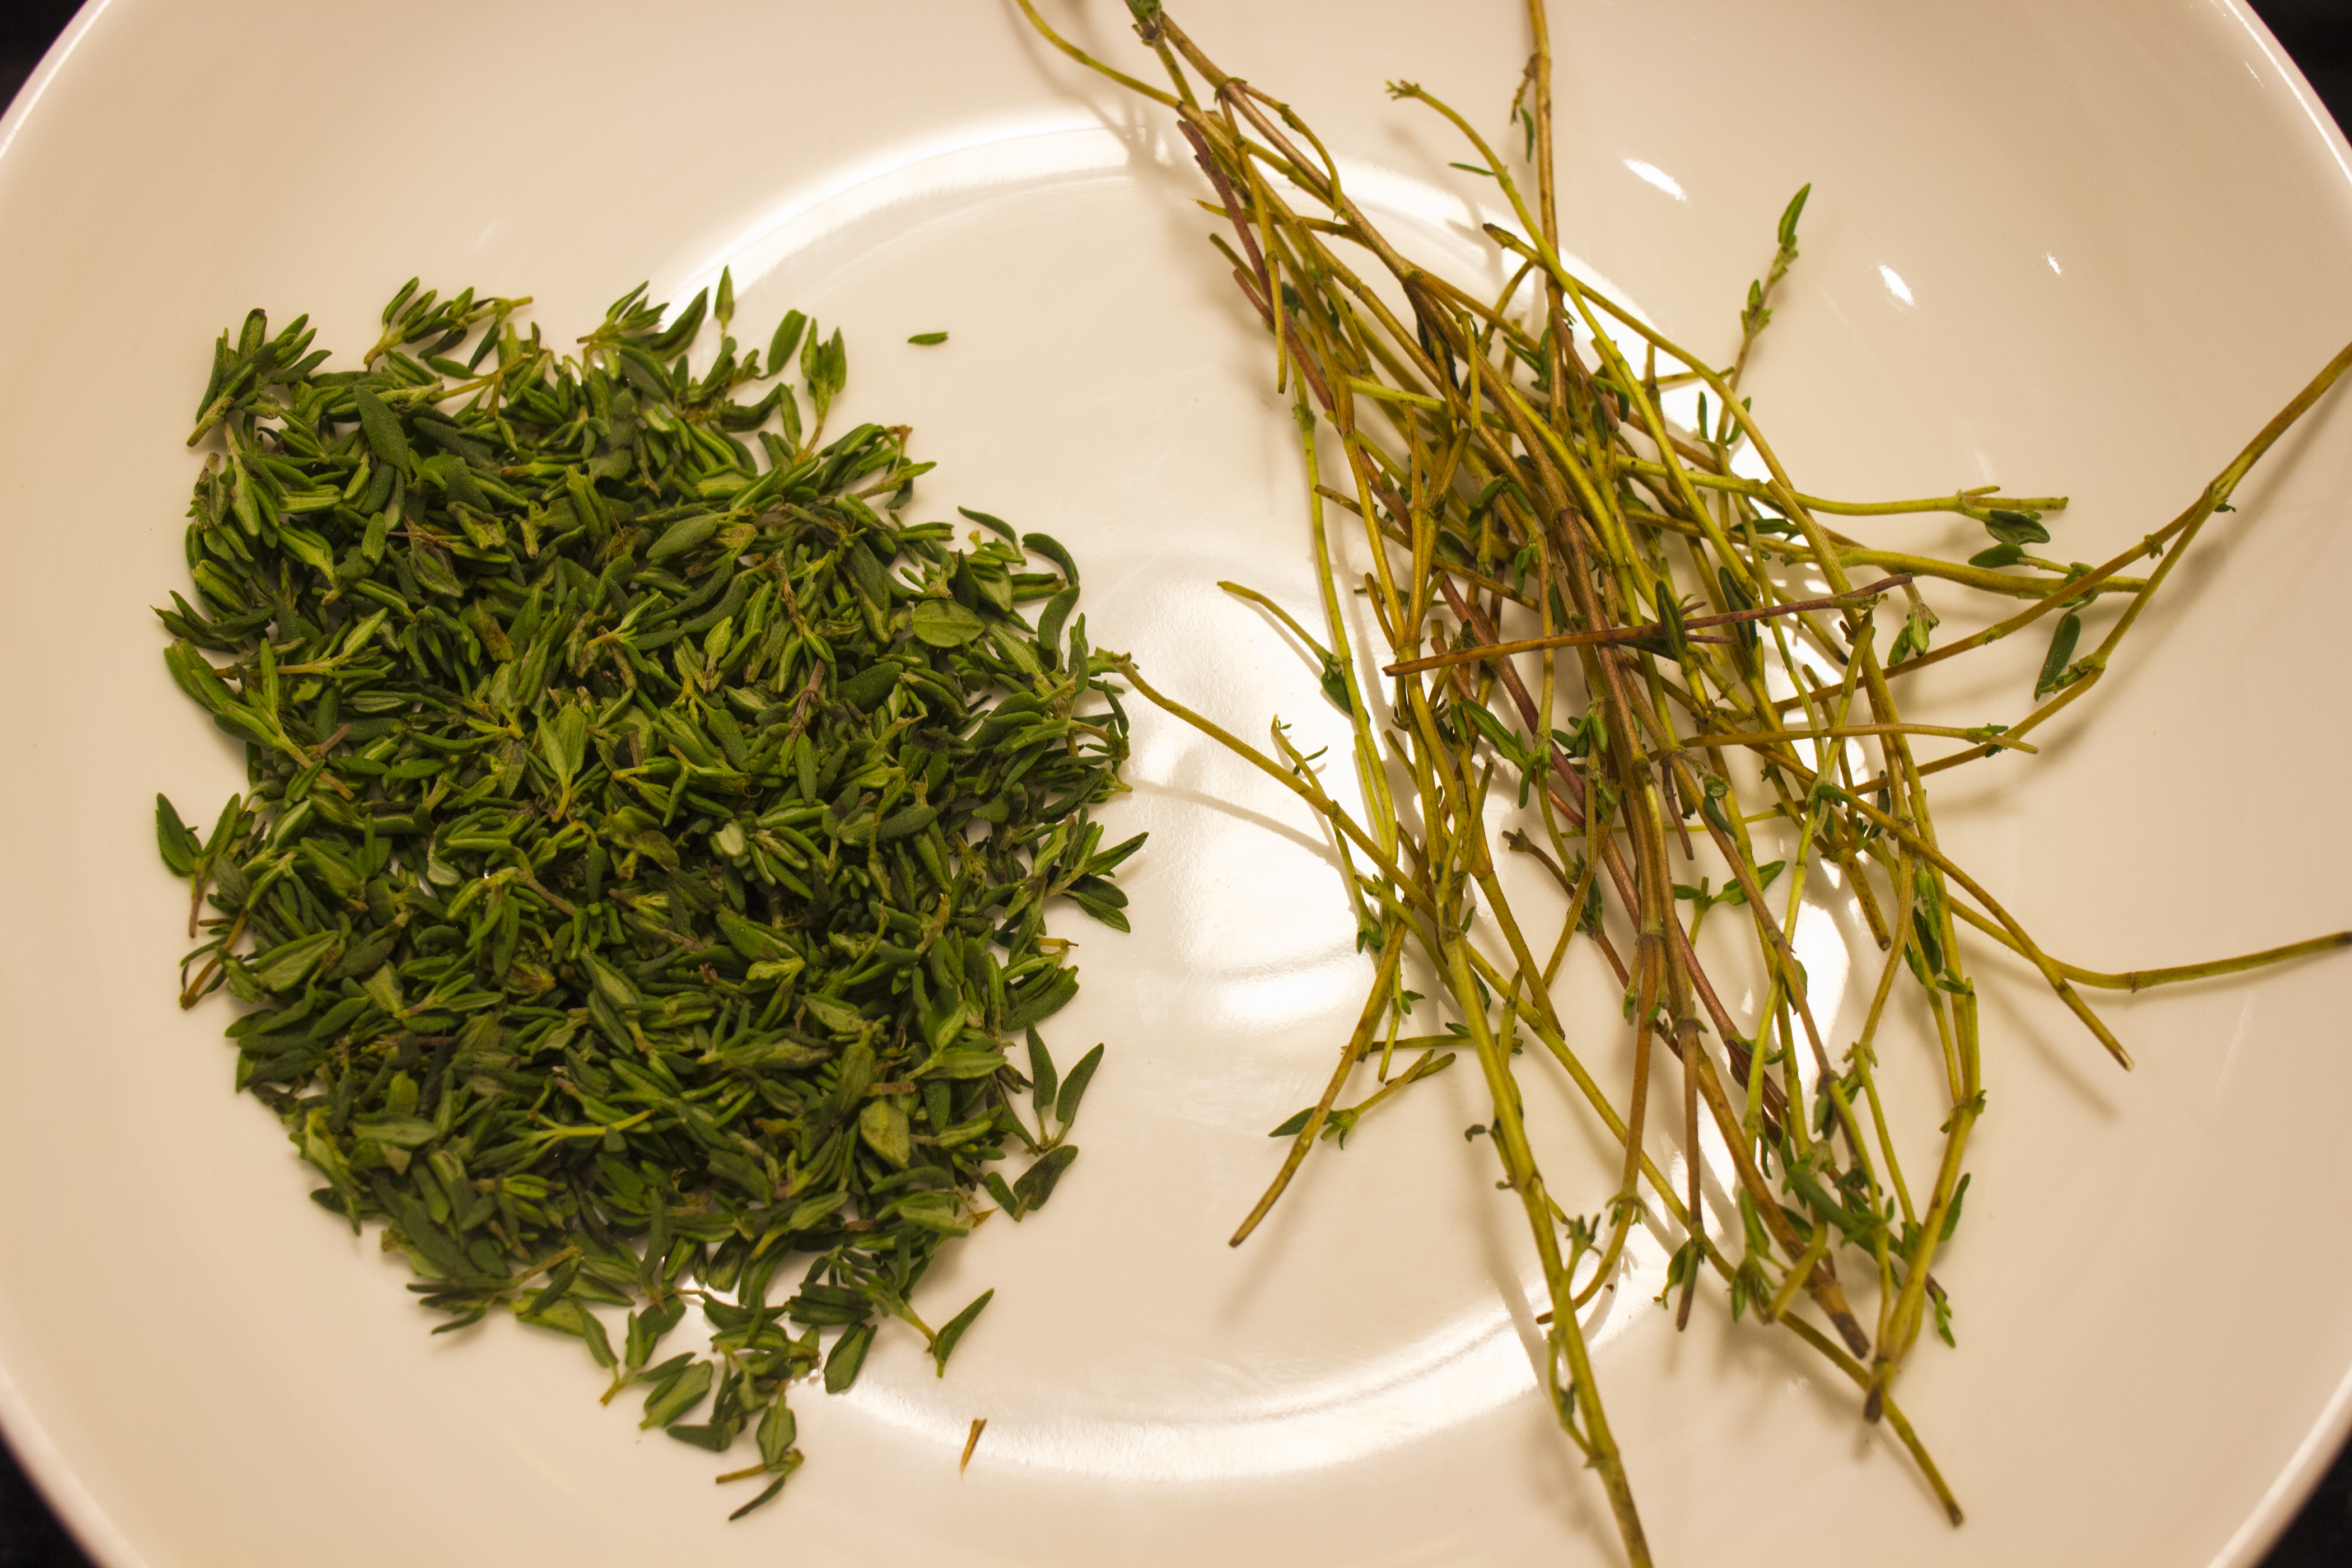
Next, we’re going to pick some fresh thyme. We will use this to season our breadcrumbs. You only want to use the leaves. Pick carefully and make sure none of the woody stems make it into your picked pile. It will hurt like hell when one gets wedged in your gingival margin.

Panko breadcrumbs go into a bowl. Thyme goes into panko. Toss thoroughly until evenly mixed.
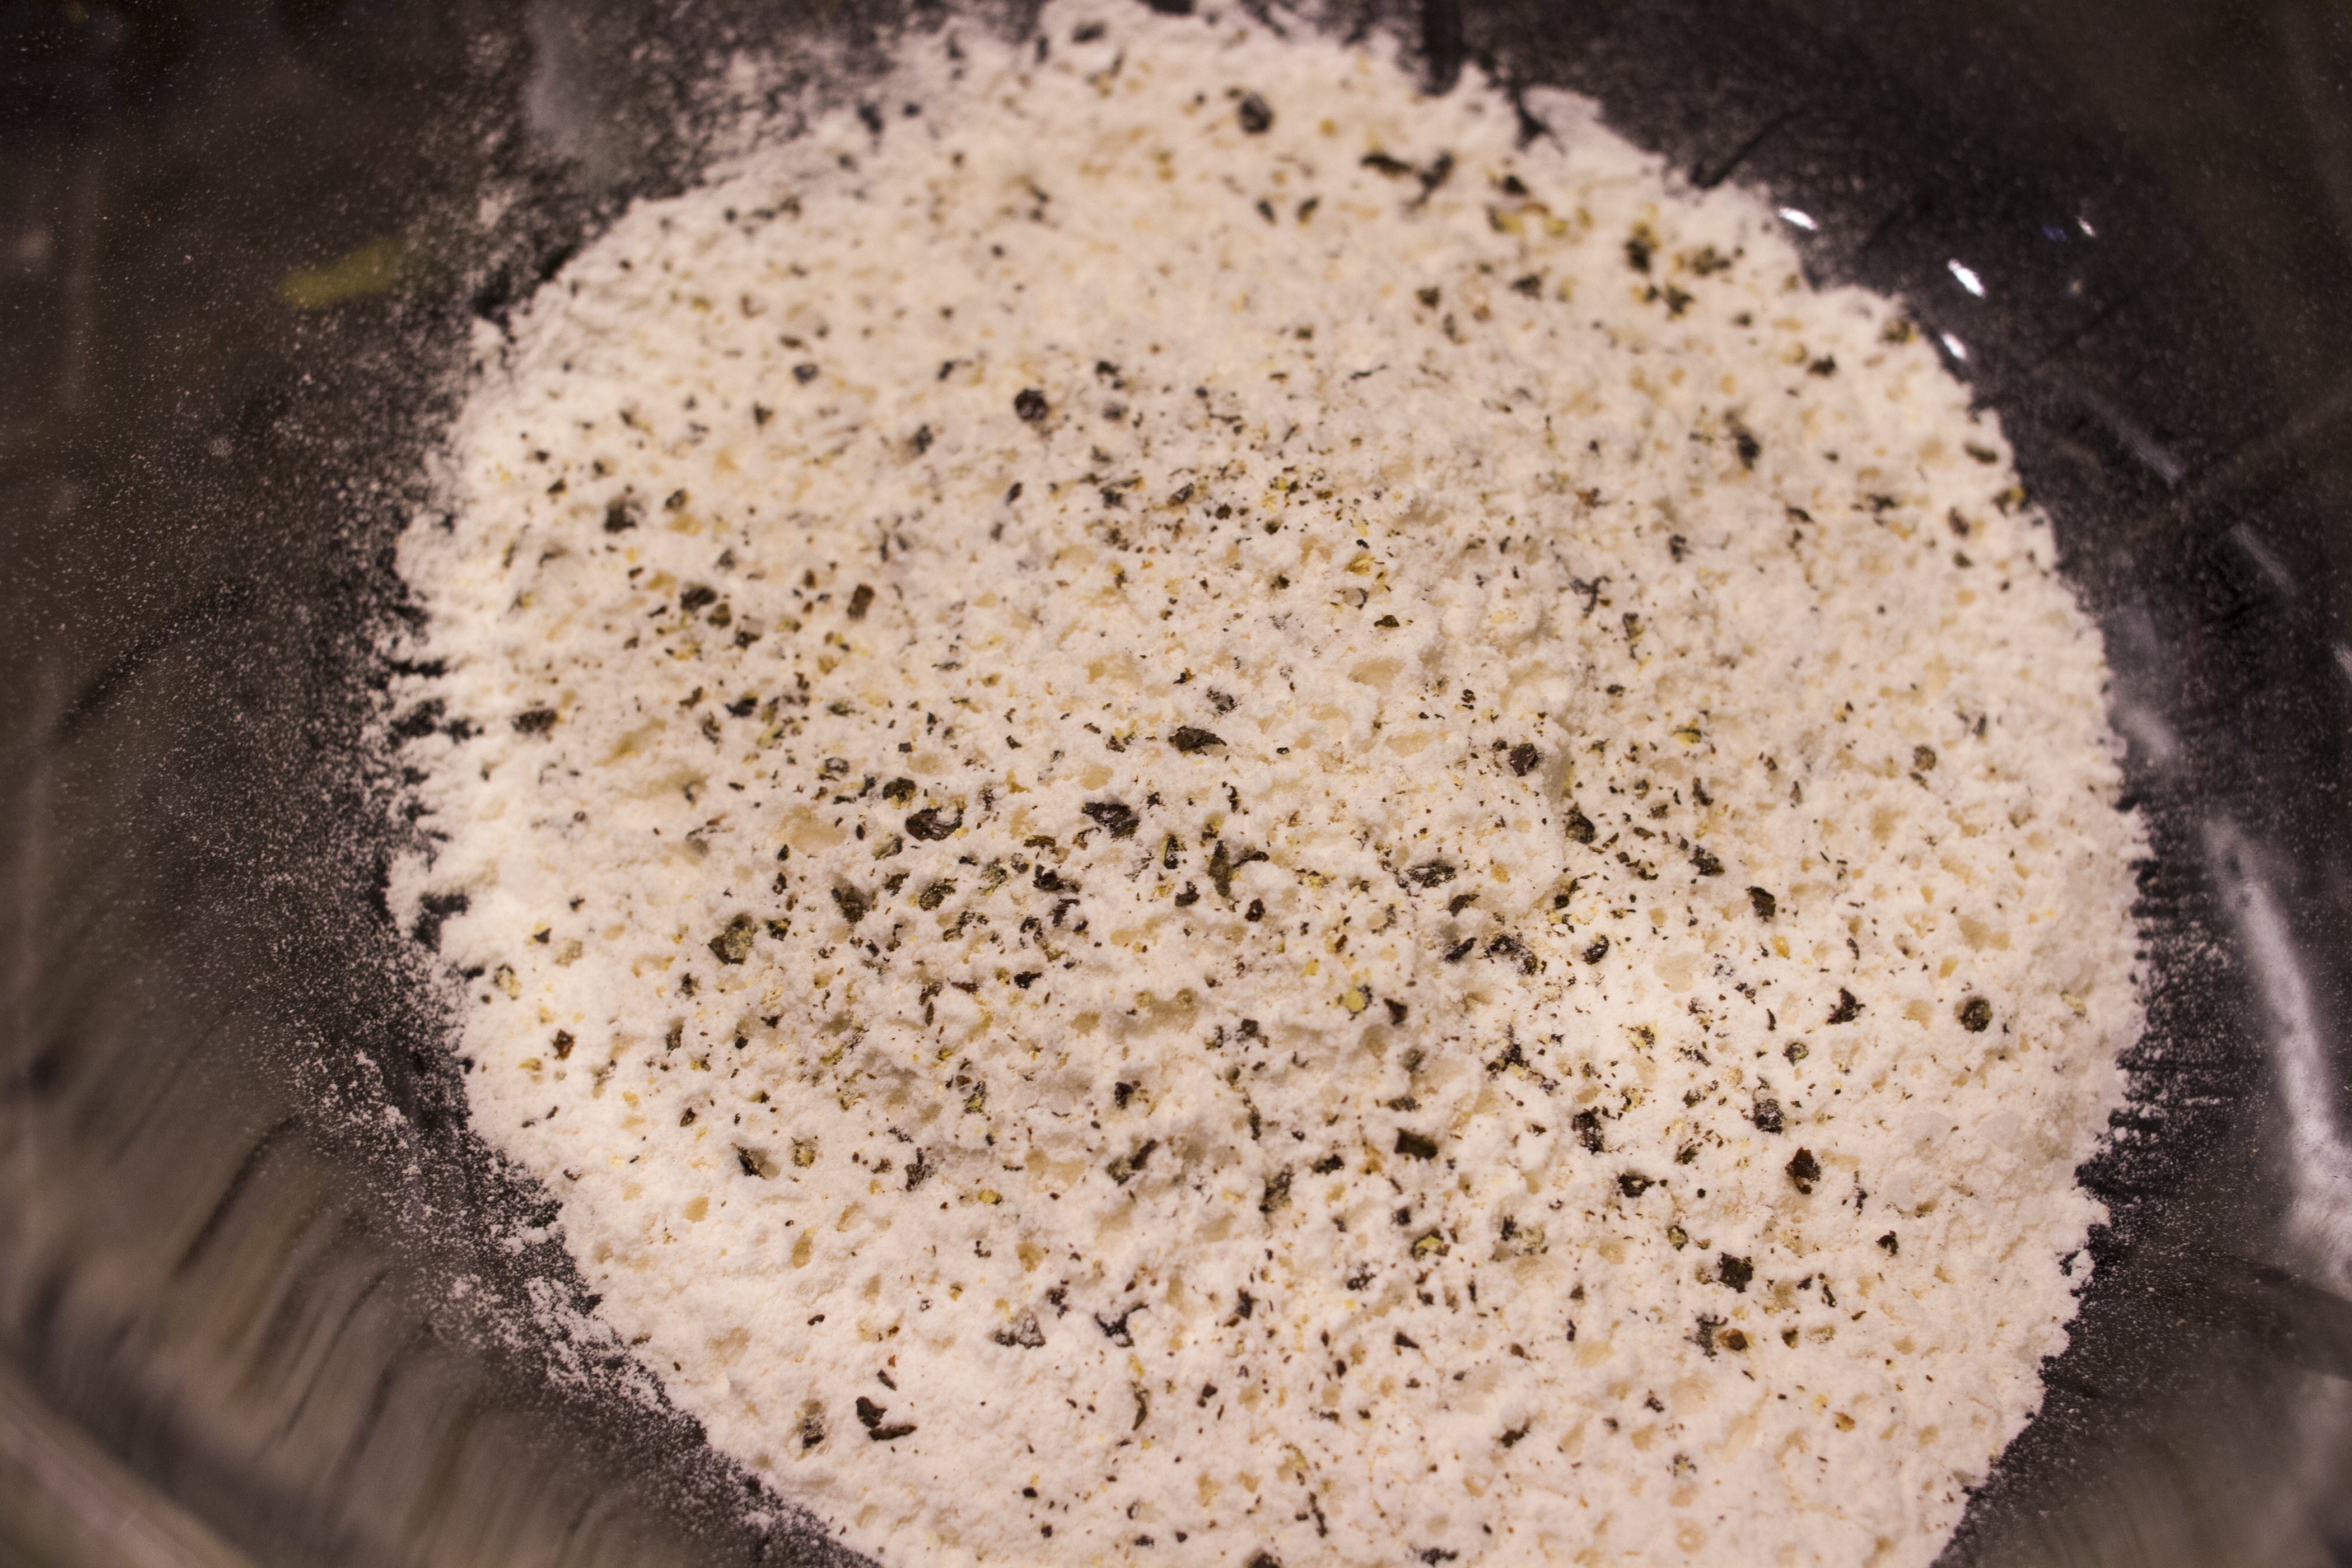
White flour goes into a different bowl. Season it with sea salt and ground pepper.
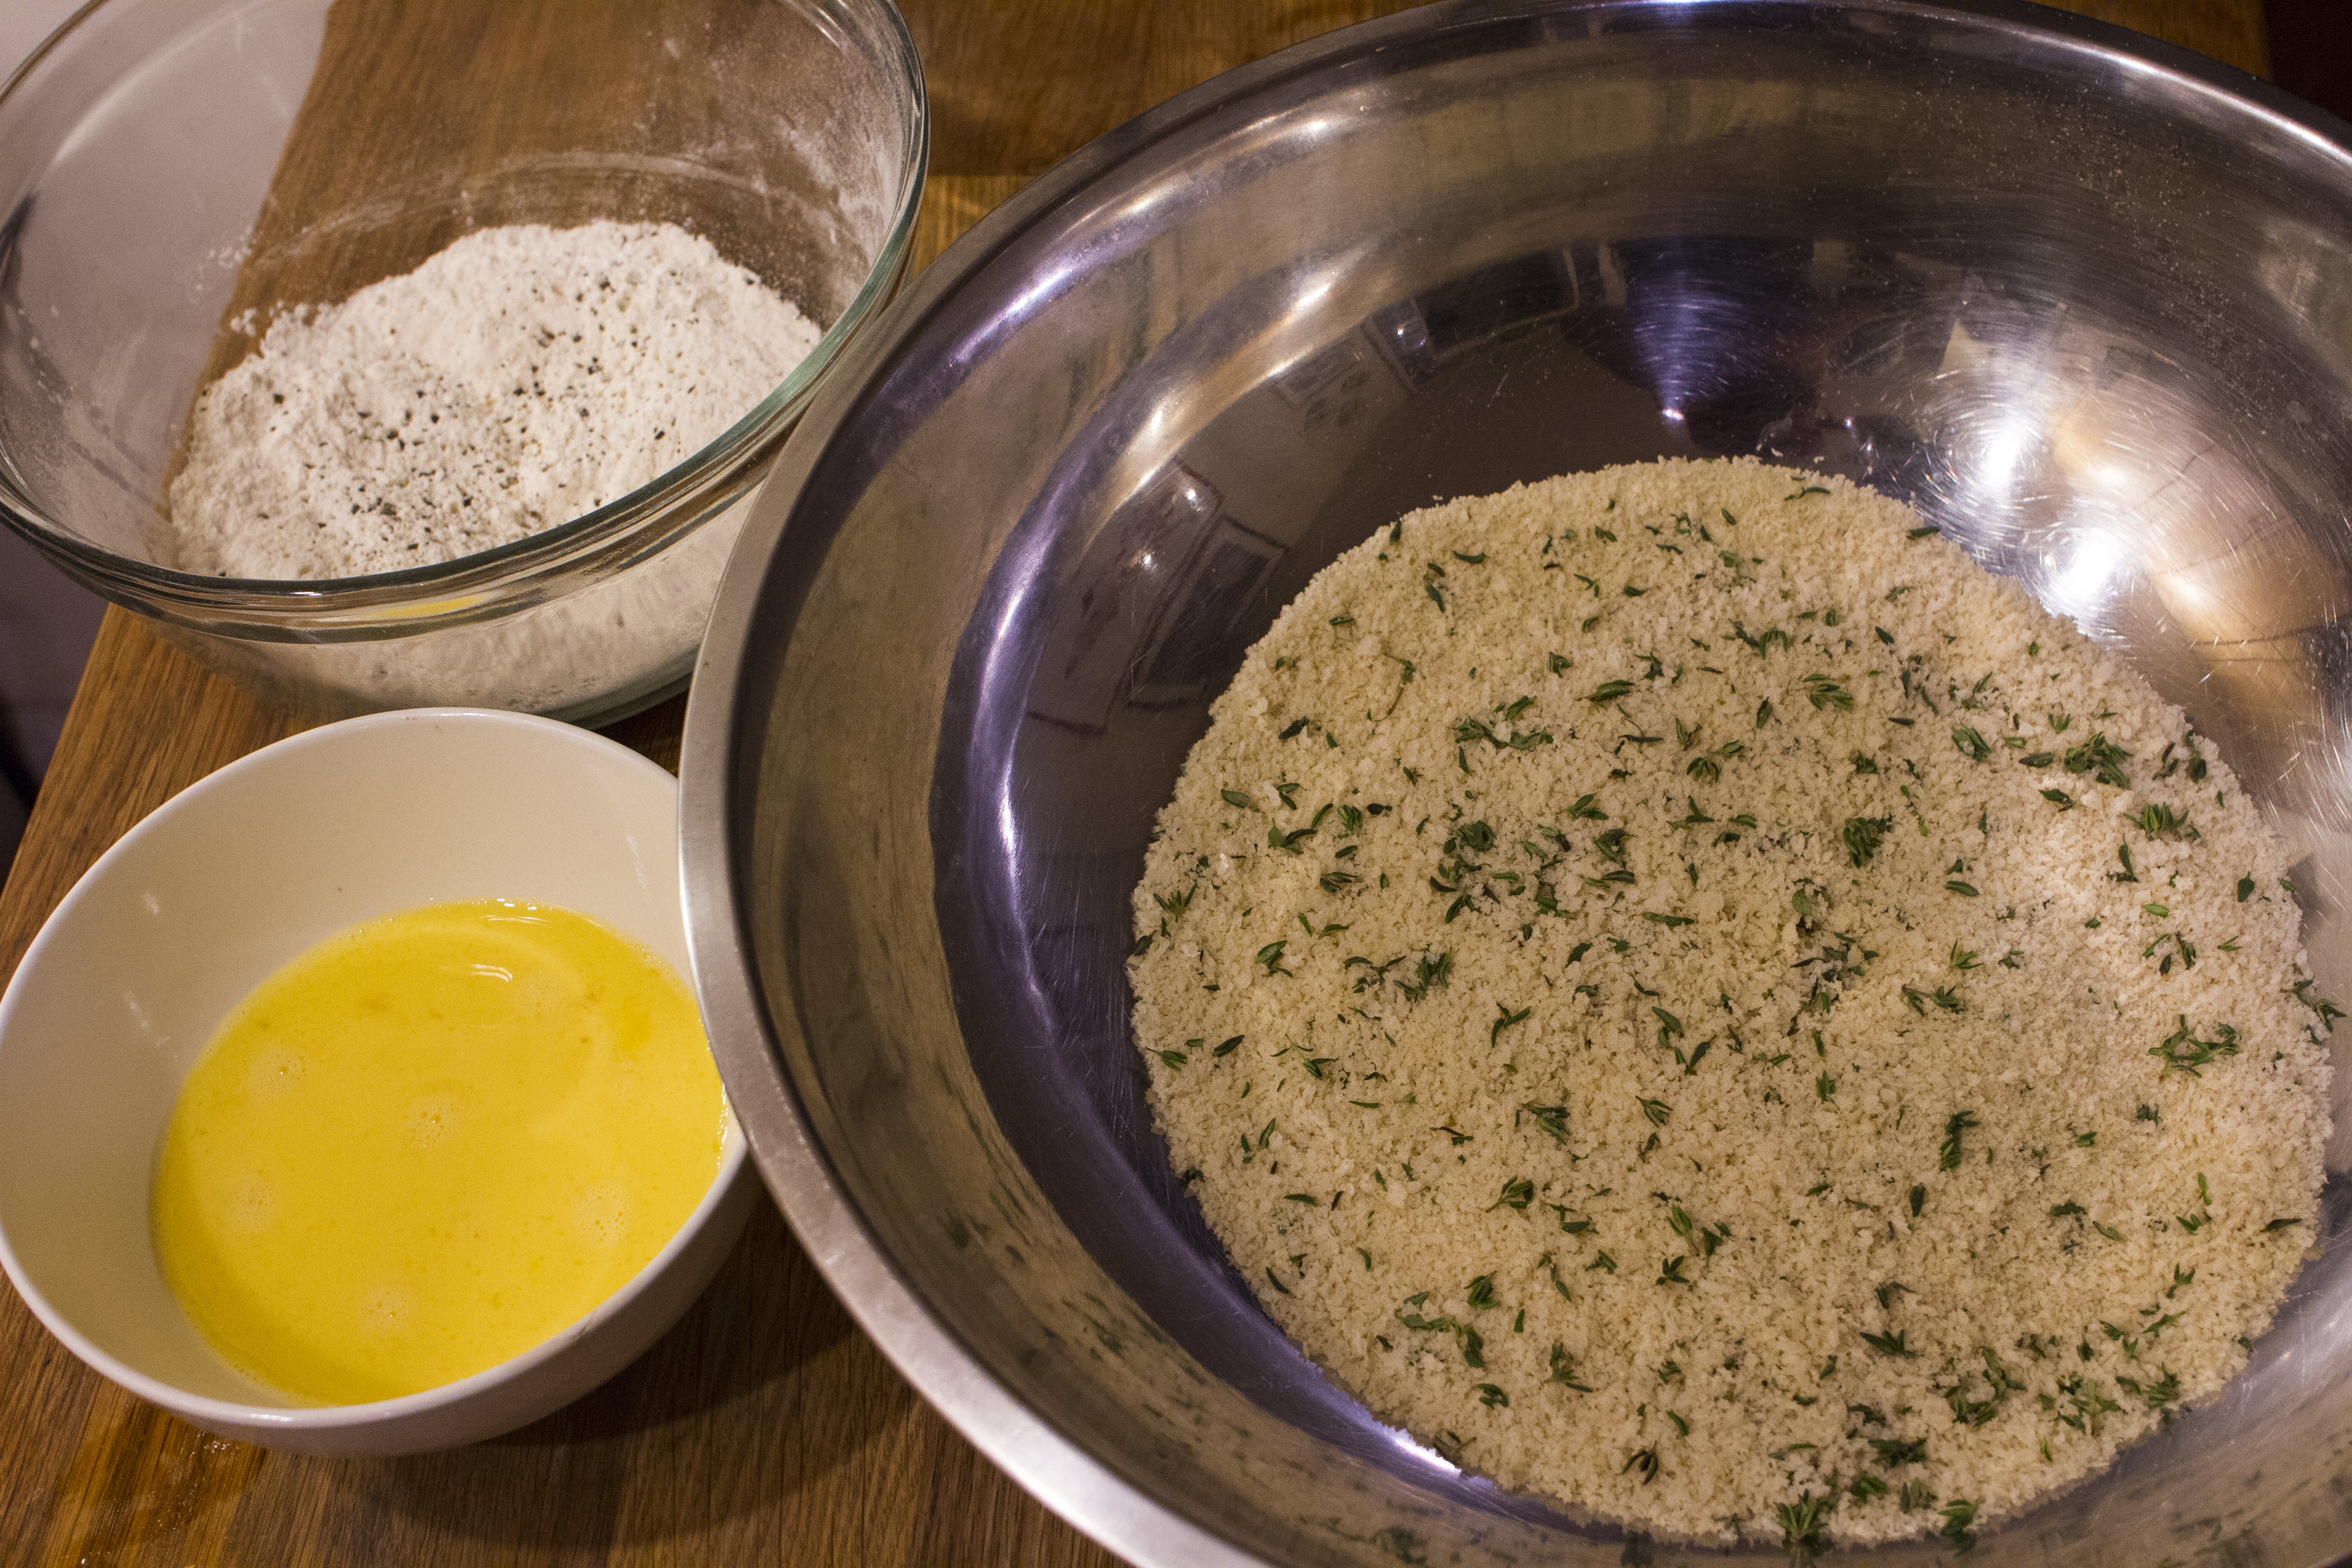
Last thing is to crack two eggs into yet a thrid bowl and add some milk (like you would for scrambled eggs). Then get all three of your bowls next to each other and your frying station is ready to go. After that it’s a three step process for each ring before they hit the oil.

Dredge ring in flour first. Coat ring entirely.
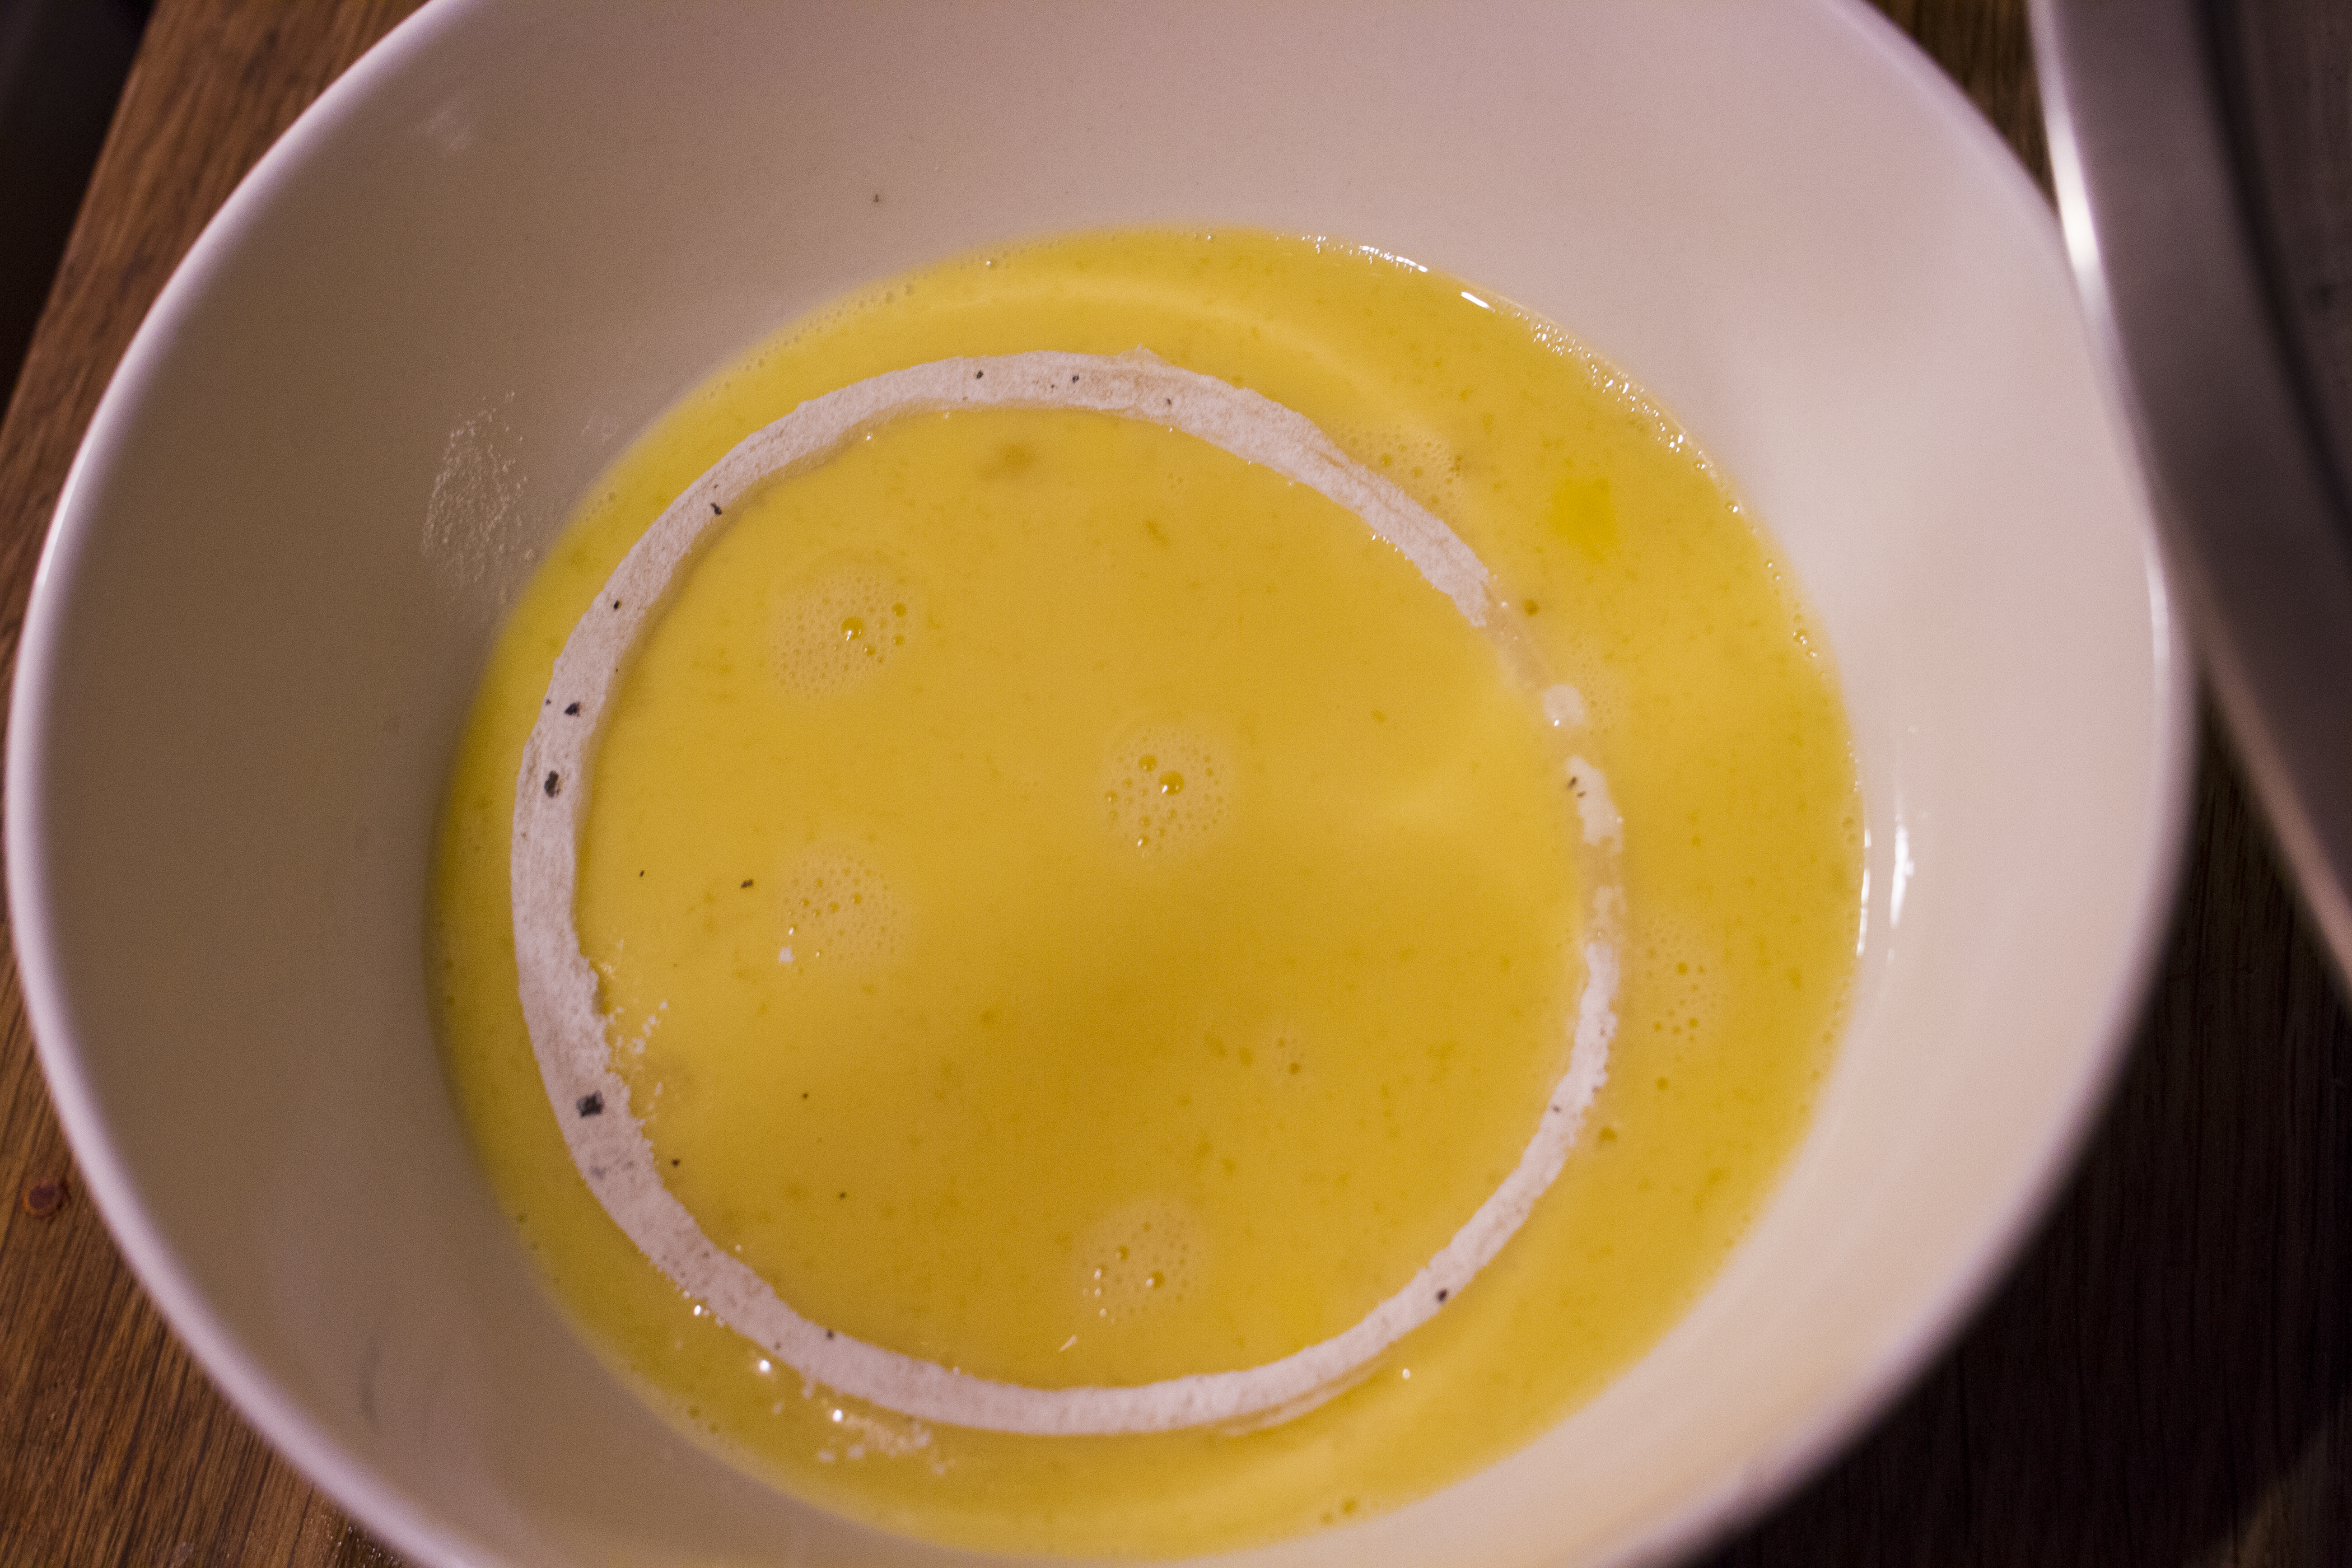
Dip ring into egg wash. Coat ring entirely.
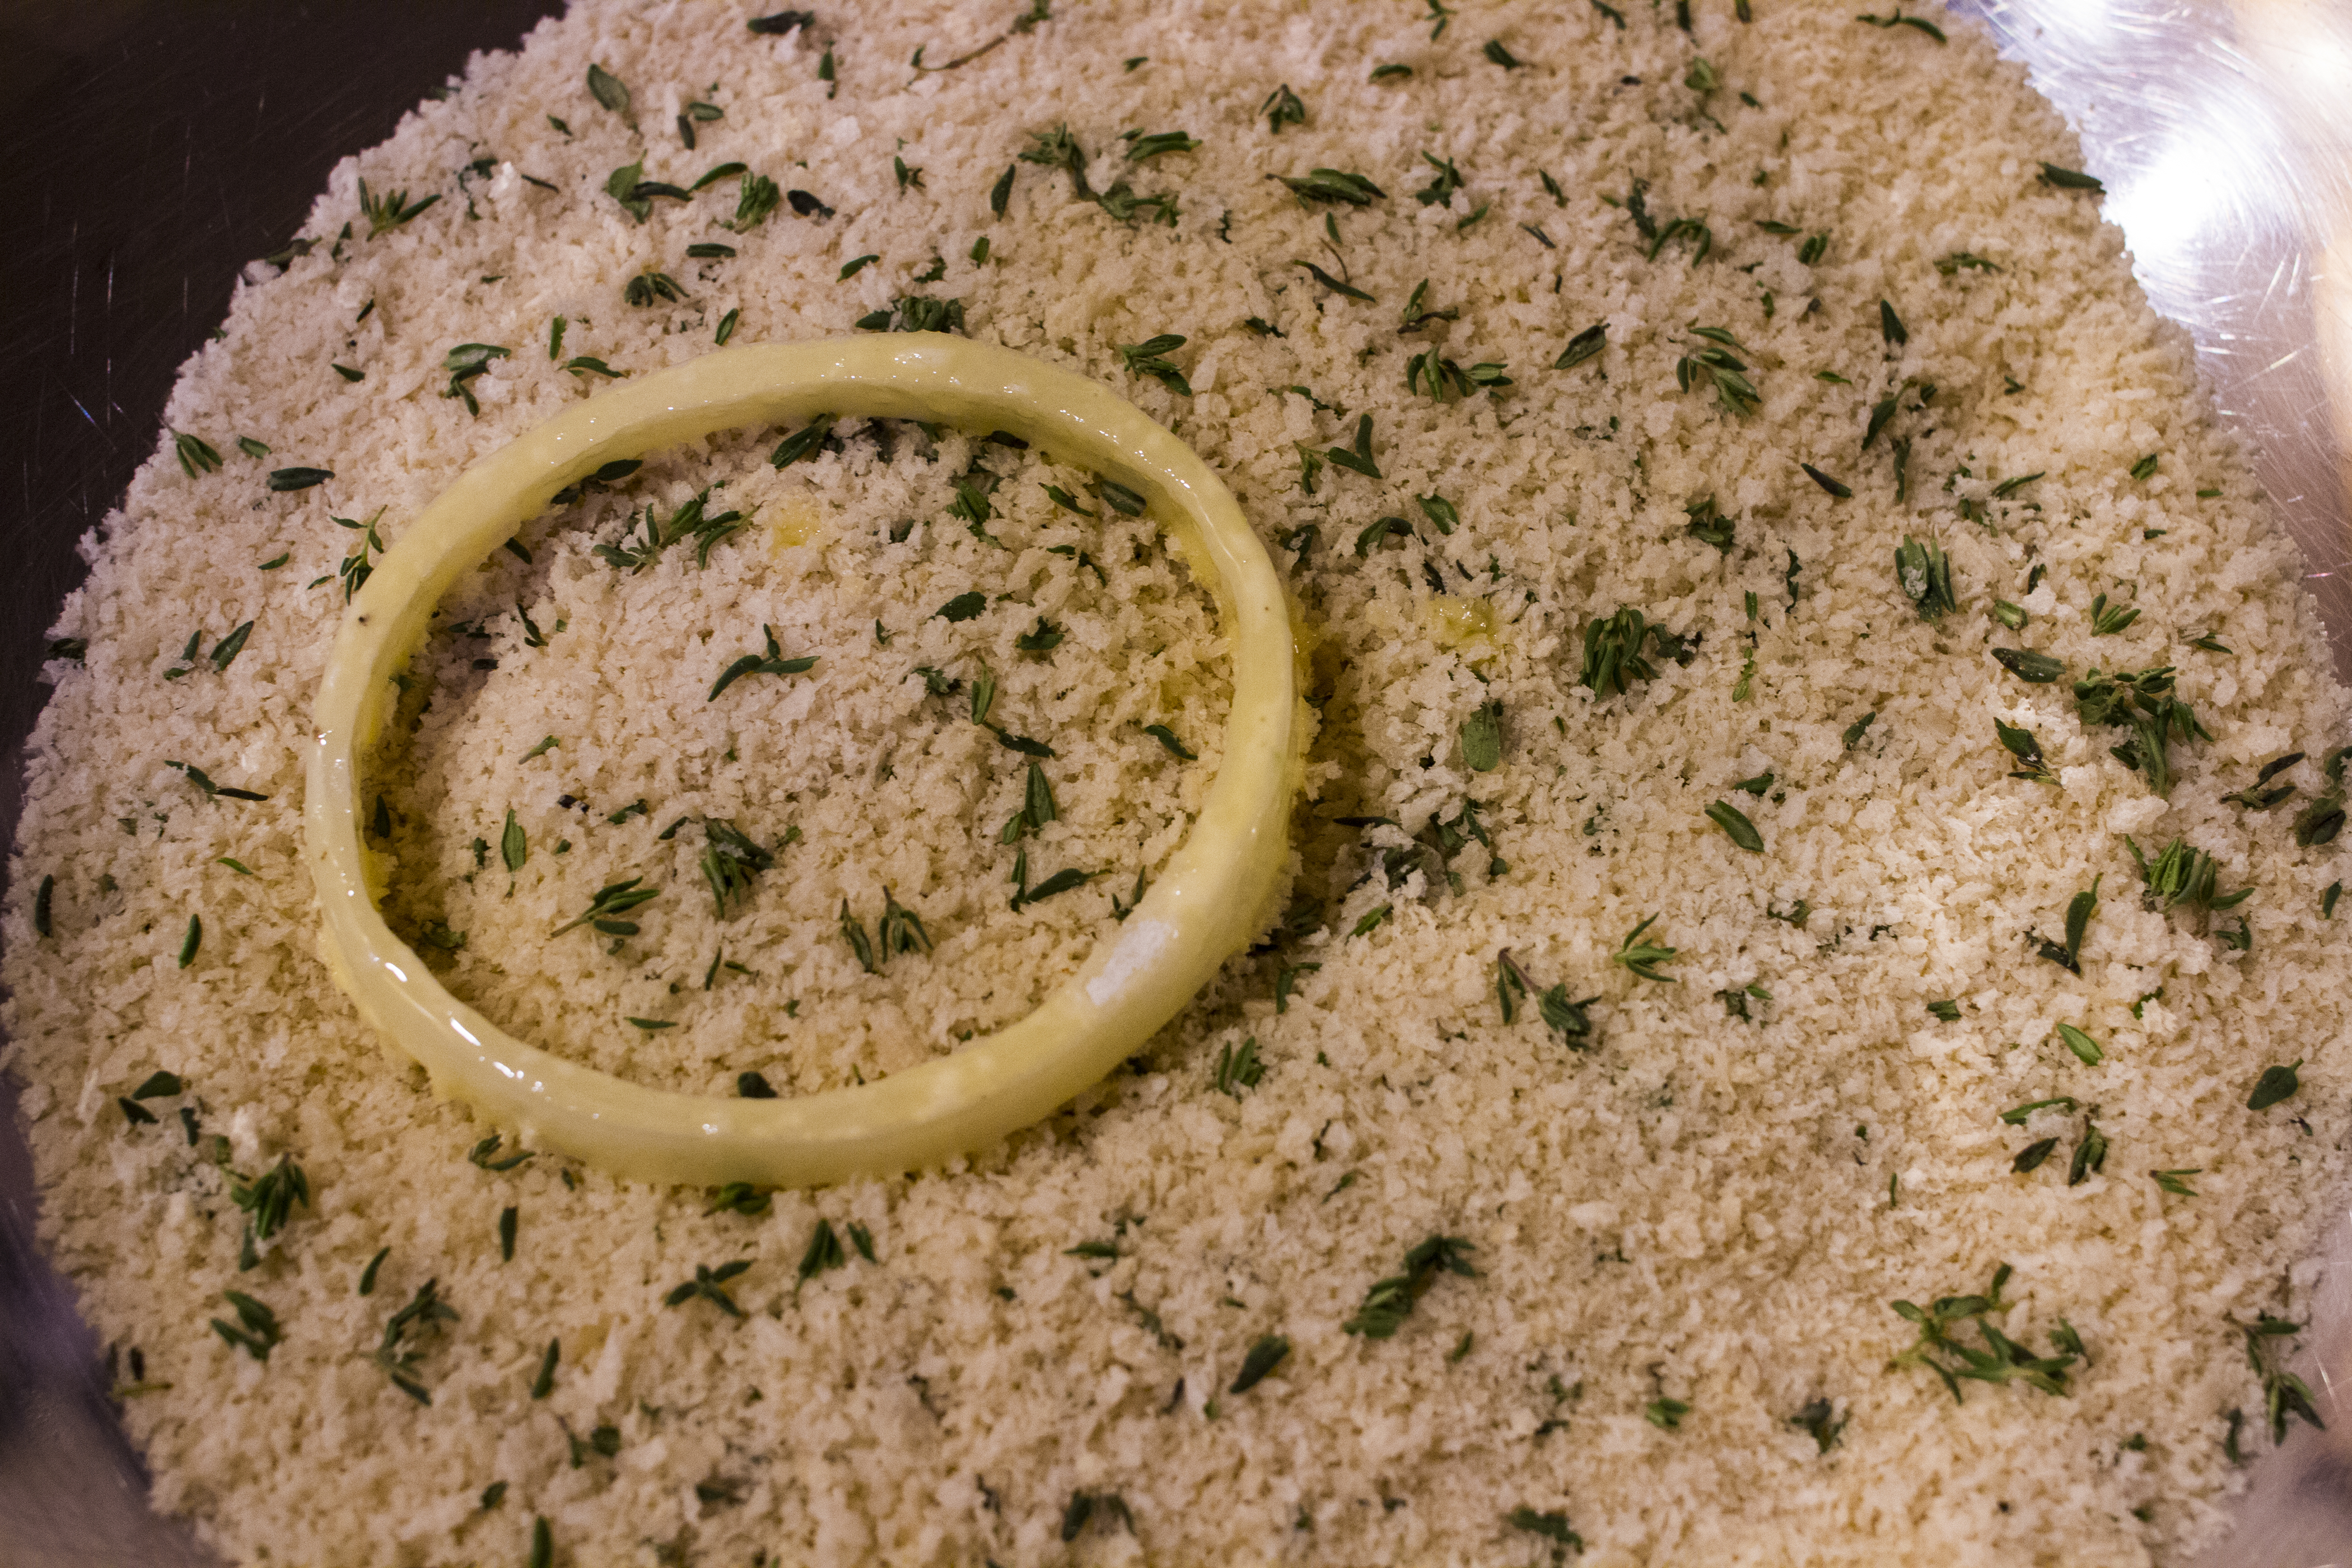
Ring goes into breadcrumb mixture. Coat ring entirely.
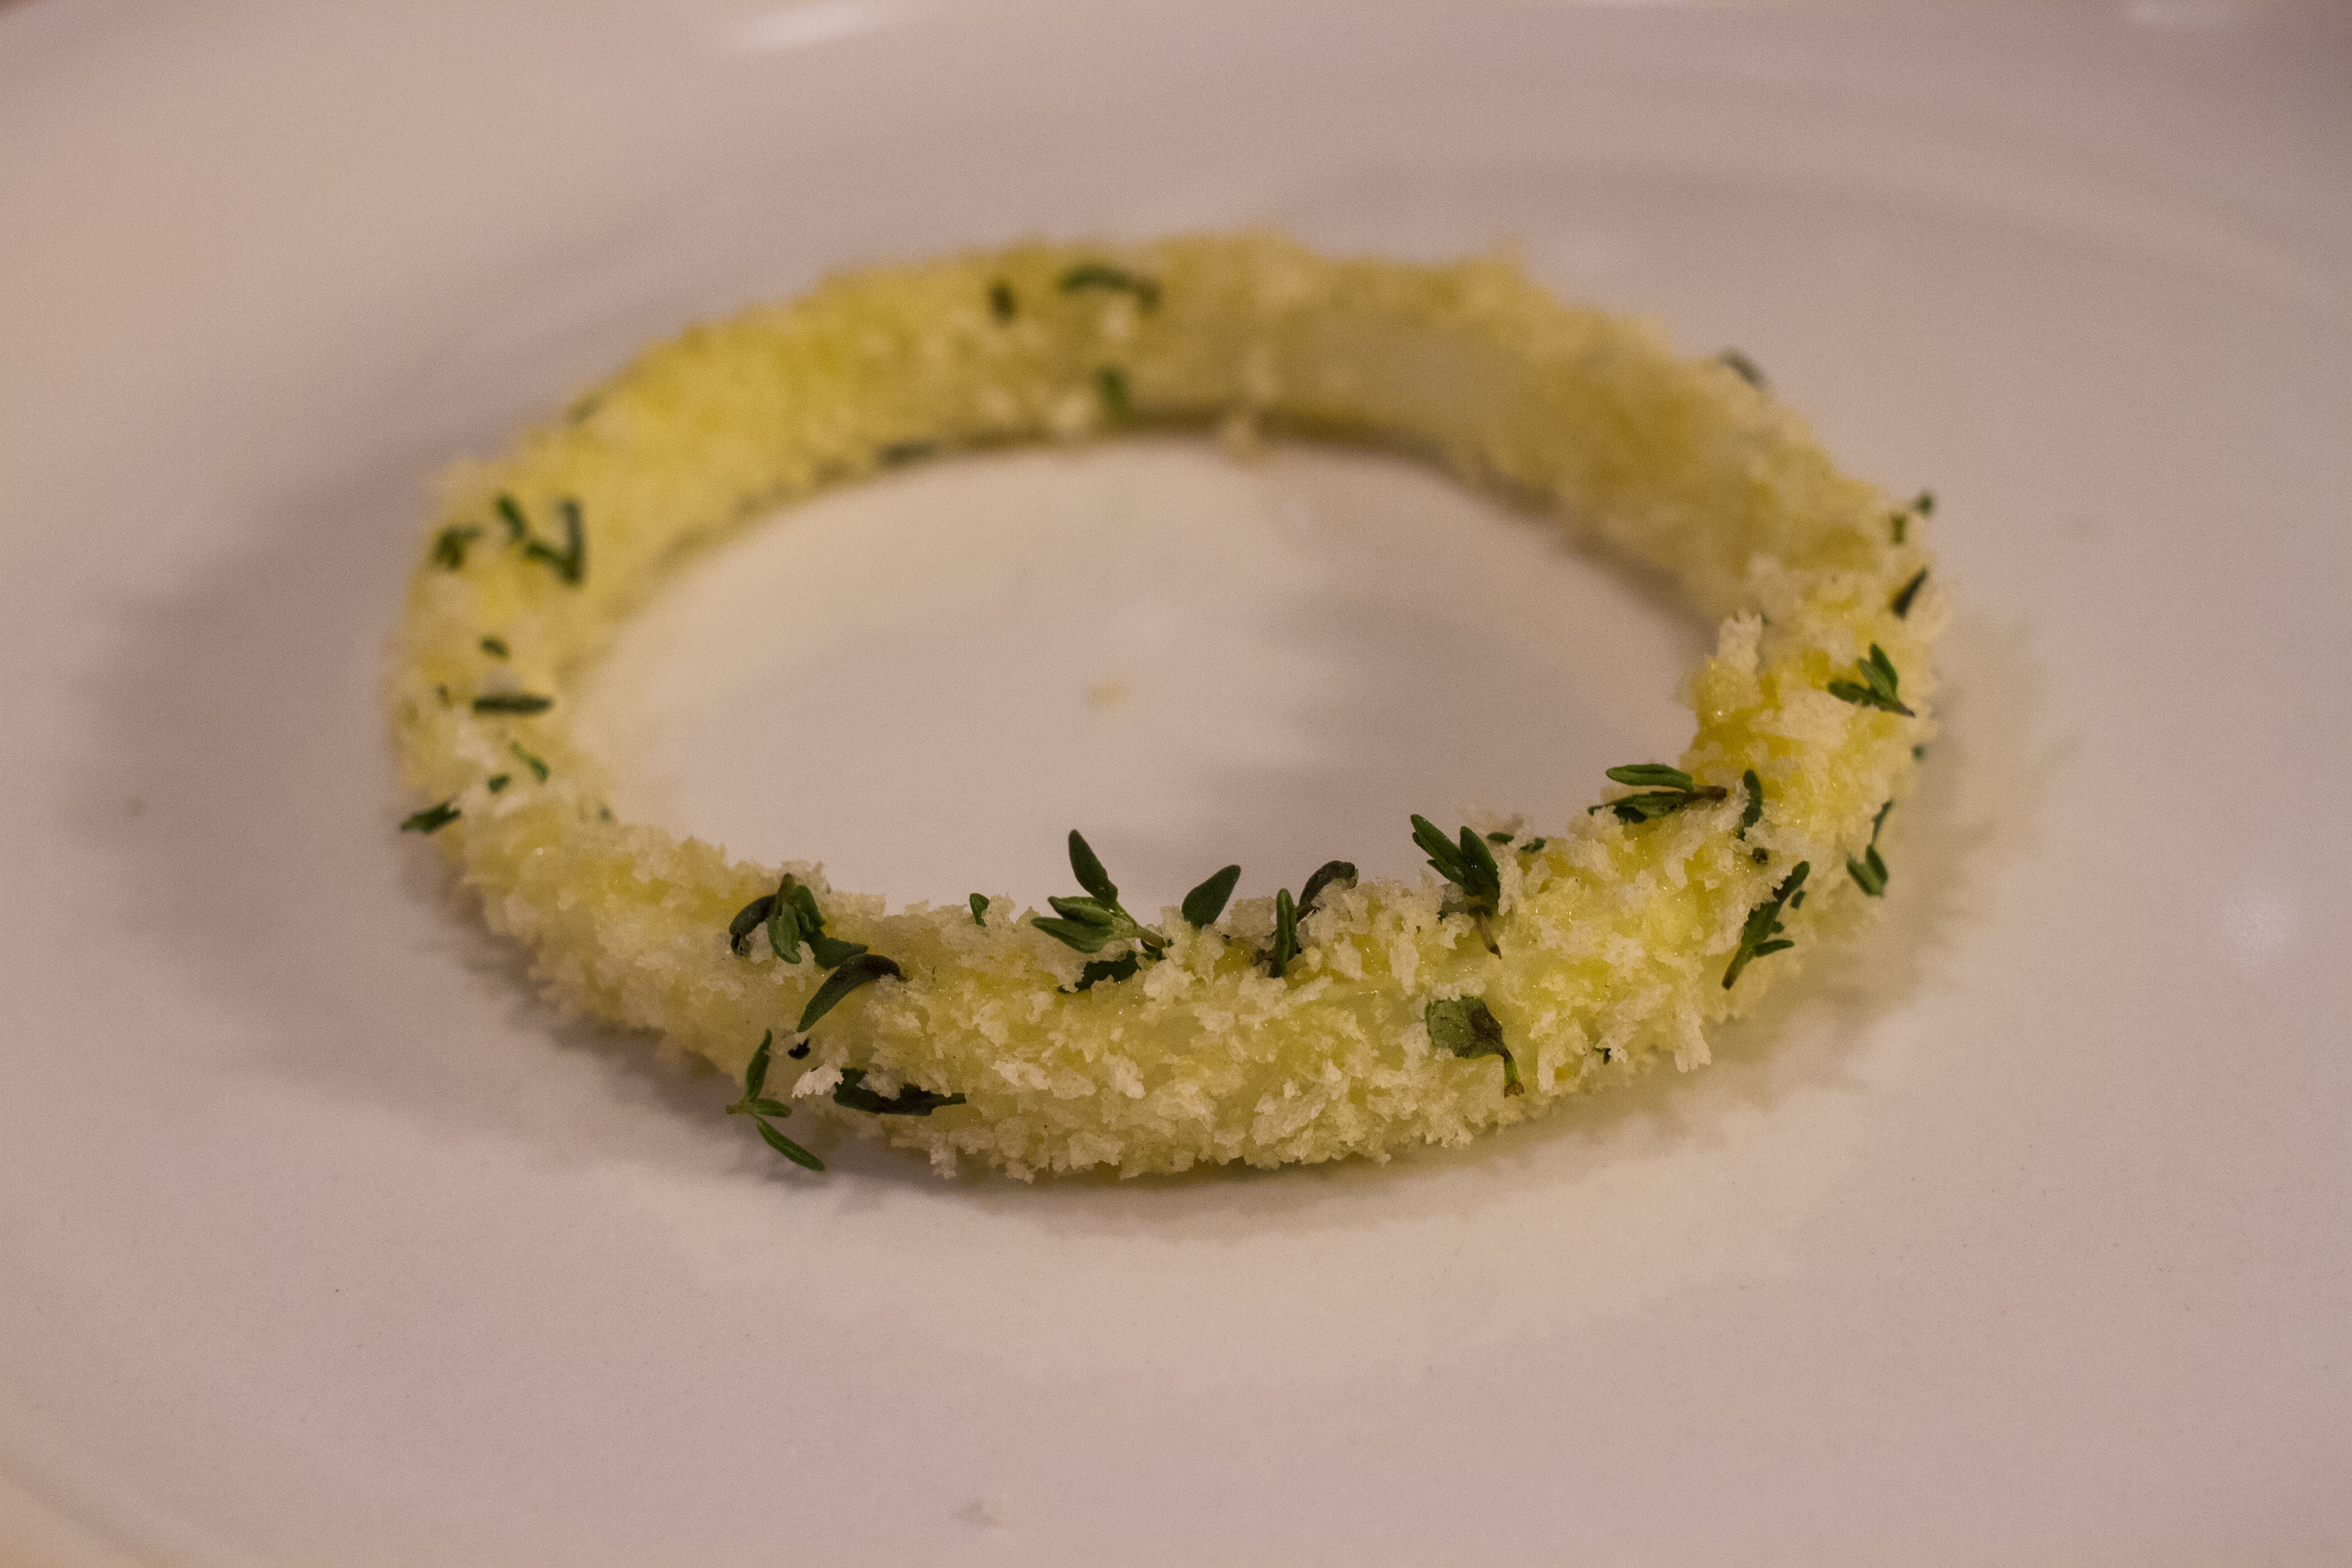
Your fully prepared onion ring will look like this.
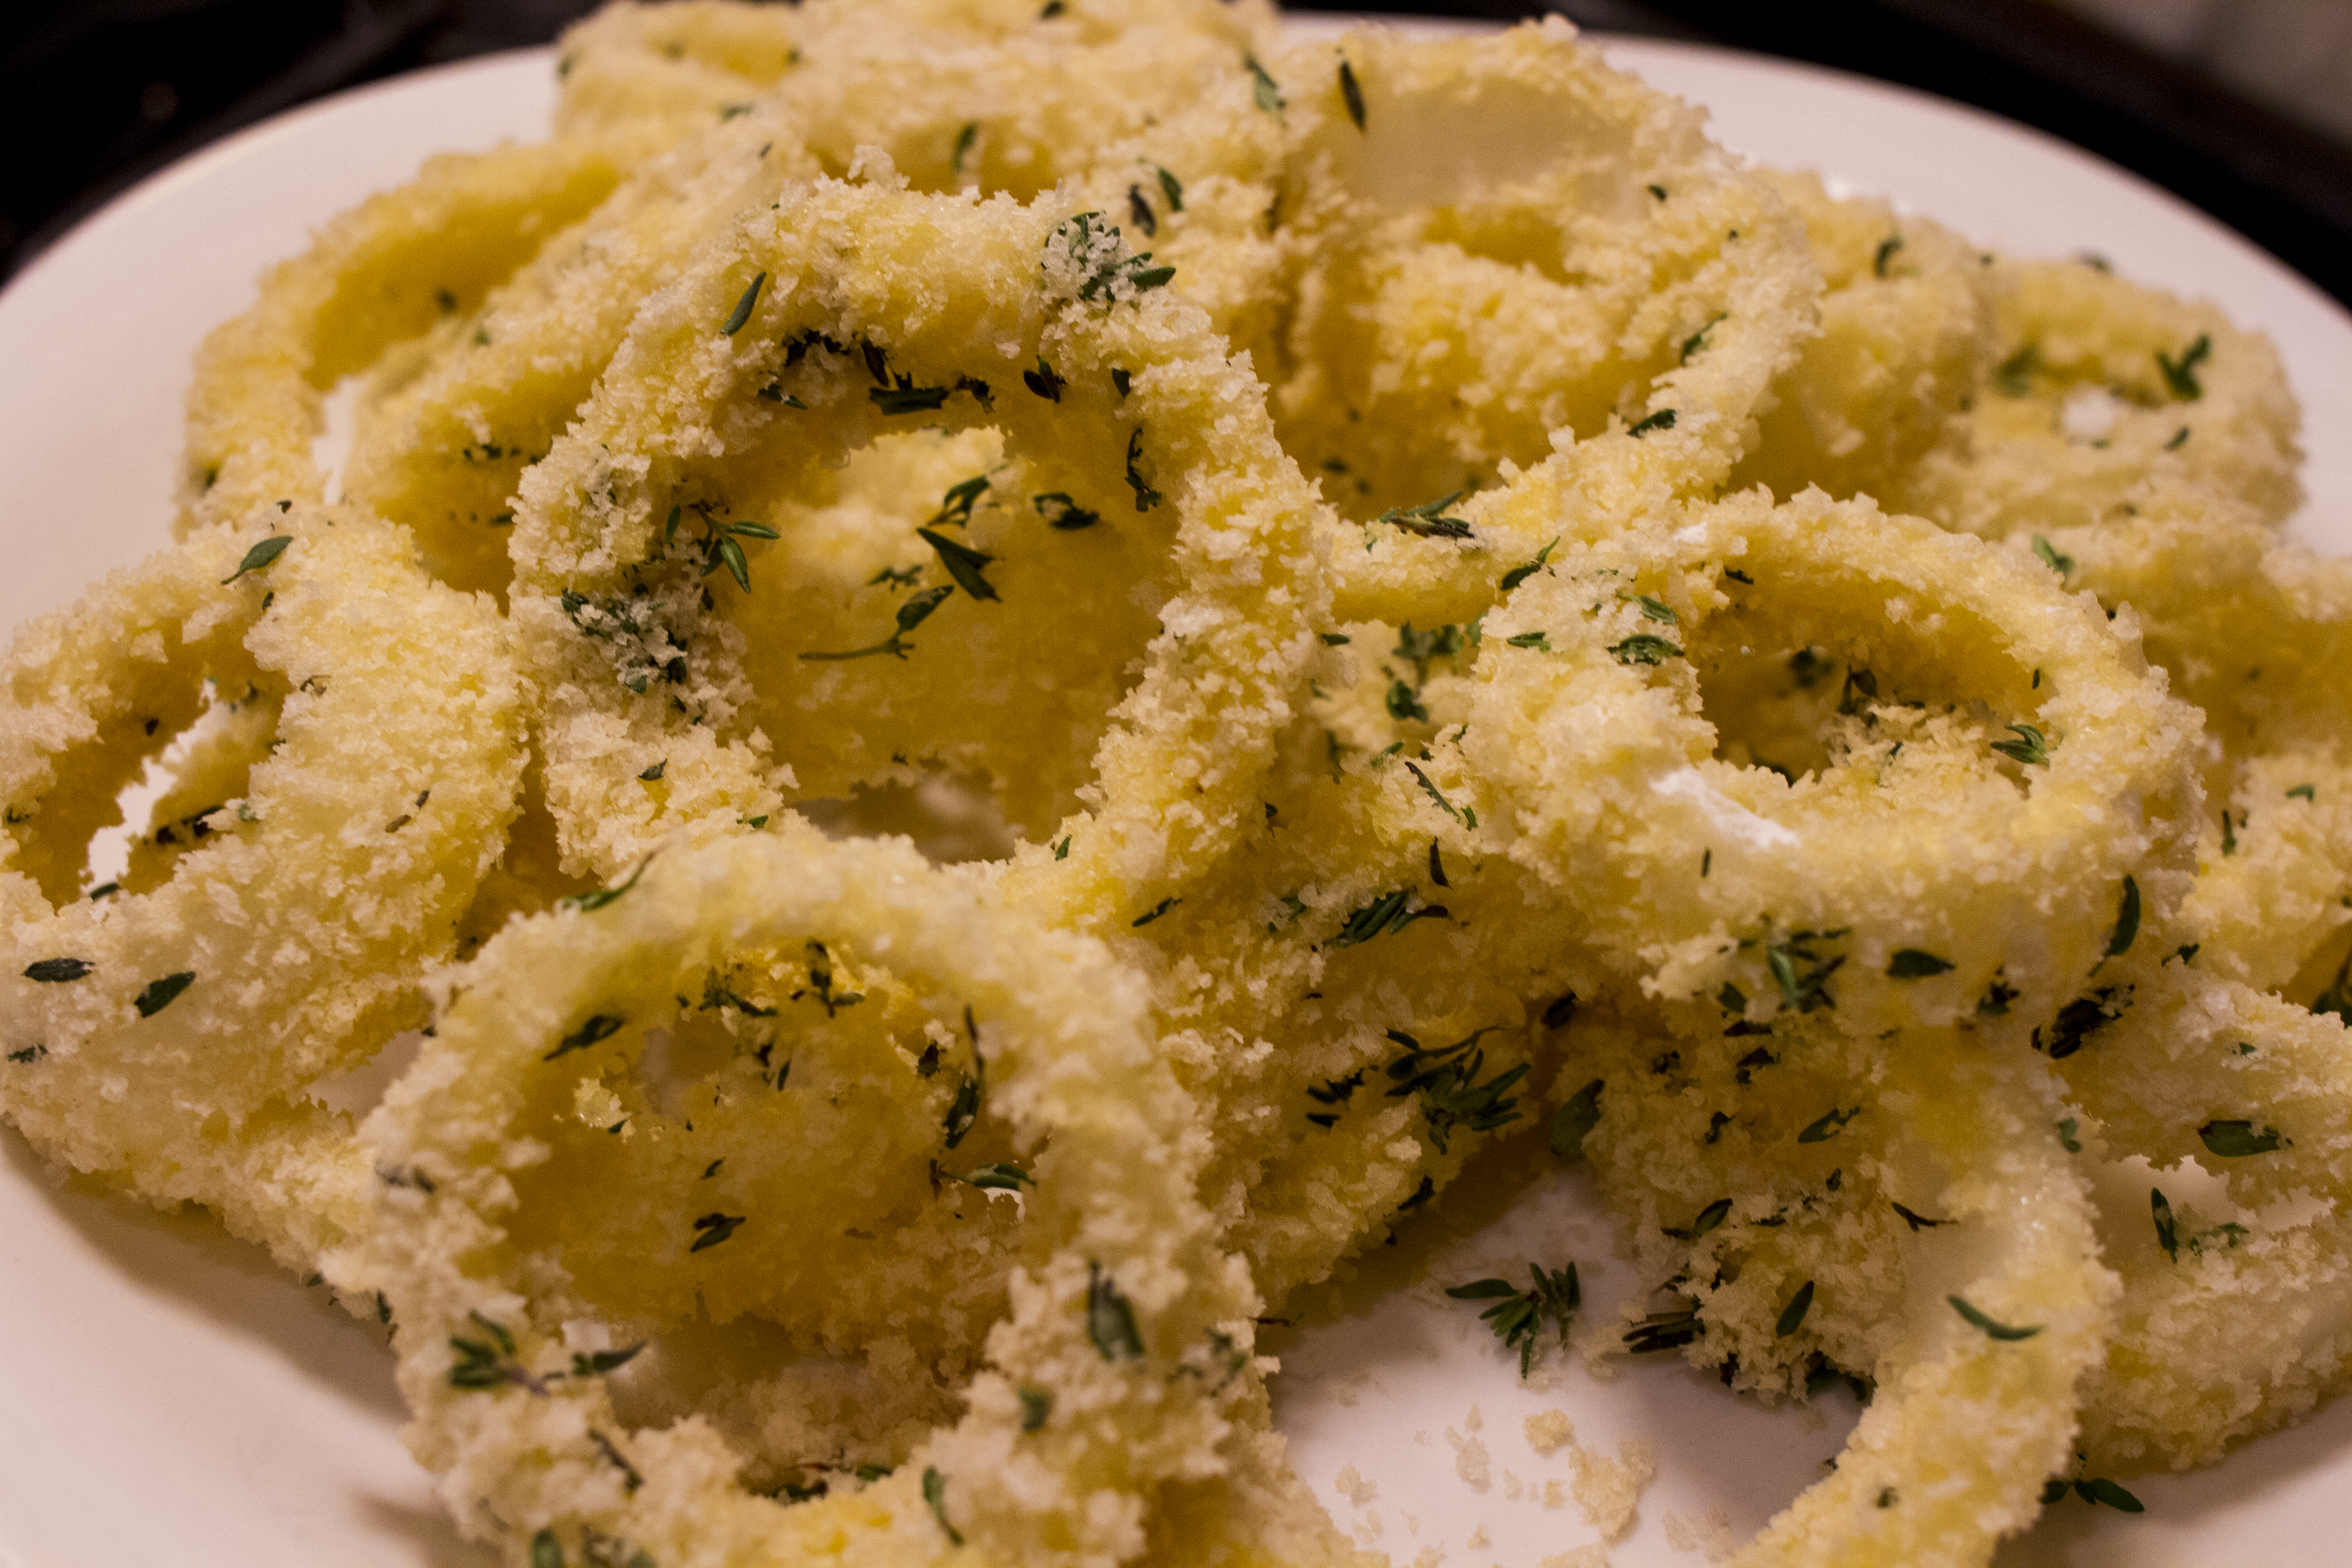
Then just repeat the process for all of your remaining onion rings. You can do more than one at a time, just don’t crowd them when you put in the breadcrumb mixture or they will stick together and they coat unevenly and will not fry correctly. They will also look bad. Make your food pretty.
You can make them onion rings ahead of time too. They can hold in the fridge for a few hours up to over night, before cooking, just make sure that they’re covered.
Now it’s time to get your grease hot.
Fill a large stock pot with about a quart of frying oil just enough so that the rings are floating and there is enough depth to turn them over without the ring touching the bottom when you flip it. I used vegetable oil, but you can use whatever you like. Peanut oil is tasty too. Just DO NOT use olive oil. Olive oil is not for frying. It will burn and be gross. And please, please, please don’t use one of those stupid electric fryer things. I hate them. Or do, but just don’t tell me.
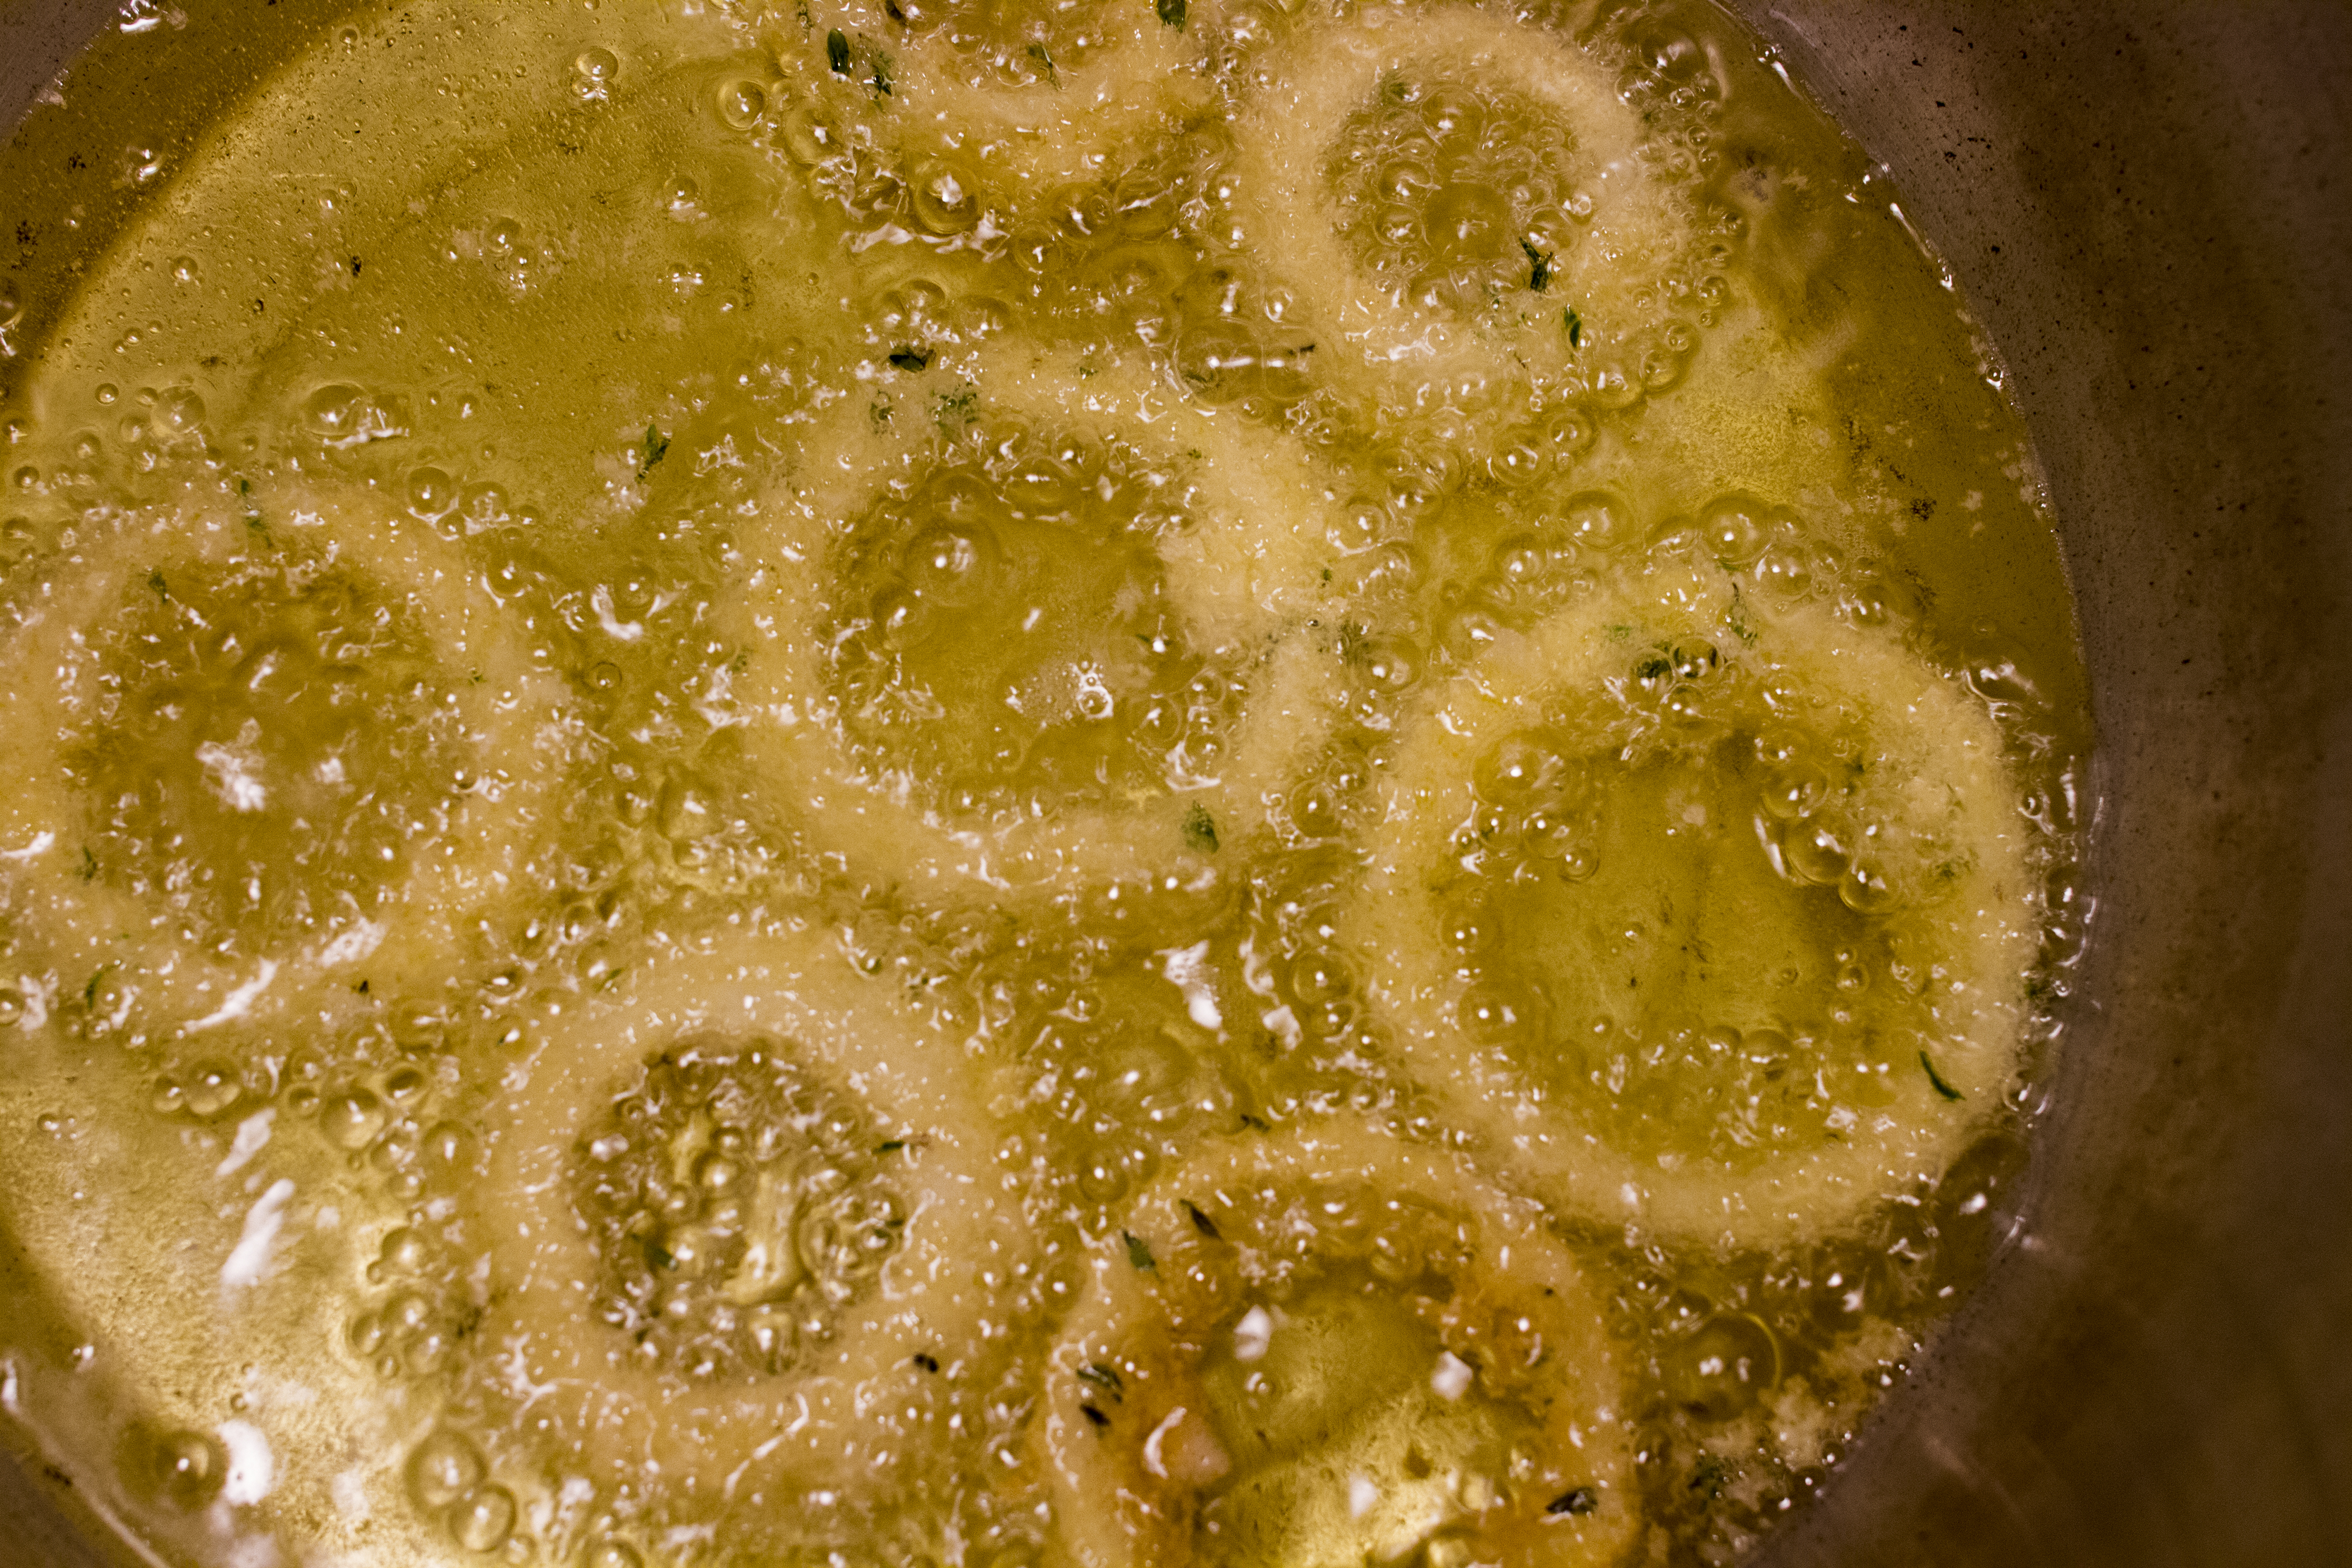
Look for an oil temperature around 350 degrees to begin frying the rings. Drop a few in at a time, slowly so that the oil doesn’t splatter, and remember not to crowd the rings in the oil. They will cook unevenly or stick.
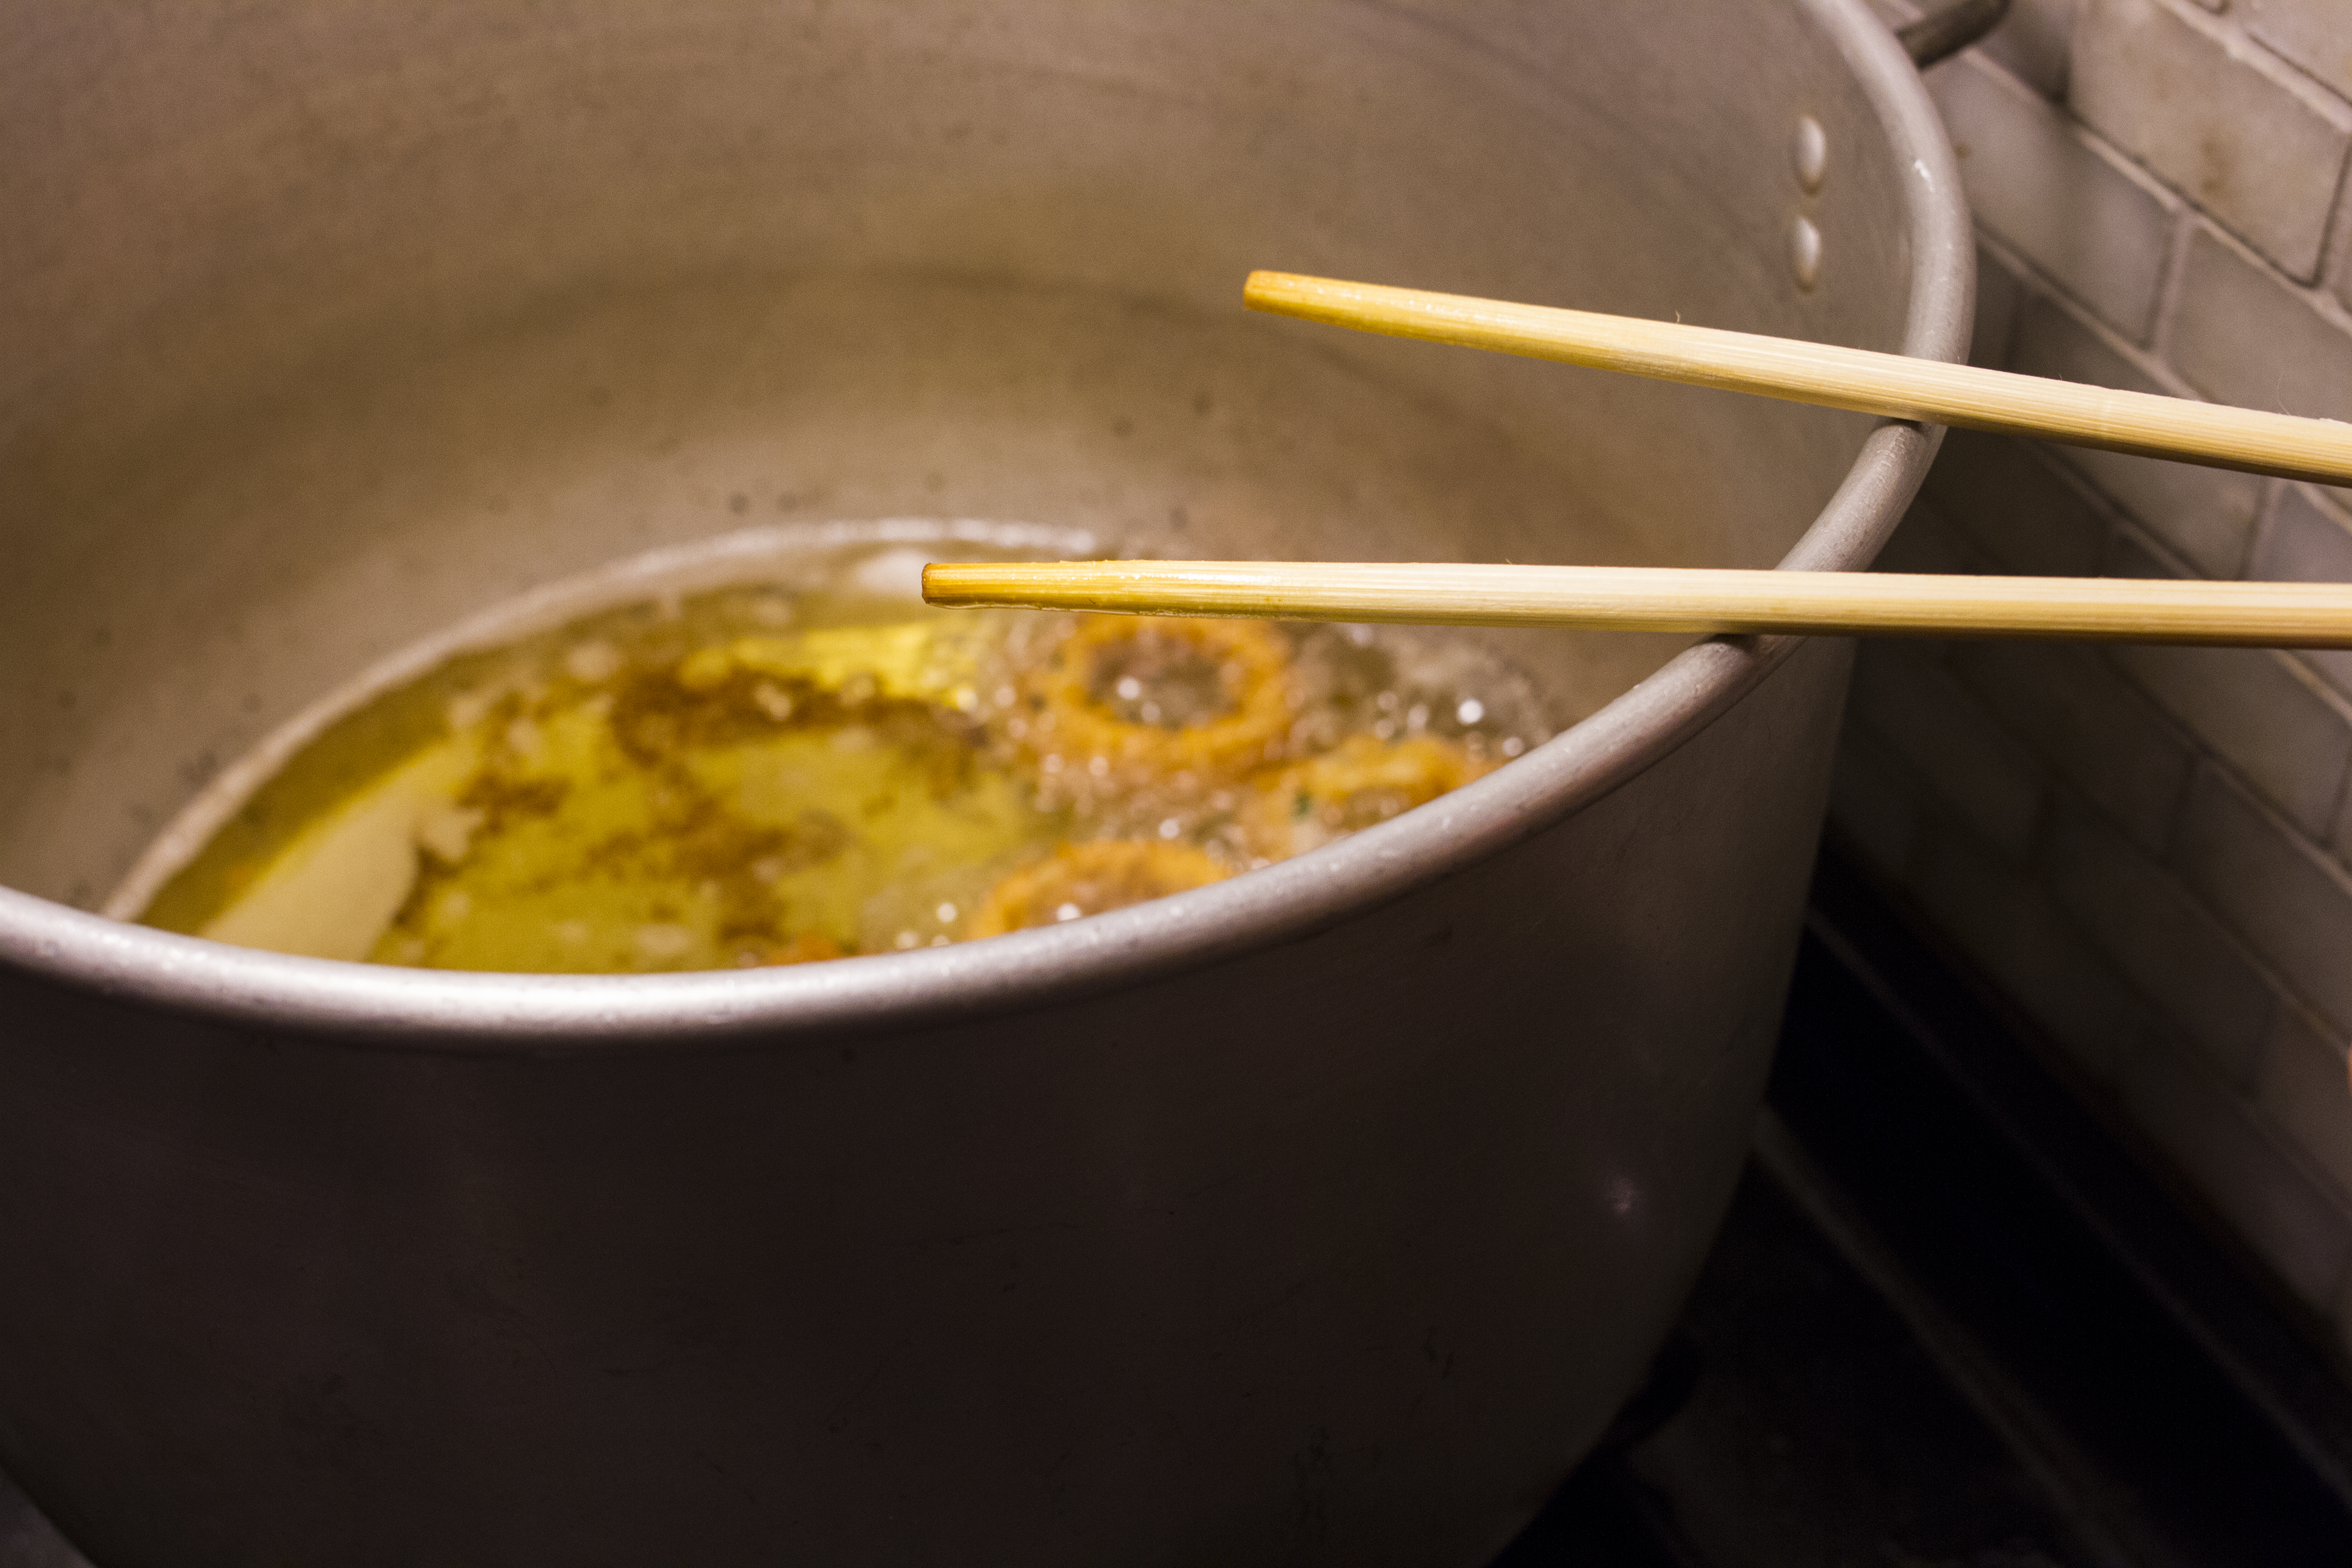
Because the panko coating can be delicate, and because the pot is deep and I don’t want to get too close to the oil, I use chopsticks to flip my rings. The ones you get with you General Tso’s are perfect.
The onion rings are done when they are golden brown. And that means they’re done. None of this, “Oh, I like mine extra crispy!” Stop it. They’re already crispy. Anything beyond that is called burnt and that’s not a good flavor.
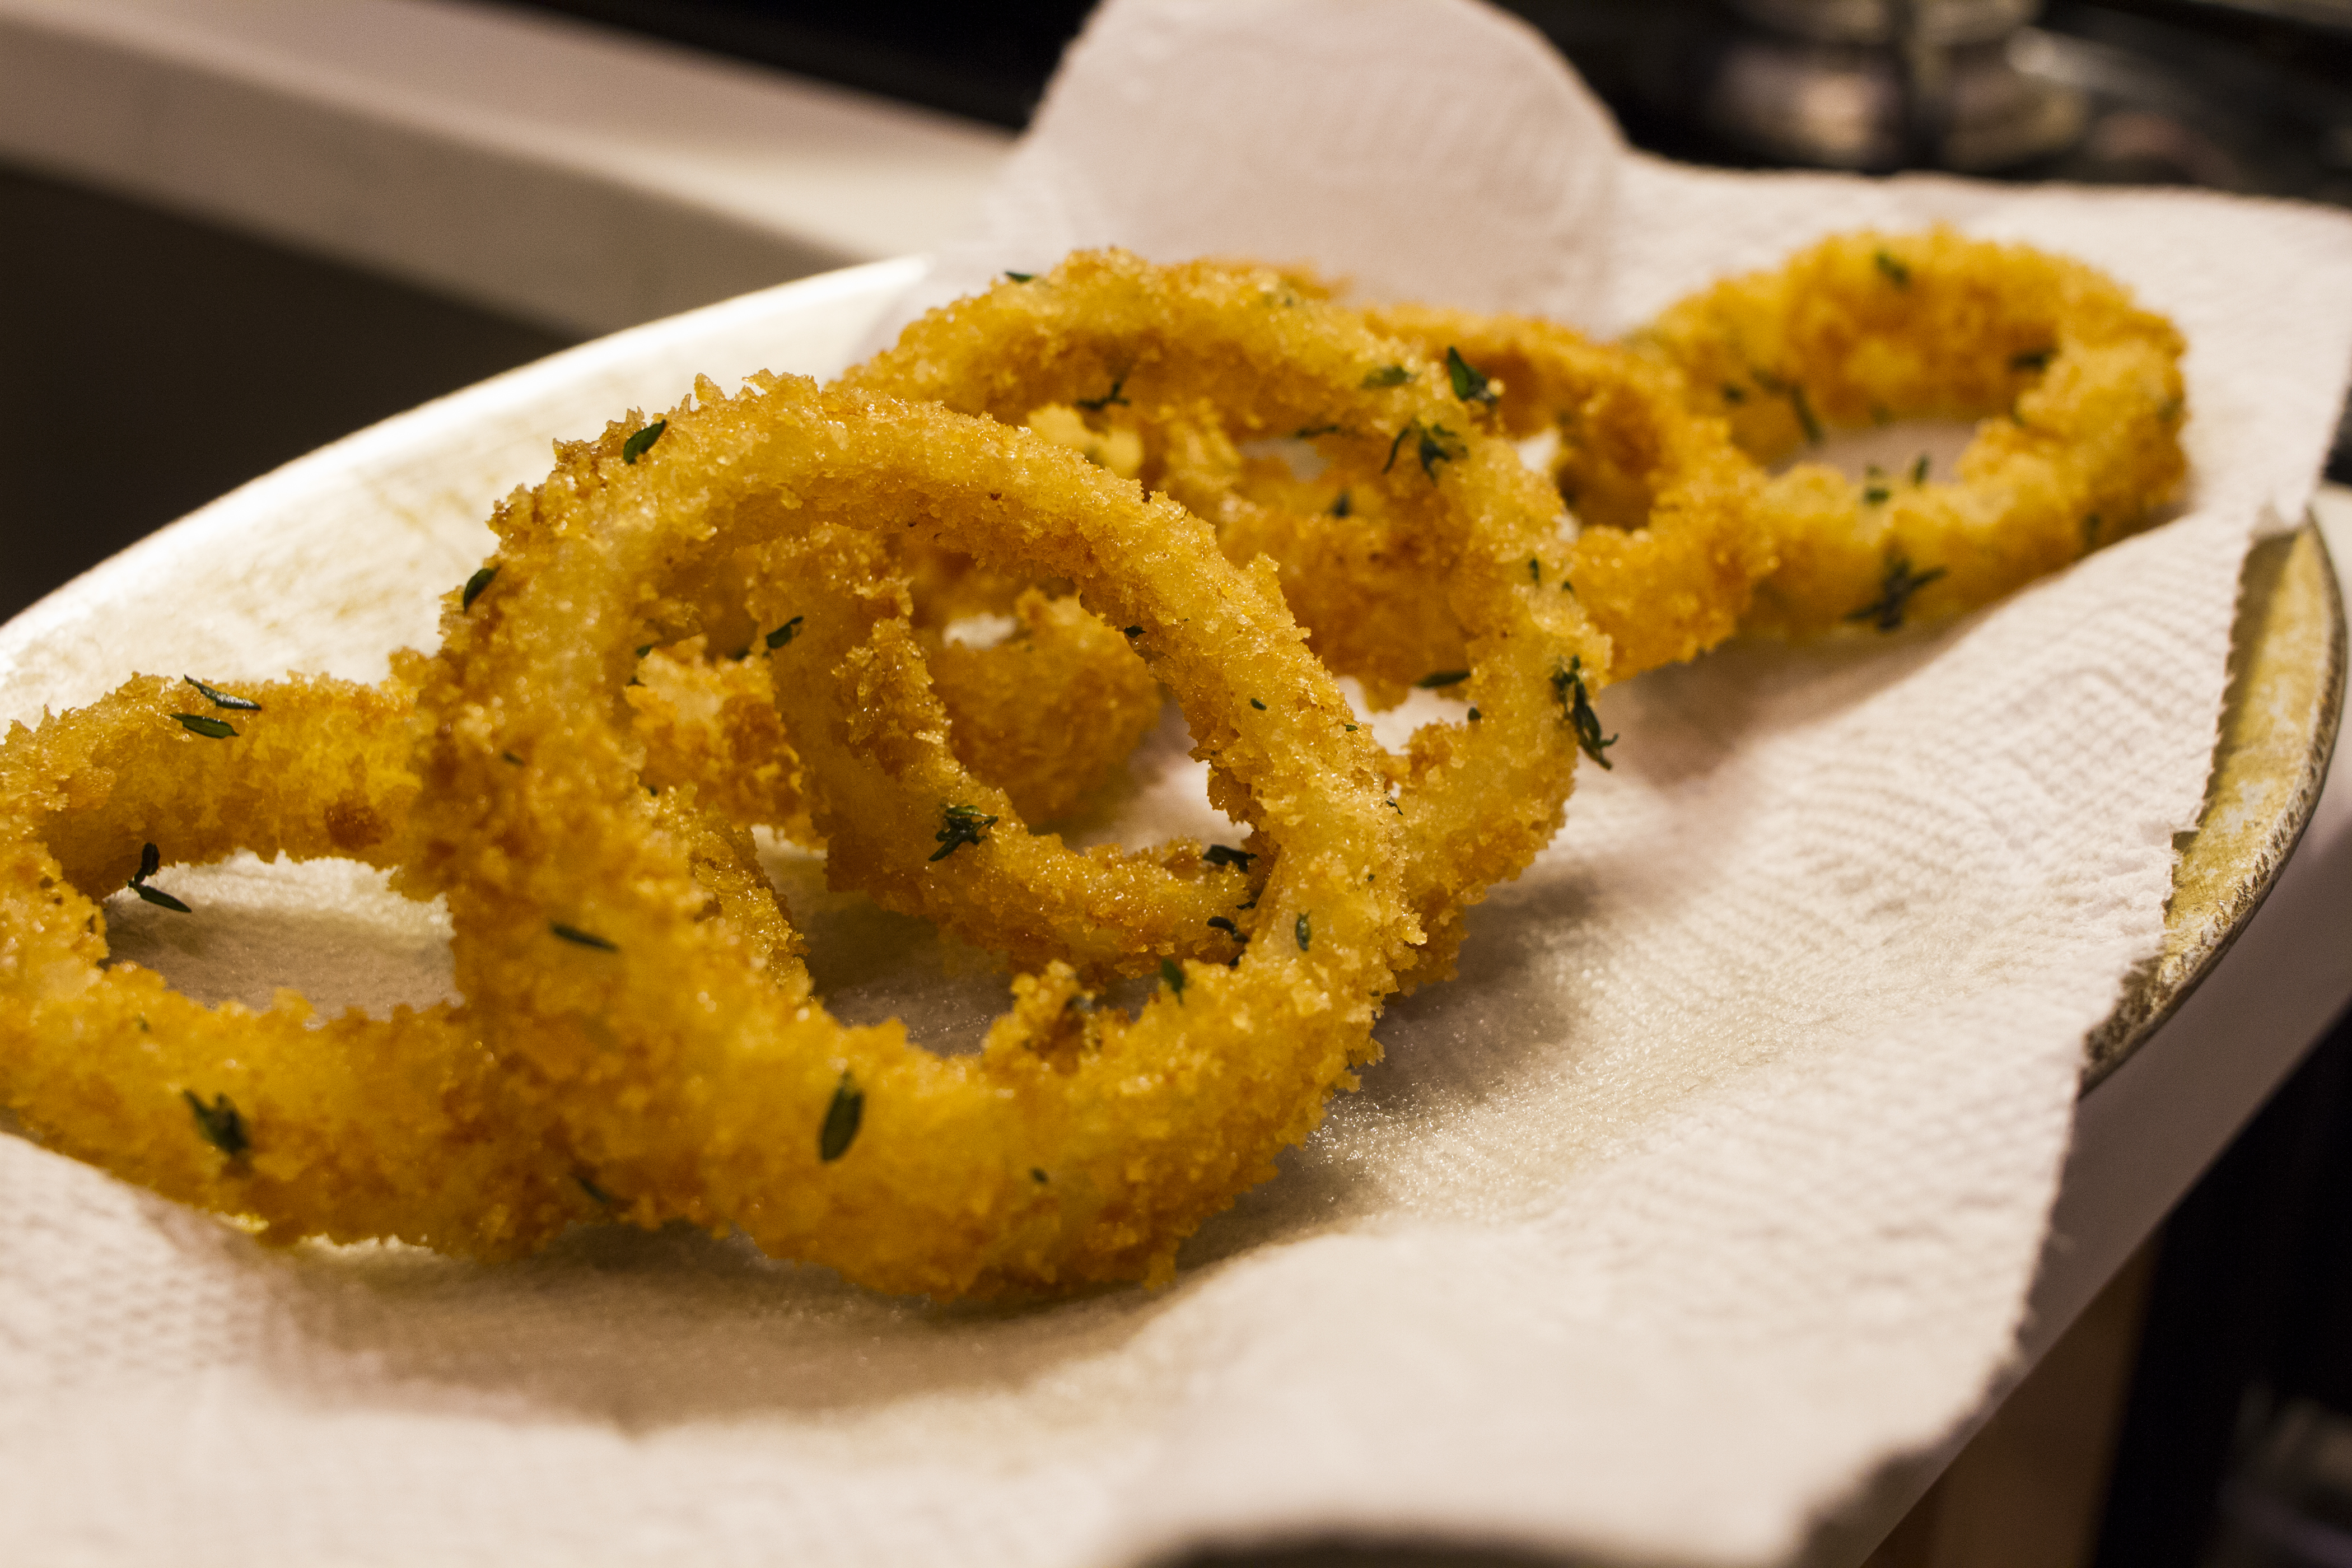
Set the onion rings onto a paper towel to drain. Boom your done.
It’s likely that you won’t be able to fry all of your rings at once, so you’ll have to cook them in batches. To do this, preheat your oven to about 300 degrees. You can hold what you’ve already cooked in the oven to keep them hot and from getting soggy while you cook off the balance of the rings.
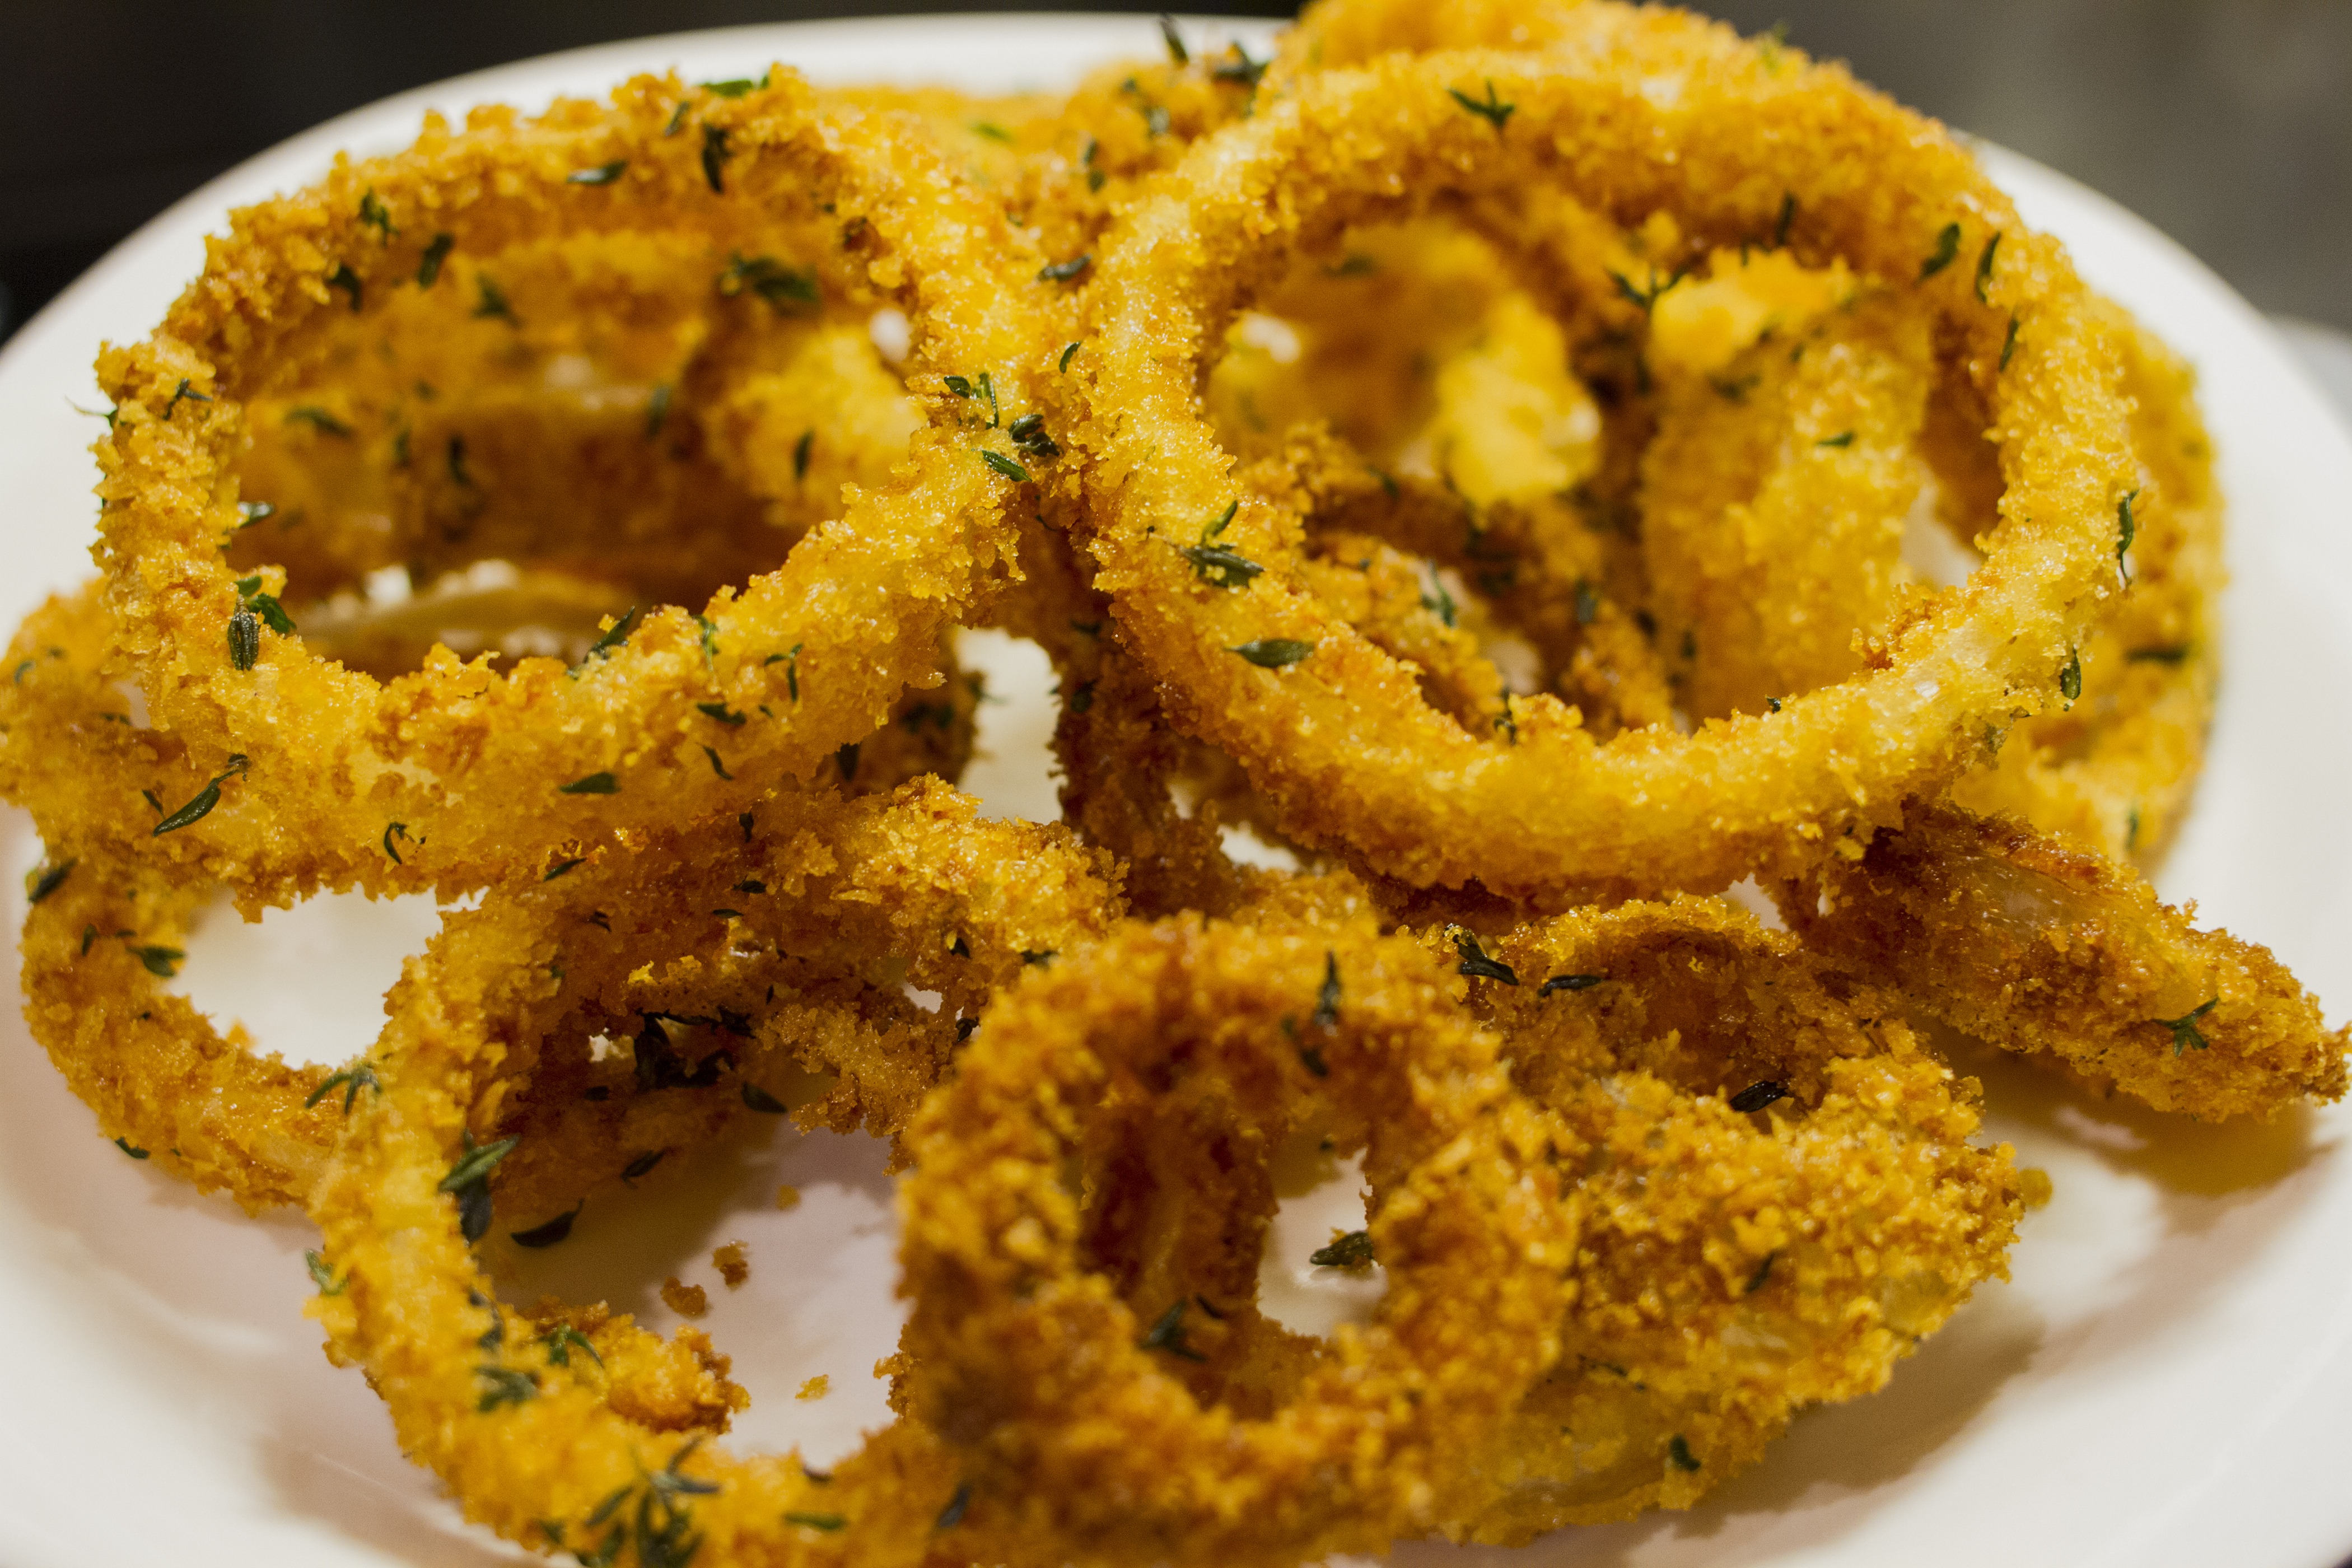
Once you’ve cooked all rings, plate them and serve. Hot you eat or what you serve them with is totally up you. Just enjoy them!

Me? I like to eat them with a cheeseburger, a cold beer, and my beautiful wife. Maybe with an M. Night Shamaylan movie on. Maybe an early one. Before he made The Village.
Oh, you’re weren’t also making cheeseburgers along with the onion rings? Sorry. Maybe next time.
-Baz
—-
On a totally unrelated side note, my wife caught her first fish on fly a little over a month ago.
While that was exciting enough, that same day she also caught her first striped bass on fly.
It was a big moment. I’m super proud of her and I felt like bragging about it.
